Description
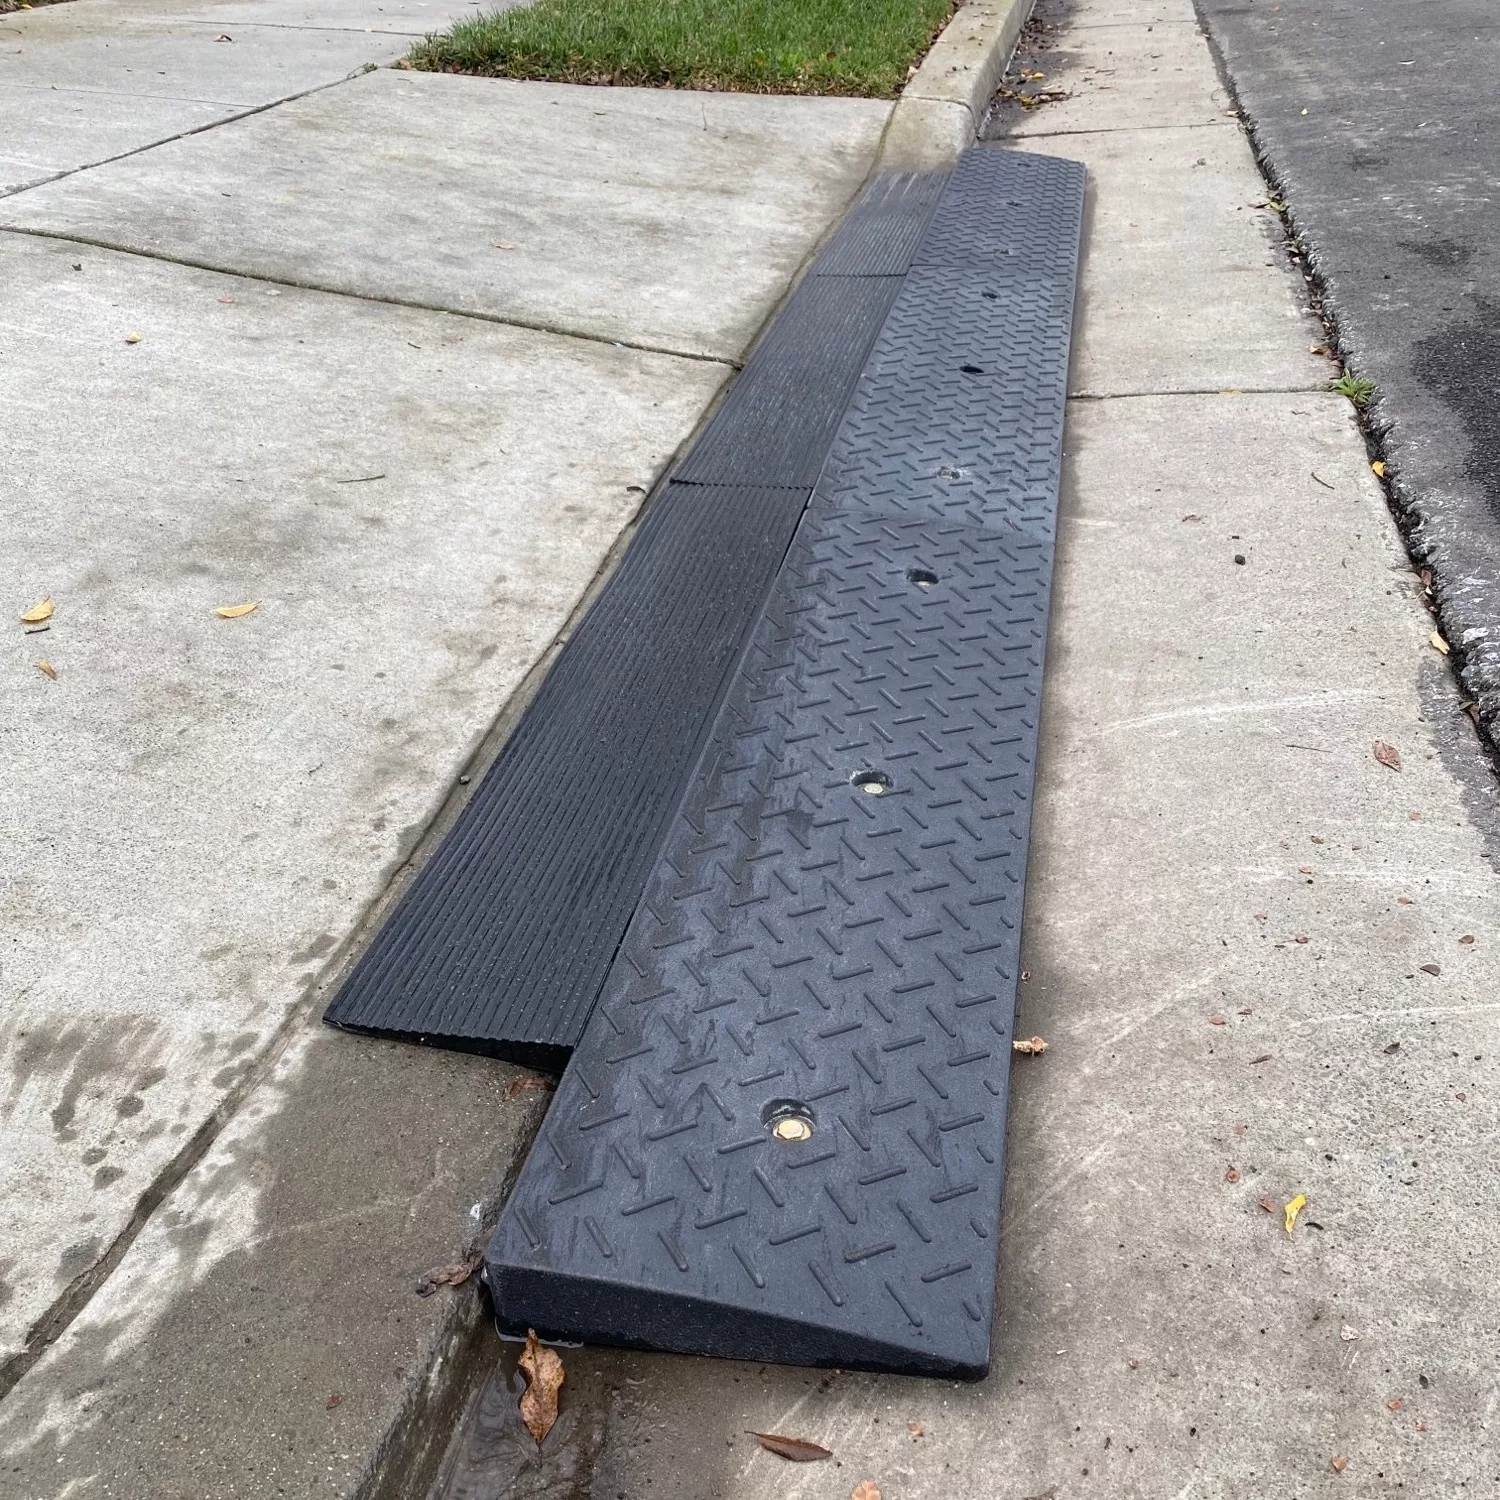
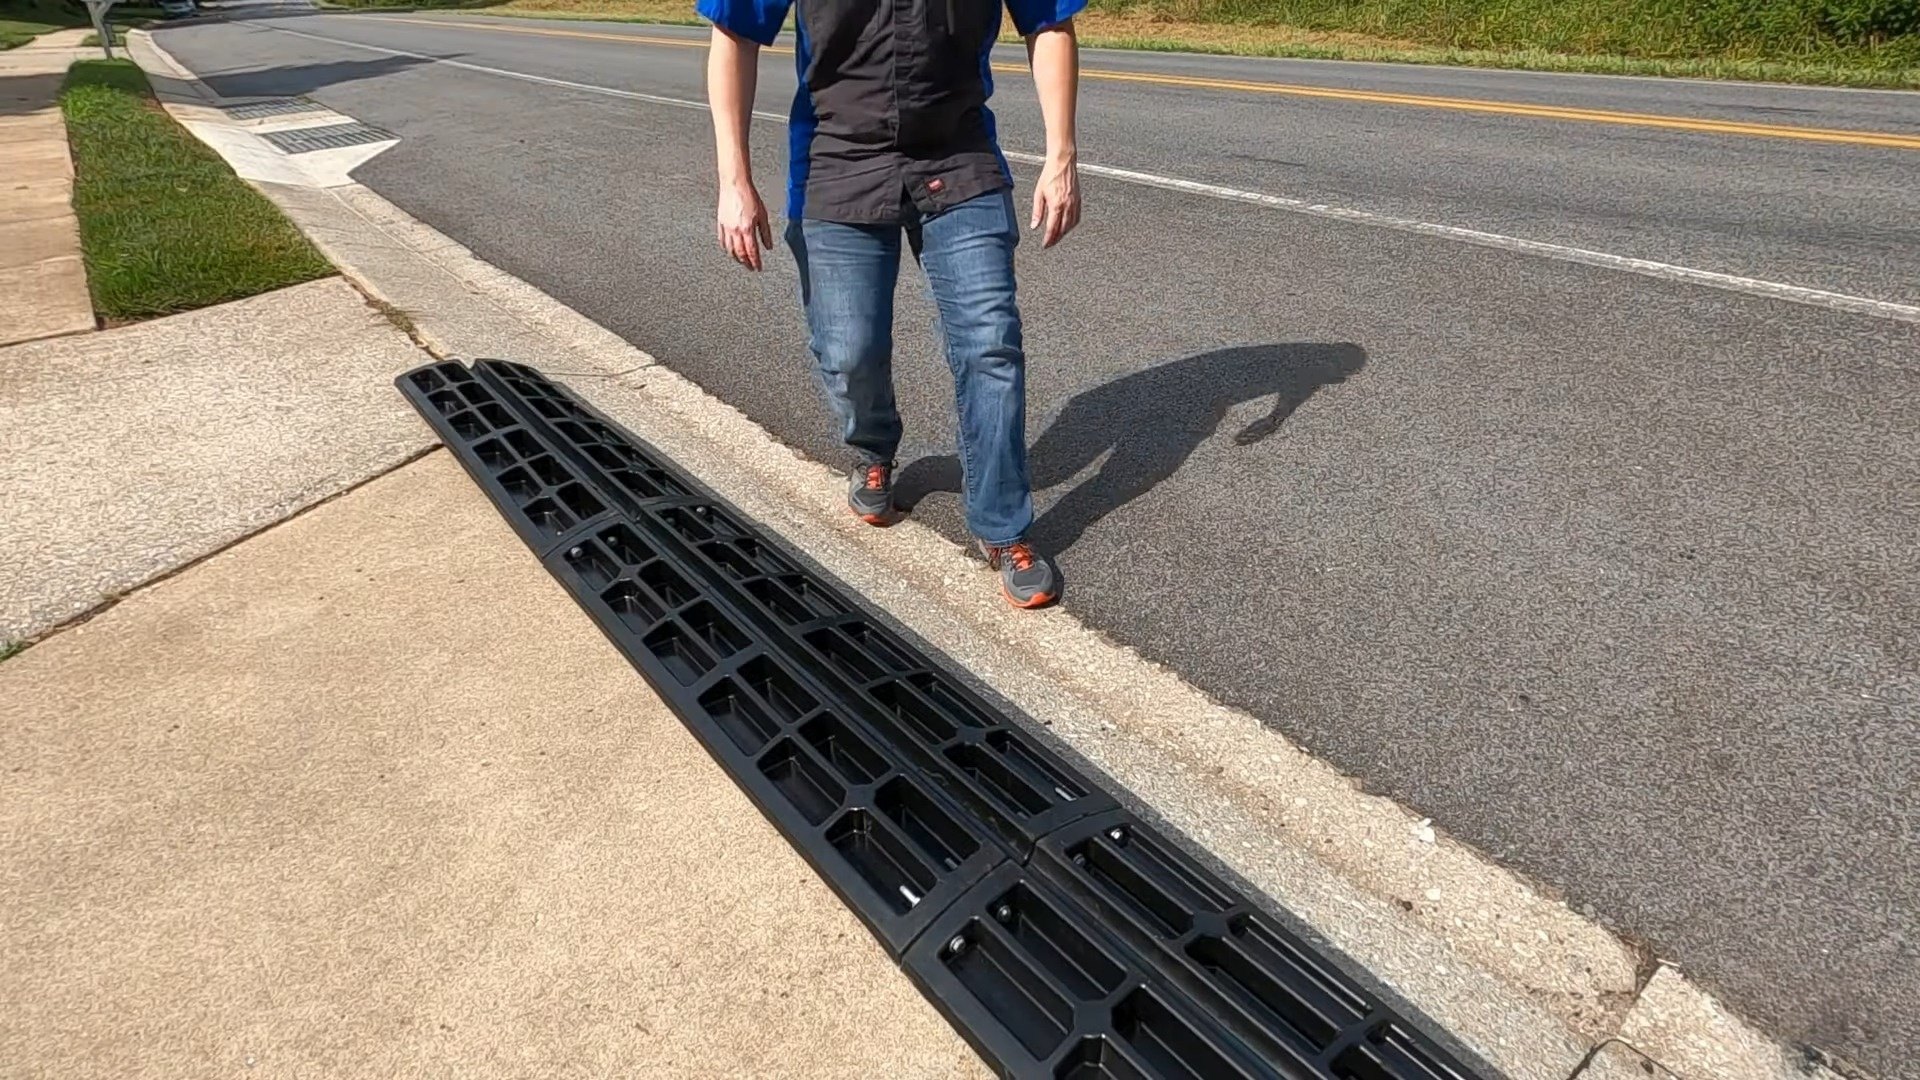
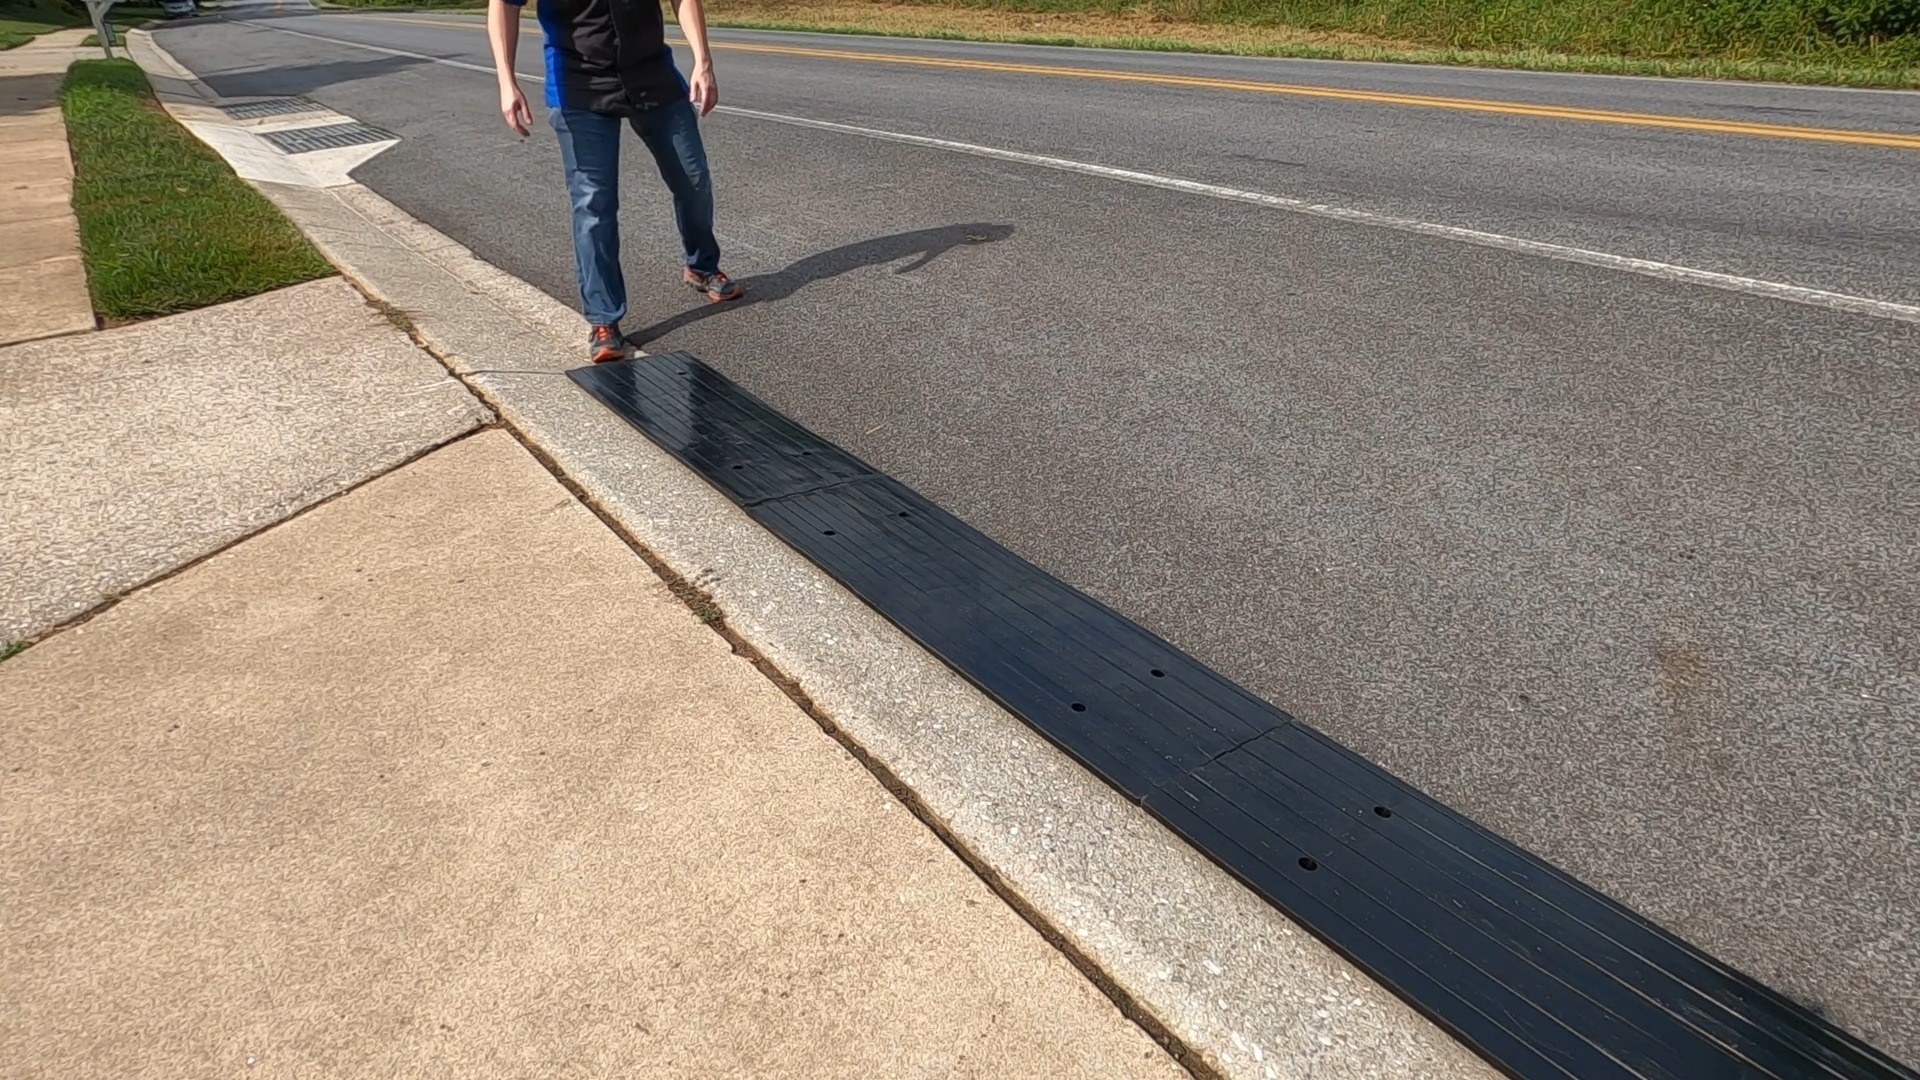
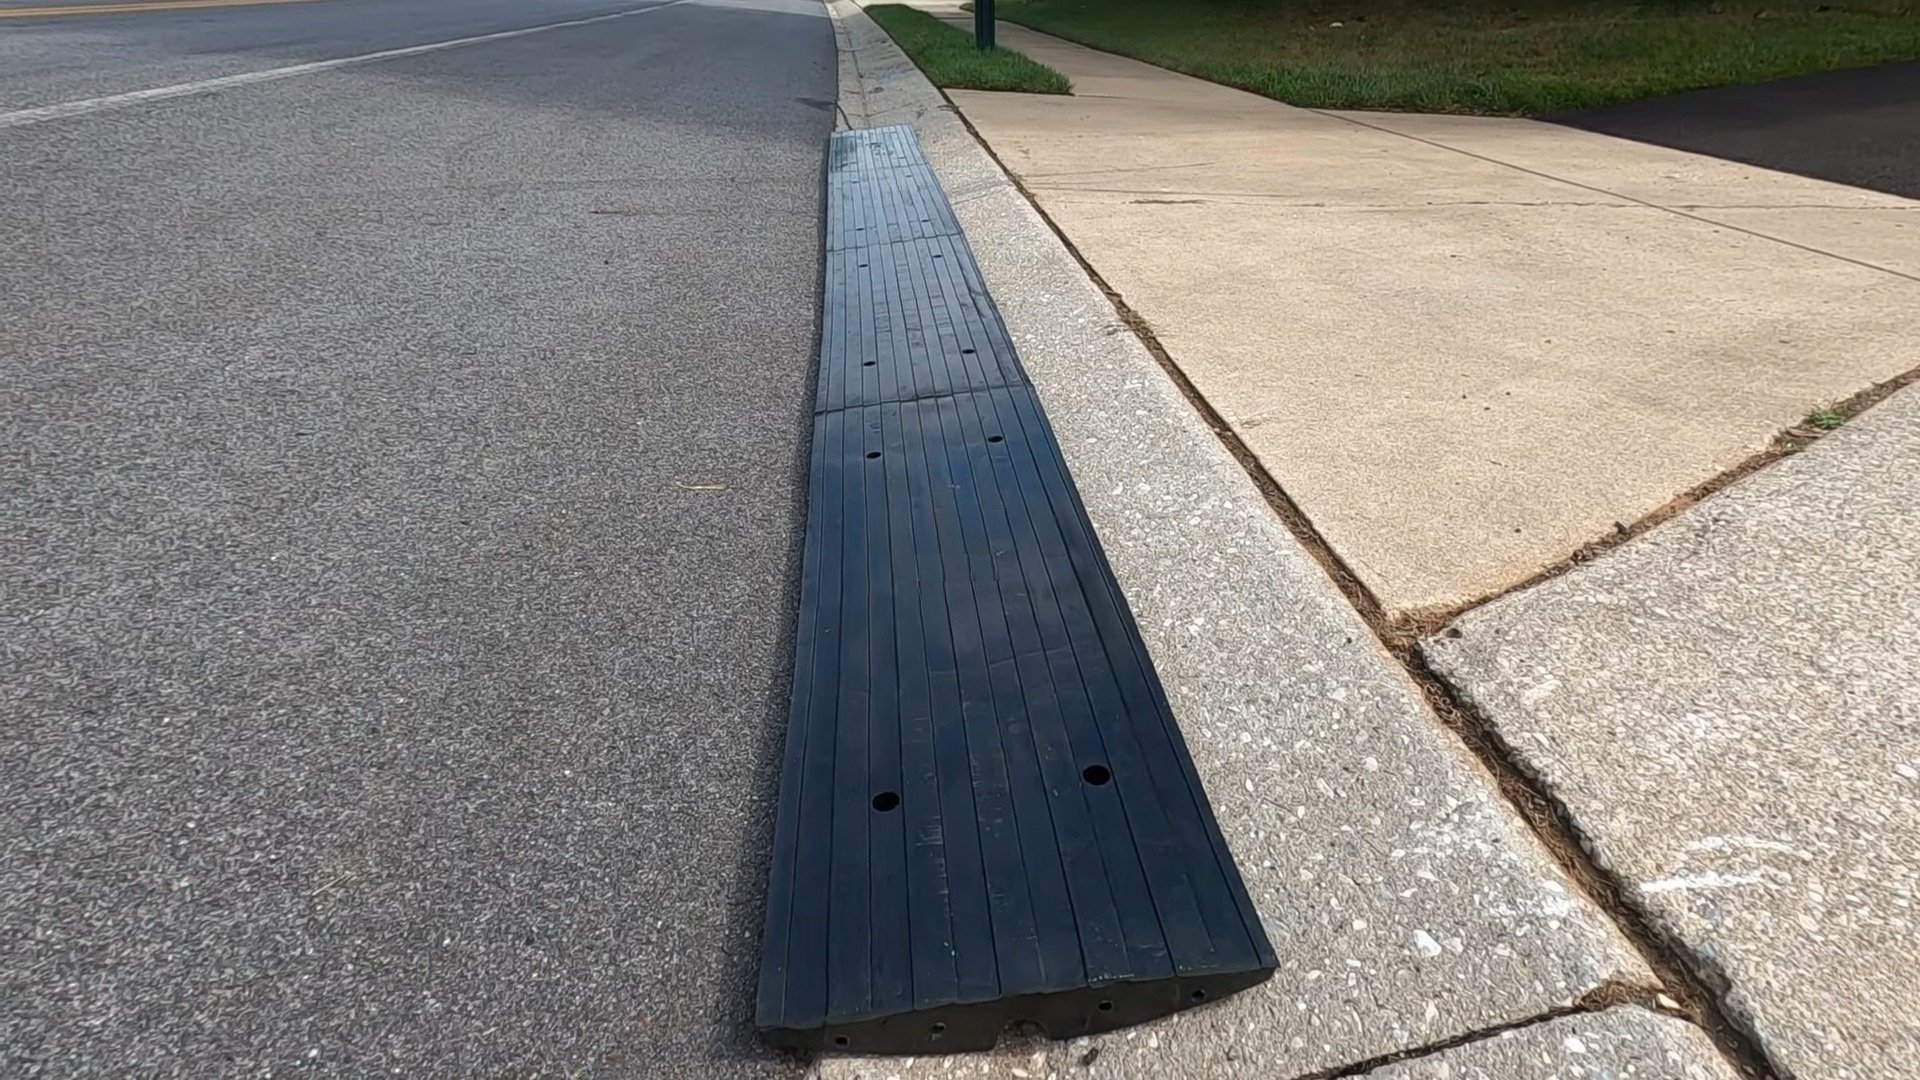
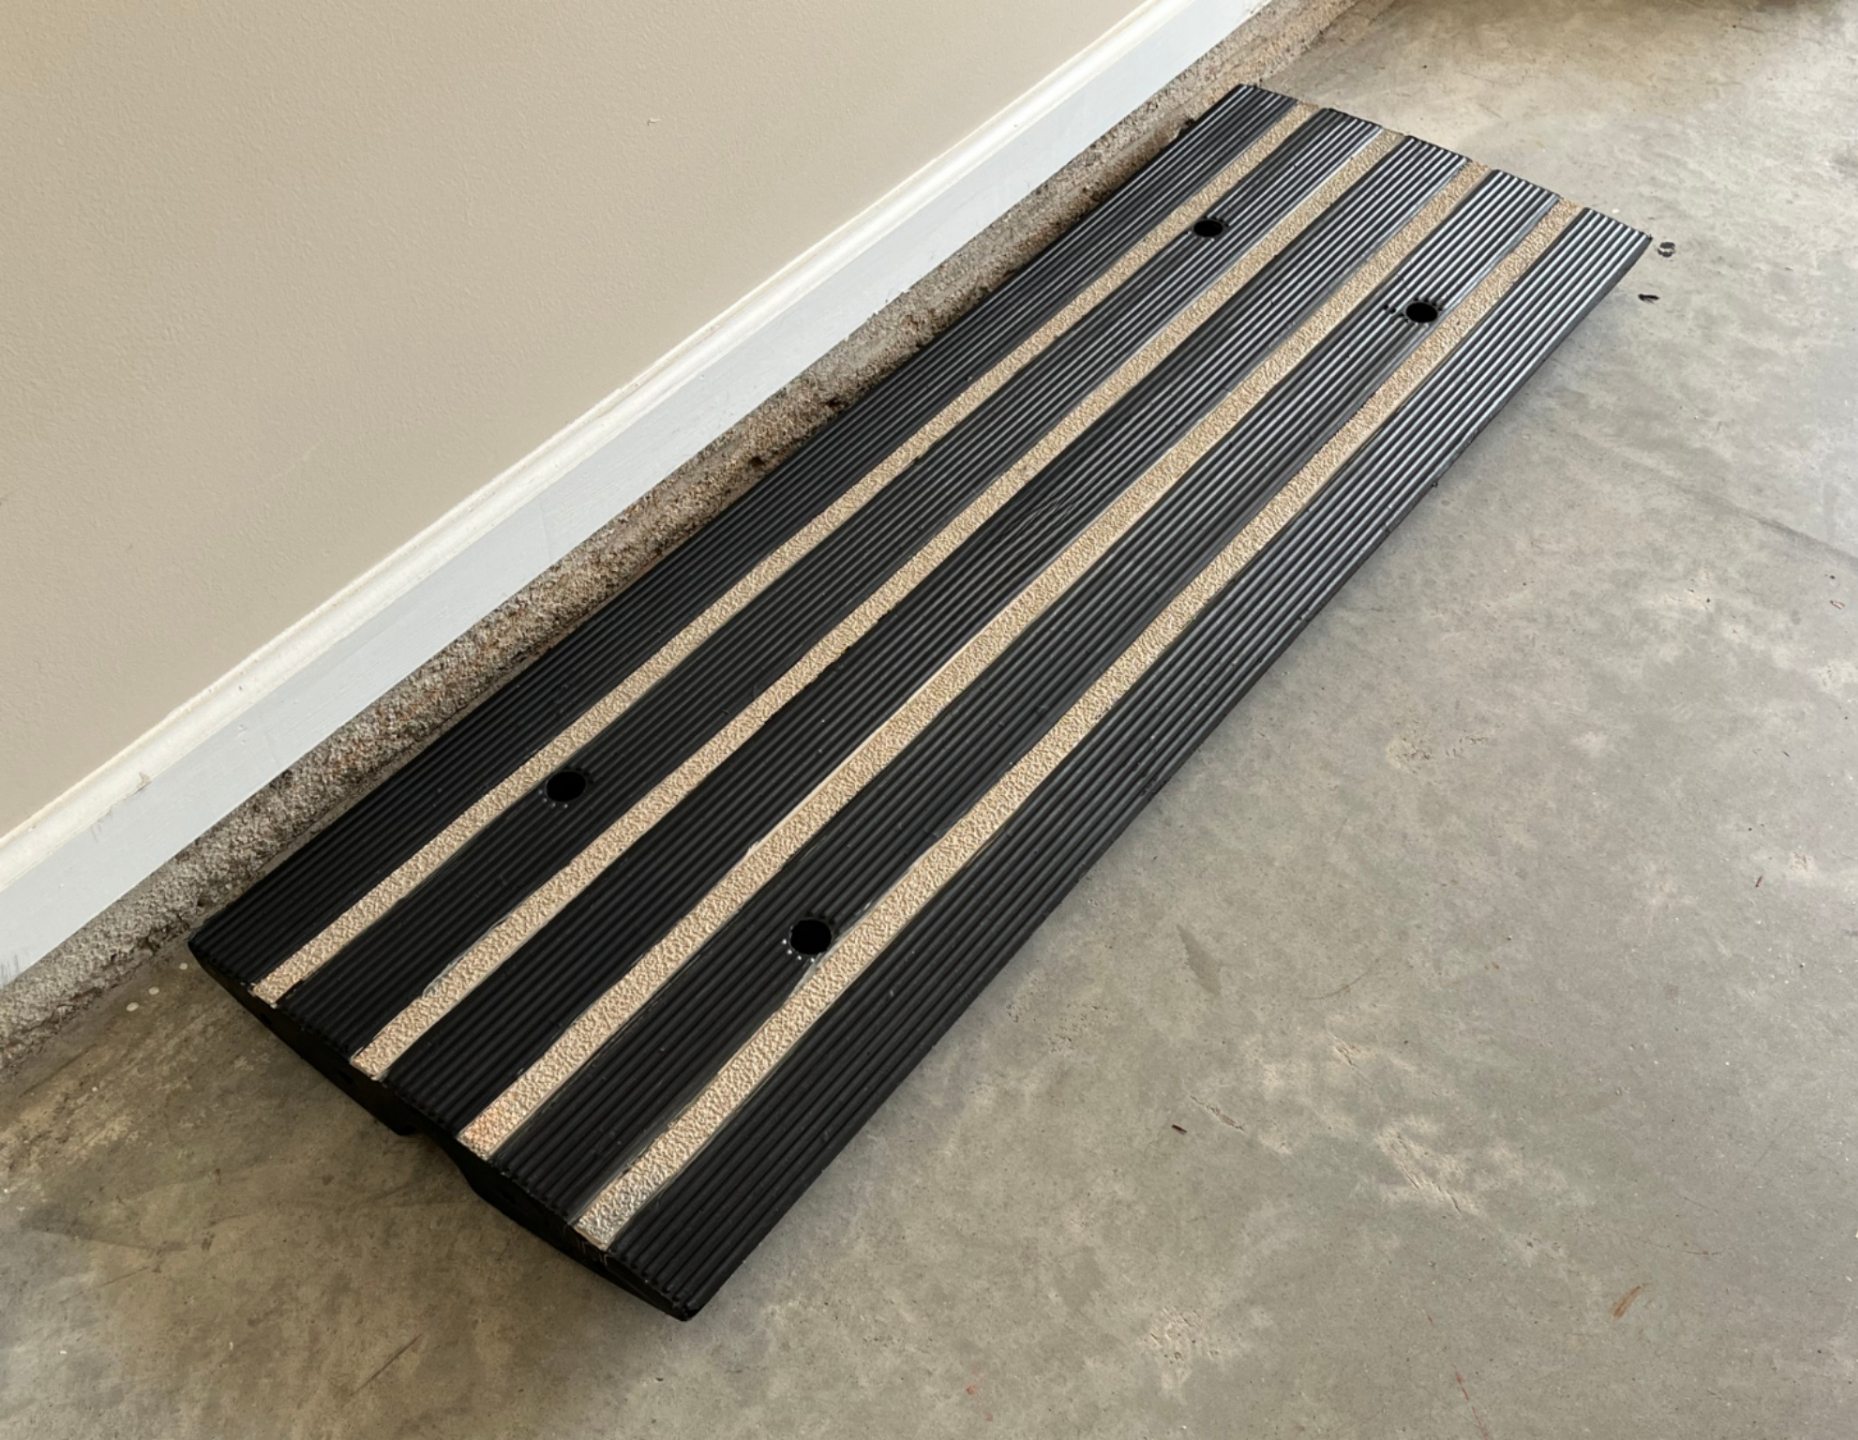
Our versatile QuickLift Ramp Kit is designed to add height to existing ramps or create custom-sized ramps. Each piece measures 20×20″ and is available in three heights: 1″, 2″, and 2.75″, with optional edge pieces for a smoother transition.
These ramp pieces are easy to customize. For example, to create a 20x10x2″ clearance ramp, you can cut one 2″ piece in half.
Additionally, these ramp pieces and edge pieces can be stacked together like building blocks, allowing you to achieve the desired height and configuration for your project. Whether you need to increase the clearance of a curb or driveway or build a ramp from scratch, our rubber ramp pieces offer a flexible and durable solution.
Note: Additional edge pieces can be purchased separately here.
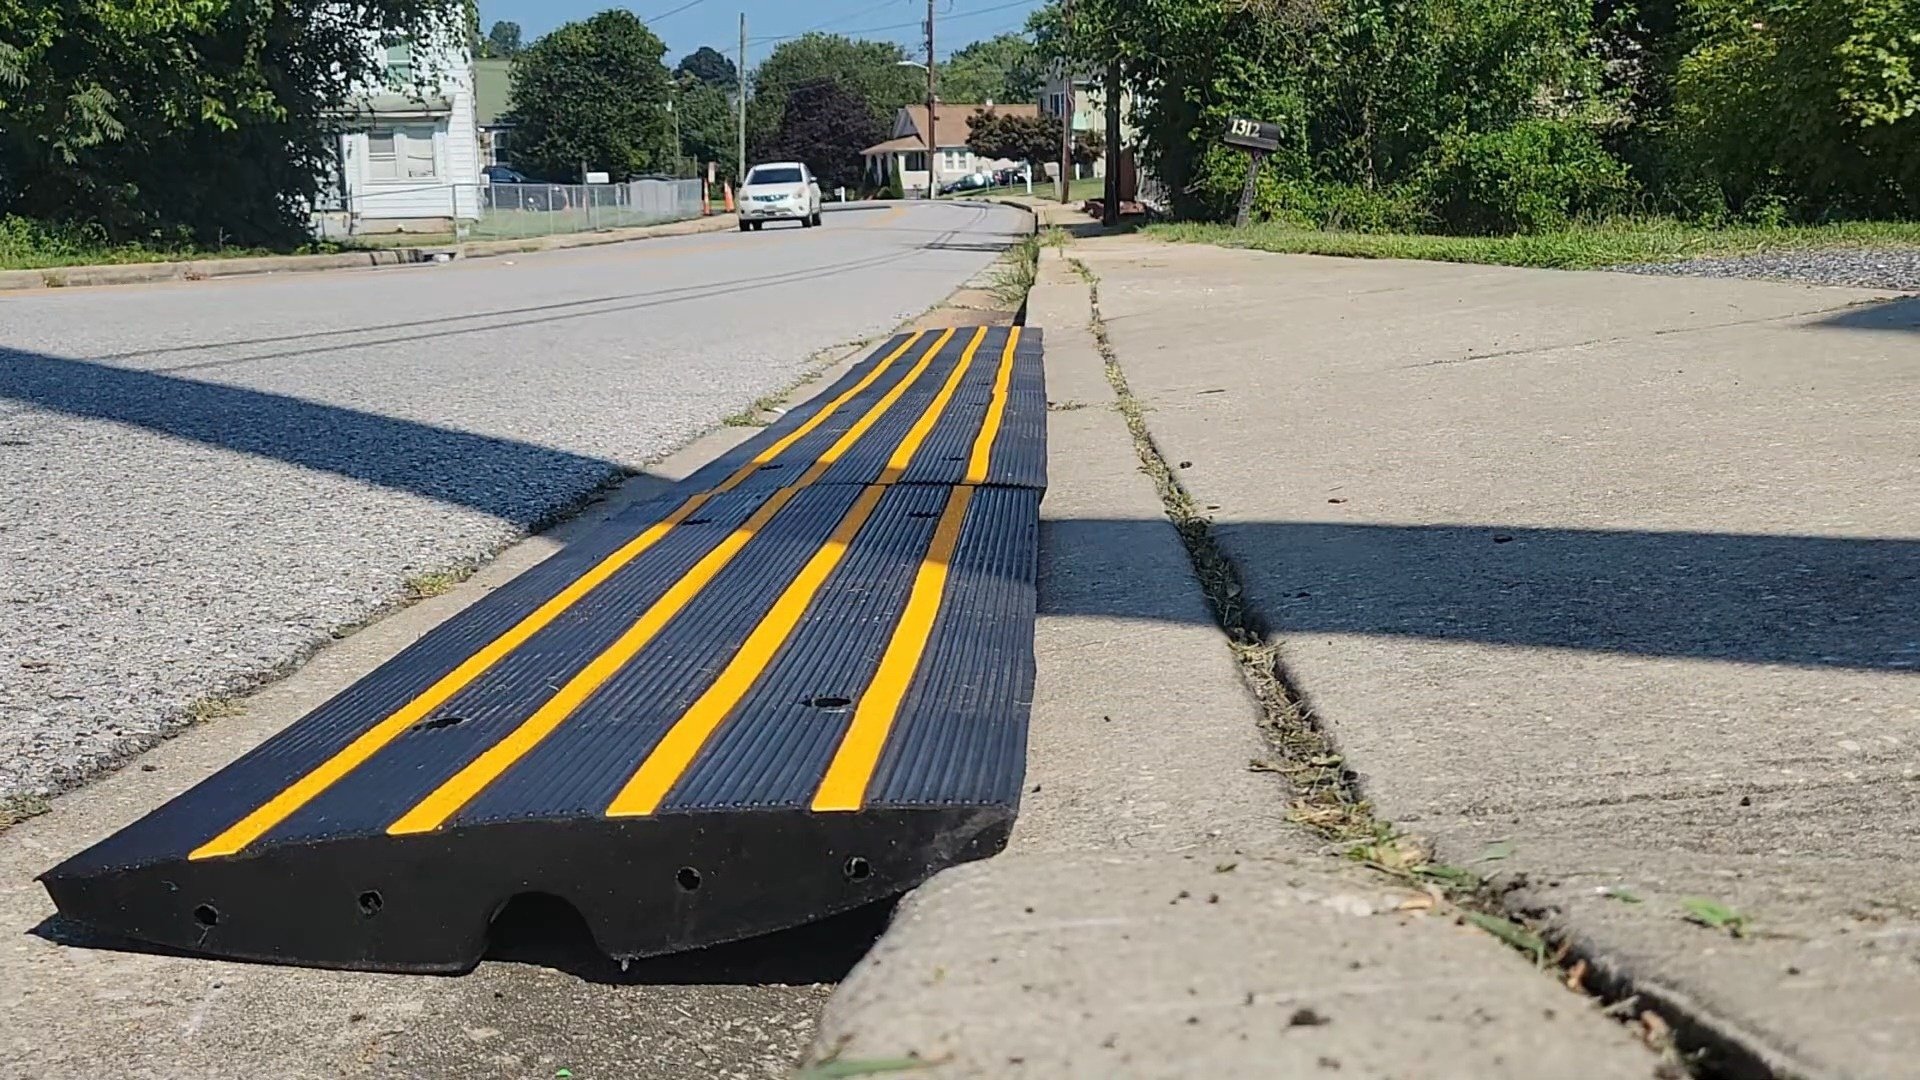
2-Inch Height Example Ramp
This diagram shows how to create a custom ramp using one 20″ x 20″ x 2″ rubber piece and four edge pieces, each measuring 20″ x 5″.
Steps:
- Cut the Main Piece:
- Start with the main rubber piece measuring 20″ x 20″ x 2″.
- Cut this piece in half horizontally to create two 20″ x 10″ sections labeled A and B.
- Arrange the Pieces:
- Place sections A and B side by side. This will form the main part of the ramp.
- Attach the Edge Pieces:
- Attach two edge pieces (20″ x 5″) to the top and bottom of section A.
- Attach the other two edge pieces (20″ x 5″) to the top and bottom of section B.
- Final Dimensions:
- The total width of the ramp will be 20″.
- The total length of the ramp will be 40″.
This setup ensures a smooth slope and provides a seamless transition from the ground to the elevated surface, making it perfect for car clearance, curbs, and driveways.
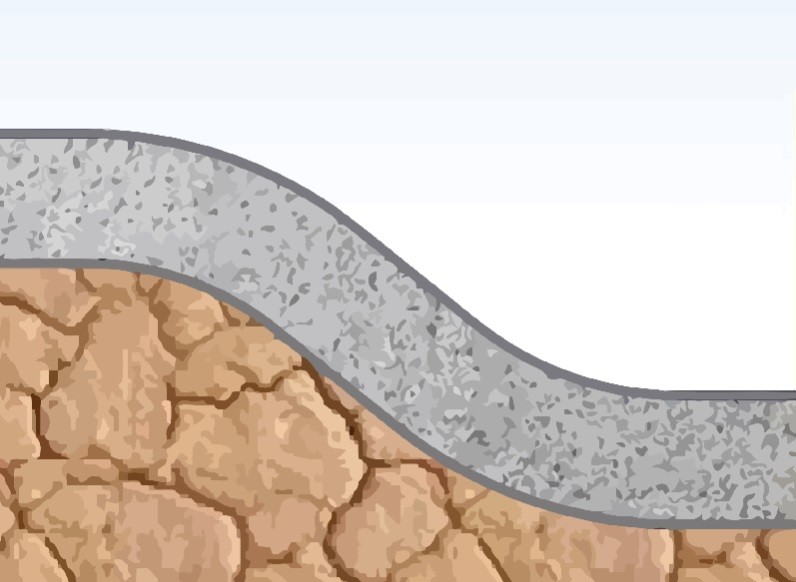
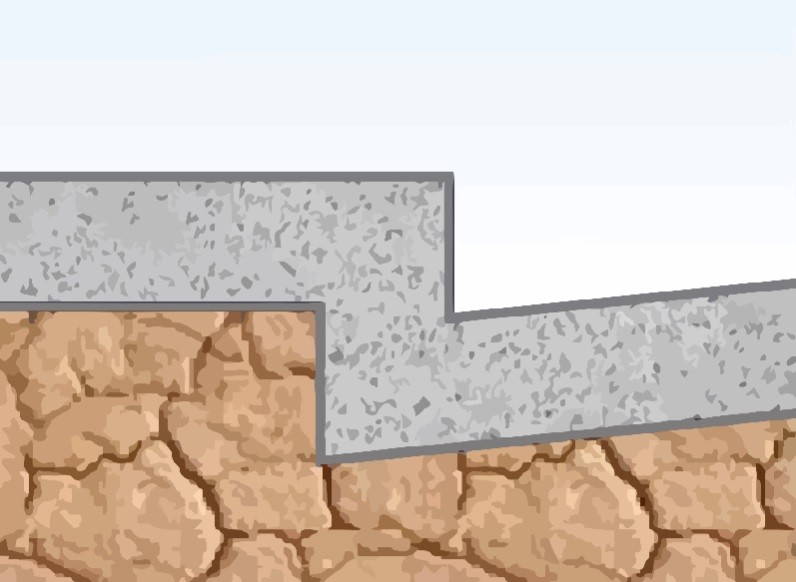
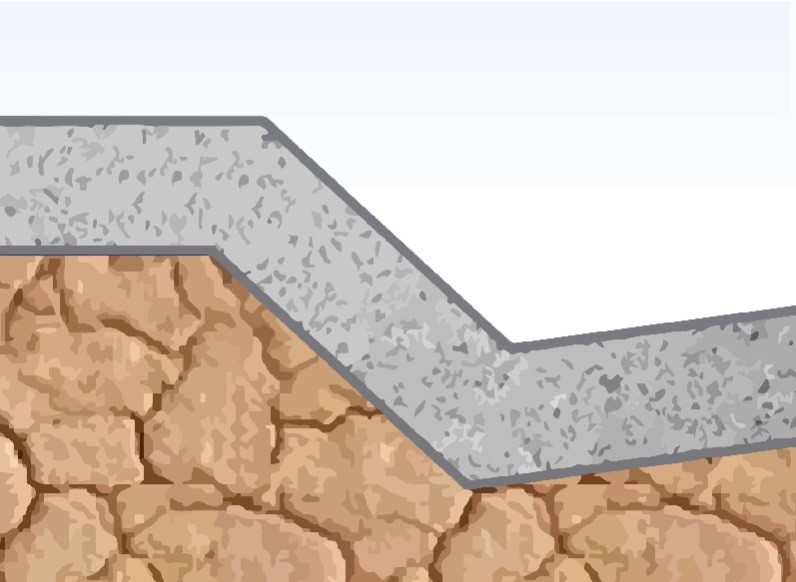
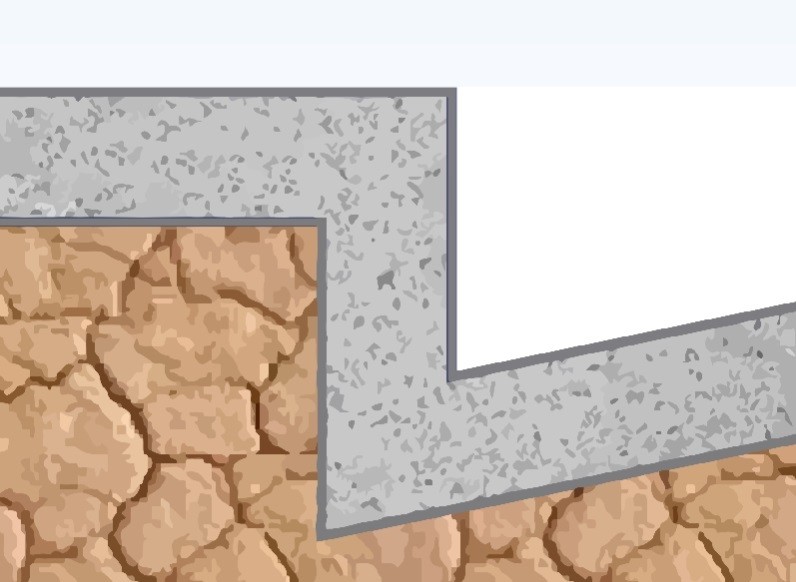
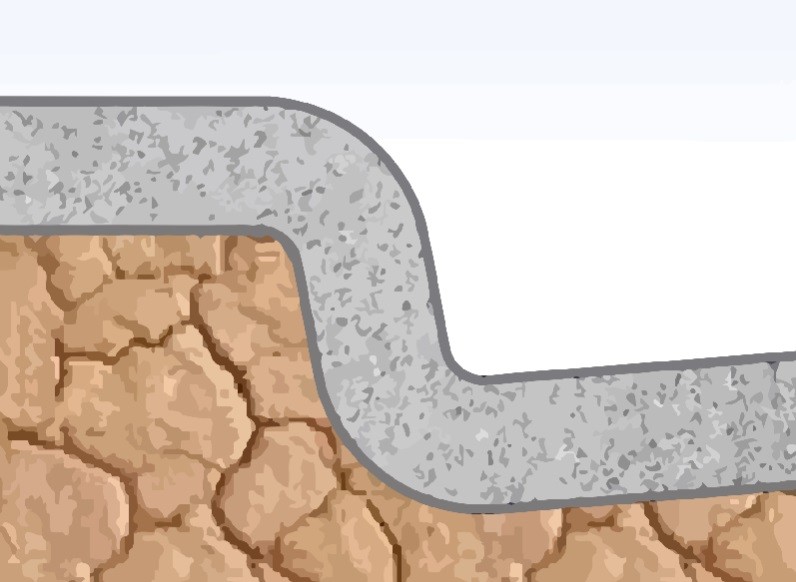
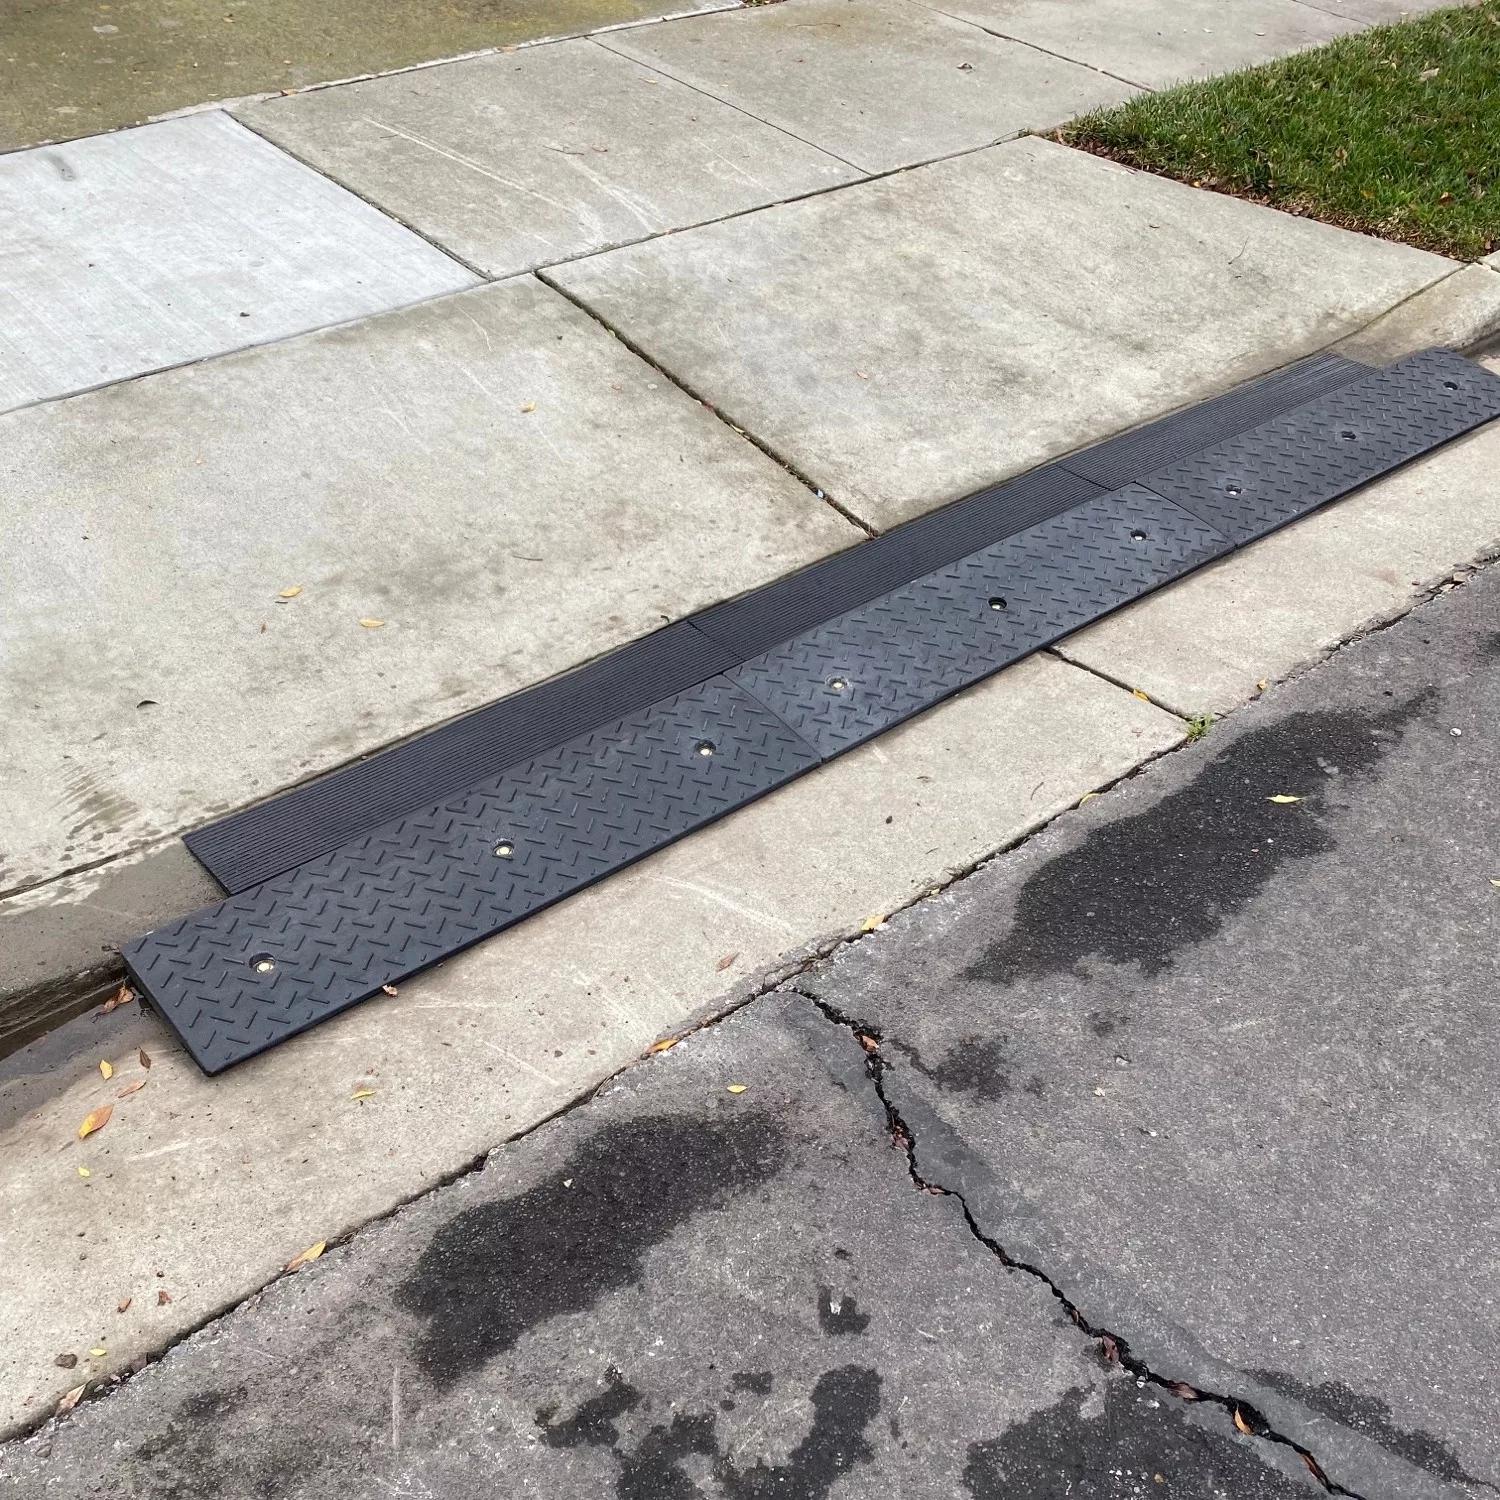
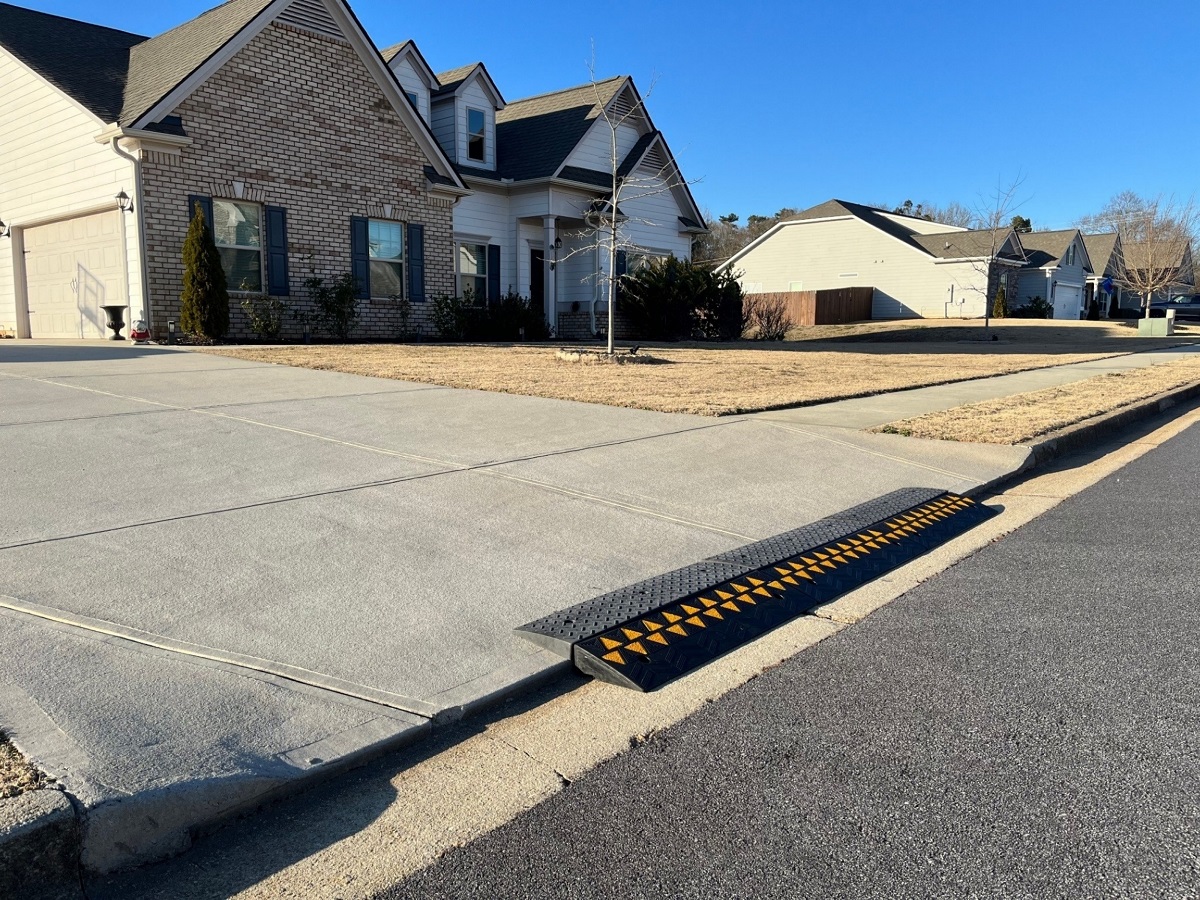
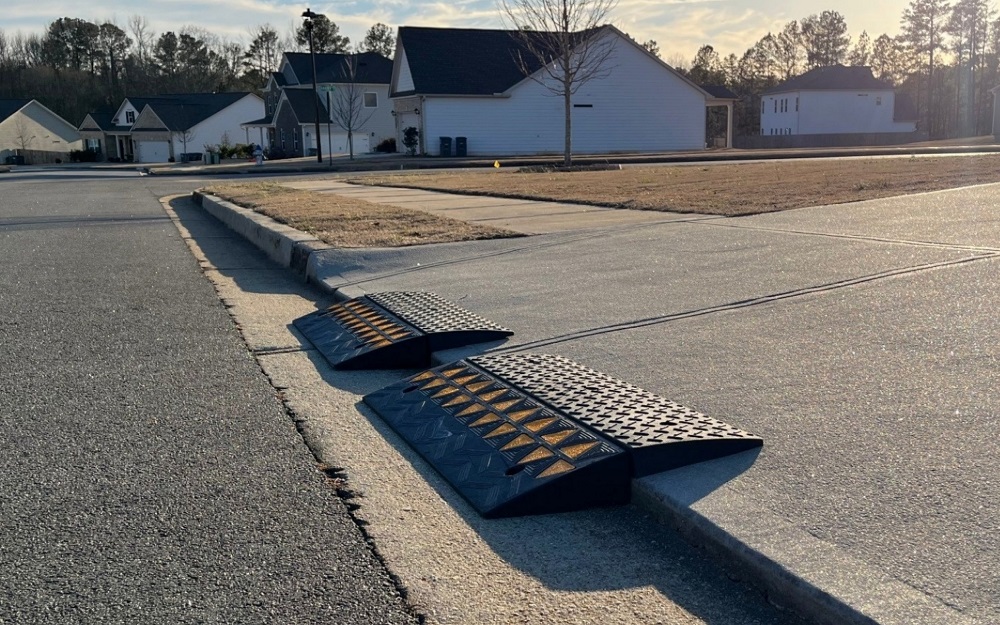
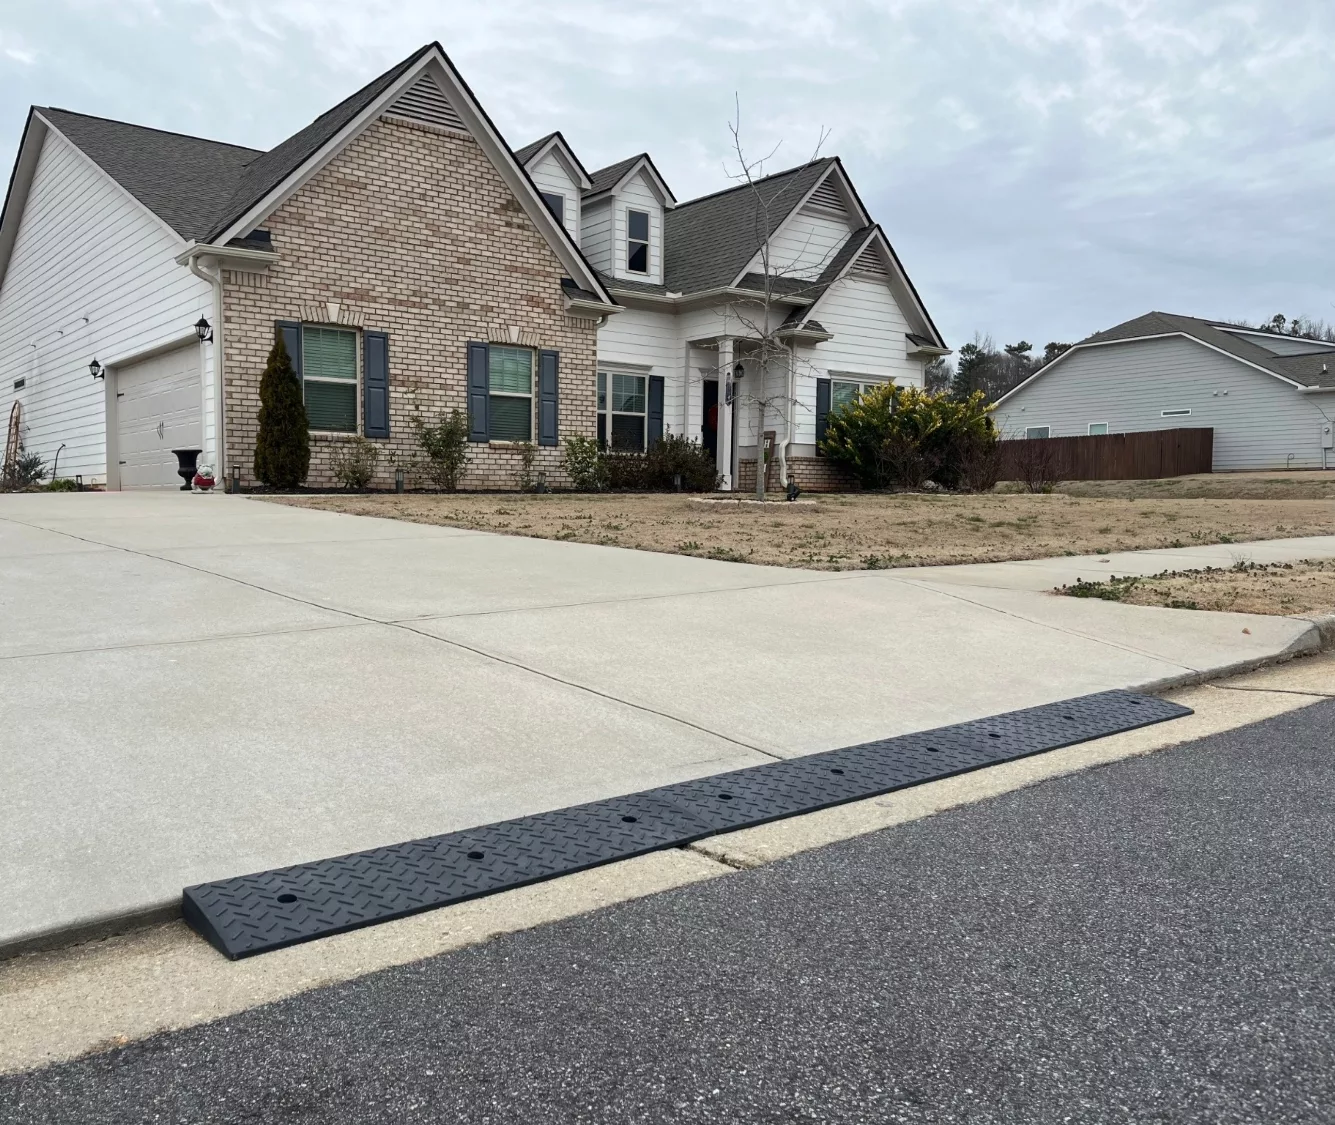
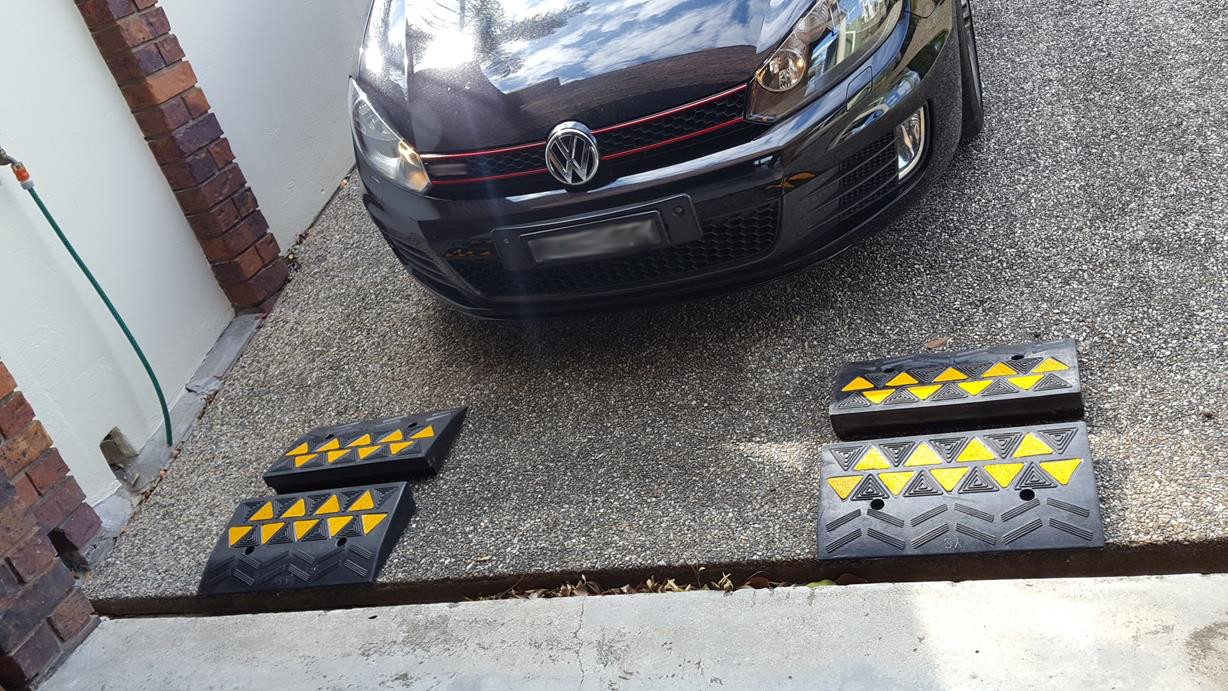
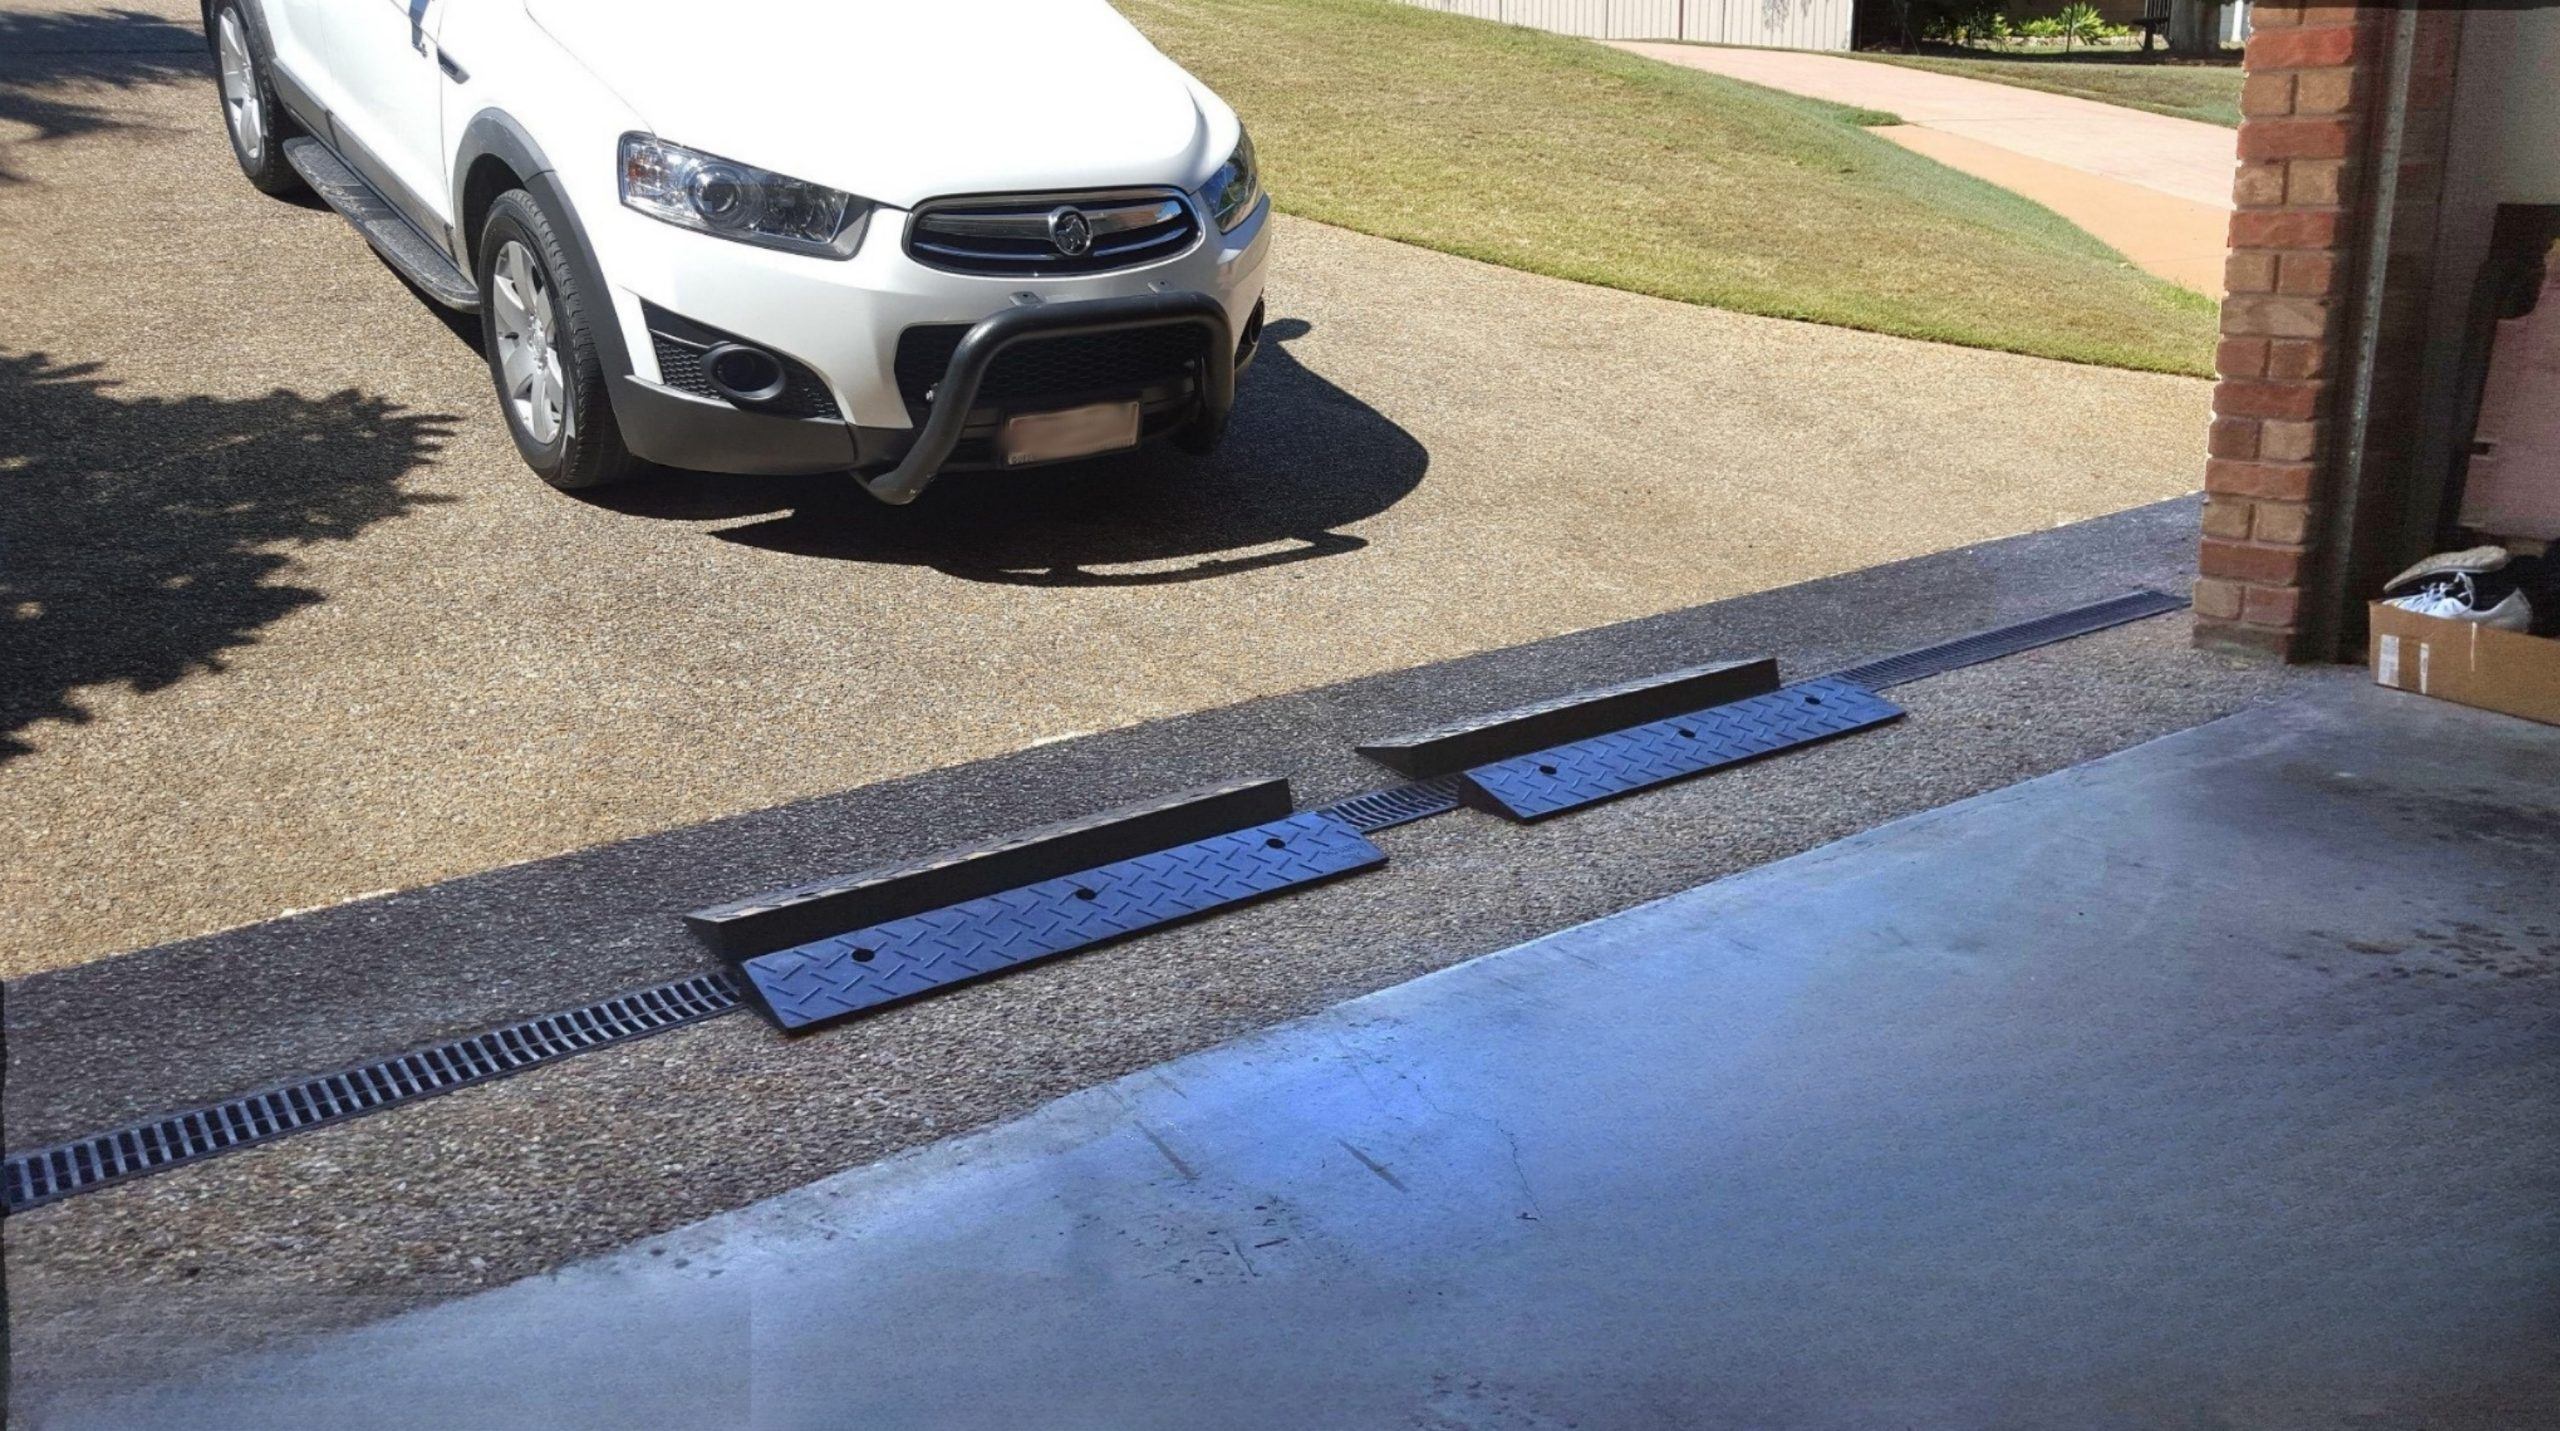
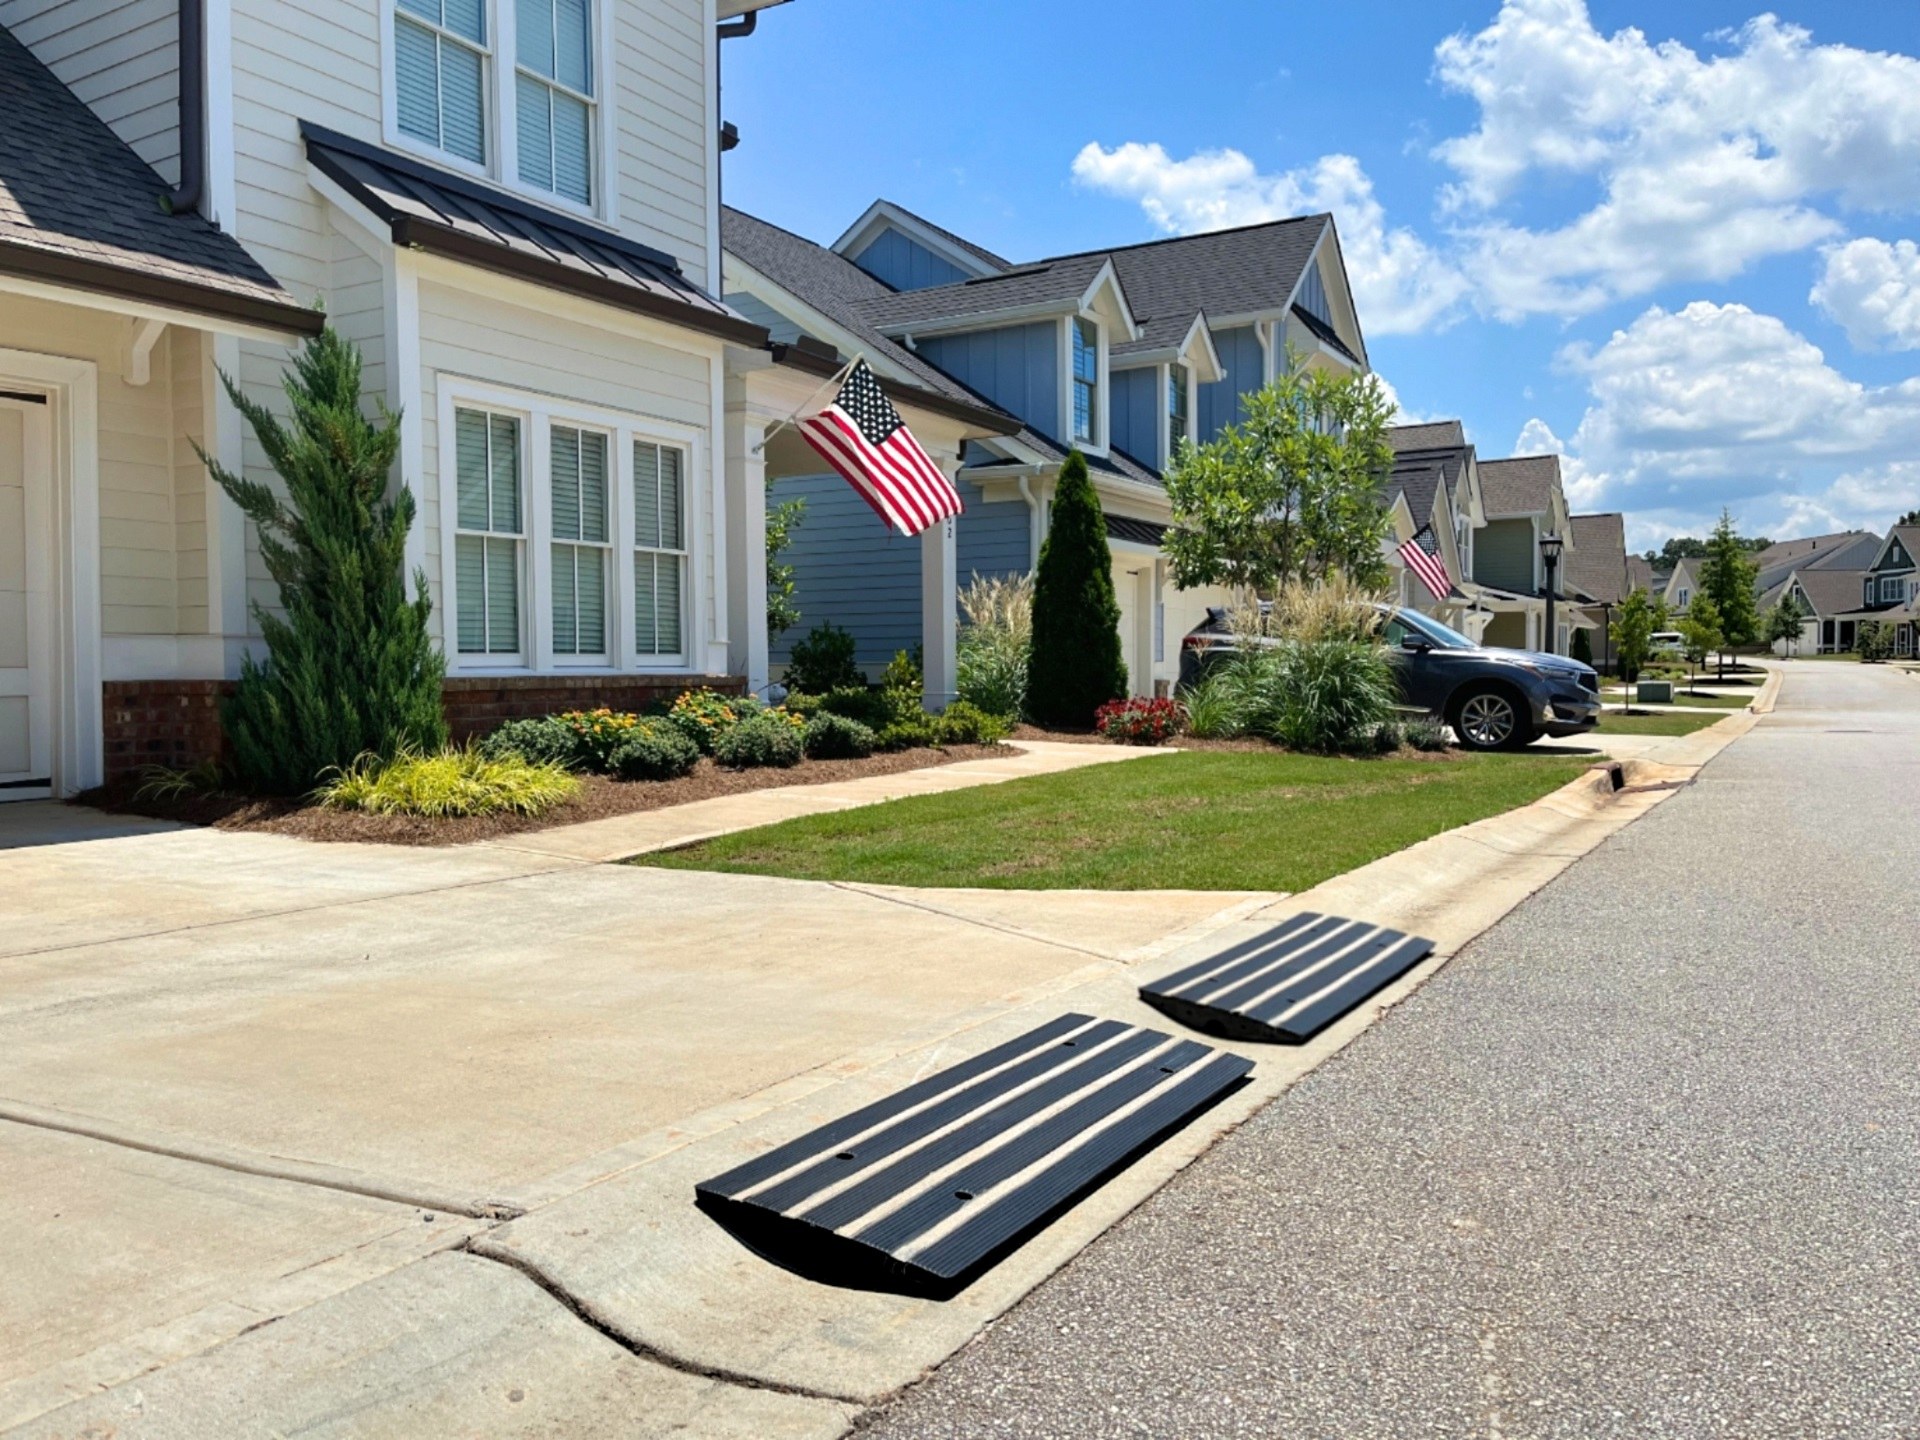
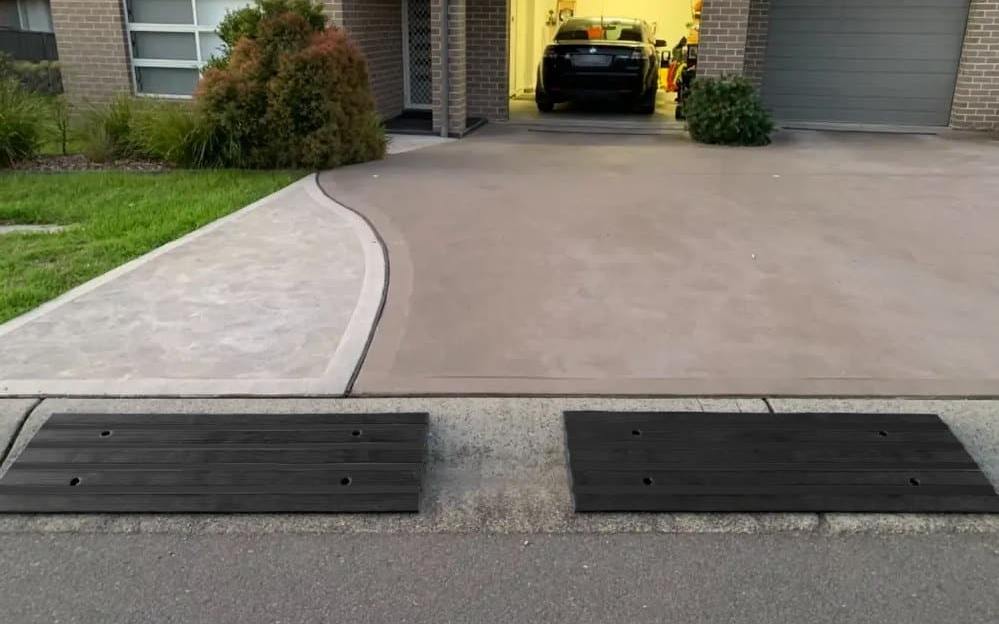
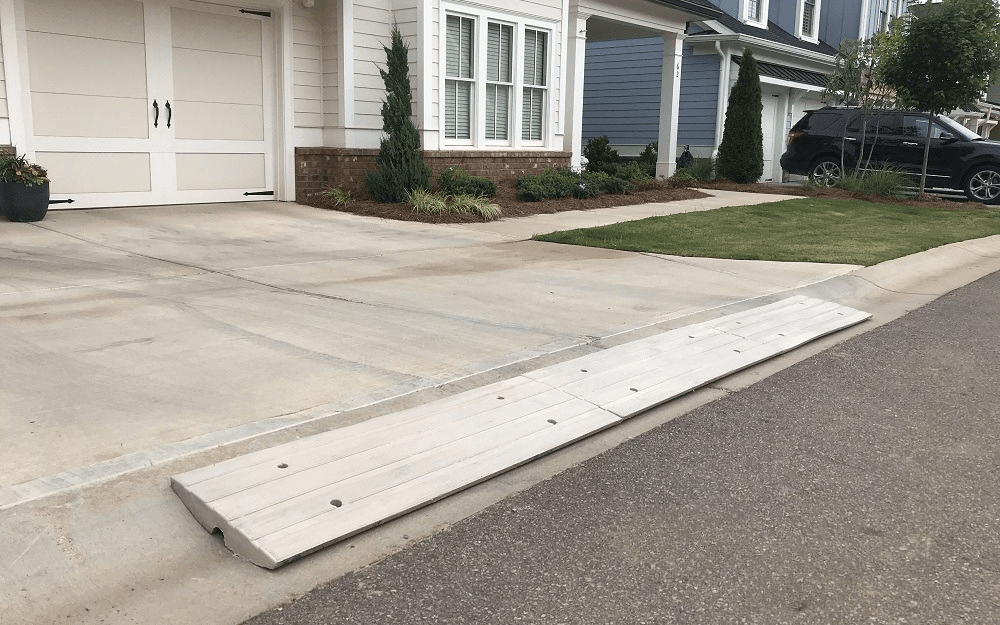
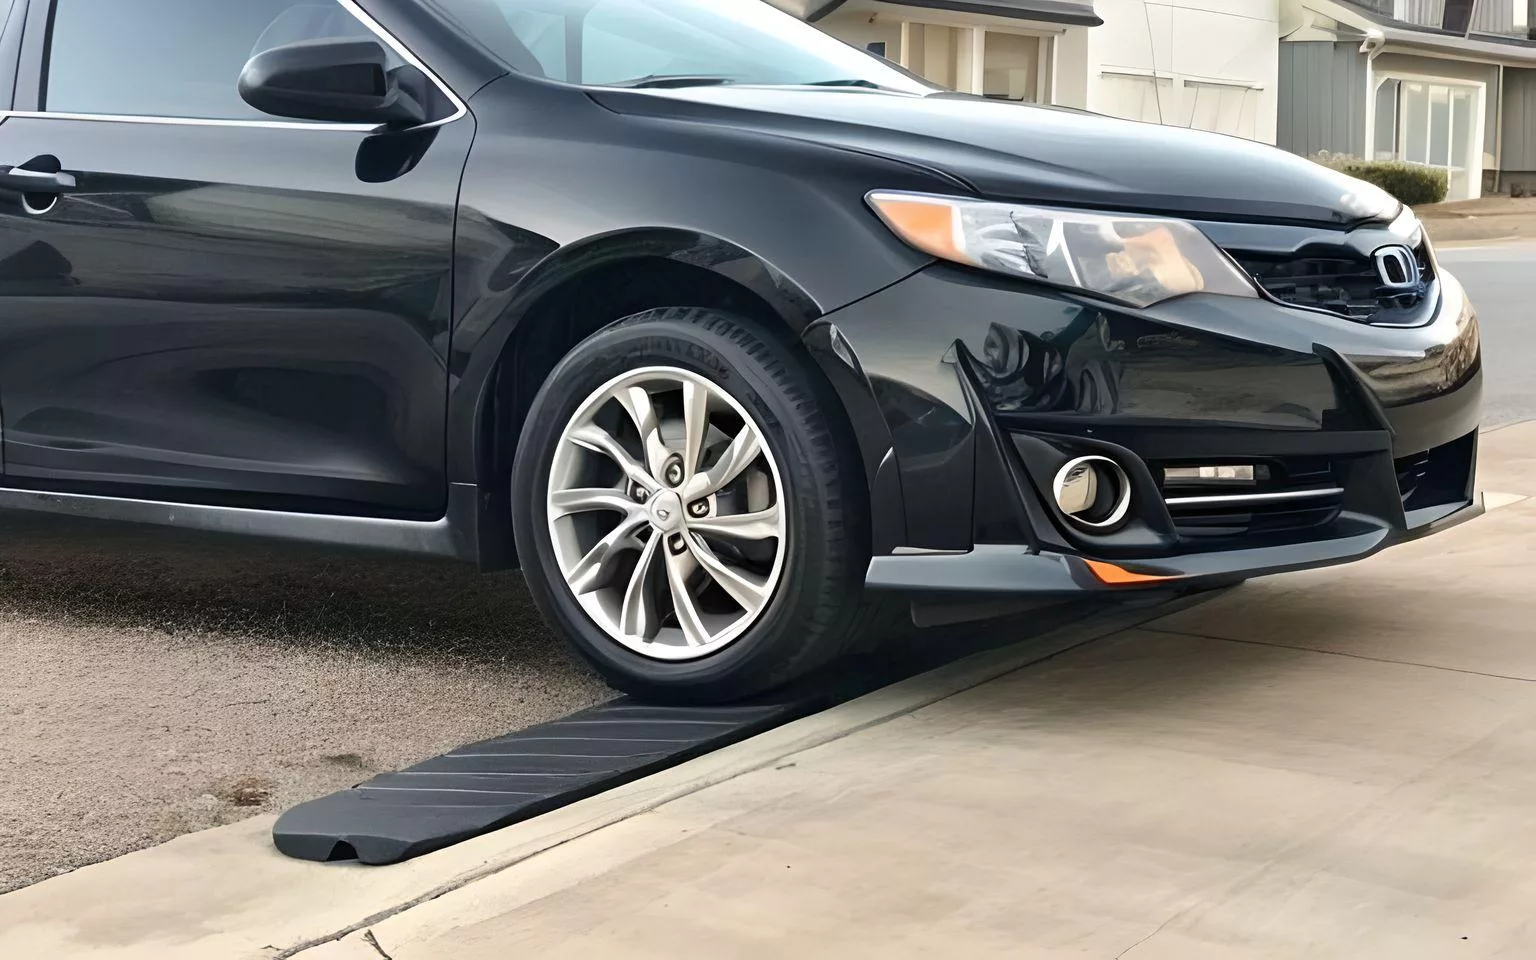
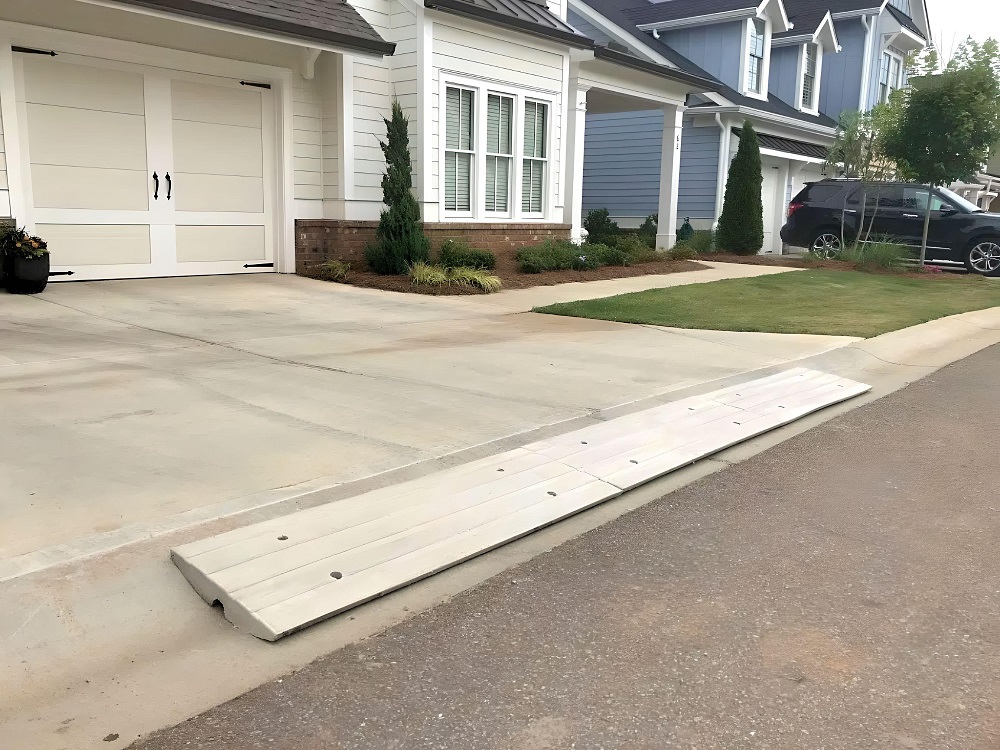
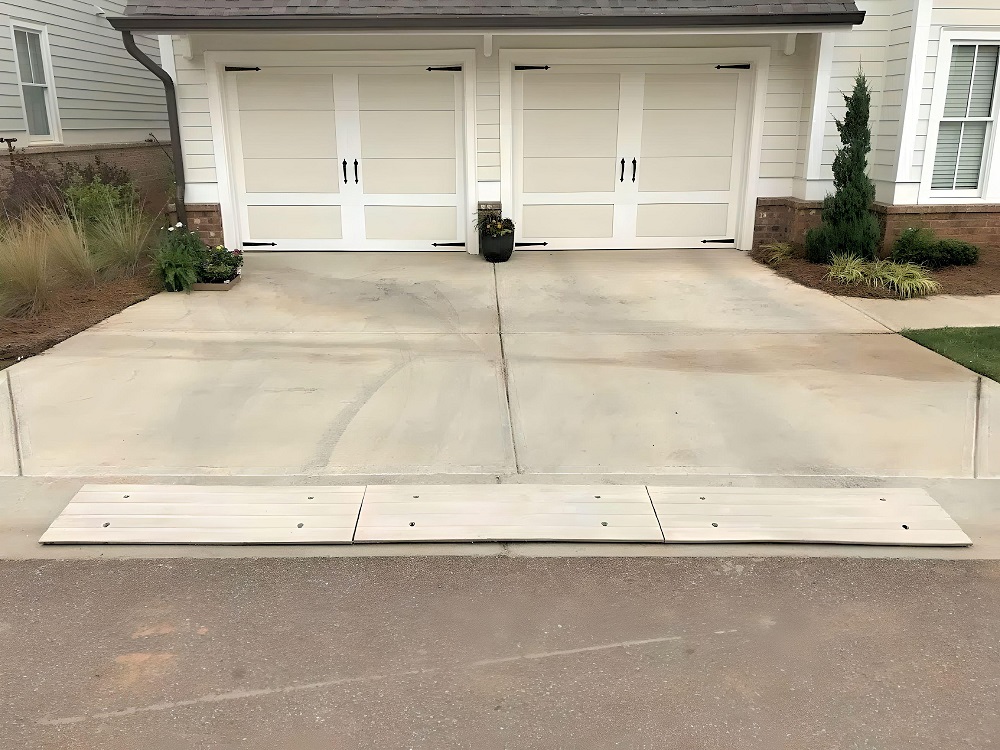
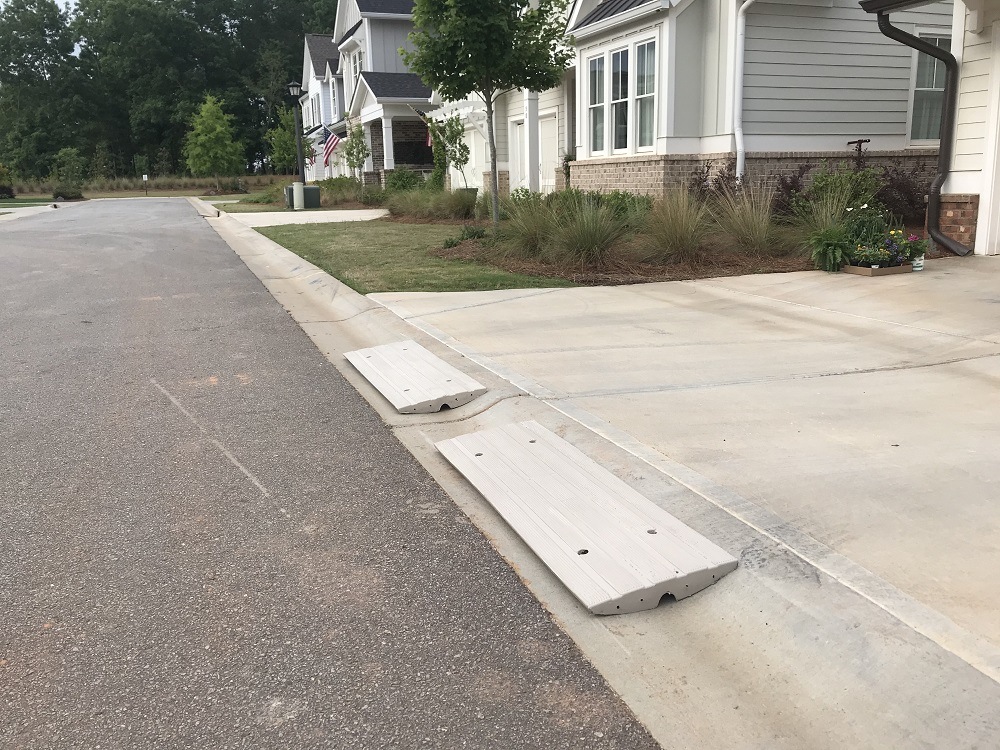
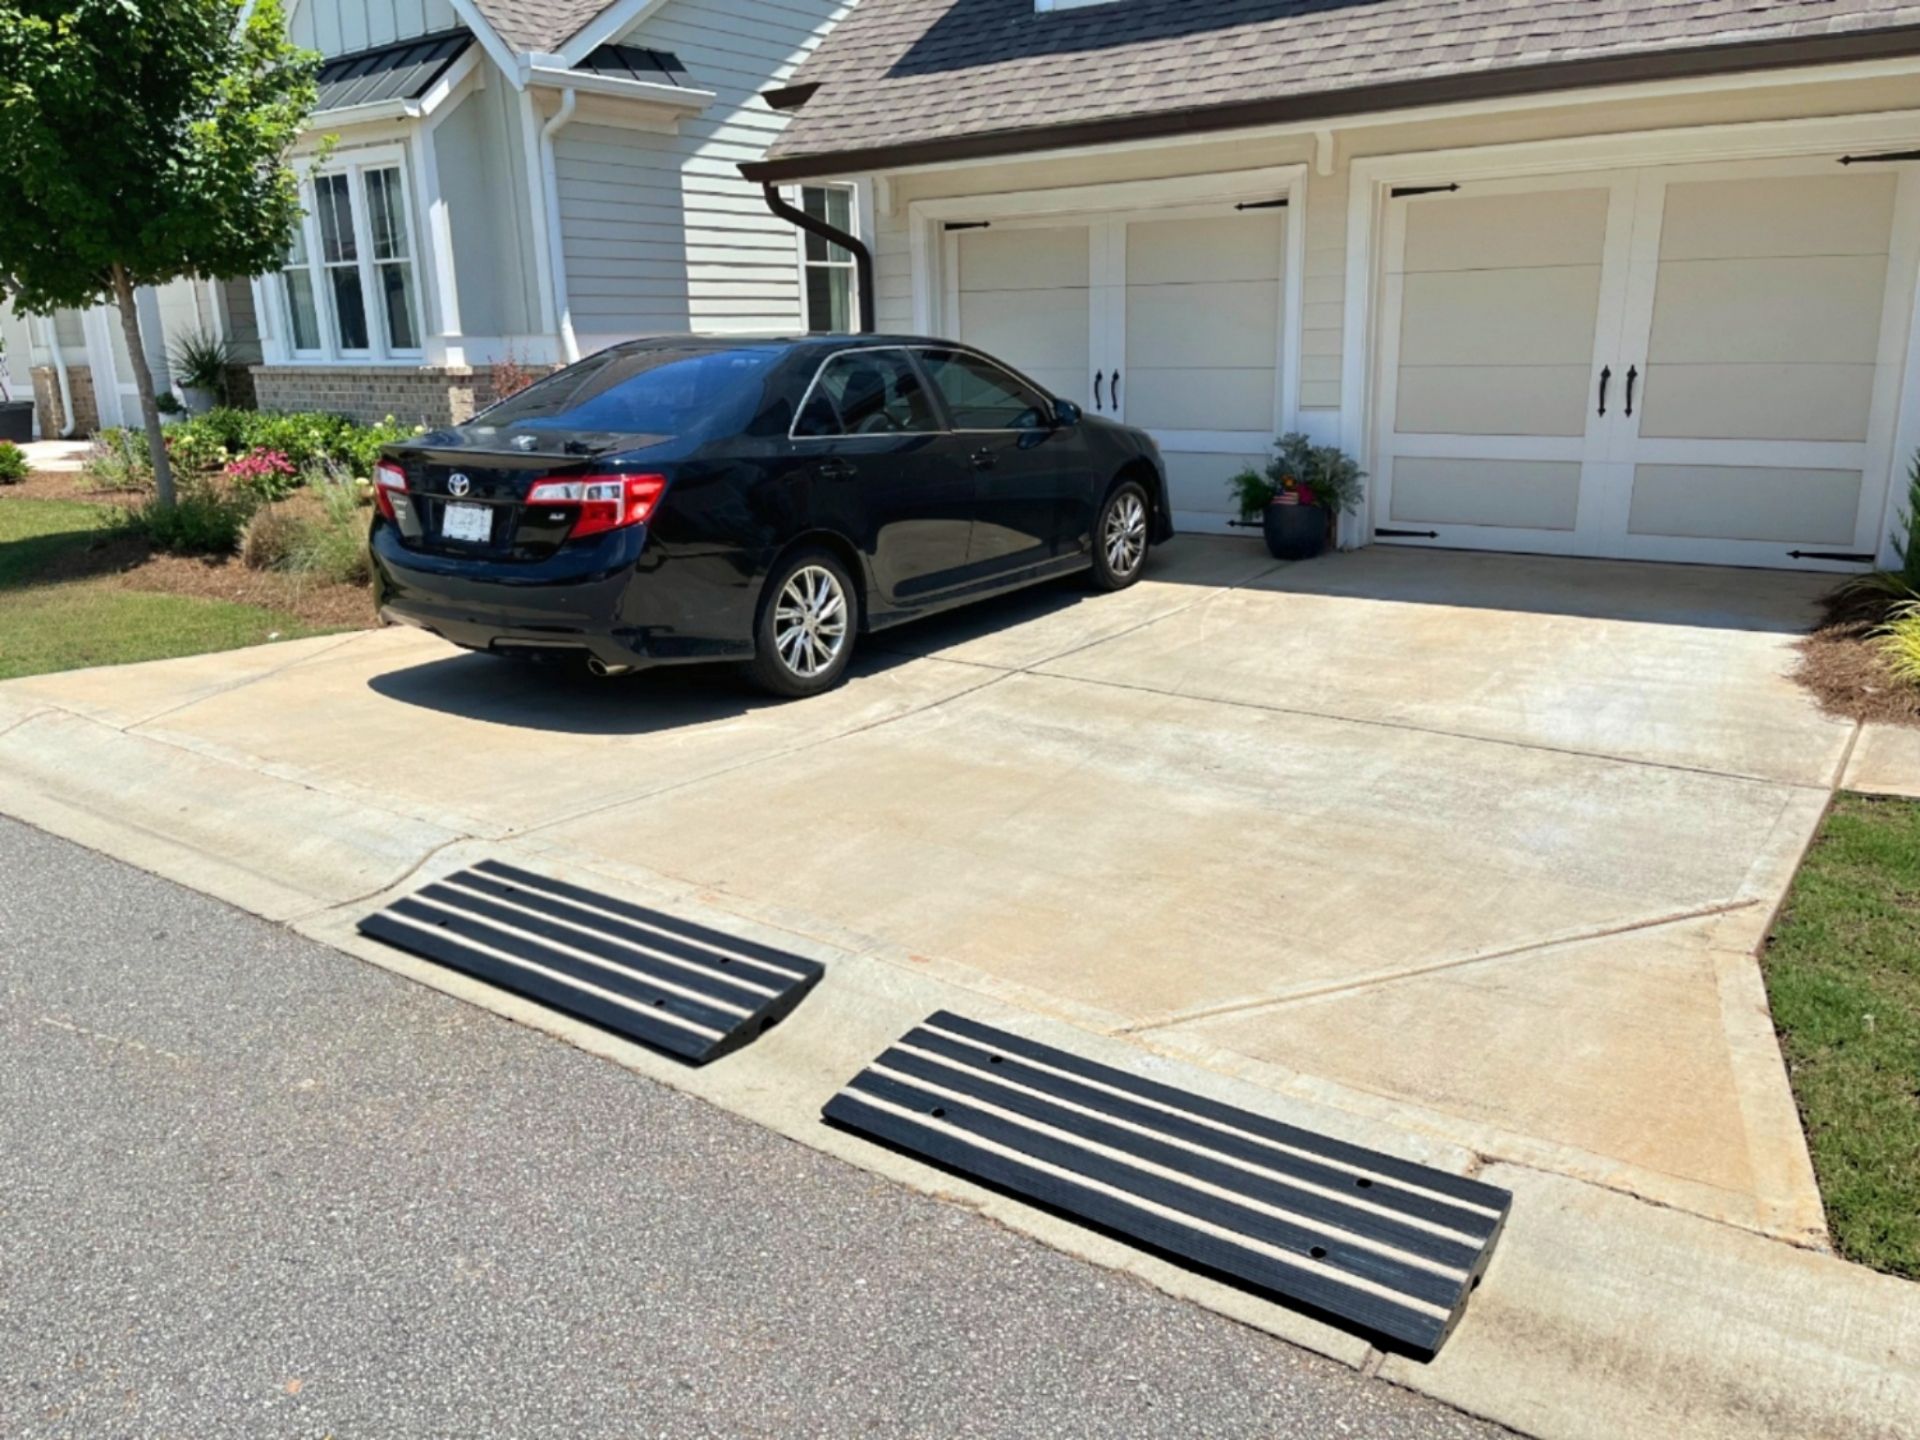
Example Use Case for the QuickLift Ramp Kit
This image illustrates a common scenario where the QuickLift Ramp Kit can be used effectively. If your driveway has an abrupt descent over a ridge, it can cause the bottom of your car to scrape or bottom out. In this example, two of the 2-inch height ramps are used—one for each tire—to lift the tires and provide the necessary clearance.
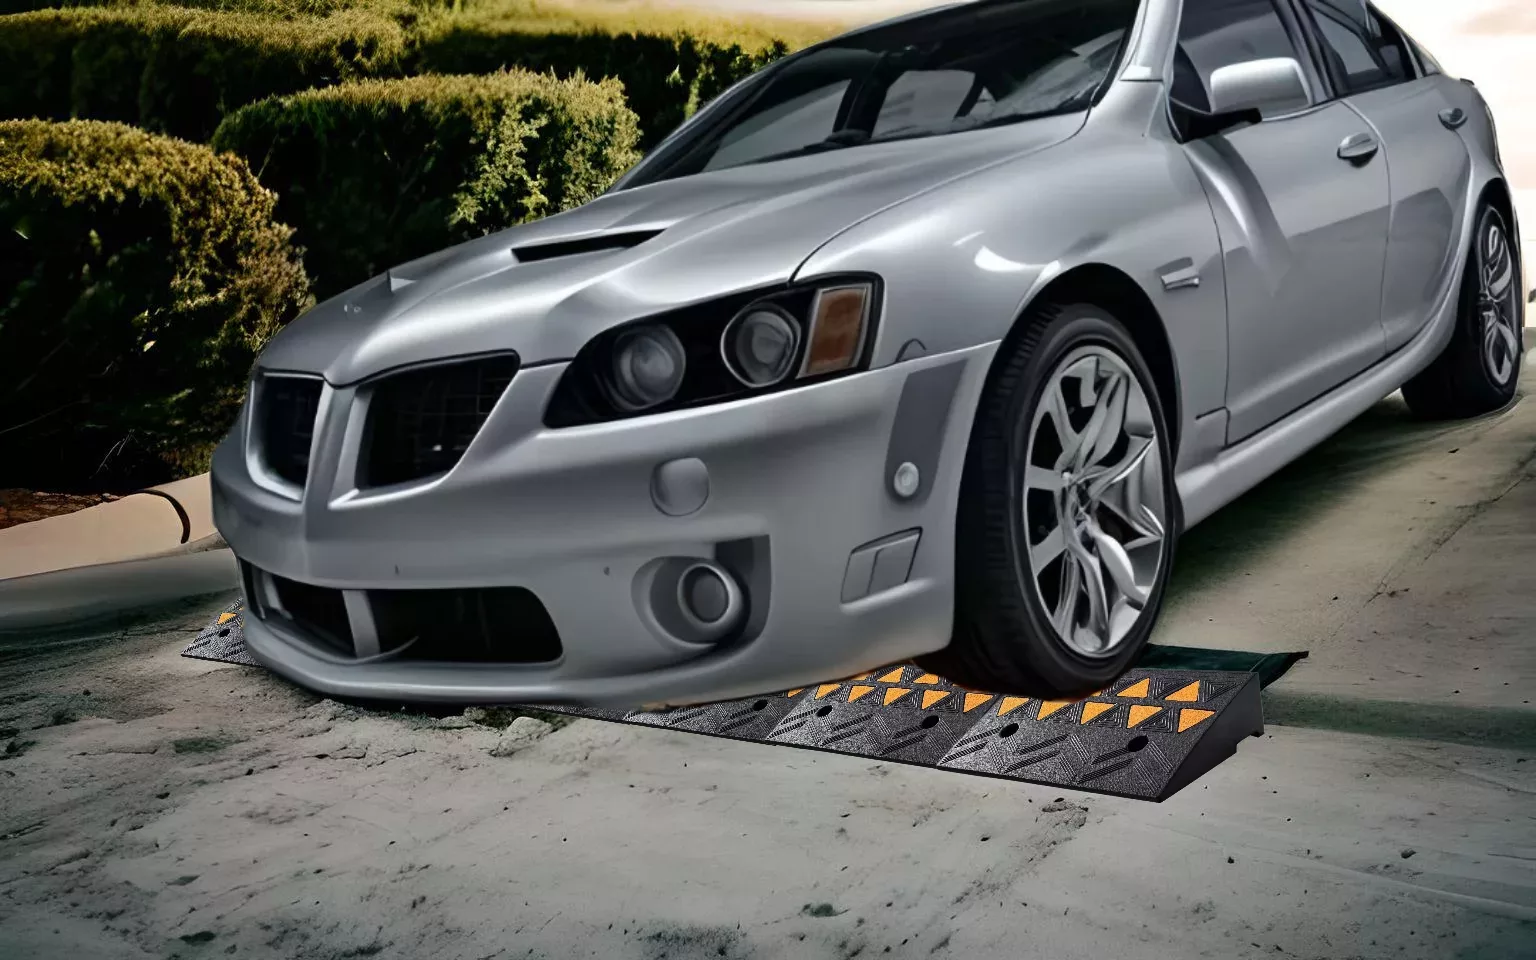
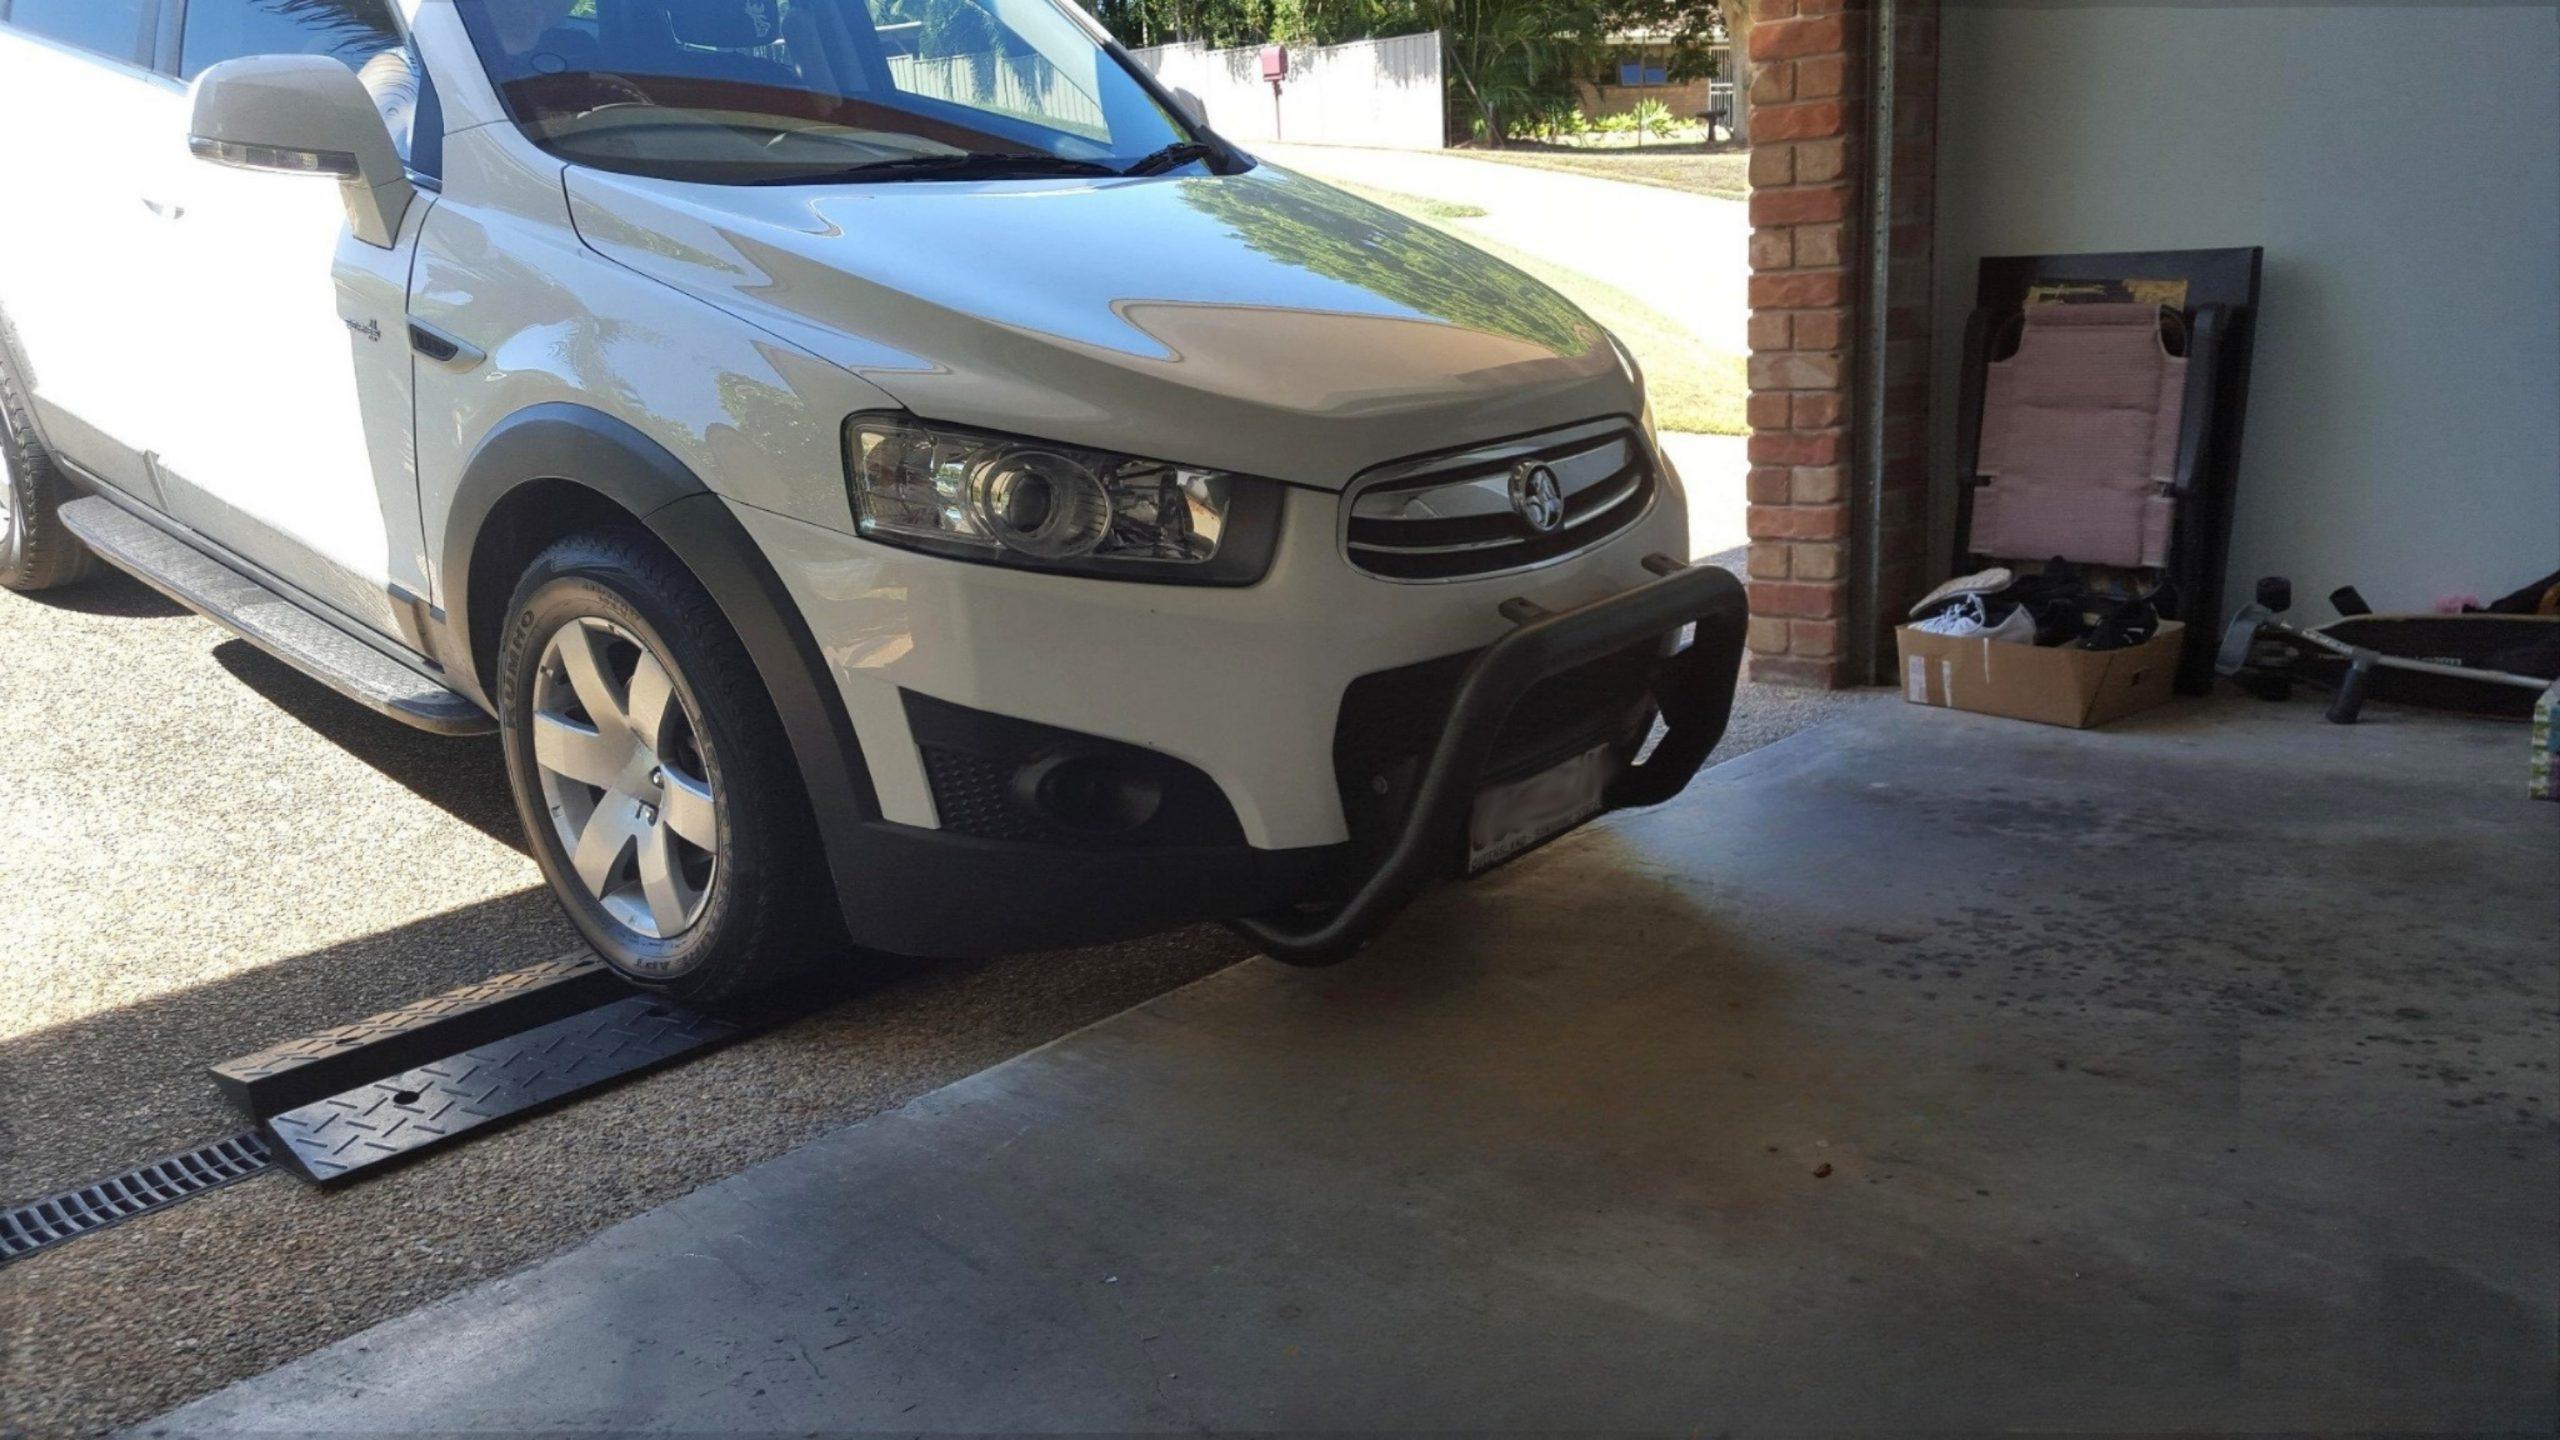
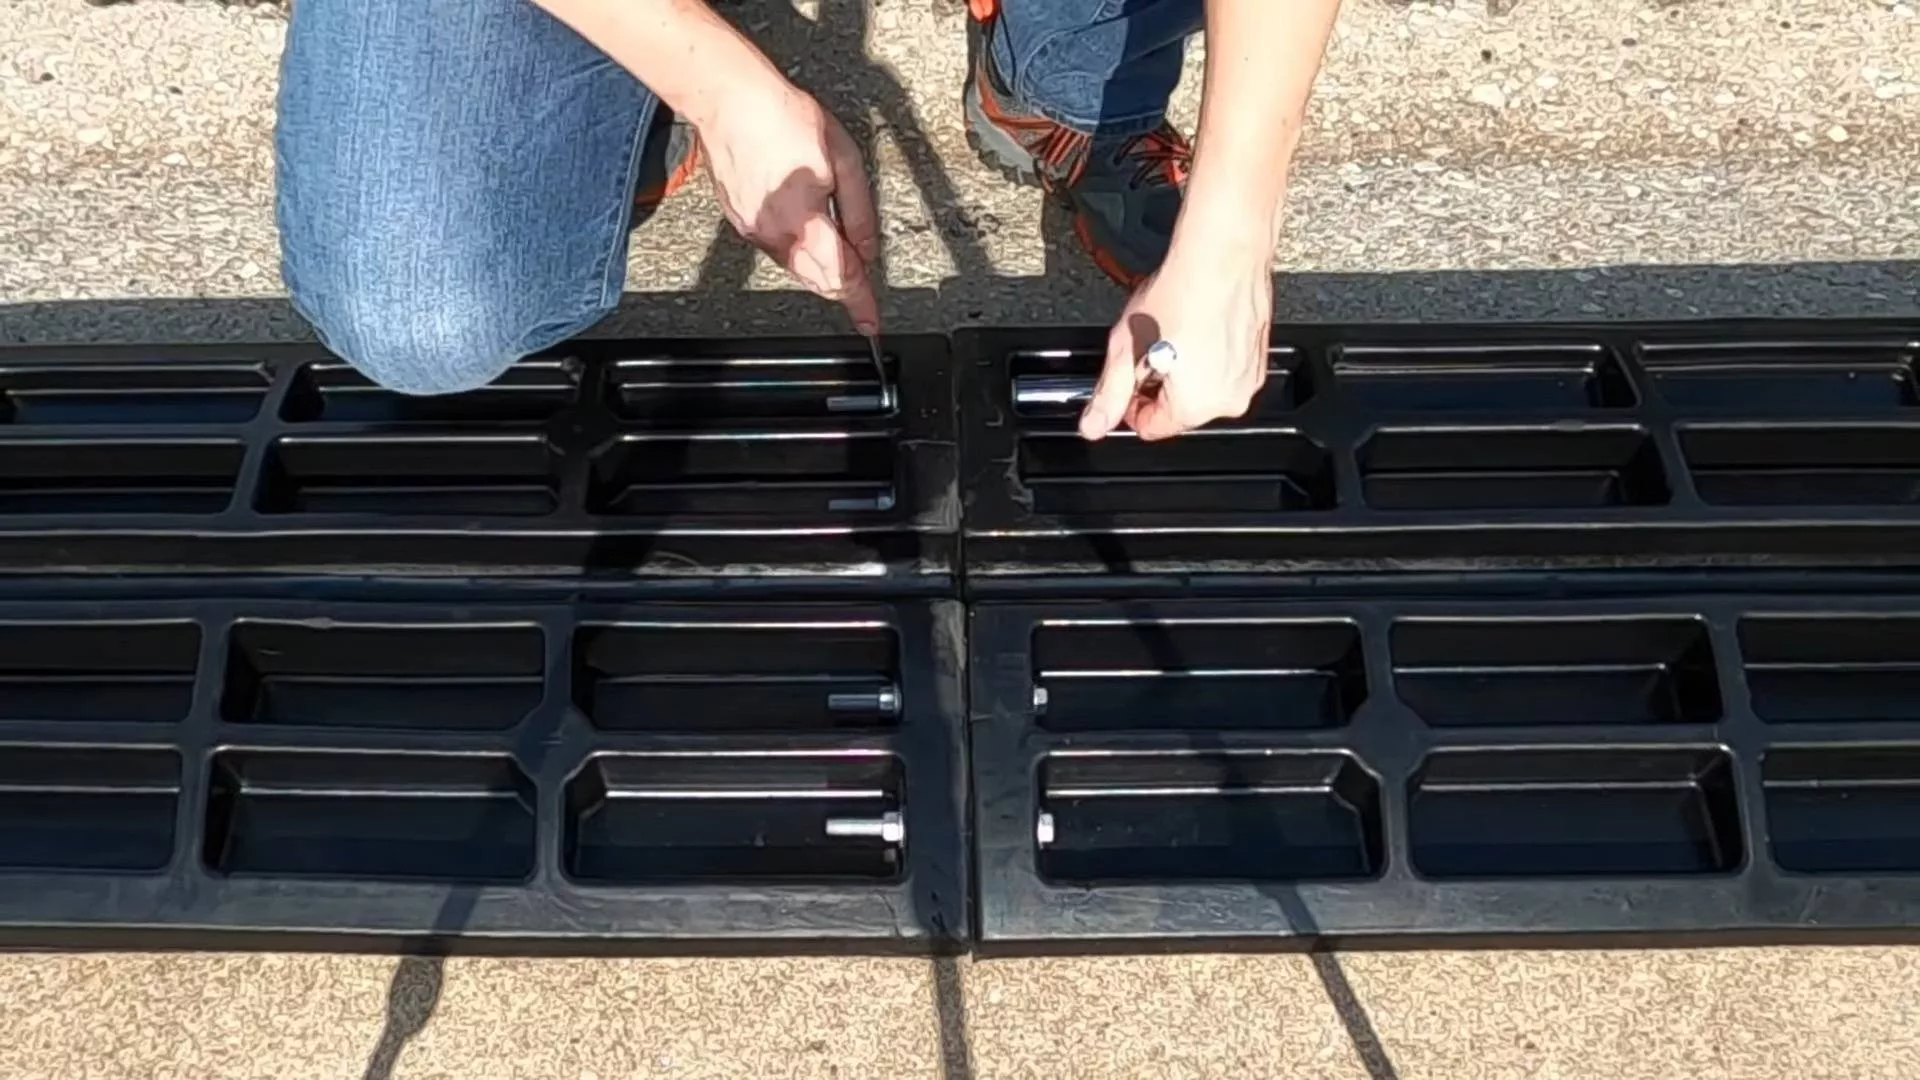
How to Use the Ramps
- Assemble the Ramp:
- Follow the steps shown in the previous diagram to cut and assemble the ramp pieces using construction adhesive or a similar strong adhesive.
- Determine Ramp Placement:
- Drive your car slowly until it begins to scrape.
- Mark the spot where the front tires are positioned at this point.
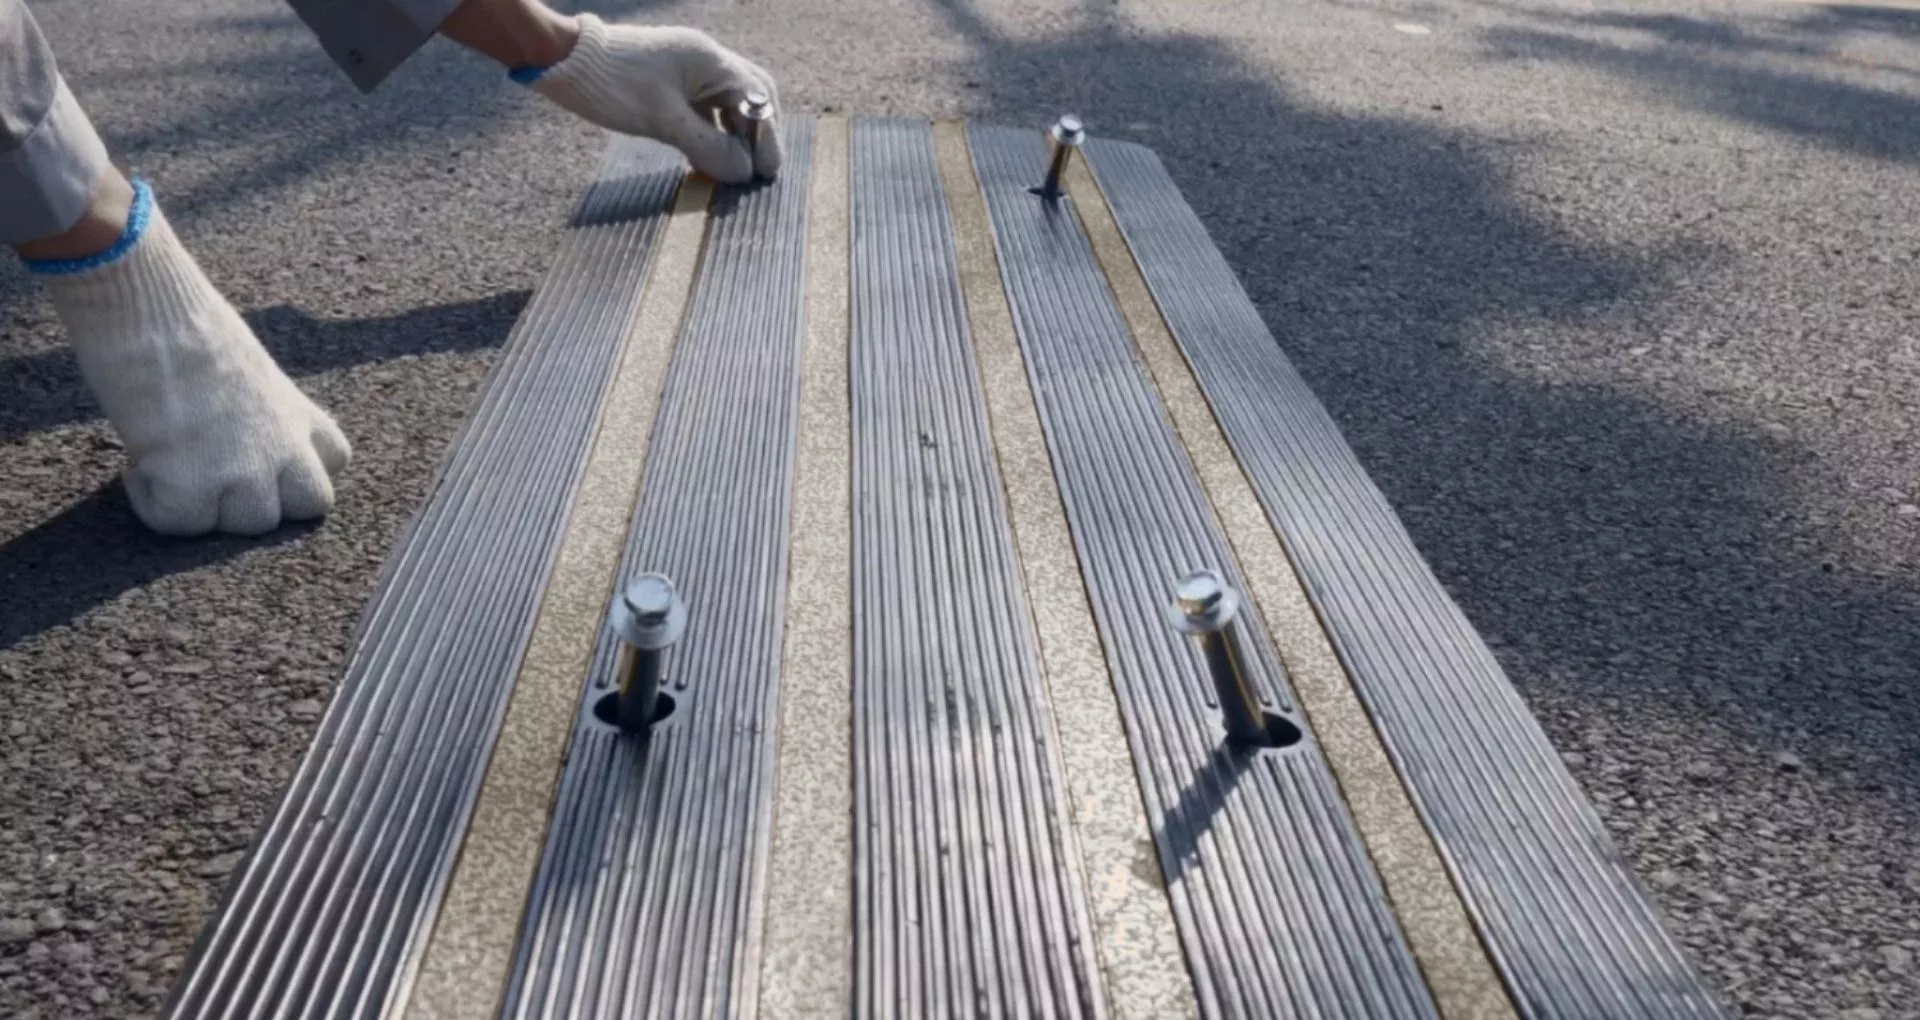
- Install the Ramps:
- Place the assembled ramps at the marked positions on the driveway.
- Ensure the ramps are securely in place.
- Customize for Your Needs:
- If you need more than 2 inches of clearance, you can stack additional ramp pieces or use pieces of different heights (1″, 2.75″) as needed.
- You can also cut the pieces to fit your specific driveway dimensions, ensuring a perfect fit for your situation.
By following these steps, you can effectively prevent your car from scraping or bottoming out on your driveway, ensuring a smoother and safer ride.


")
")

")


")

")
")

")


")


")


")


")
")


")


")