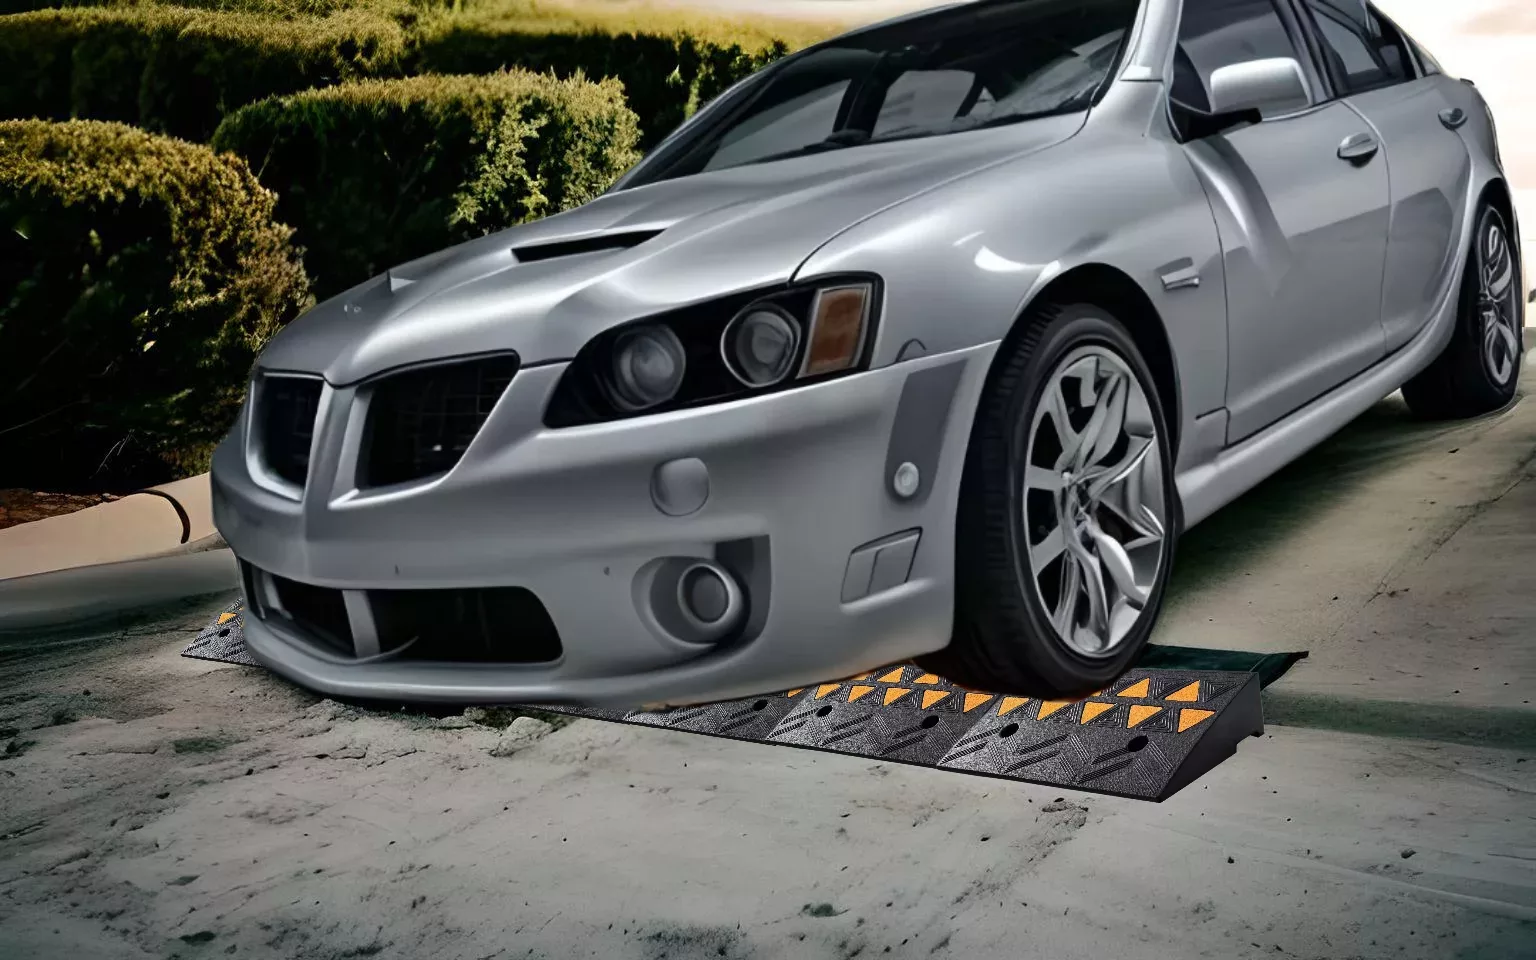
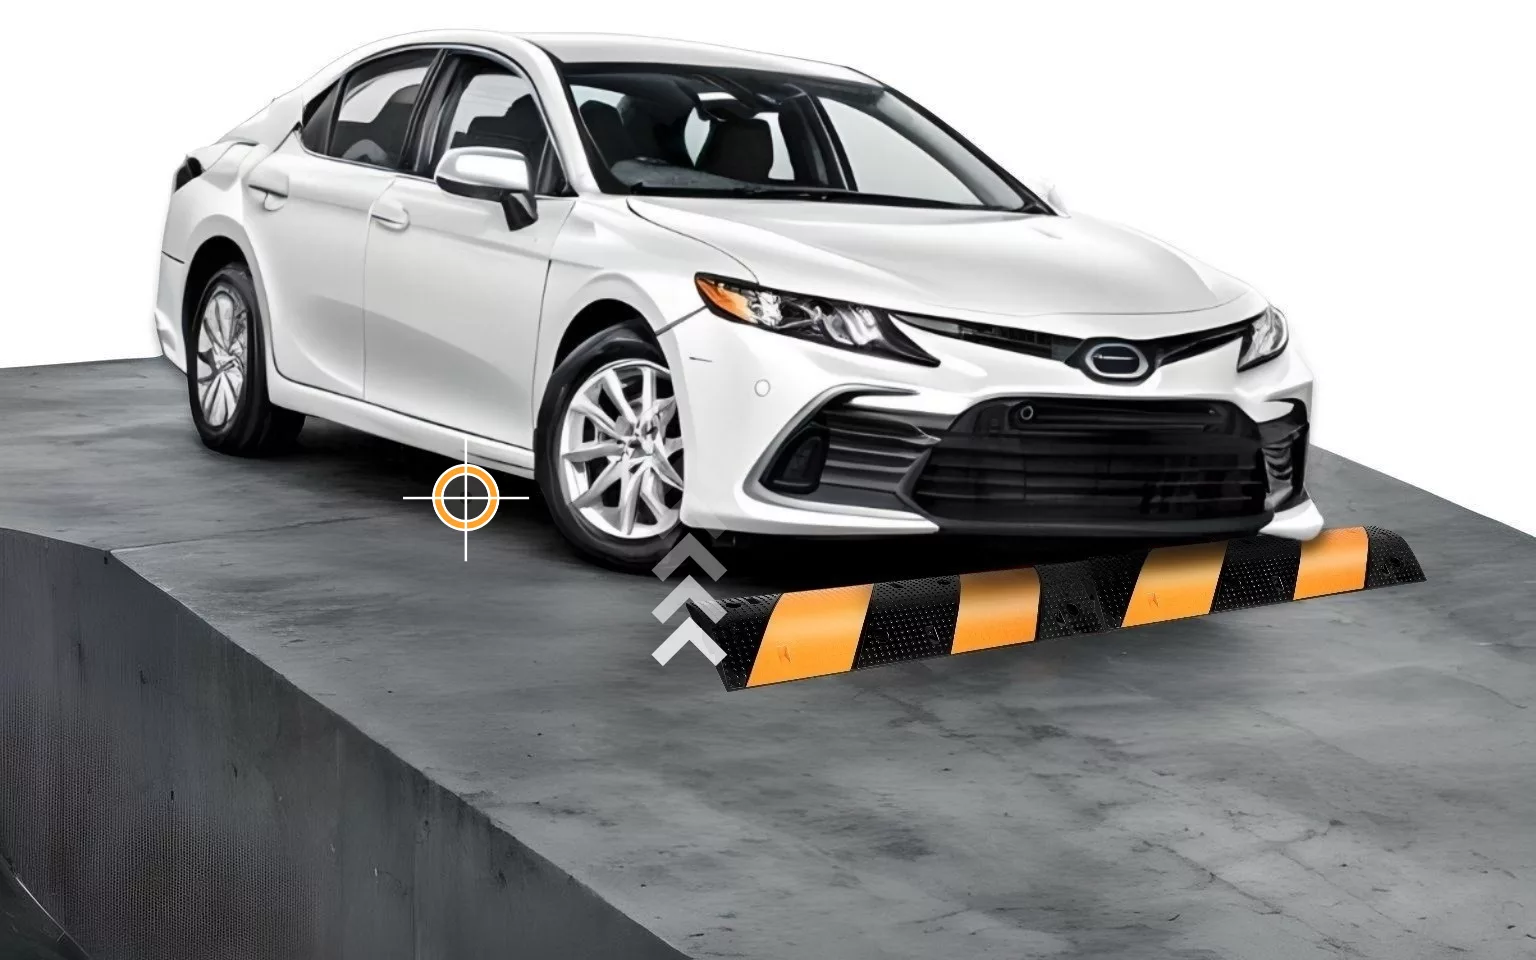
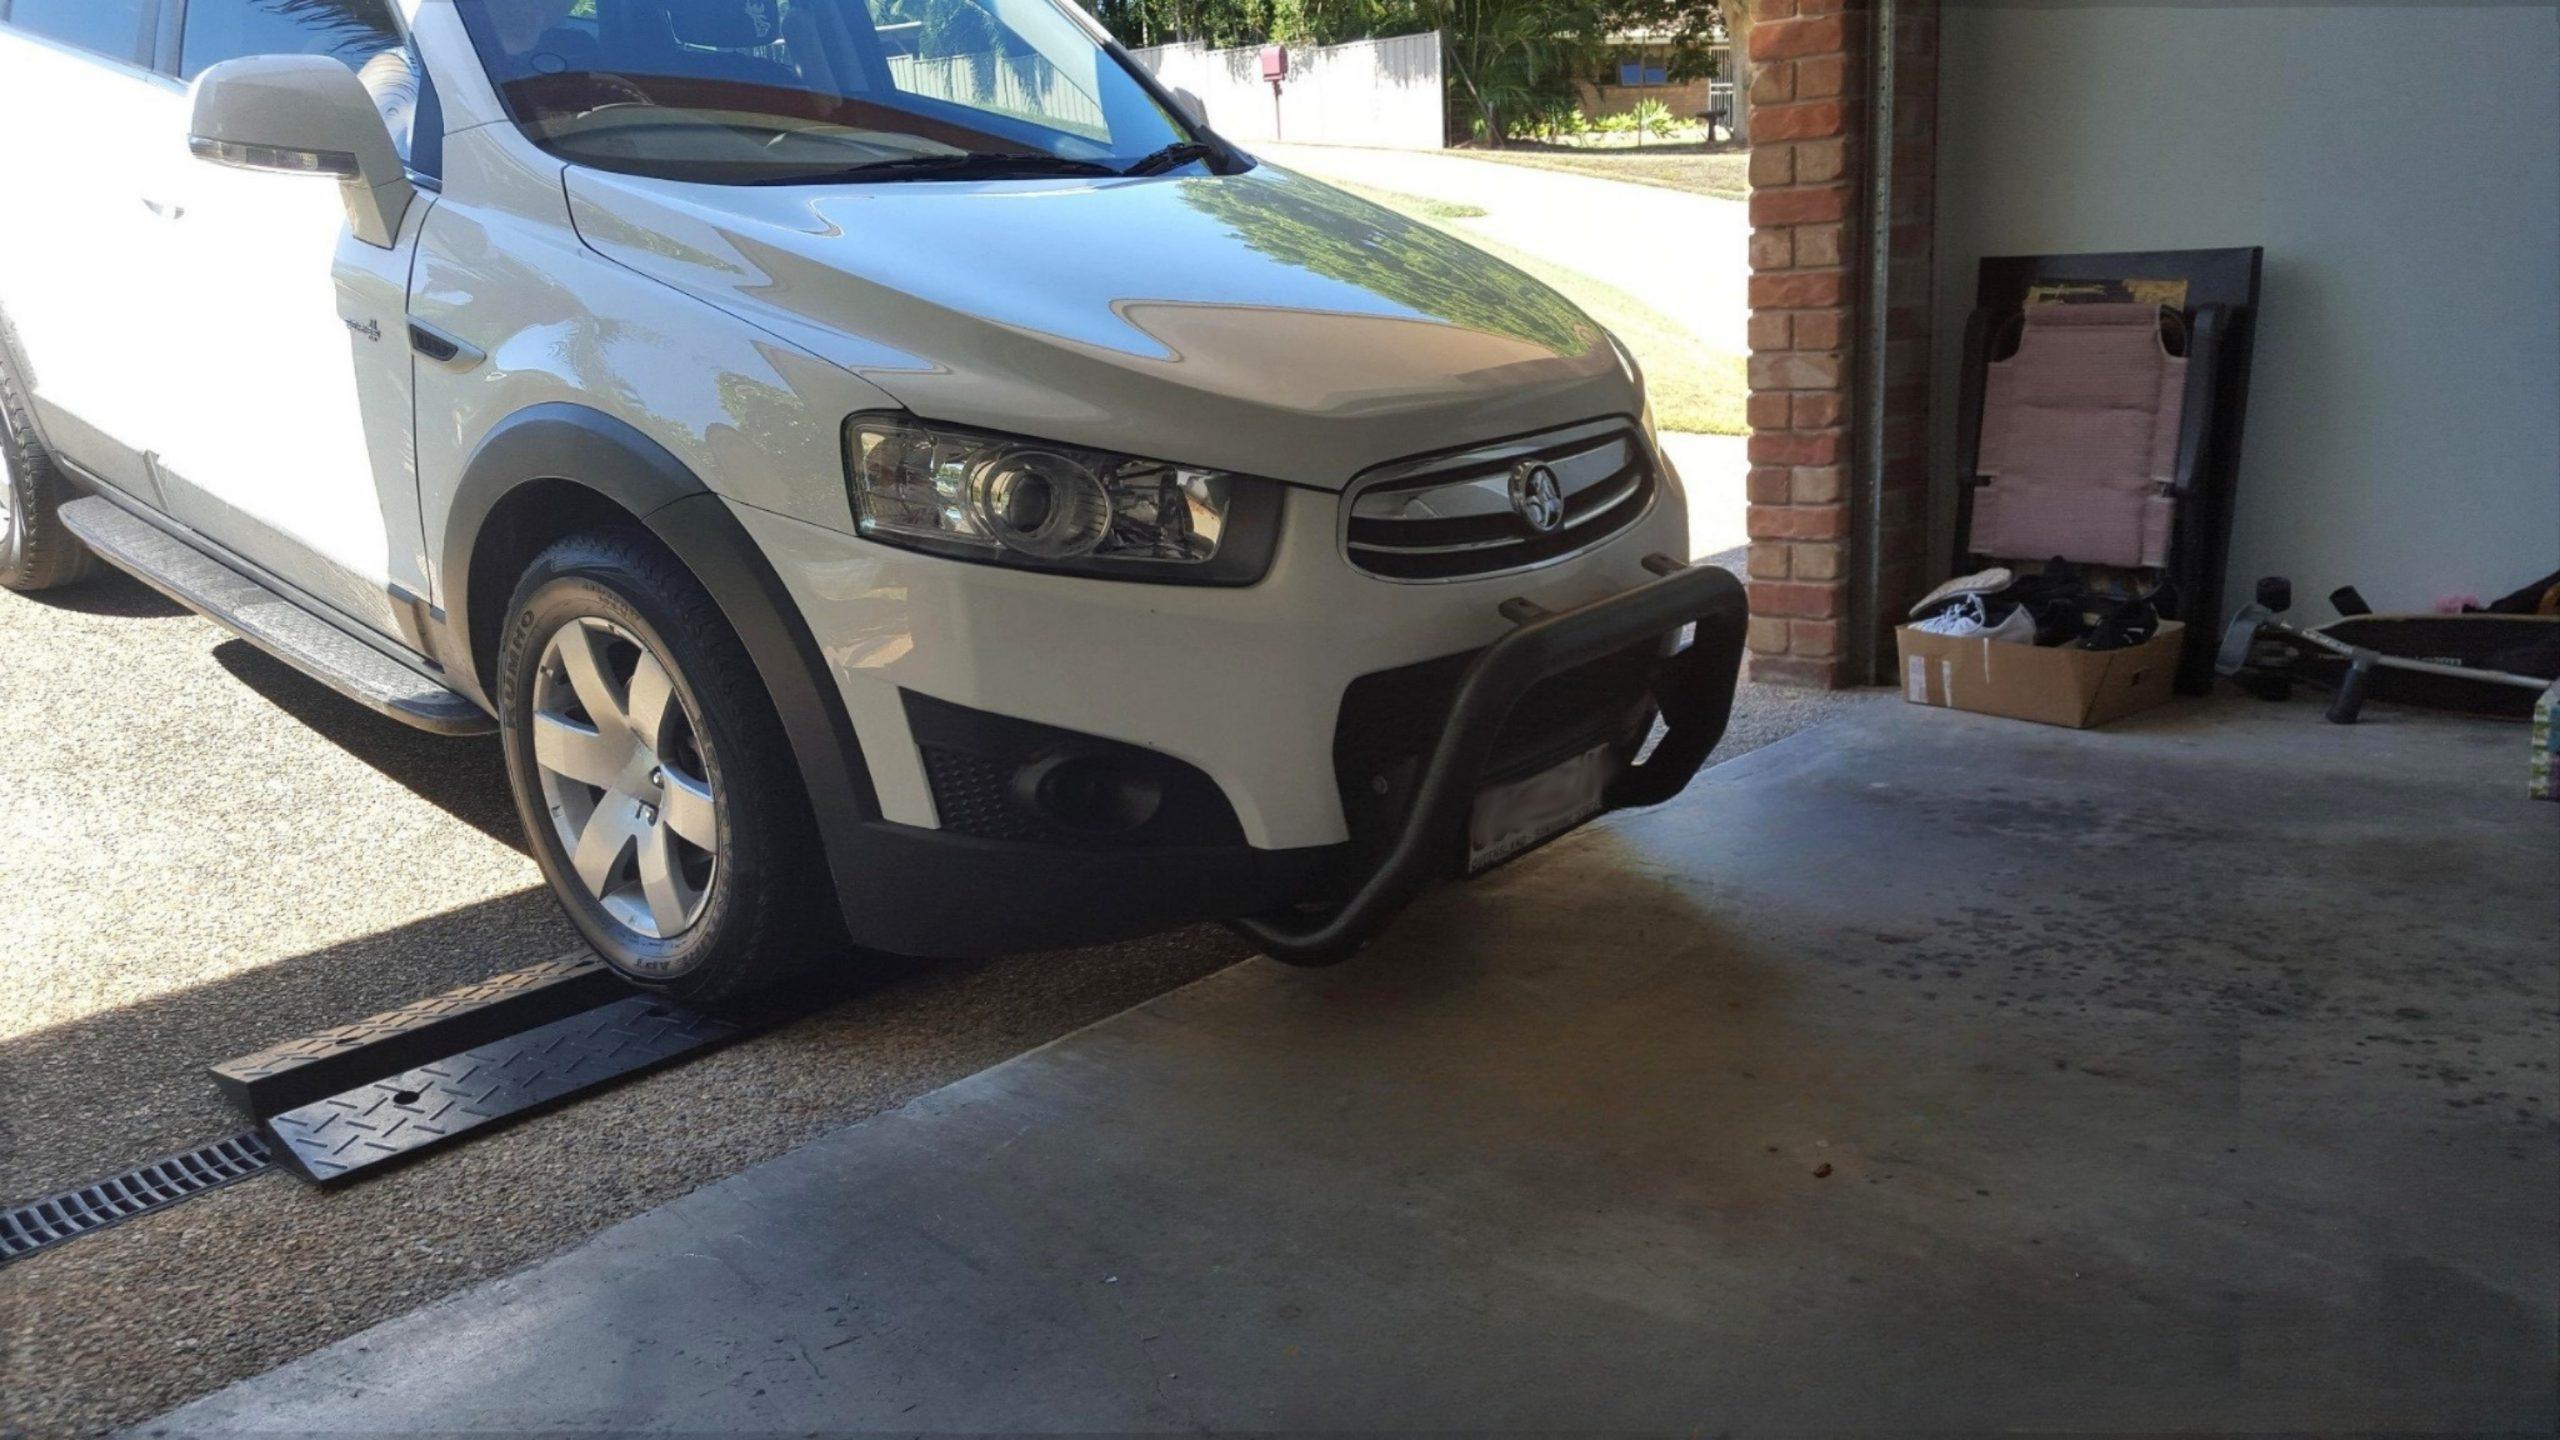
How do these ramps safeguard my vehicle?
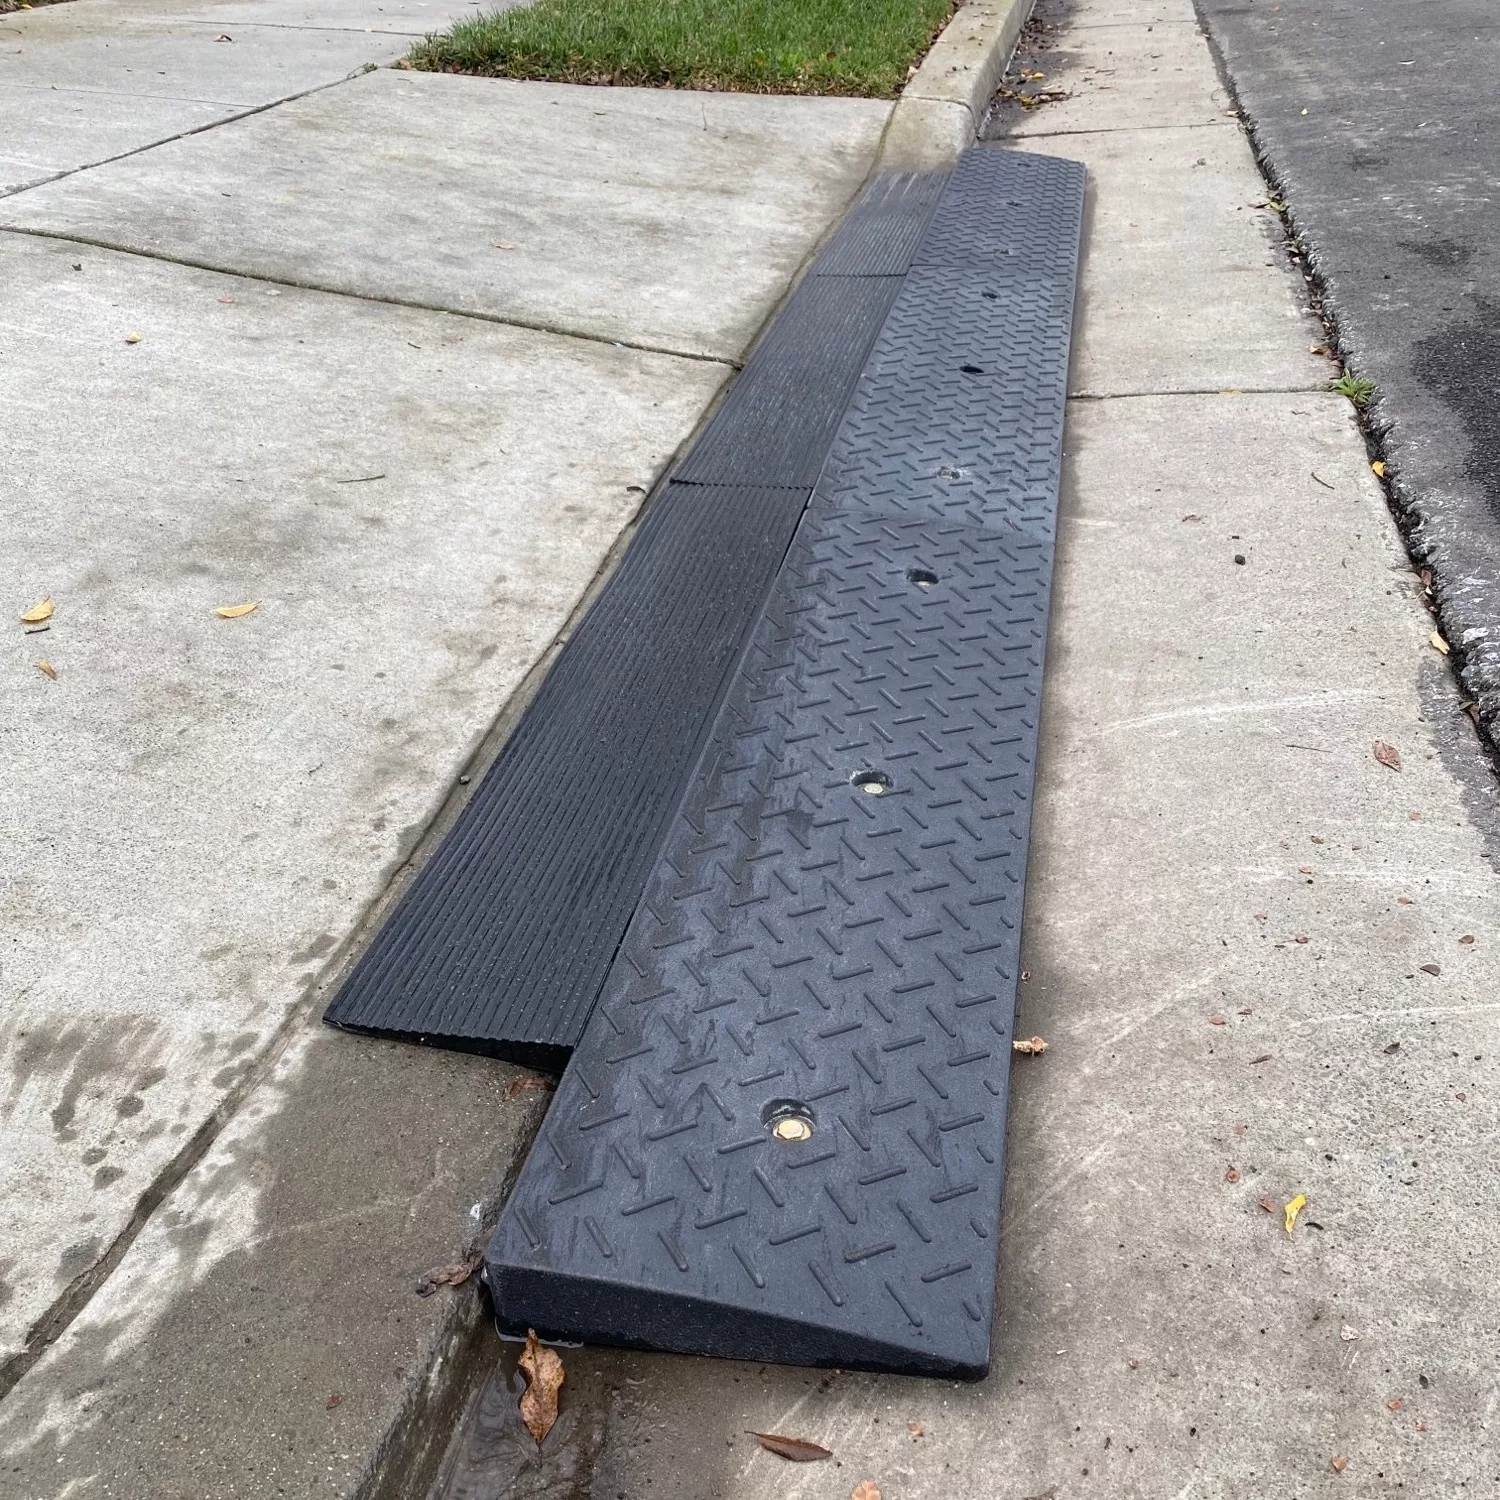
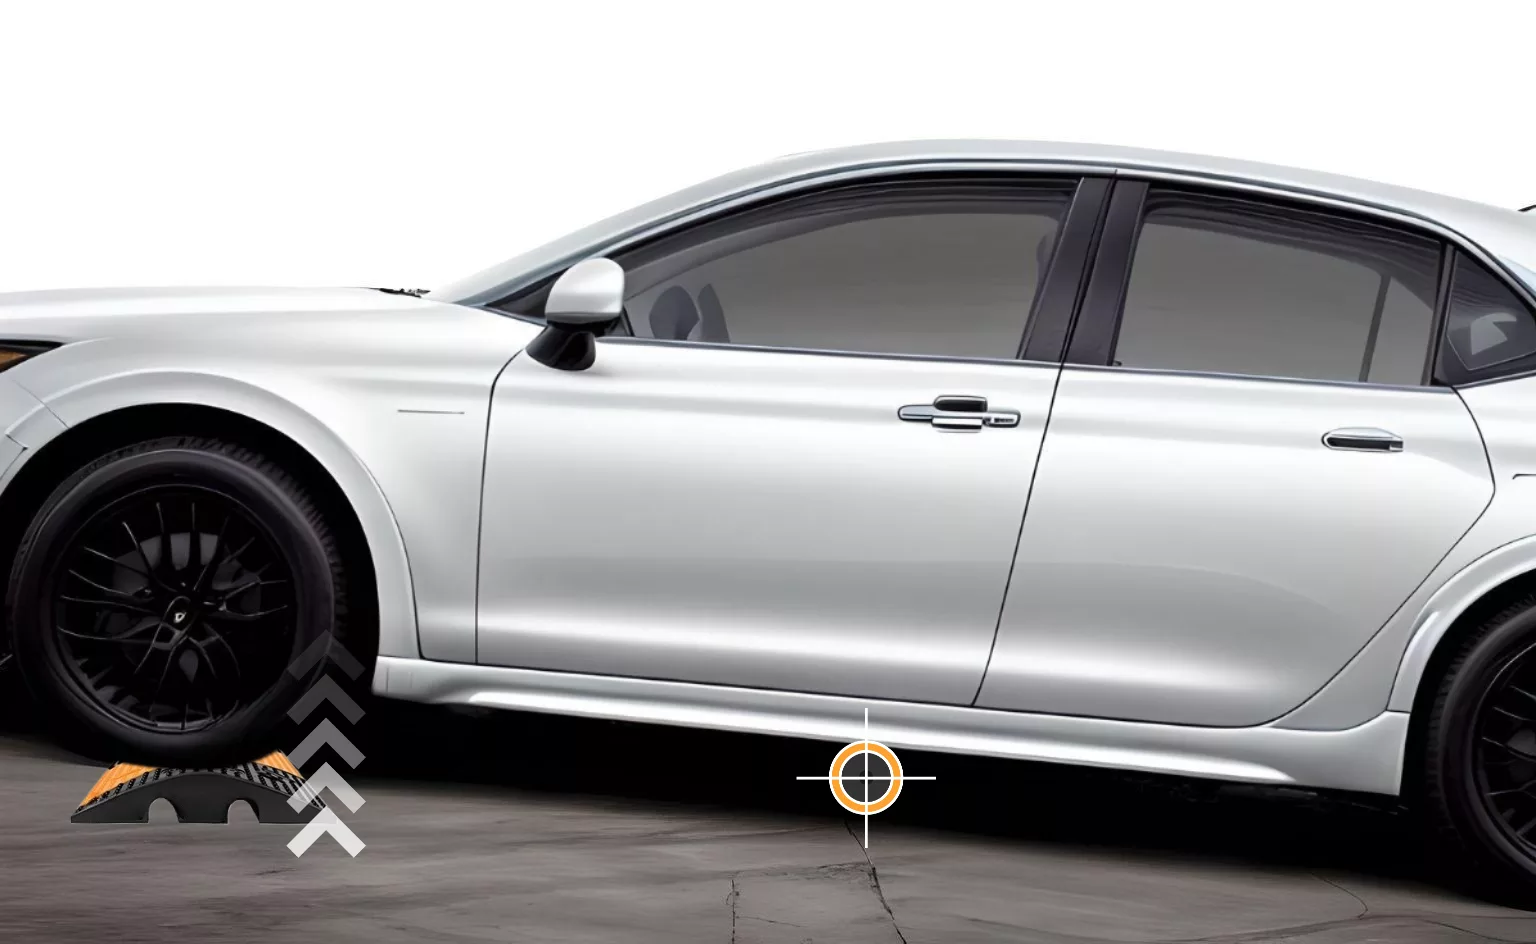
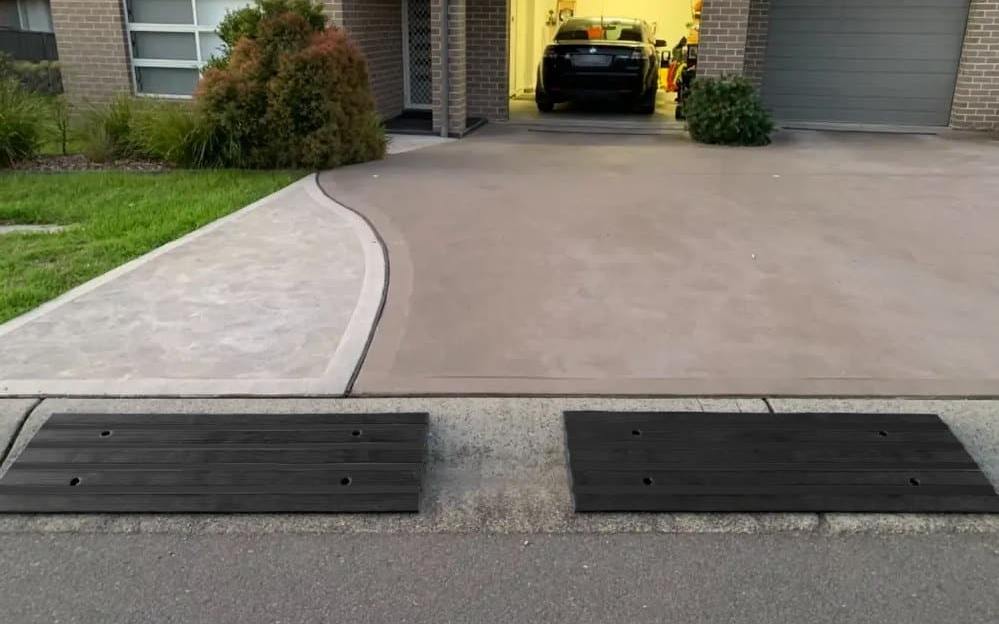
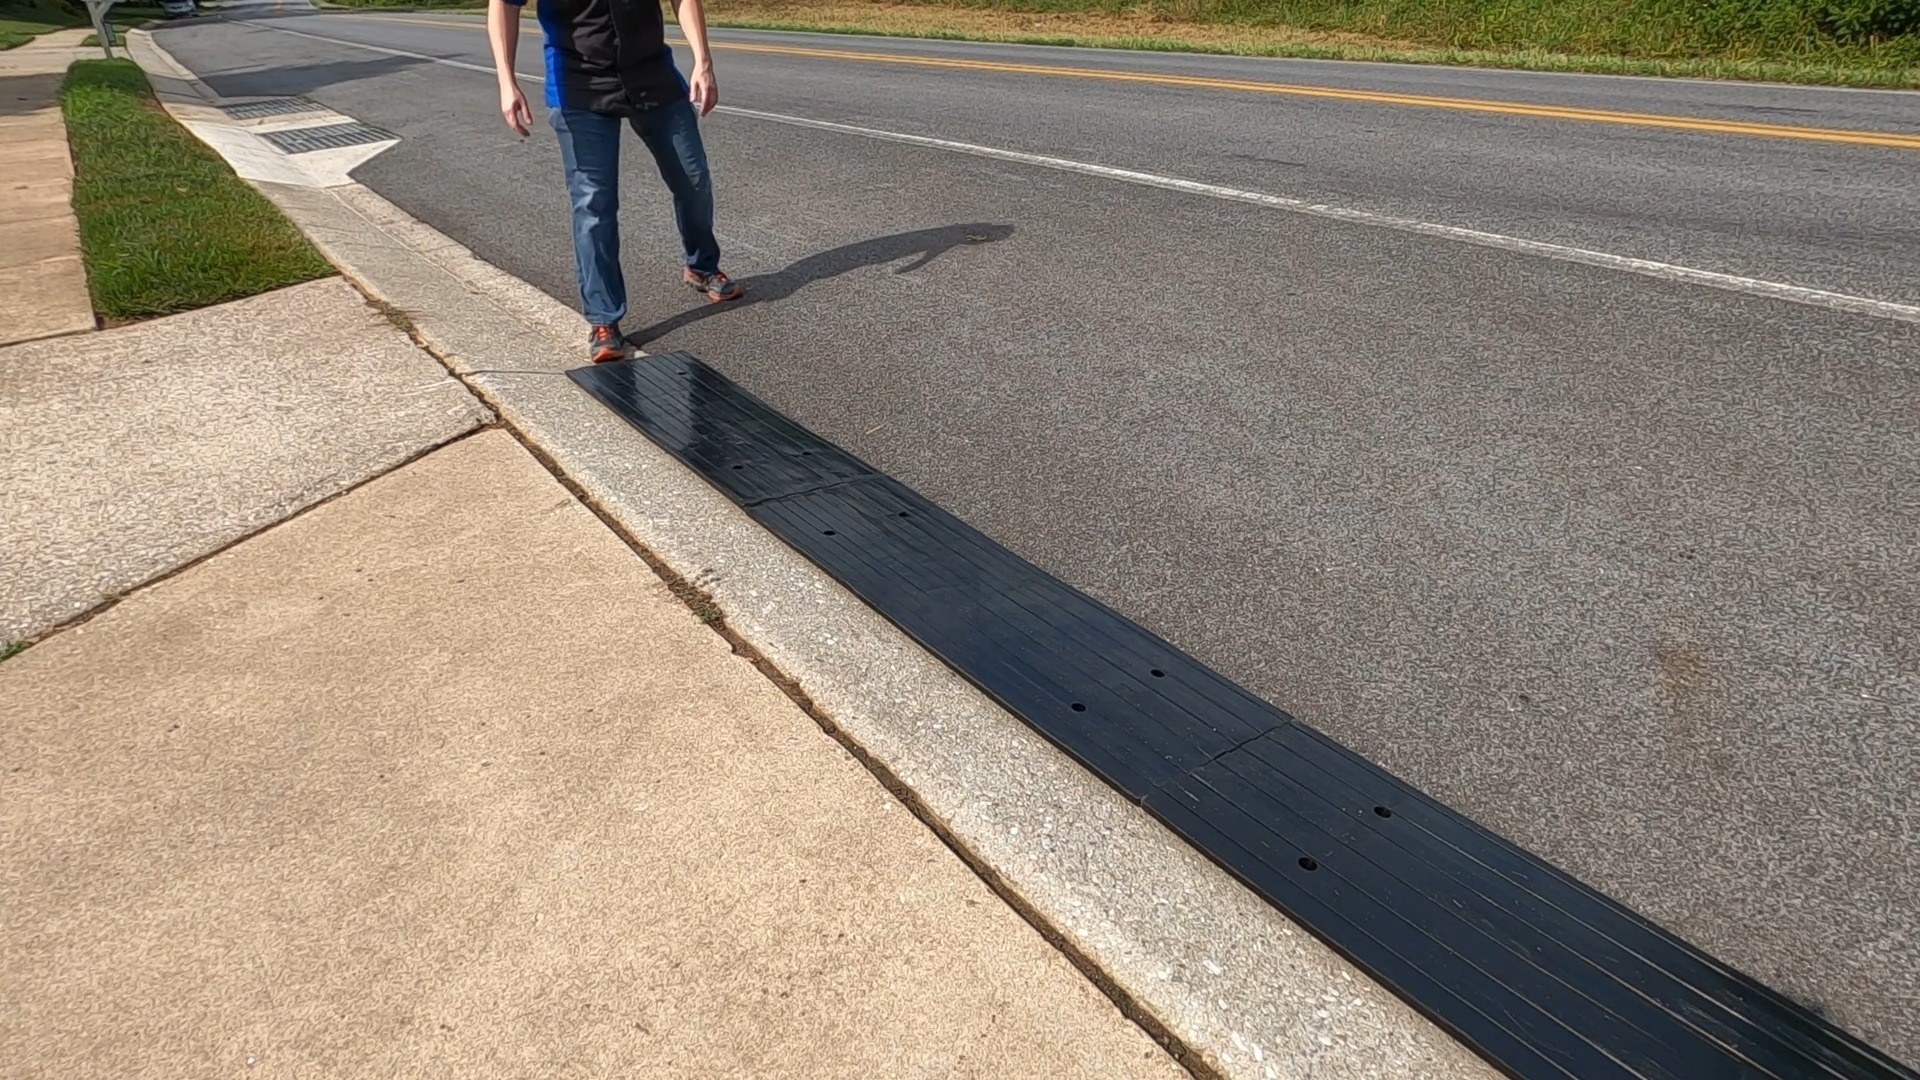
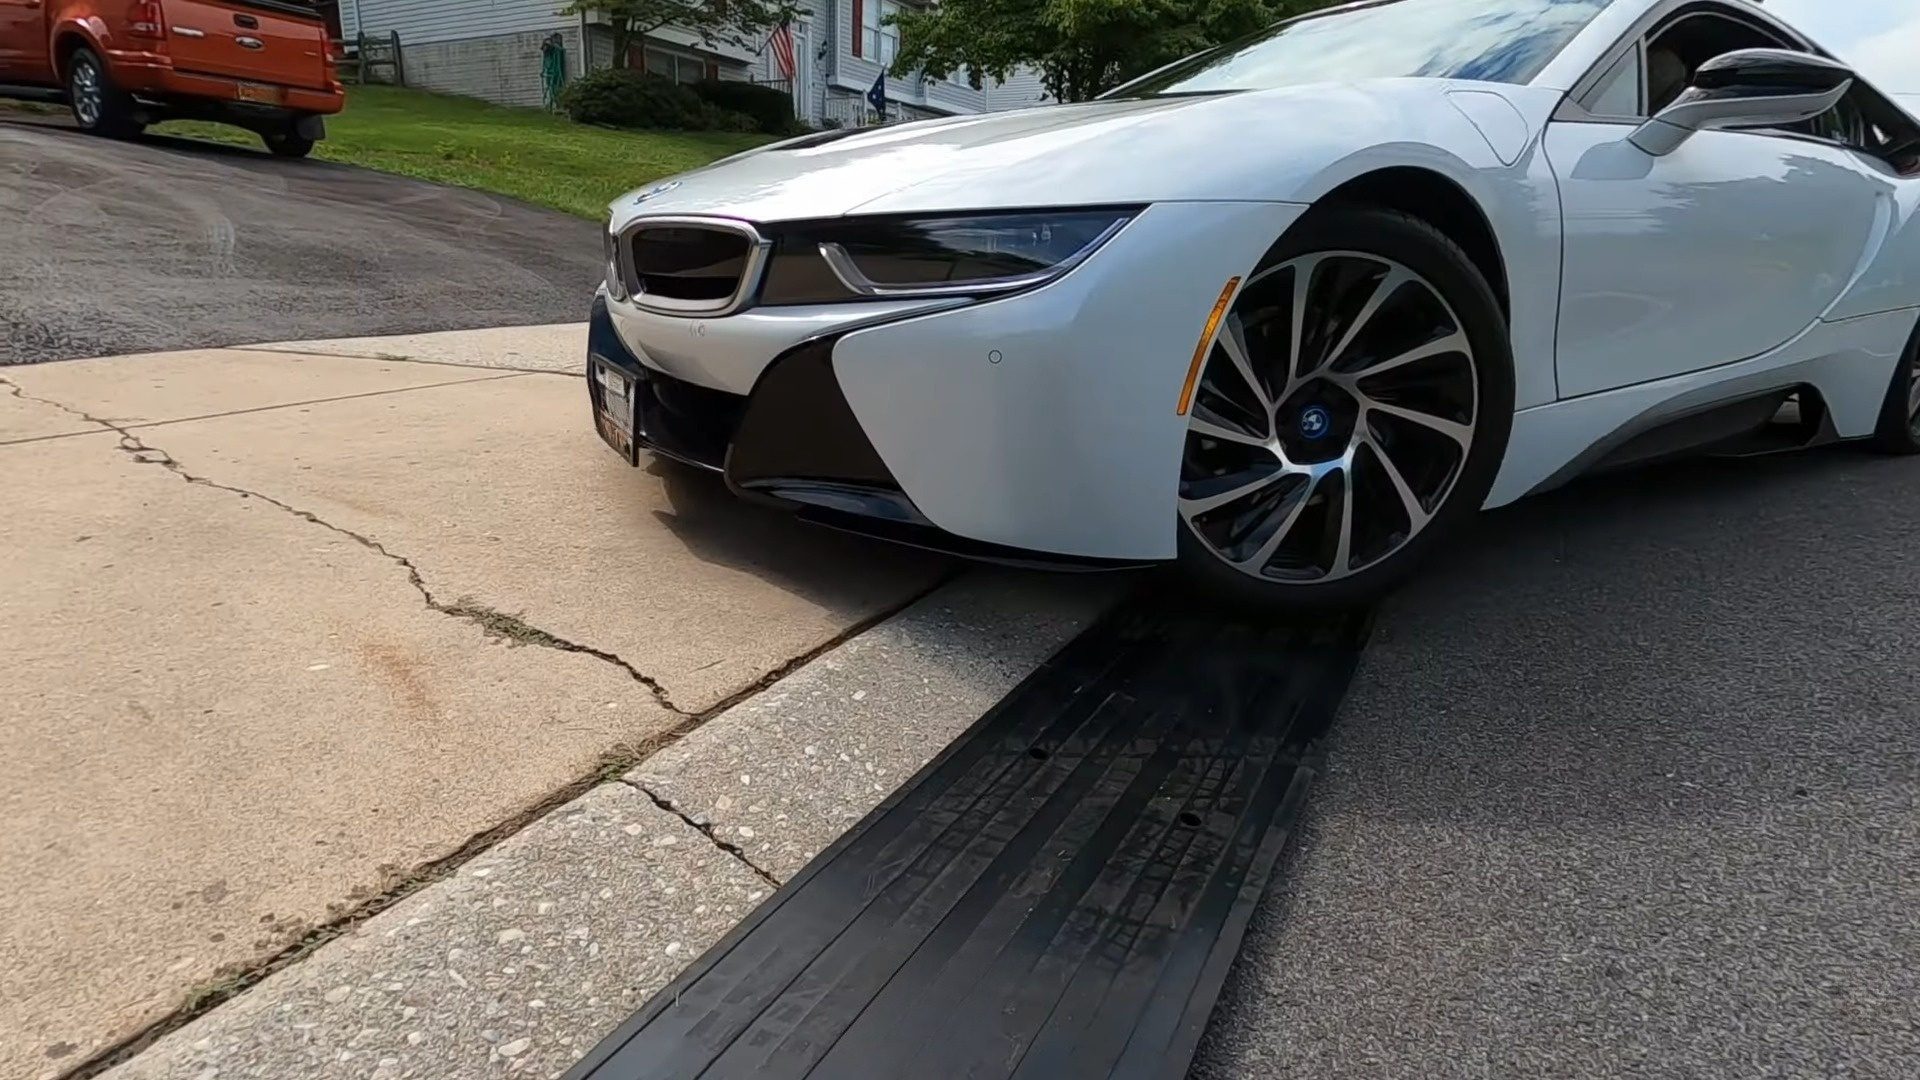
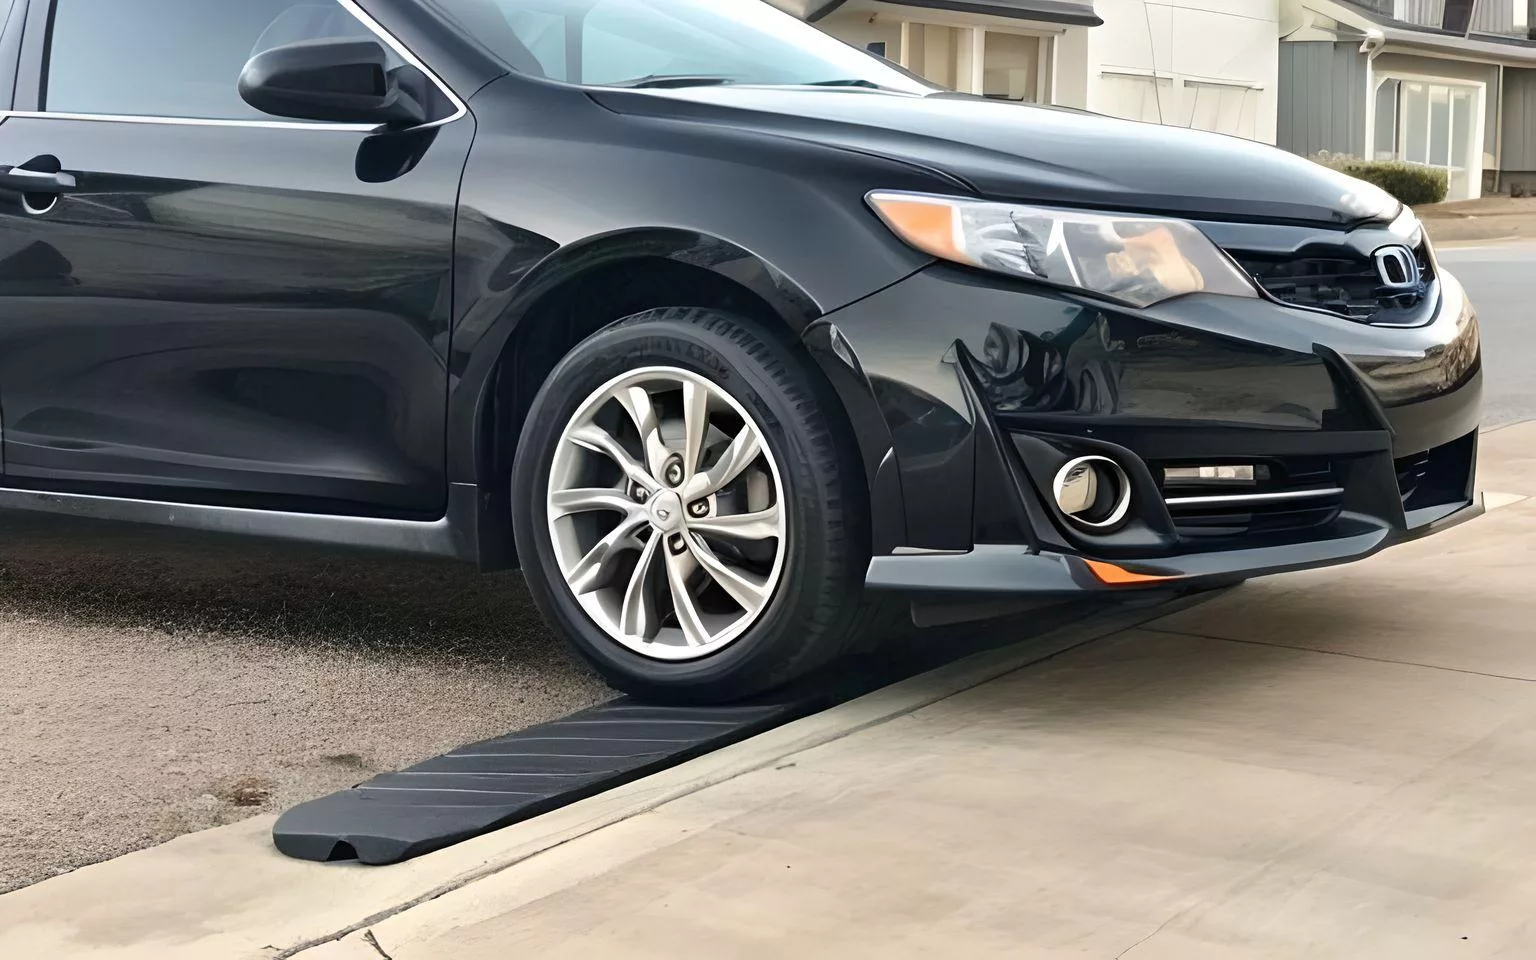
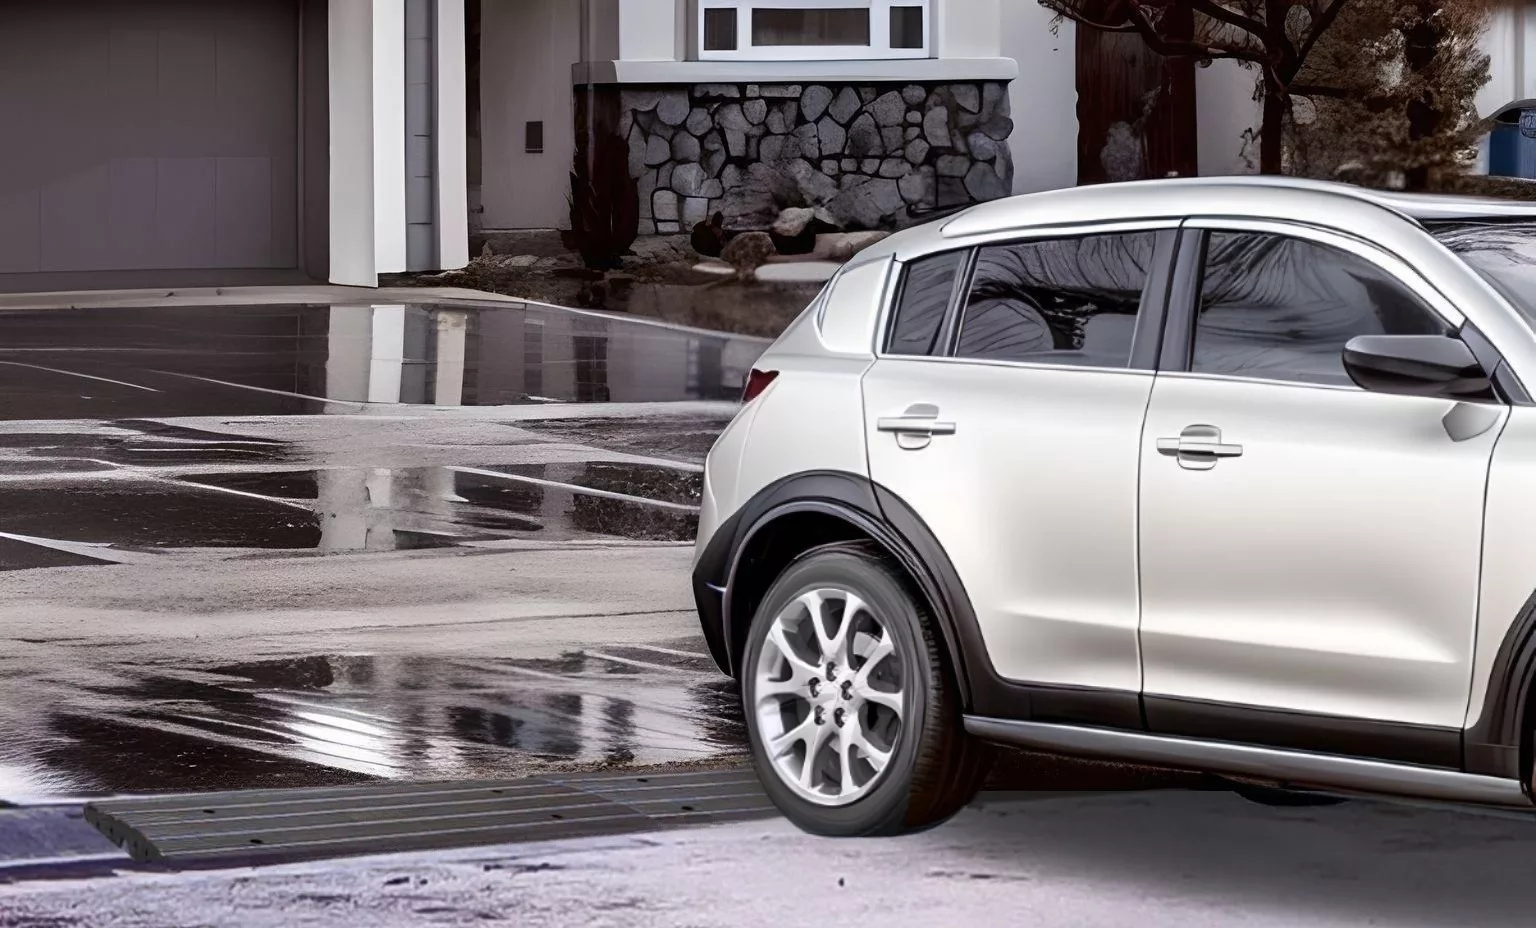
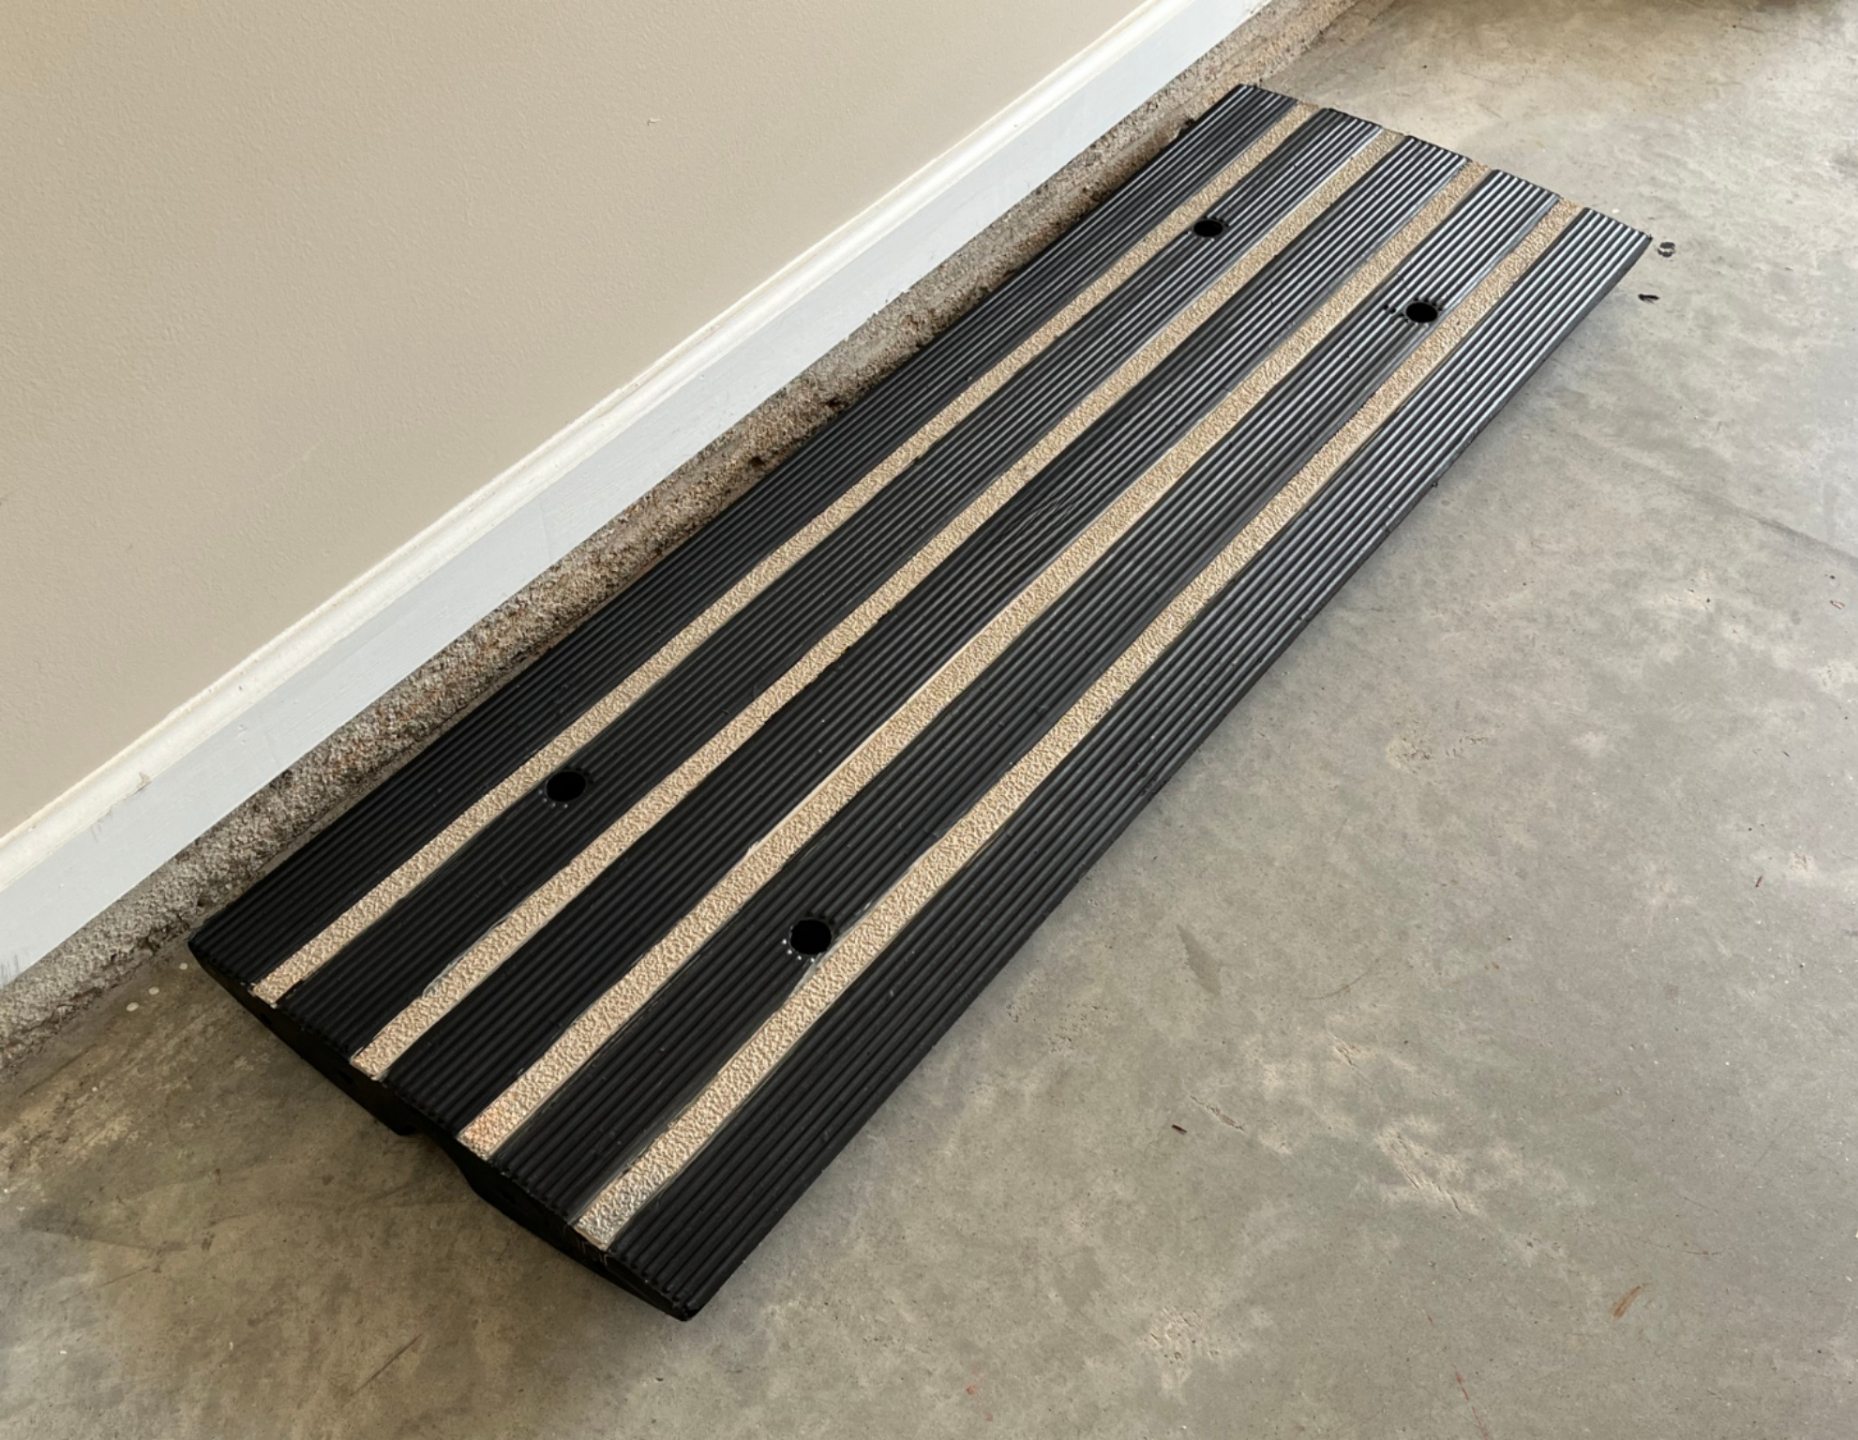
CurbEase™ ramps feature a unique straddling design that protects your vehicle’s front side, bumper, and undercarriage during transitions over obstacles and curbs.
What load capacity do these ramps offer?
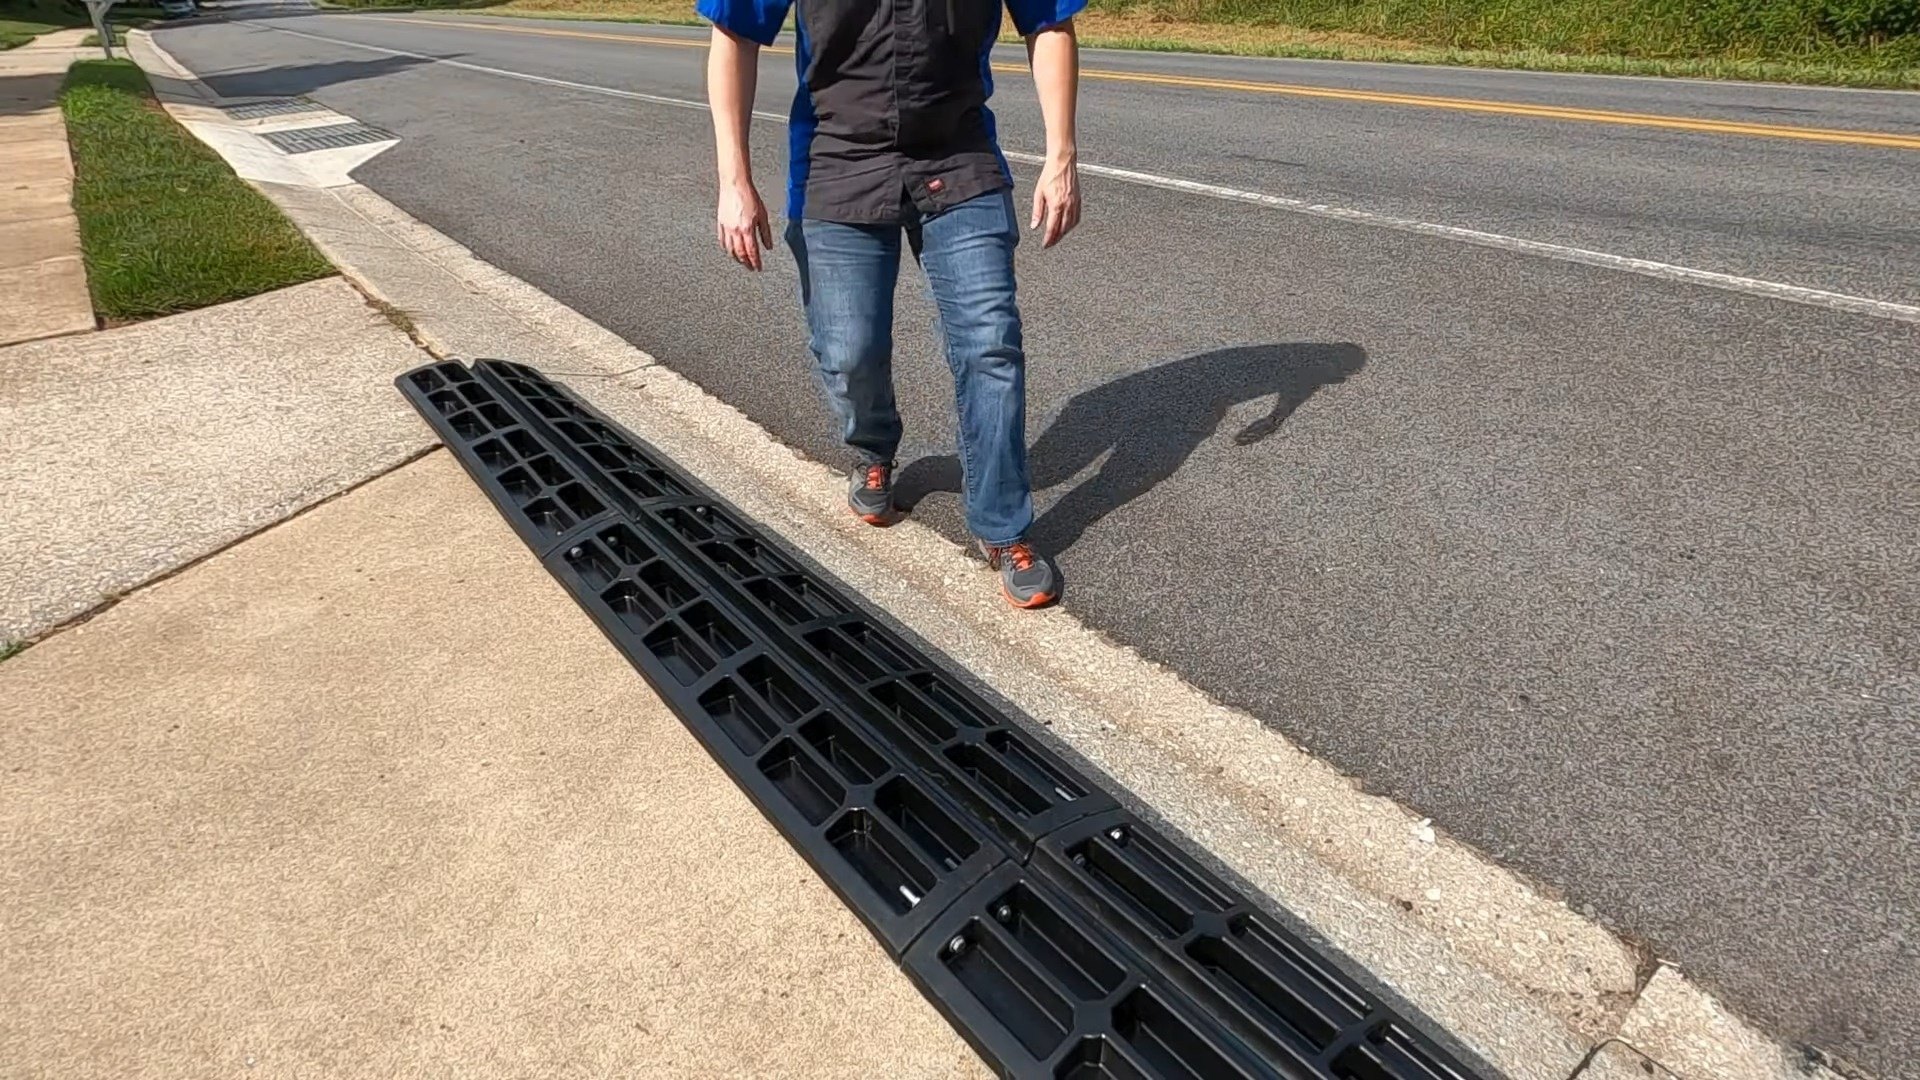
These ramps have an impressive 15-Ton (30,000 lb+) load capacity, ensuring durability and reliability when supporting vehicles.
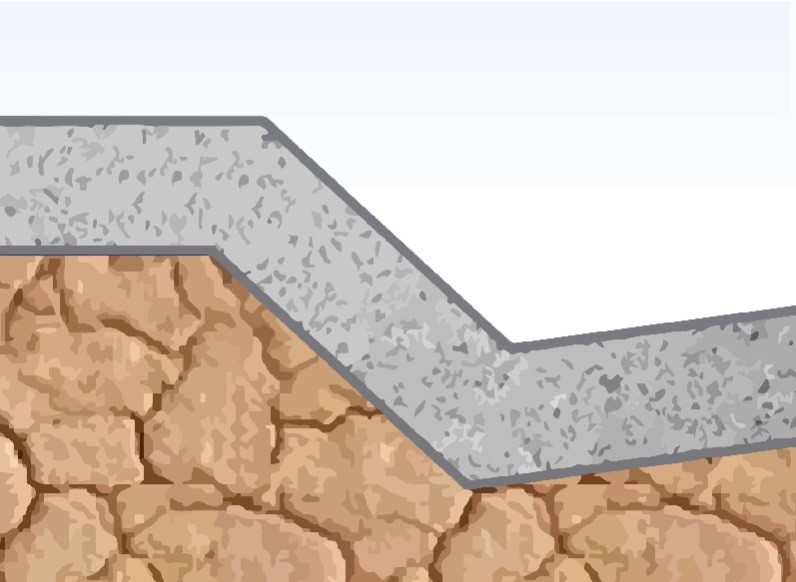
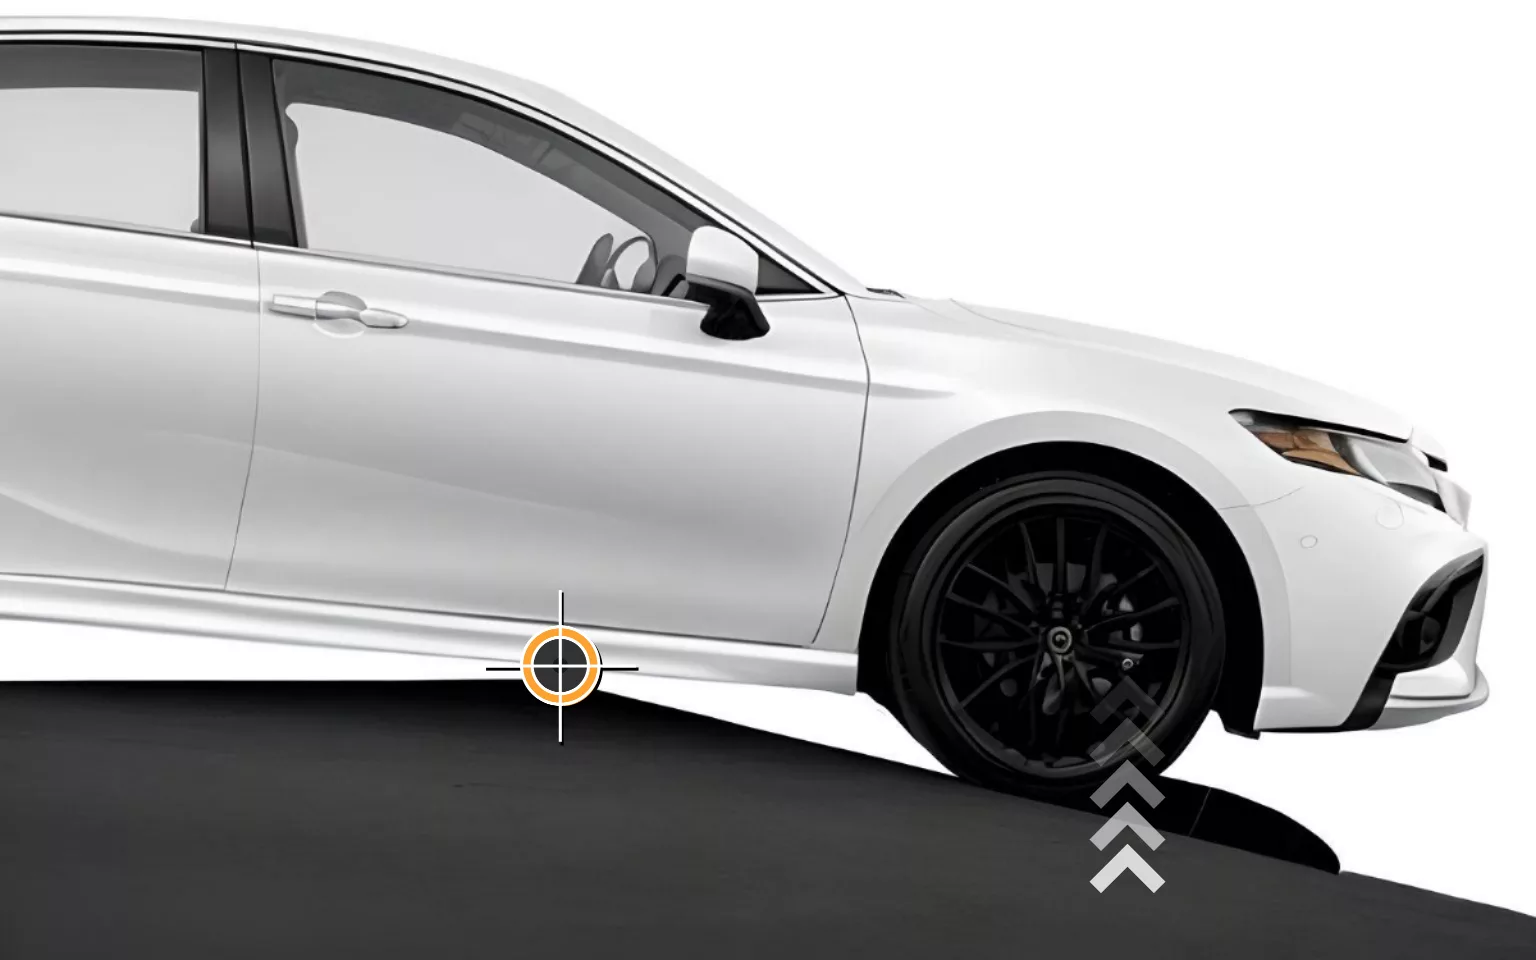
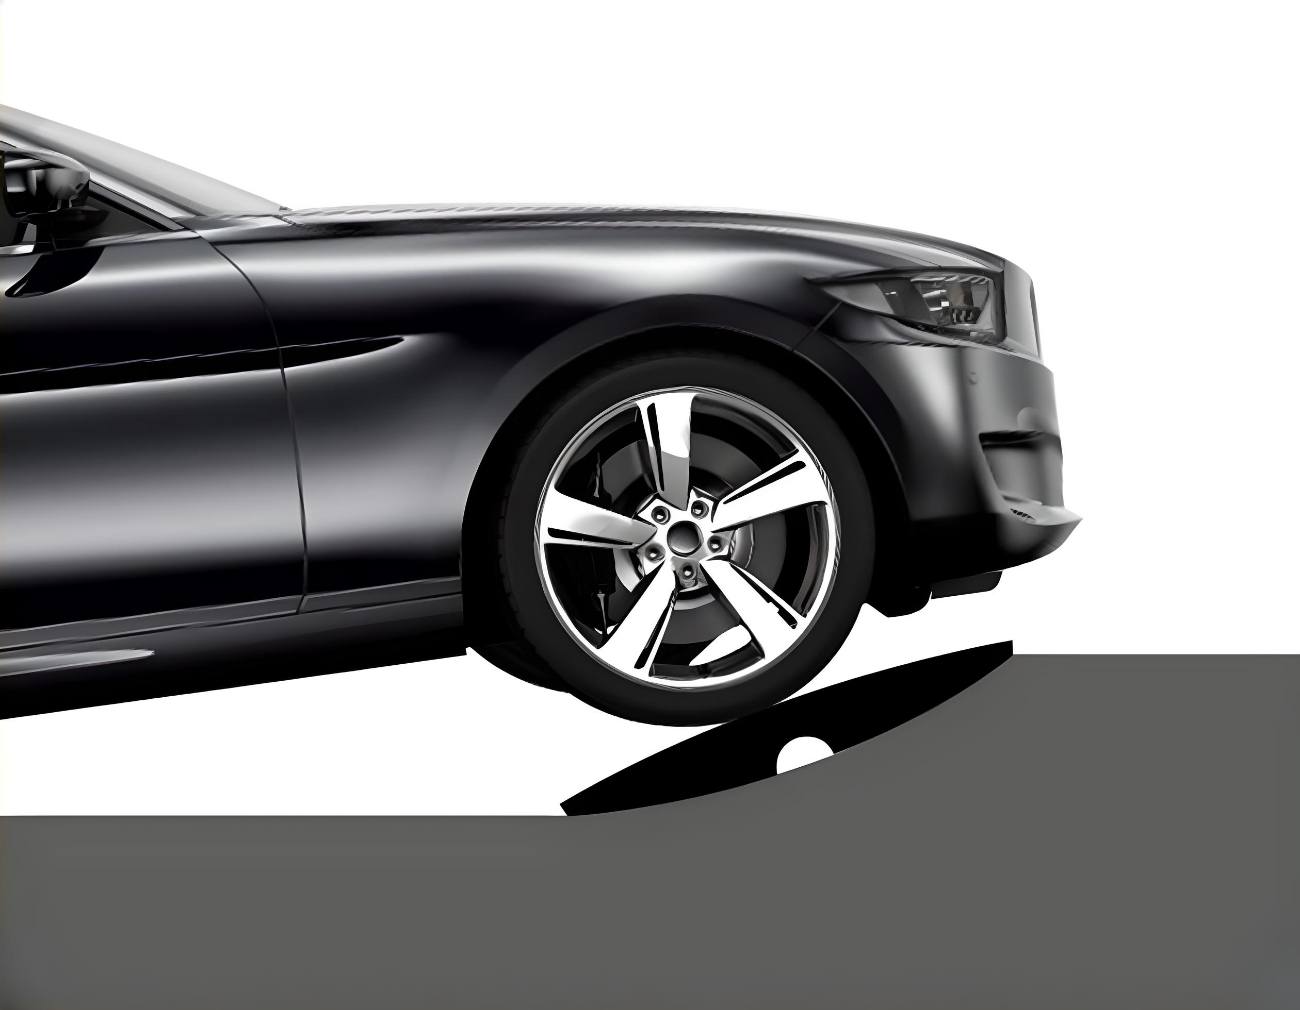
What rise heights are available?
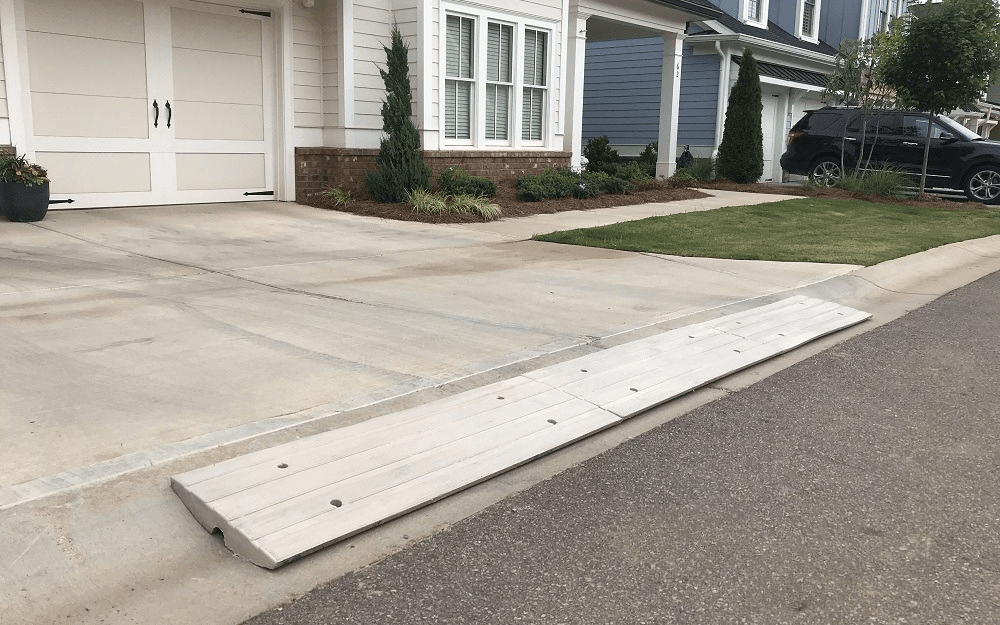
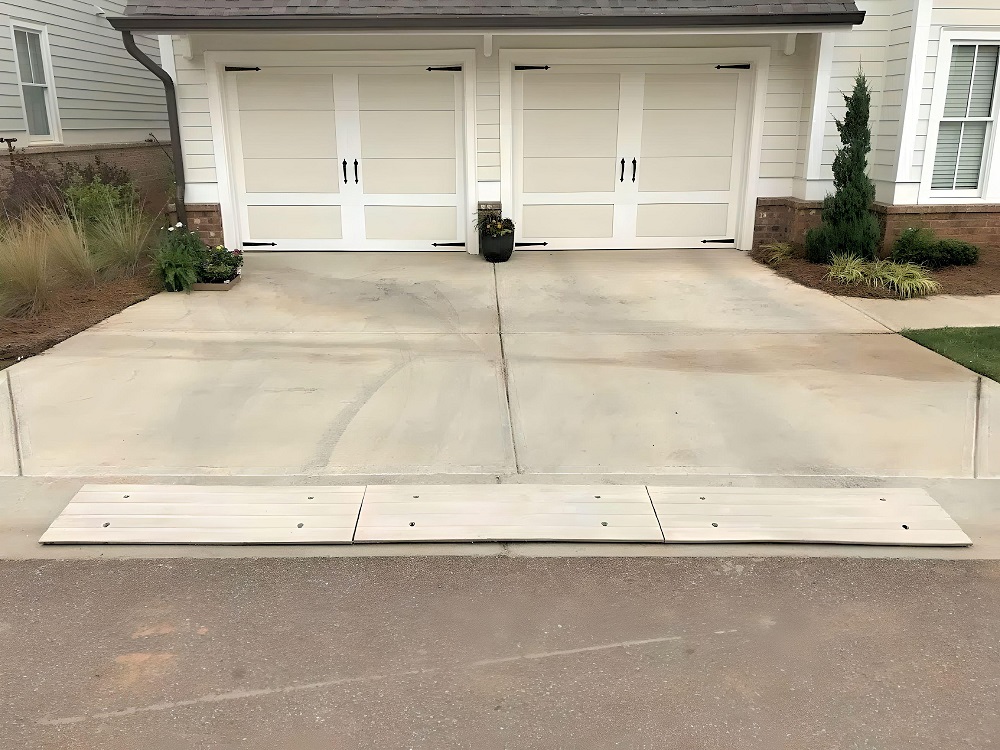
These ramps are available in 1-4″ rise heights, allowing you to seamlessly navigate various angles, obstacles, and elevation changes.
Is the material eco-friendly?
Yes, CurbEase™ Driveway Curb Ramps are crafted from eco-friendly rubber material that is resistant, odor-free, and gentle on the environment.
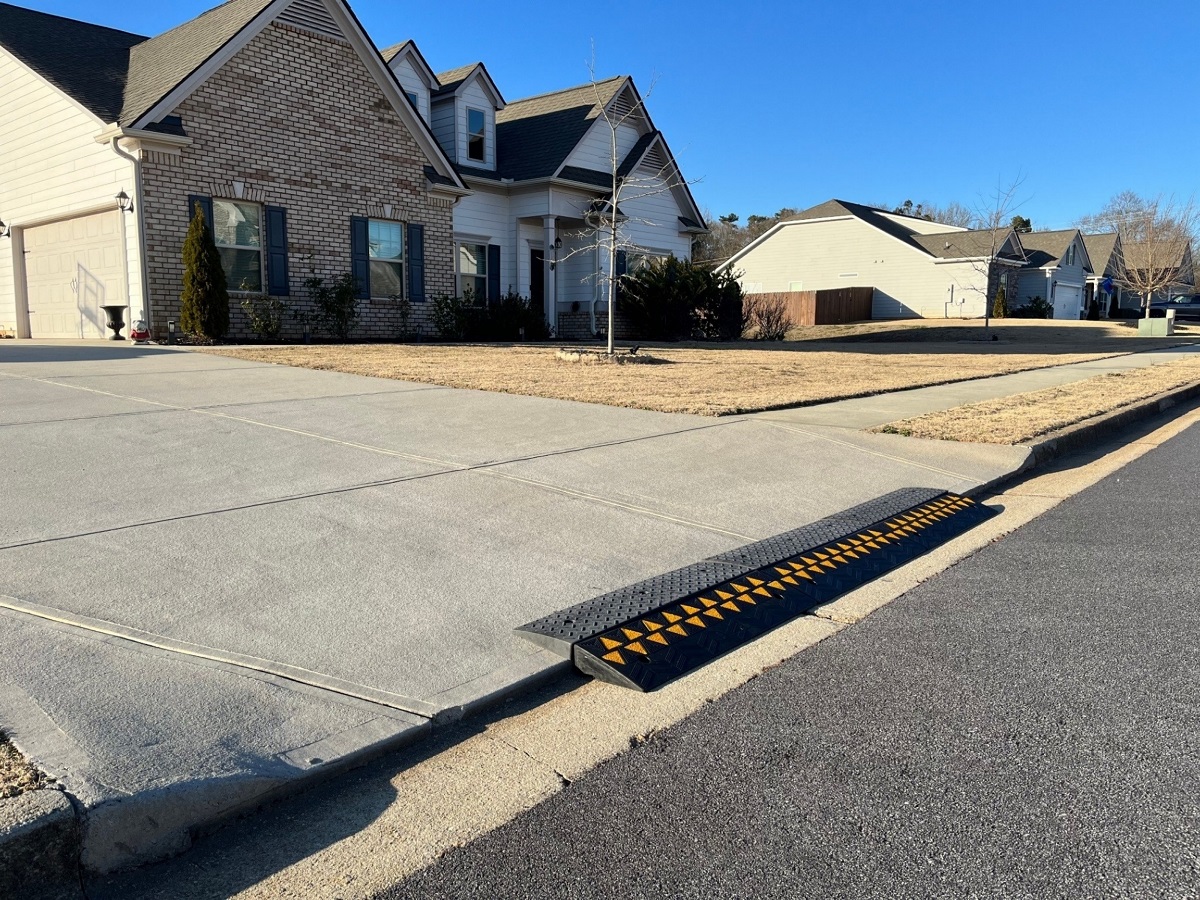
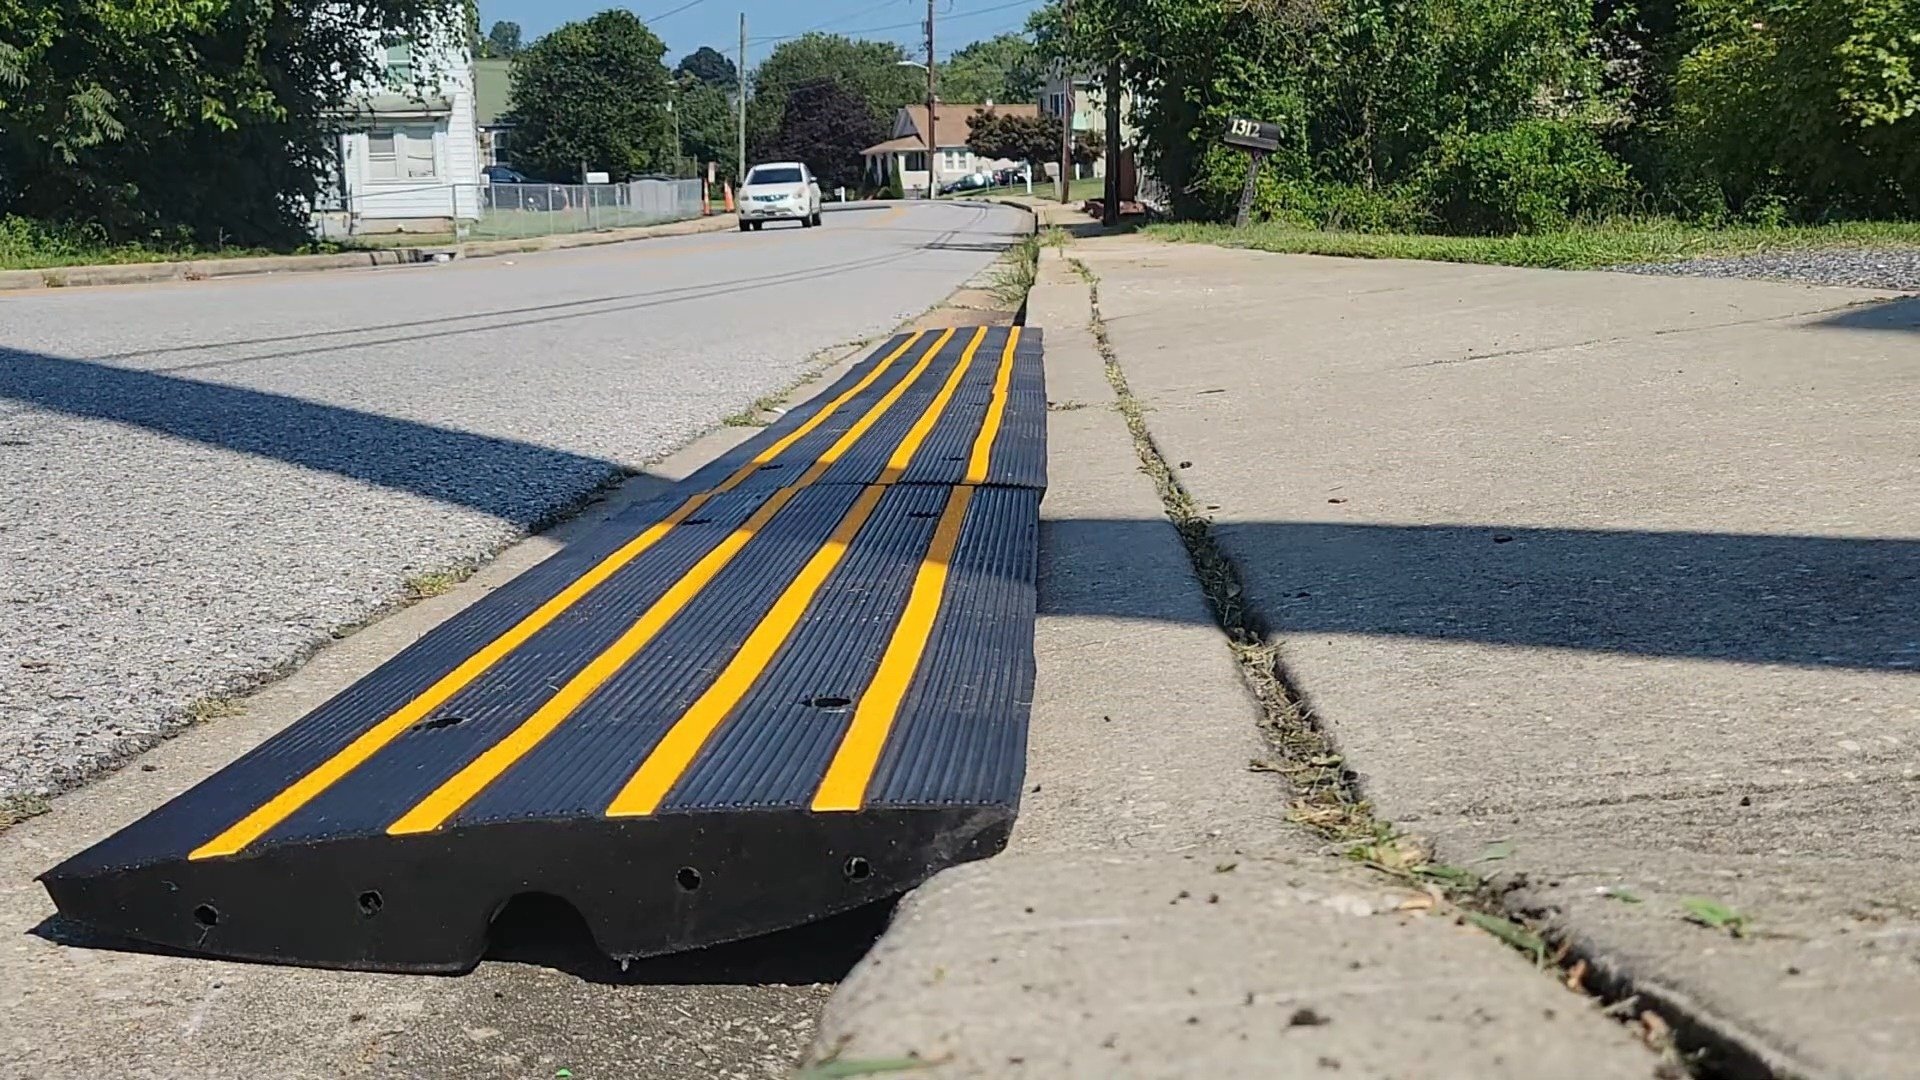
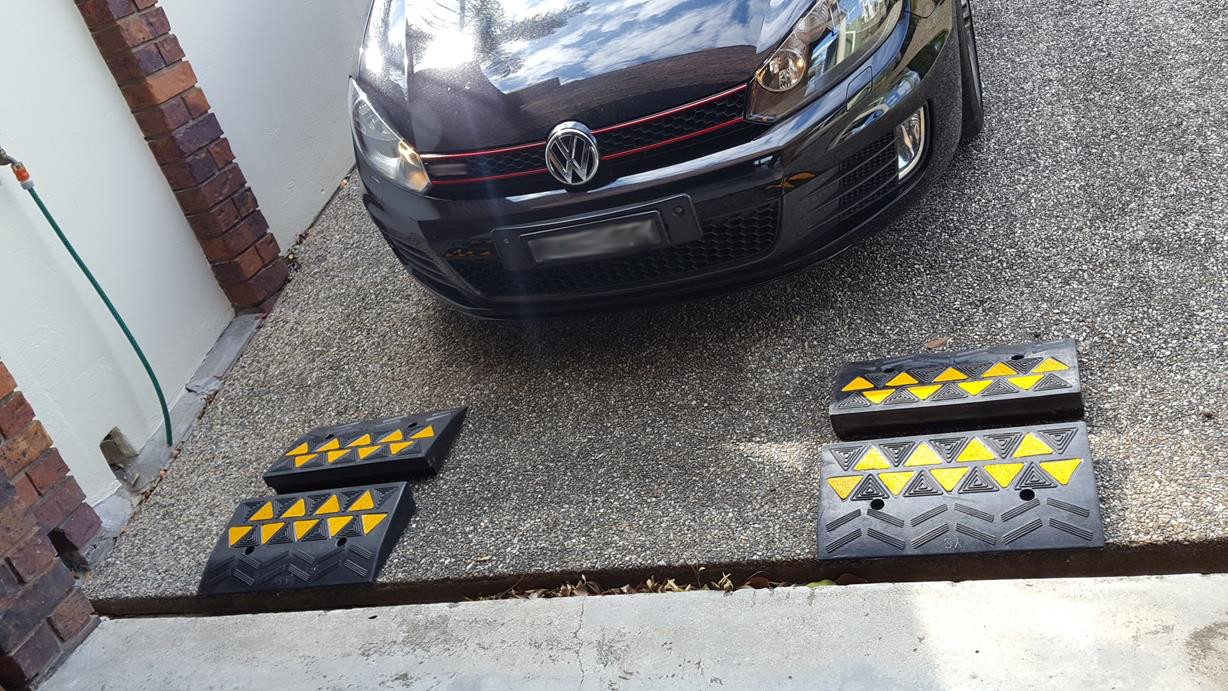
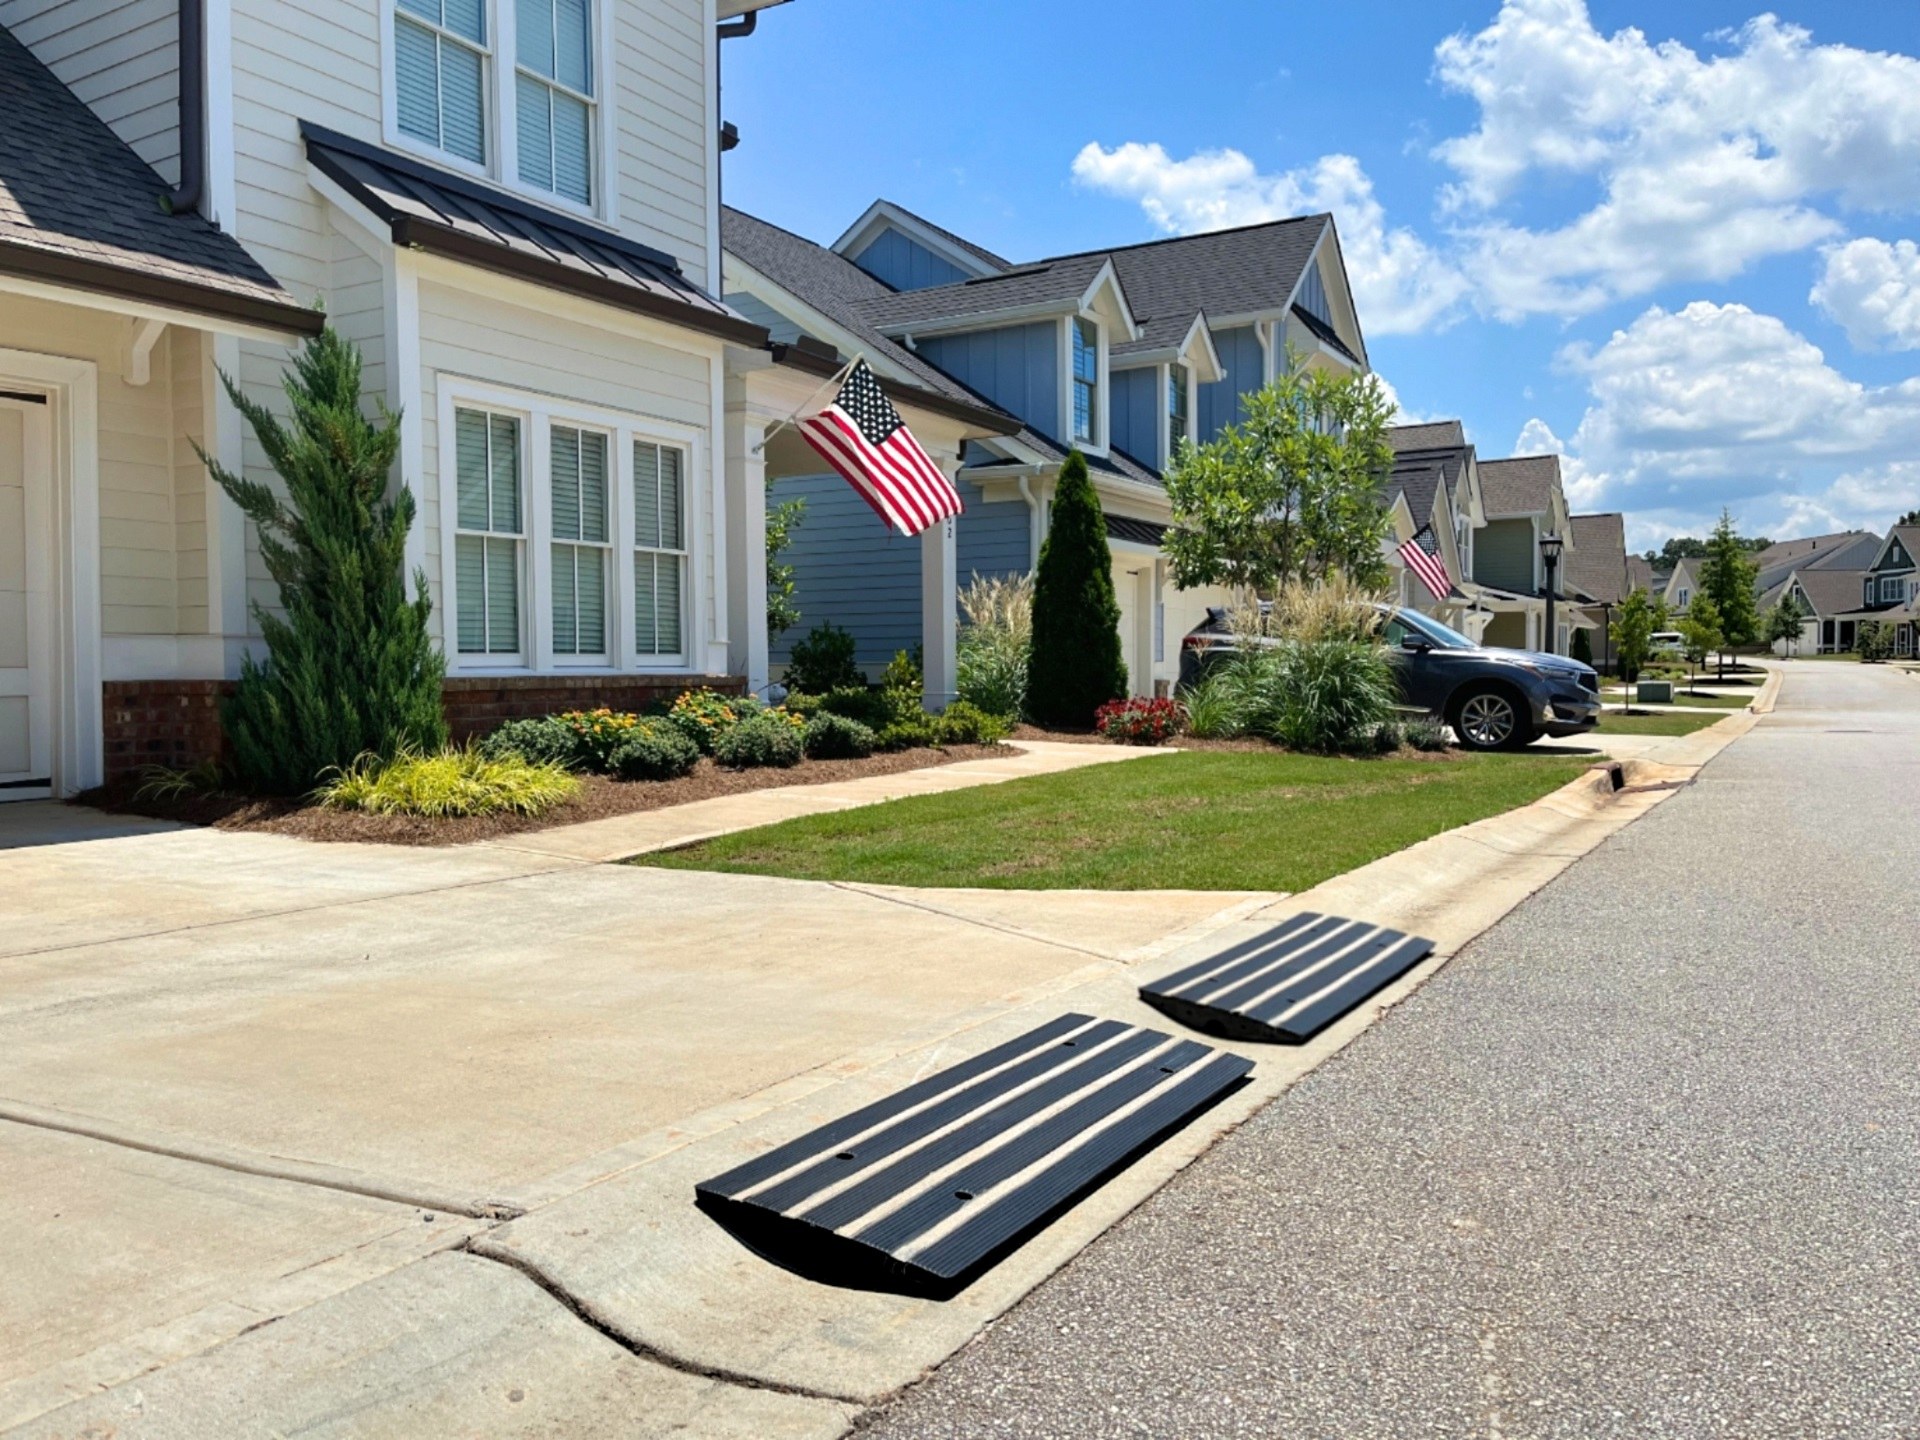
How do the ramps provide enhanced traction and visibility?
The ramps feature an anti-slip pattern on the surface for superior traction, and reflective strips are included for safe nighttime use, ensuring visibility in low-light conditions.
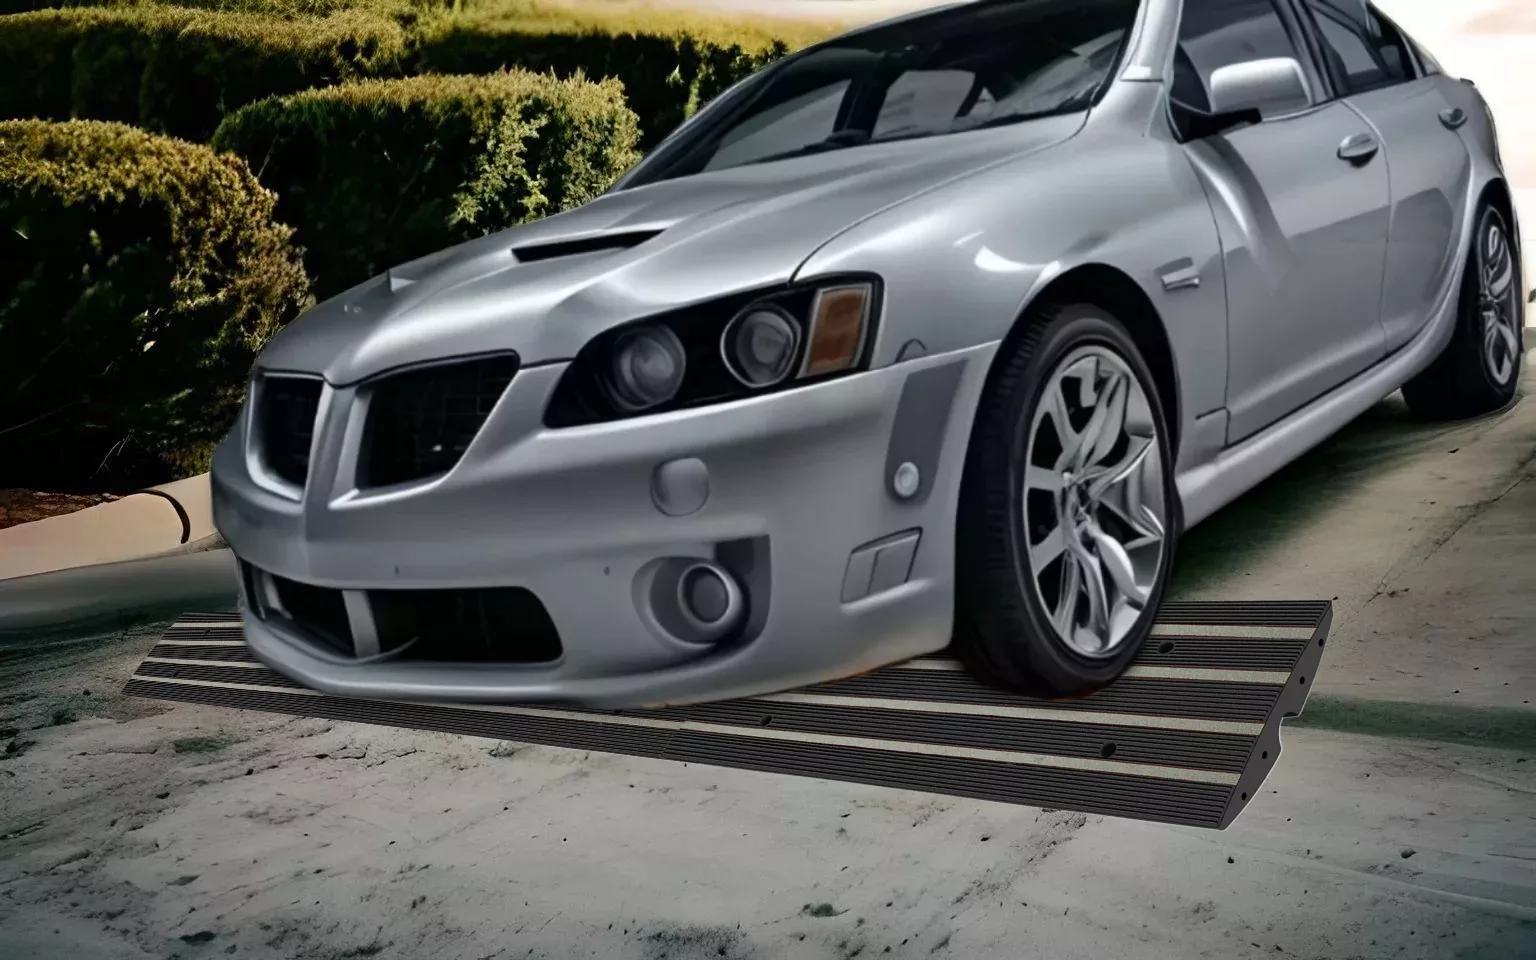
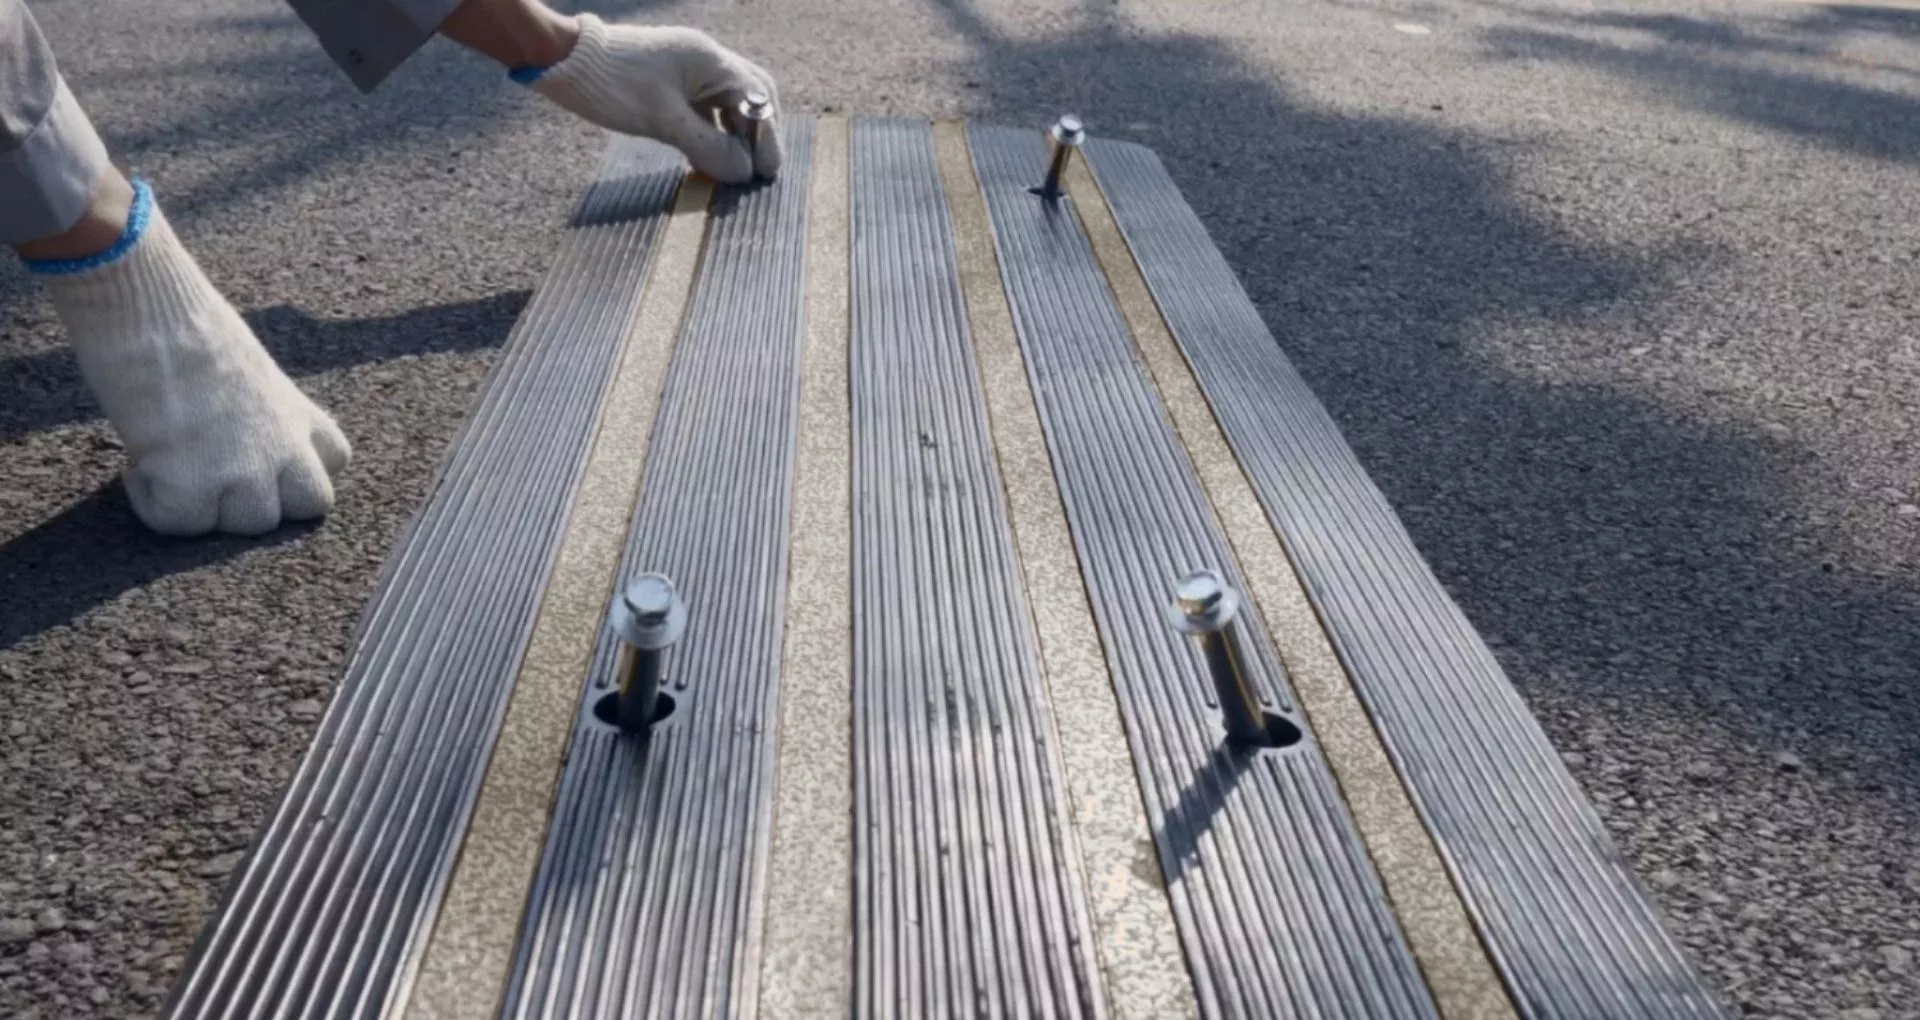
How are the ramps securely anchored?
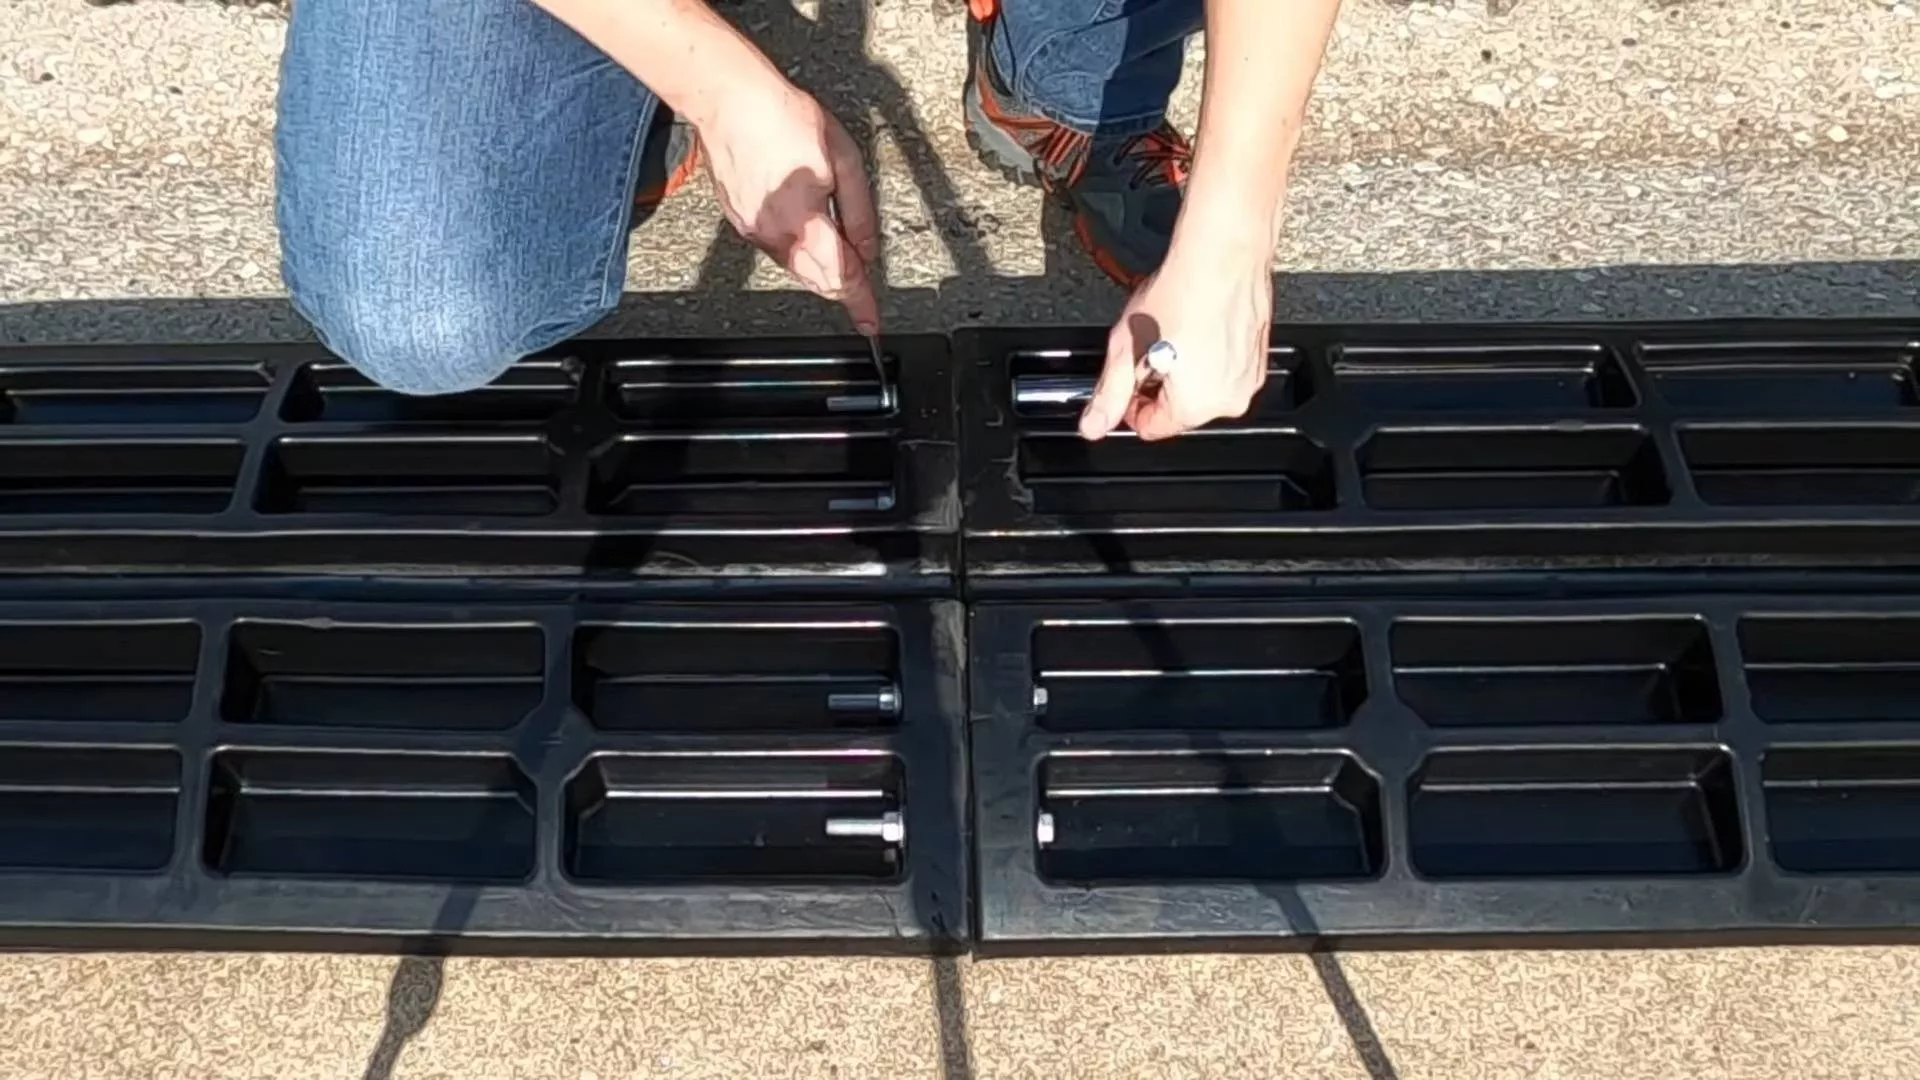
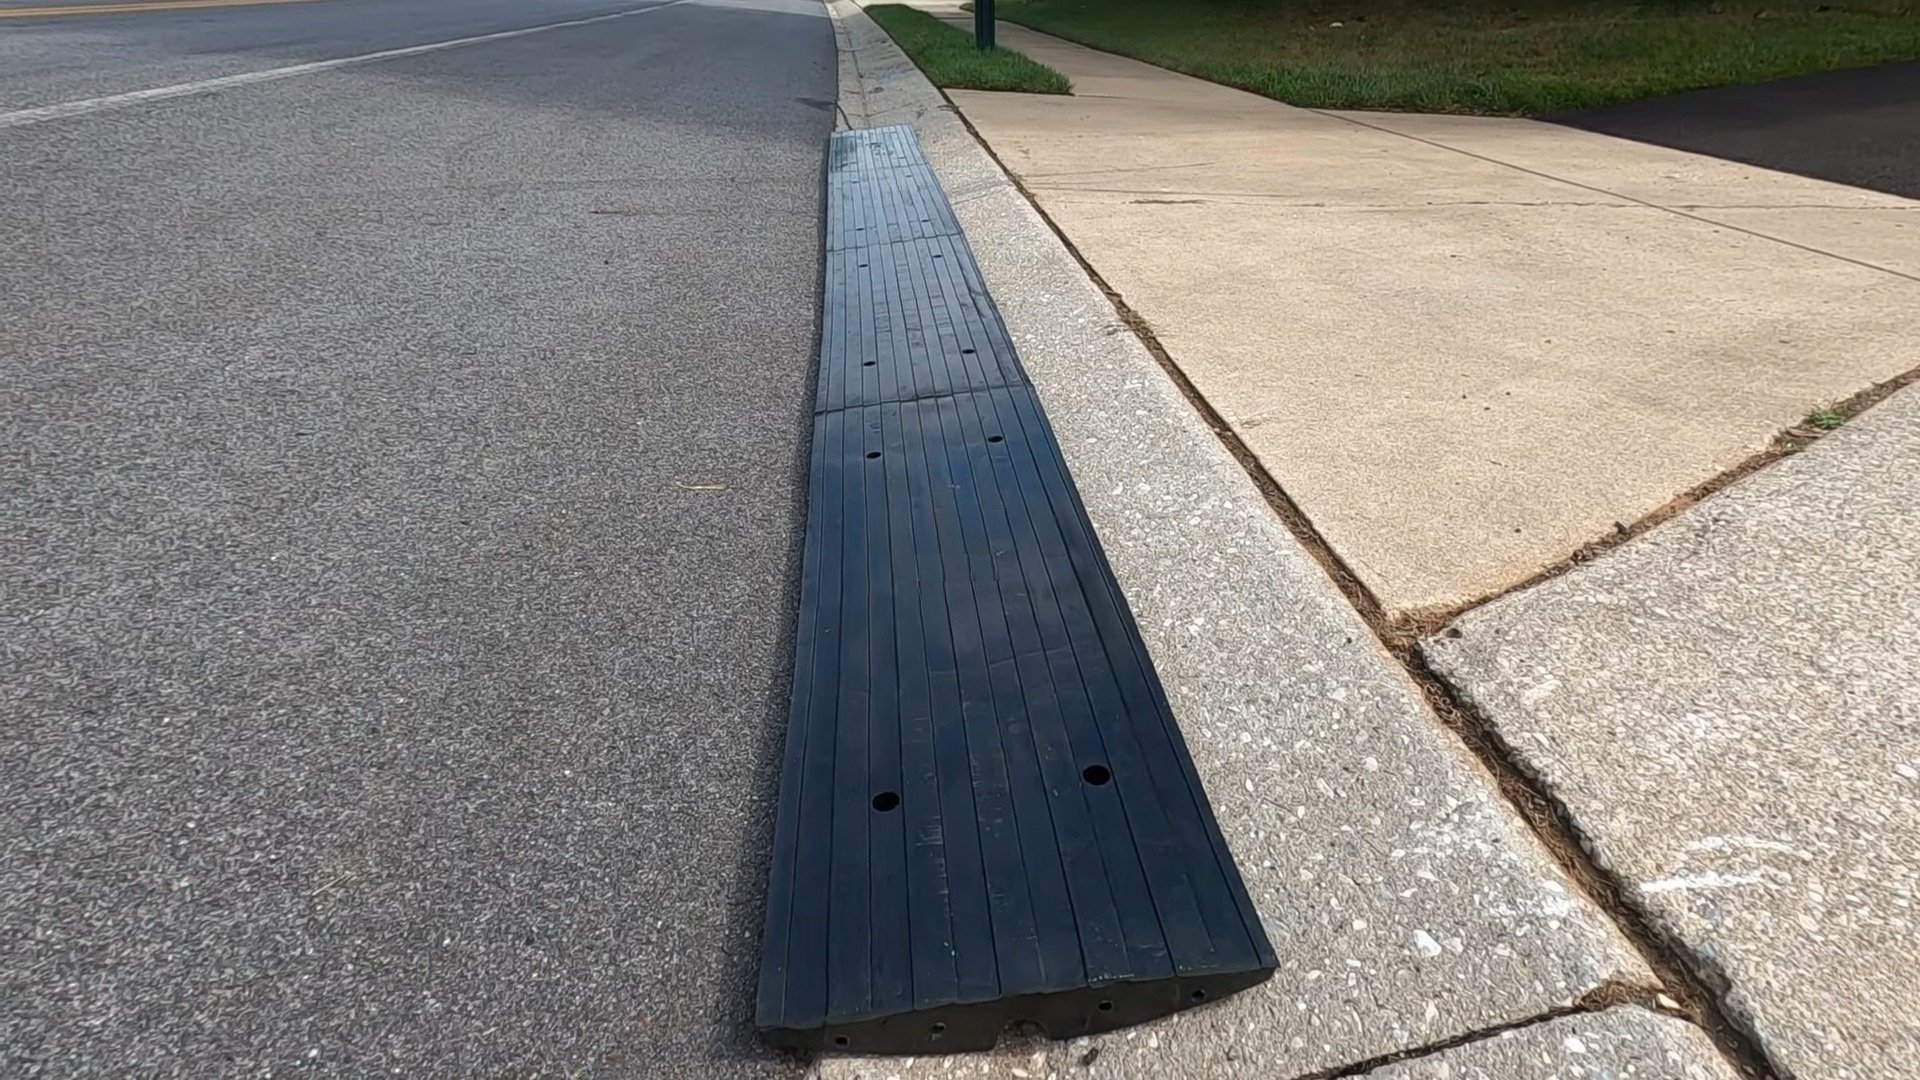
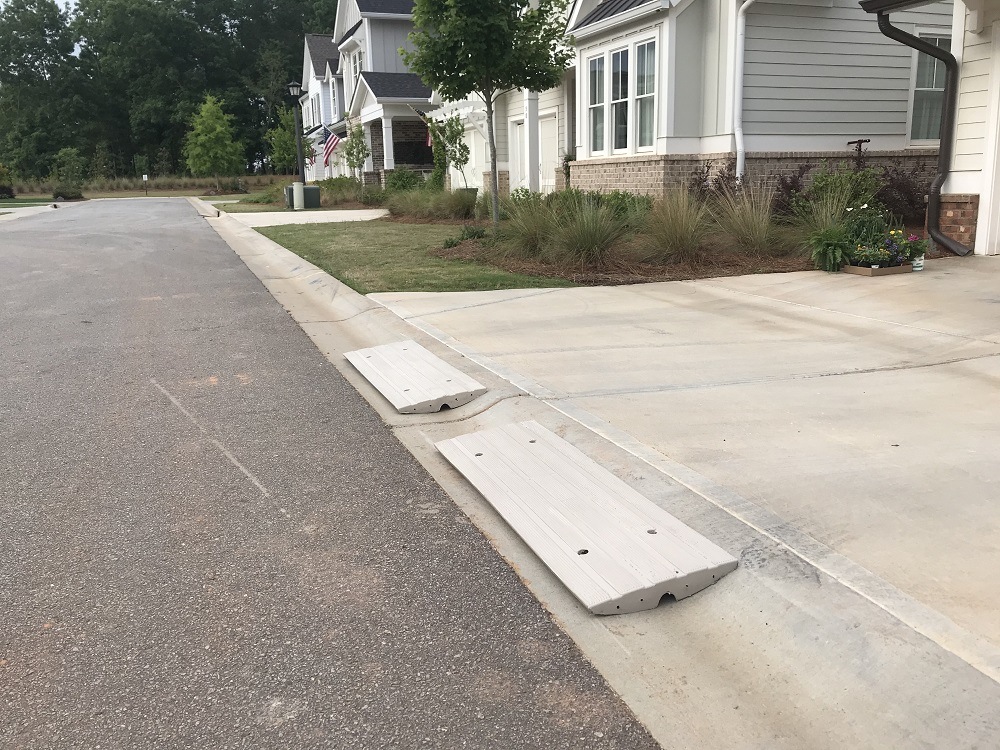
CurbEase™ ramps come with screw grooves for secure anchoring. You can use the included expansion screws to permanently secure the ramps in your desired location.
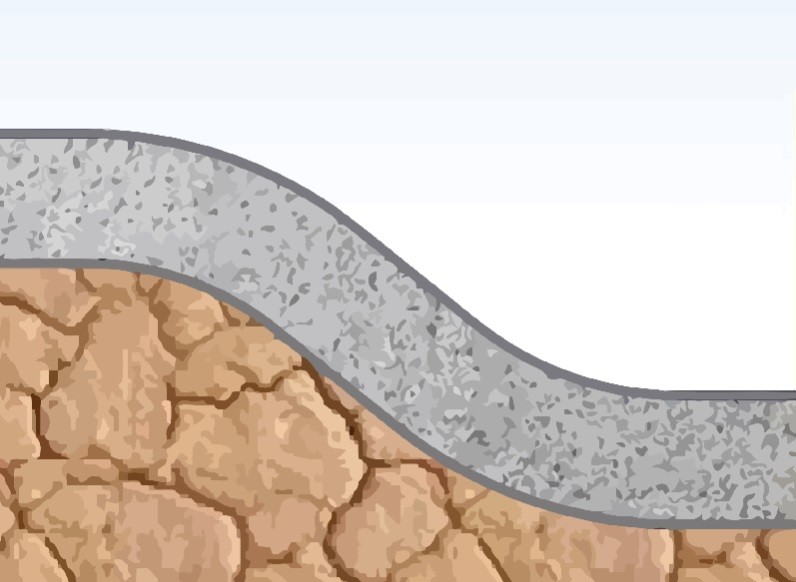
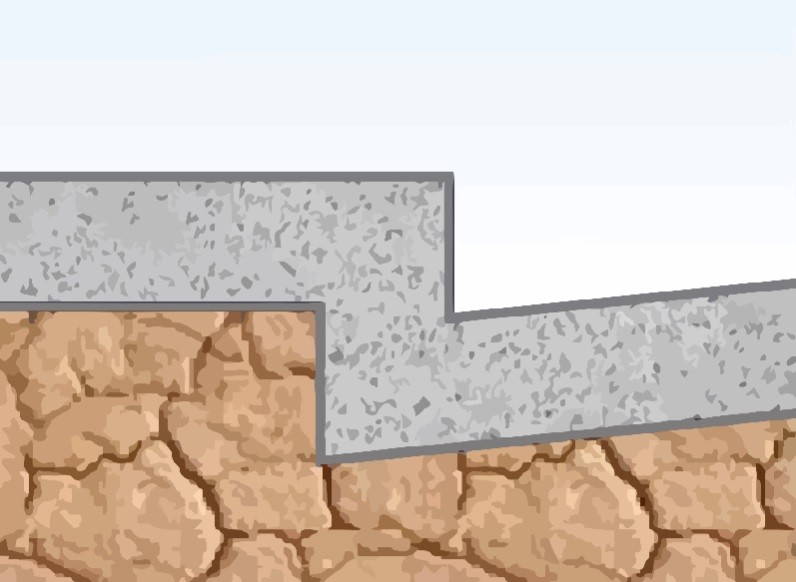
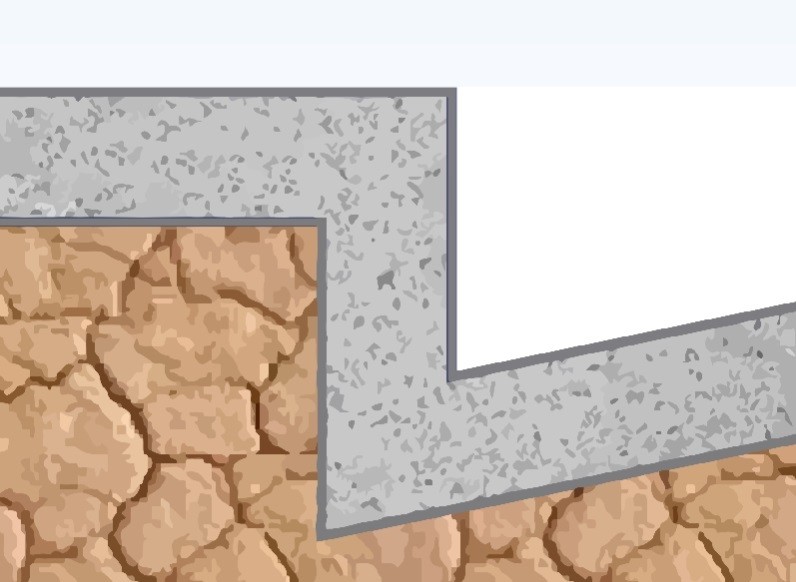
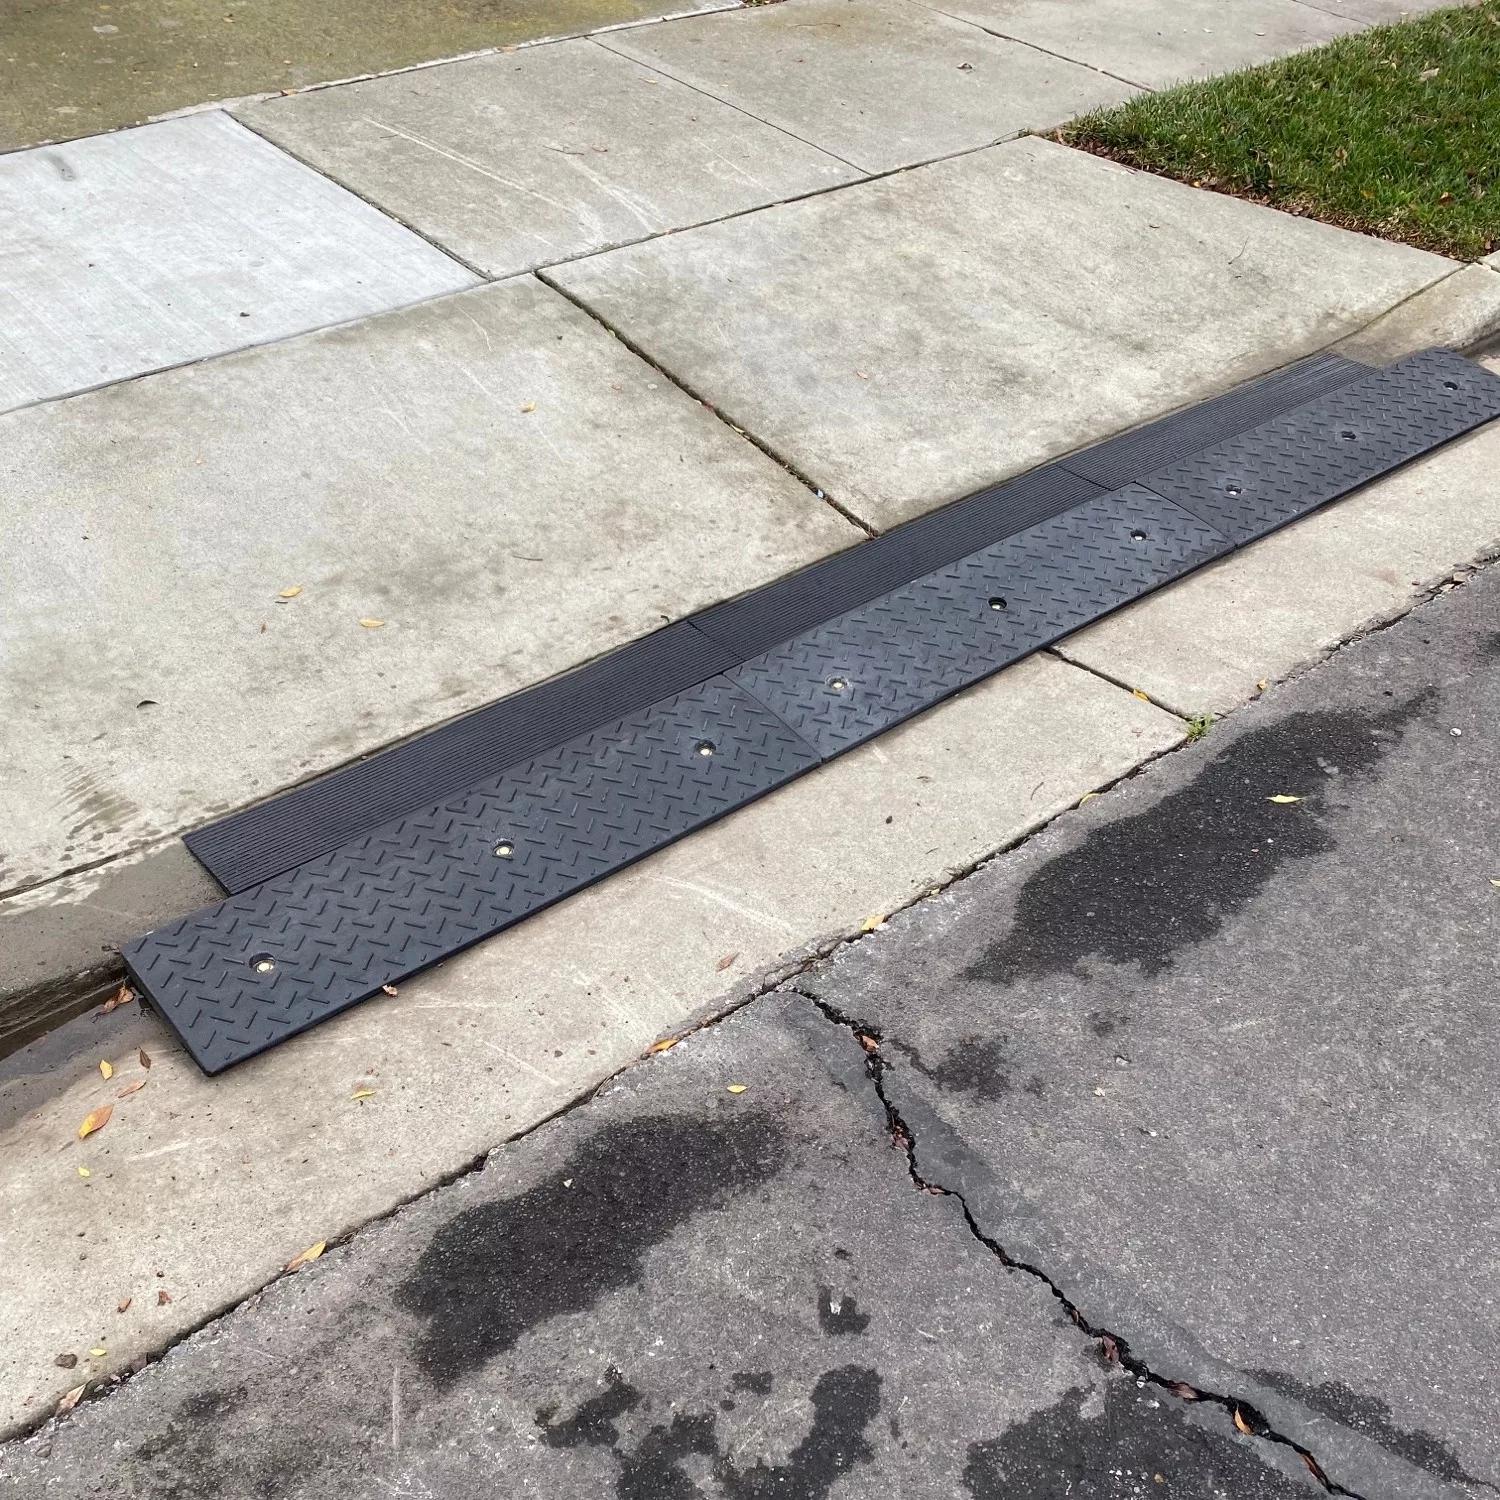
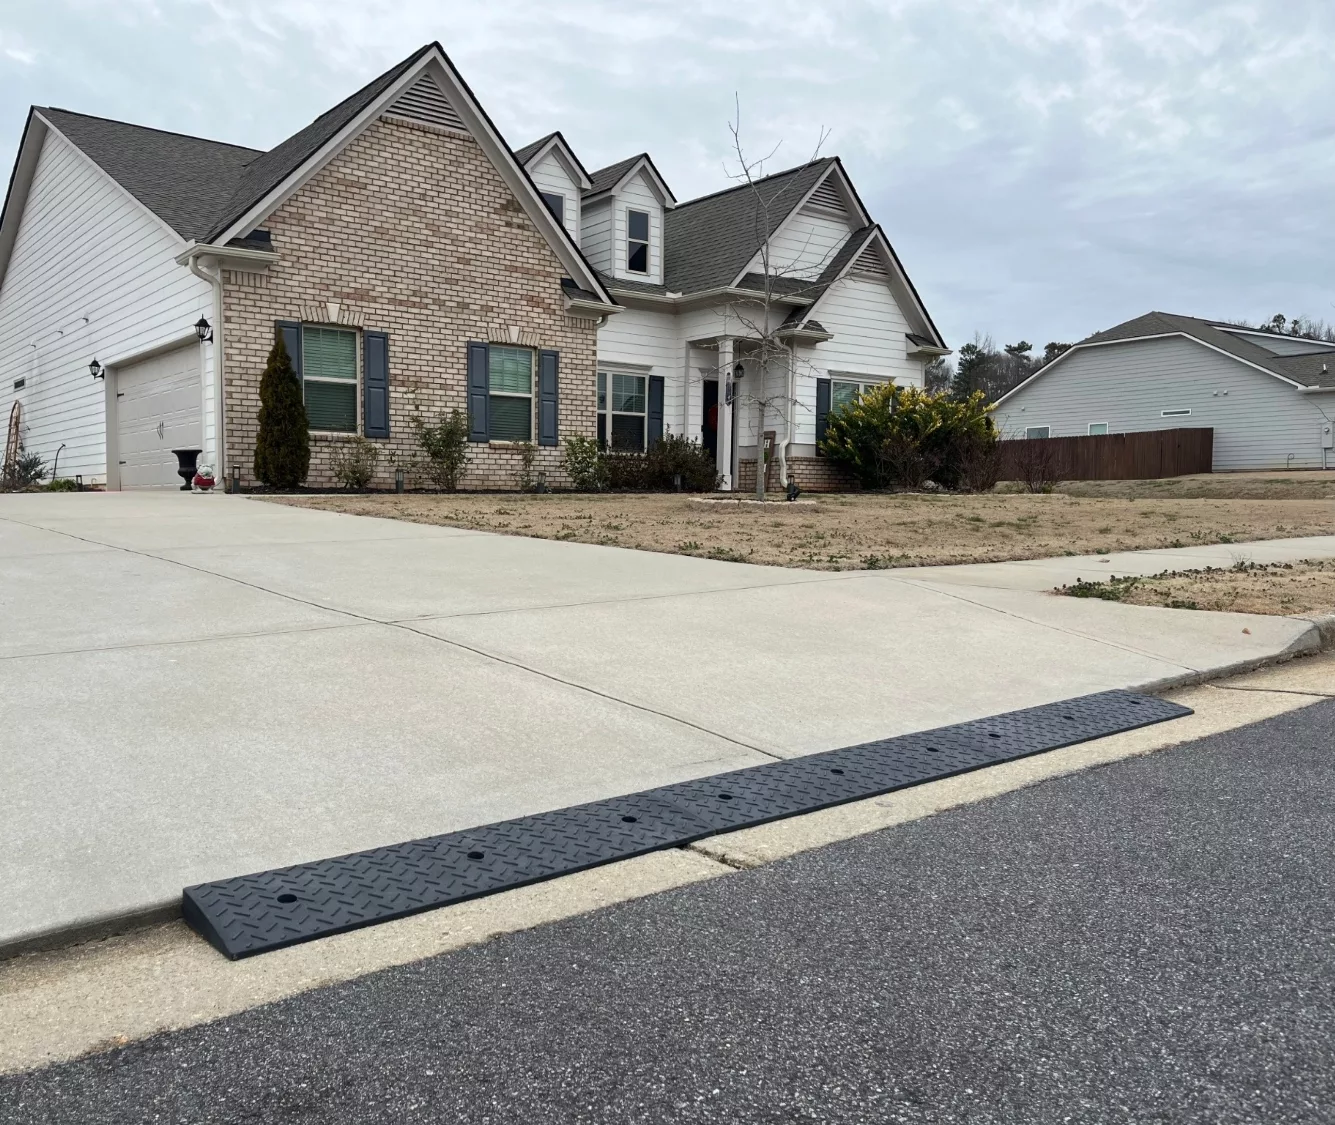
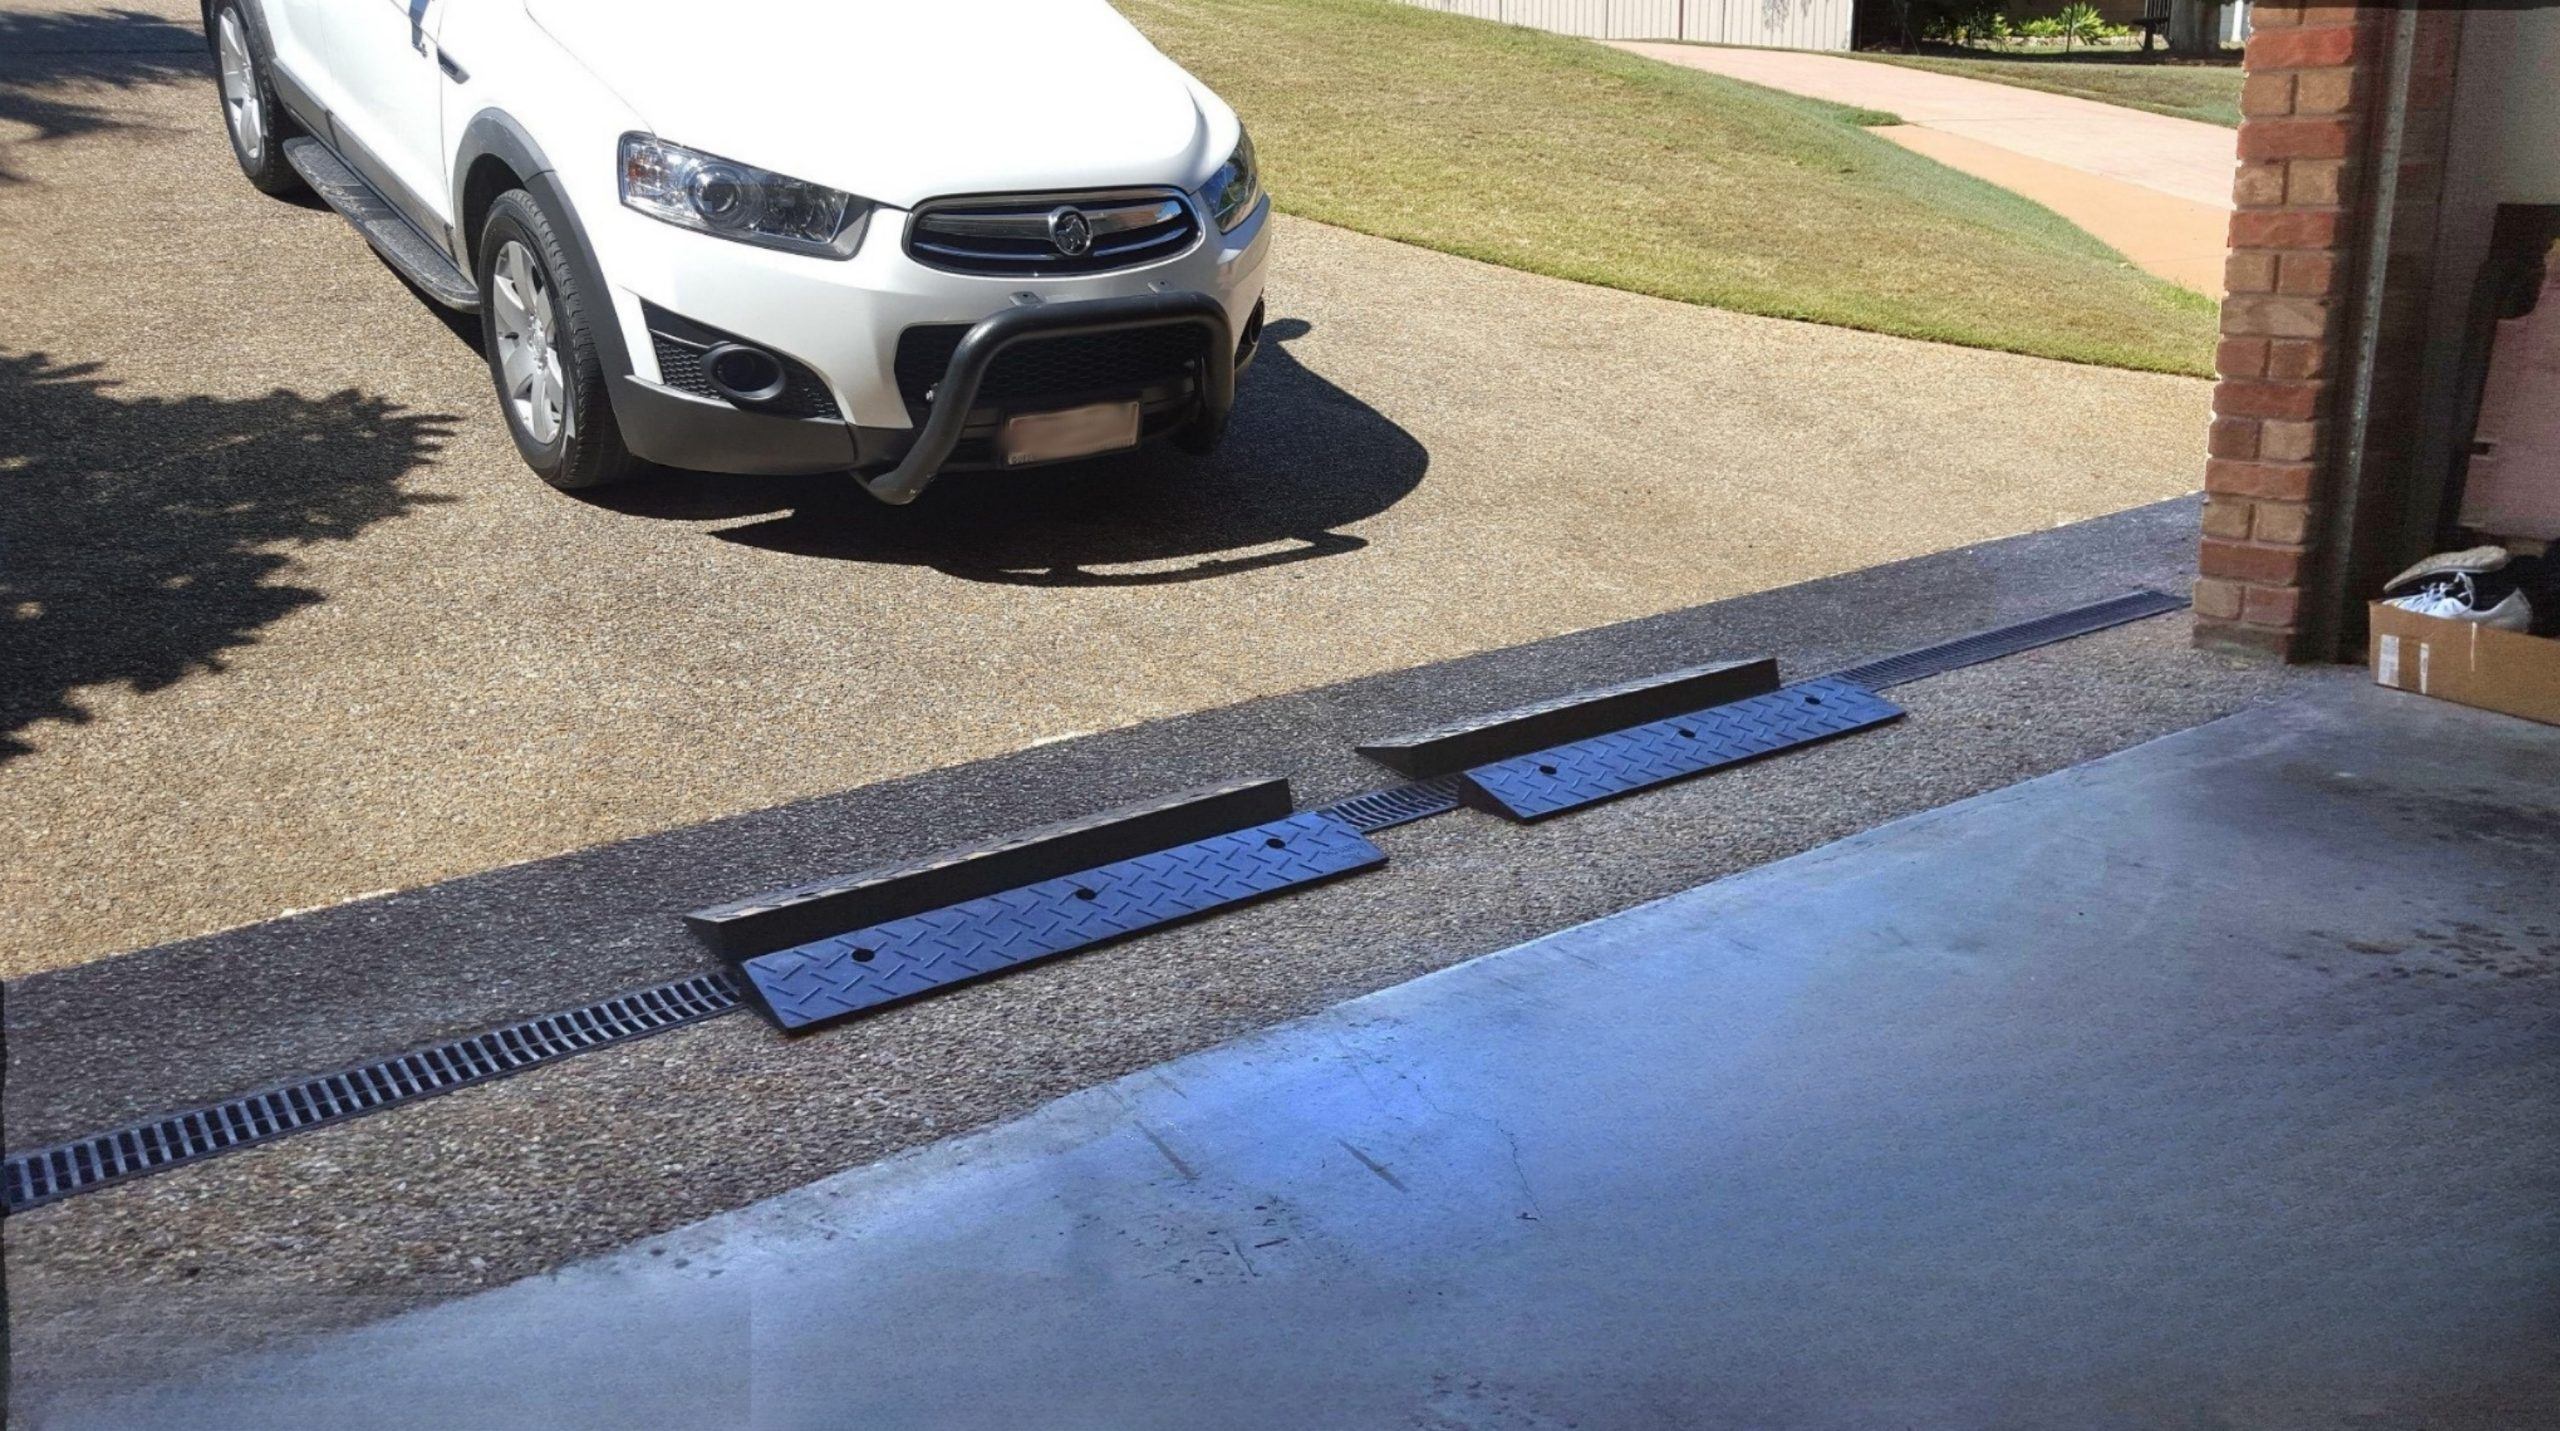
Can they be used for square curbs, mid-driveway pivots, and garage approaches?
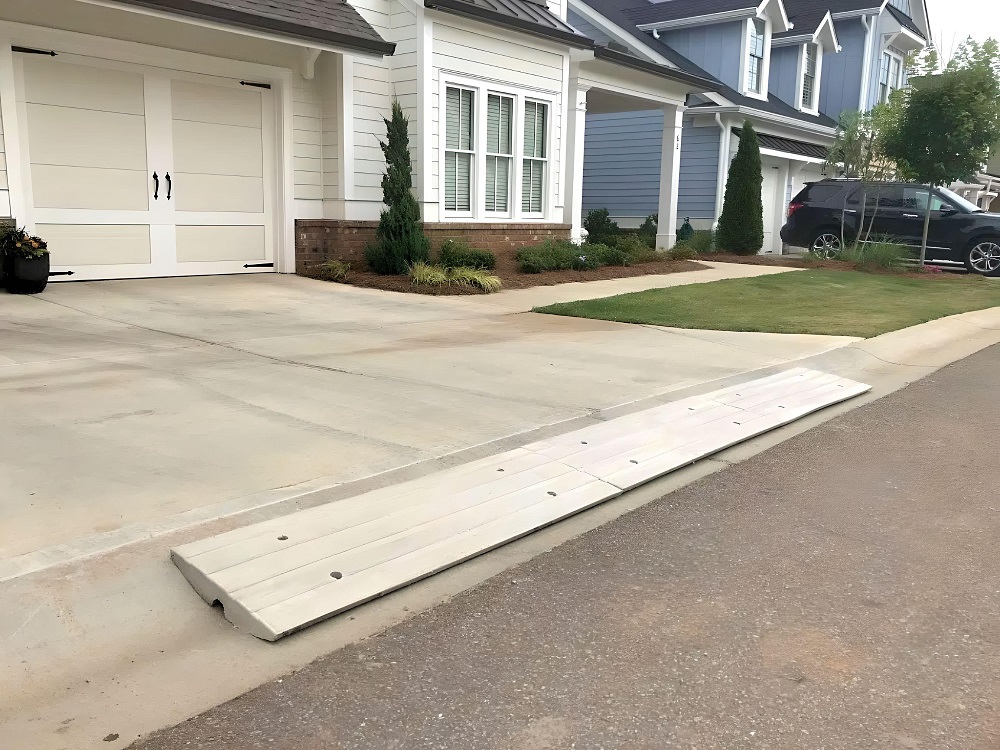
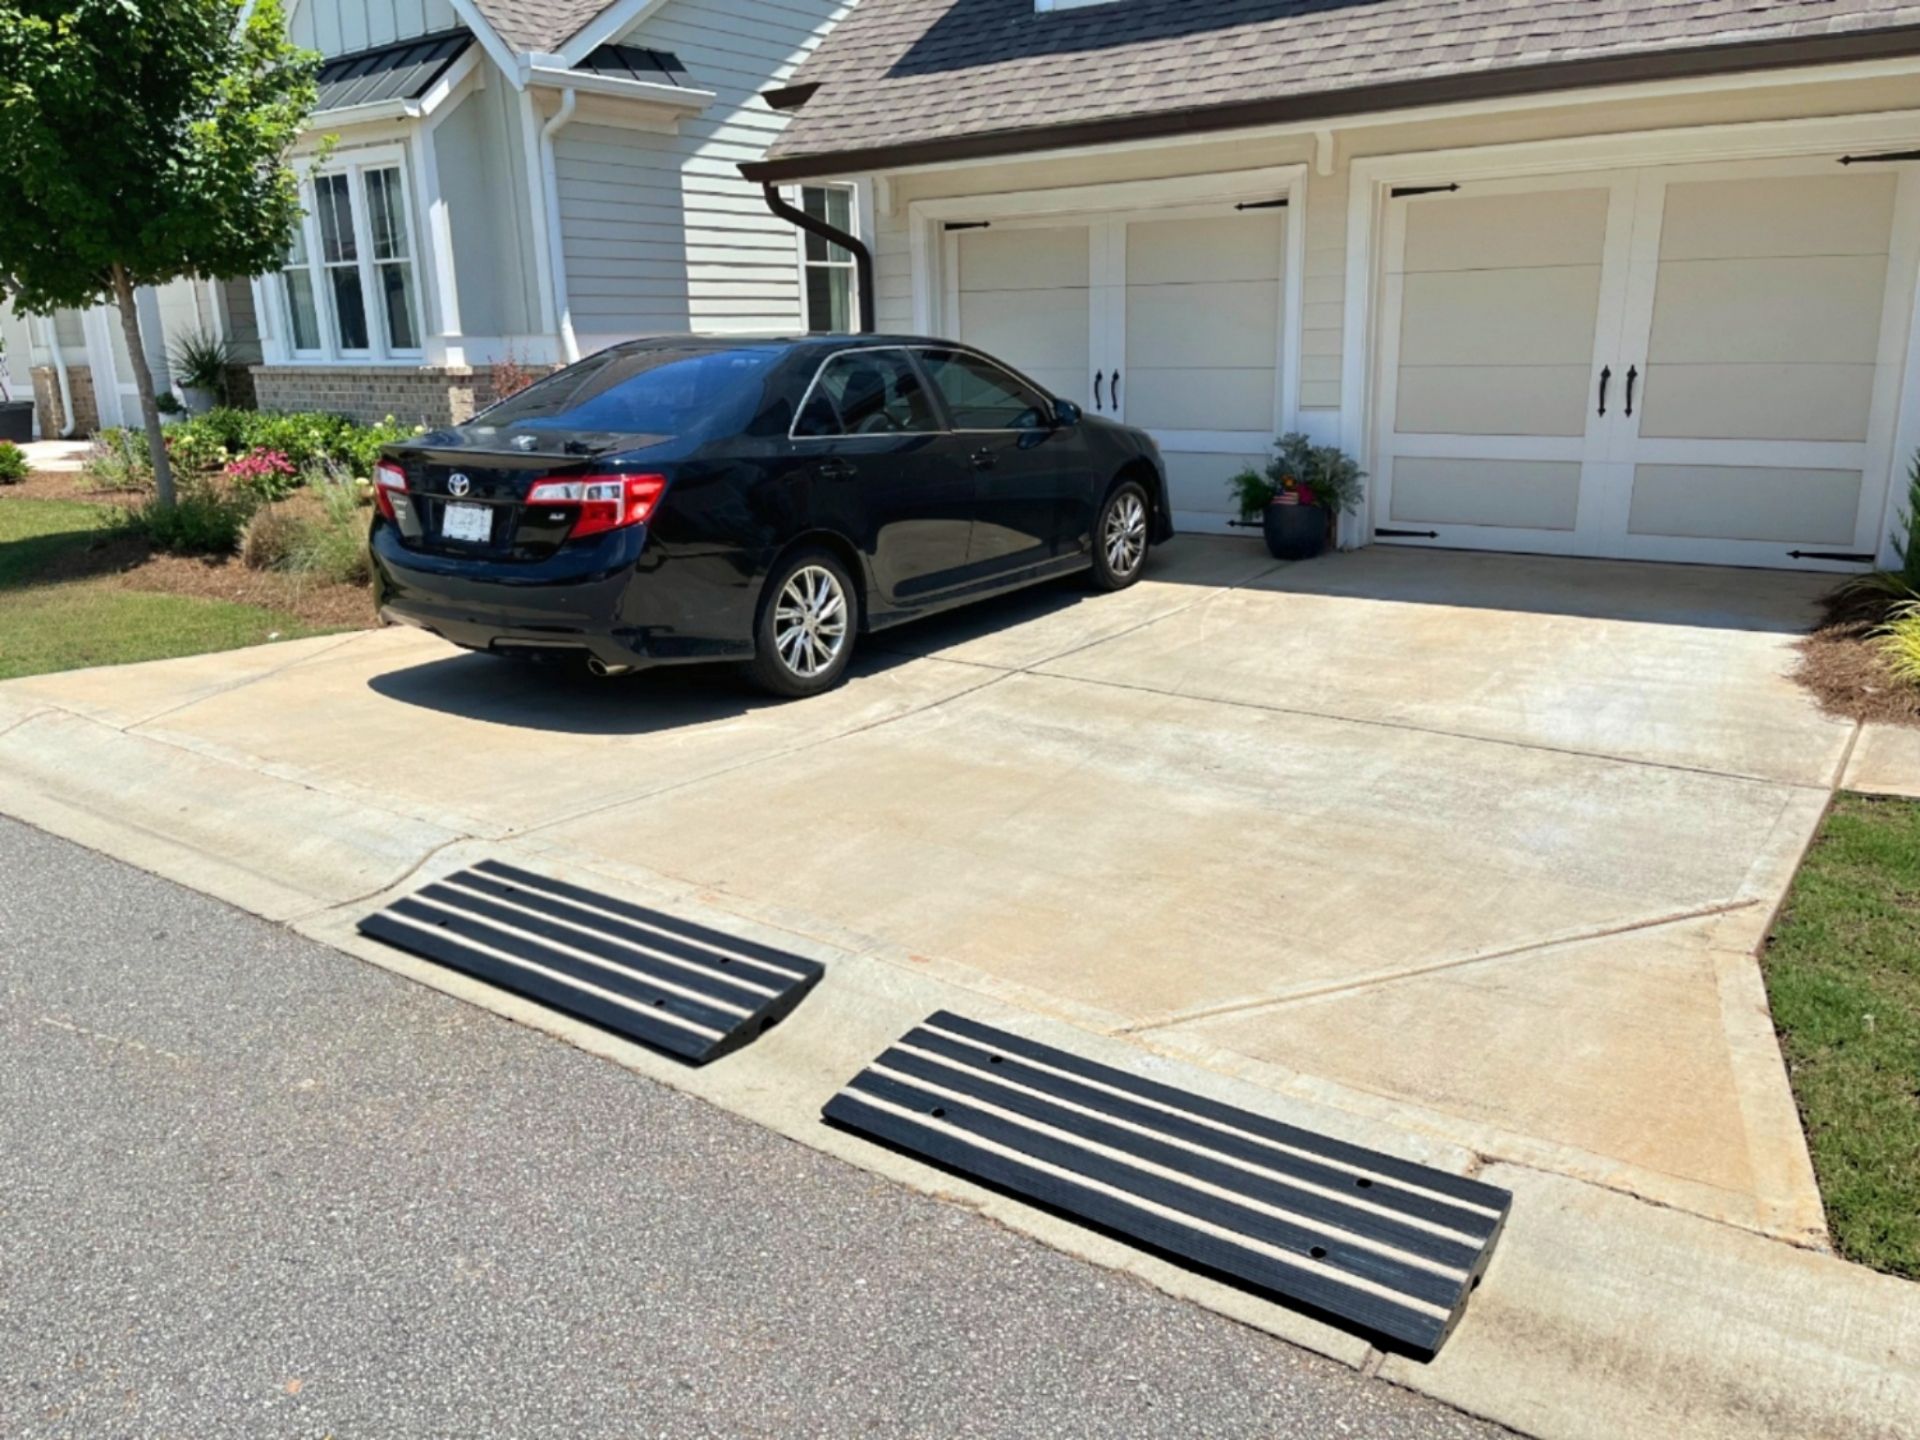
Yes, CurbEase™ Driveway Curb Ramps are designed for seamless transitions over square curbs, mid-driveway pivots, and garage approaches, making them versatile for various driveway scenarios.
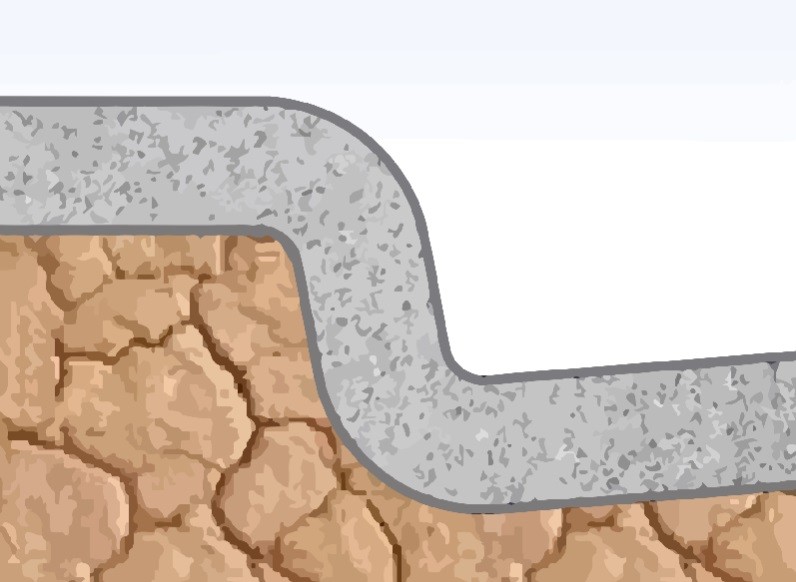
How do these ramps prevent scraping and damage?
They offer a smooth transition over challenging angles, obstacles, and curbs, preventing scraping and damage to your vehicle’s front side, bumper, and undercarriage.
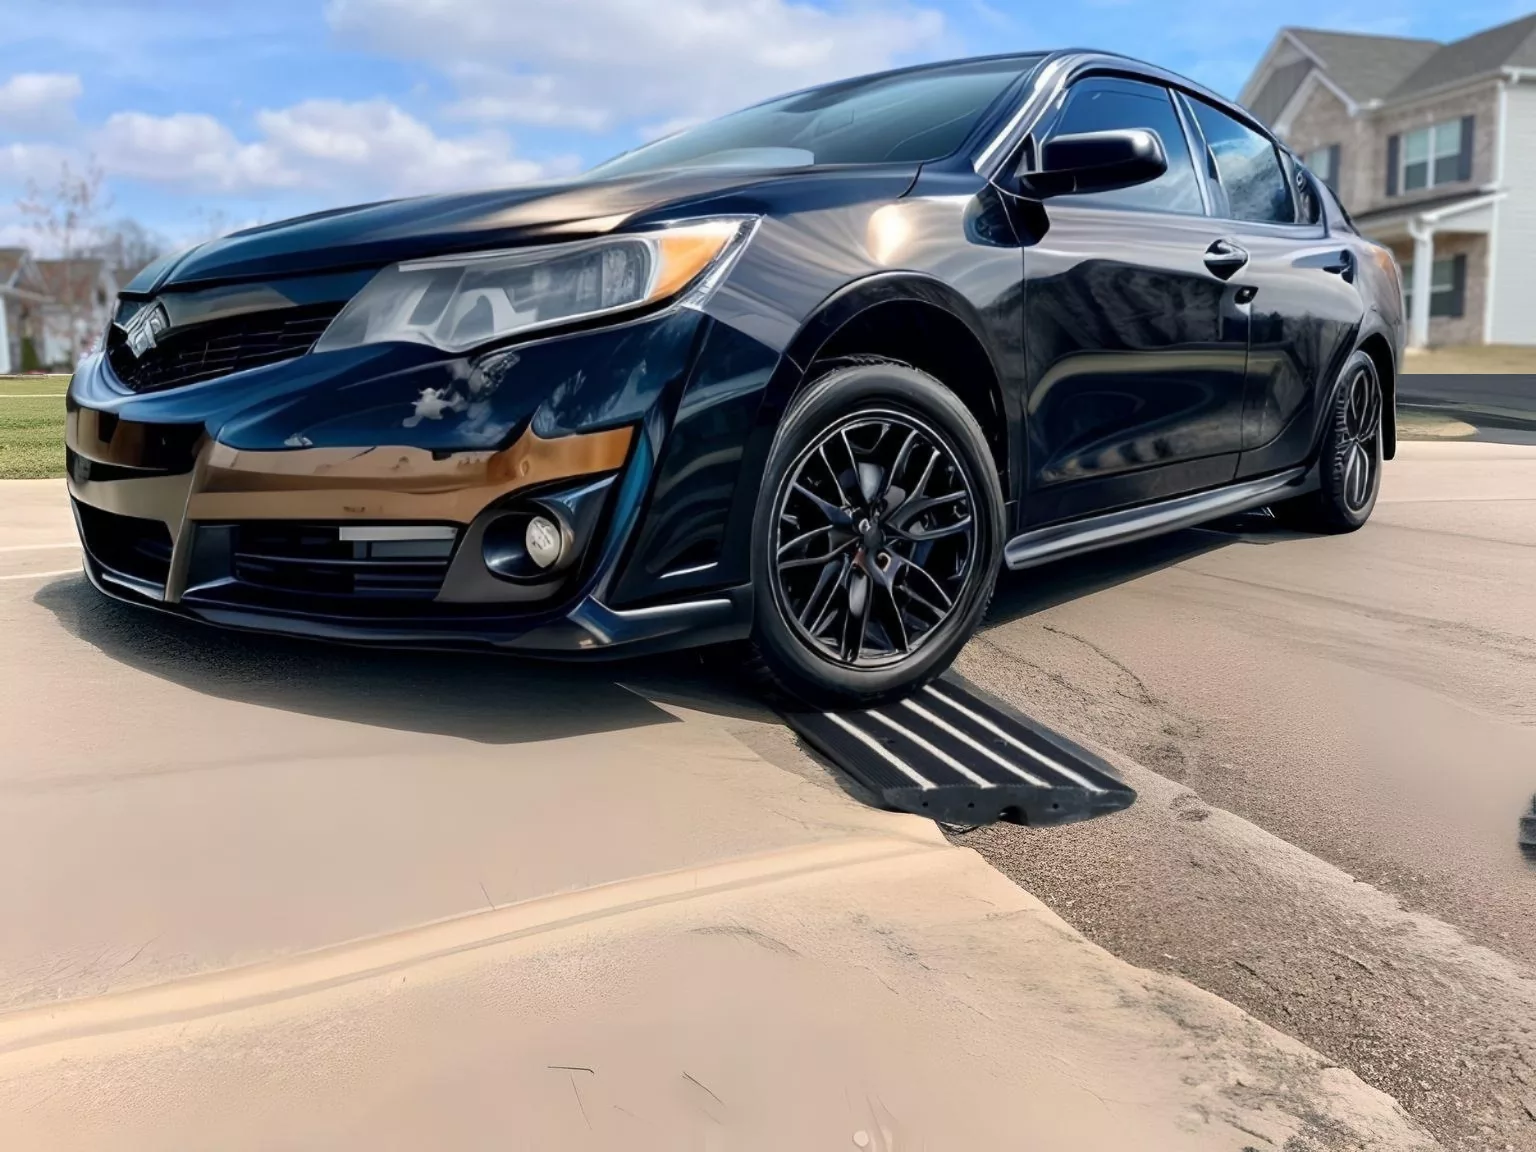
How can I enhance my driving experience with CurbEase™ Driveway Curb Ramps?
By using CurbEase™ Driveway Curb Ramps, you can confidently tackle steep driveways and avoid scraping and damage. These ramps provide a safe and smooth journey over obstacles, ensuring car protection and worry-free driving.
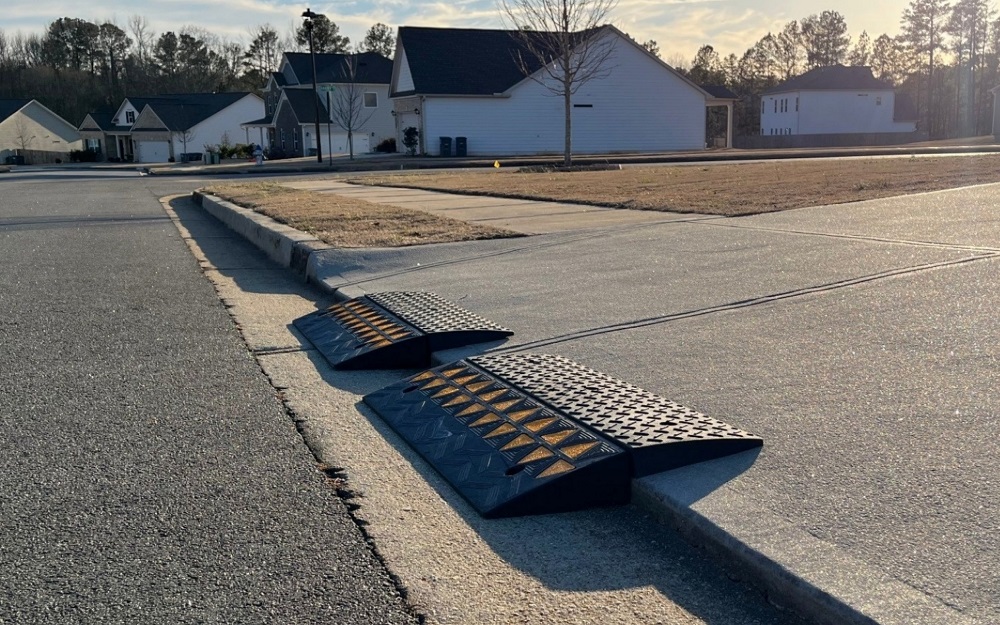
Do the ramps have tapered ends for smooth entry from any angle?
Absolutely! CurbEase™ Driveway Curb Ramps feature tapered ends that allow for seamless entry from any angle. This design ensures a smooth transition and eliminates the need for precise alignment, making your driving experience even more convenient and hassle-free.
How can I contact customer support for further assistance?
If you have additional questions or need further assistance, you can call or text (678) 488-6755 or email curbramp.us@gmail.com.
Order Changes, Cancellations, and Returns
Can I change or cancel my order?
If you need to change or cancel your order, please contact our customer support as soon as possible.
How do I return or exchange a product?
Our return and exchange policy typically allows customers to return unused items within 30 days of delivery. If you need to initiate a return or exchange, please reach out to our customer support team for detailed instructions. To ensure a smooth process, we kindly request that you save the shipping box just in case. Our dedicated team will guide you through the necessary steps to make your return or exchange experience hassle-free.
How long does the shipping process take?
Shipping times vary depending on the product and your location. Typically, it takes 3-5 business days for domestic shipping.
What payment methods are accepted?
We accept all major credit cards and PayPal. These will be displayed at checkout.


")
")

")


")

")
")

")


")


")


")


")
")


")


")