Welcome to the first part of our two-part series on driveway curb ramps. In this article, we will explore the installation, selection, and maintenance of curb ramps for driveways. Be sure to stay tuned for the second part, where we will delve into the benefits, materials, and commercial considerations related to driveway curb ramps.
Curb ramps for driveways are essential for enhancing accessibility, safety, and convenience for both residential and commercial properties. In this comprehensive guide, we’ll explore everything you need to know about driveway curb ramps, from installation to maintenance. We’ll also introduce you to two exceptional products that can make your driveway accessible and safe: the CurbMaster Pro and ElevateDrive ramps.
Driveway Curb Ramp Installation Guides
How to install a rubber curb ramp for your driveway
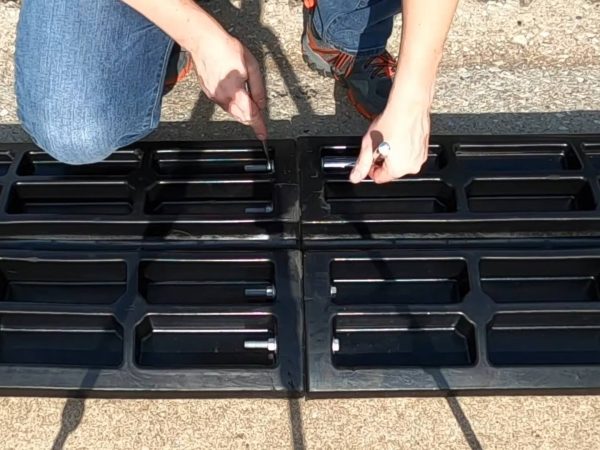
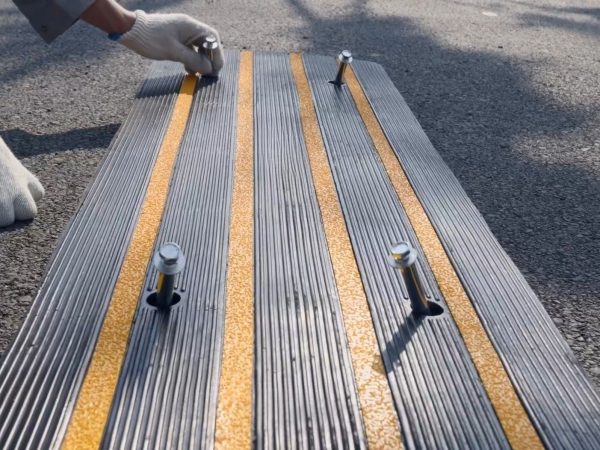
To ensure a secure installation of the CurbMaster Pro or CurbMaster v1 Curb Ramps, utilize the included concrete anchors. Follow these straightforward steps:
- Place the ramps in your desired location.
- Employ a 1/4-inch drill bit to bore holes at the chosen positions.
- Insert the concrete anchors firmly into the holes.
- Use a socket wrench to securely tighten the anchors.
If you prefer an installation method that doesn’t involve drilling, you can also opt for construction adhesive to affix the ramps firmly in place.
DIY driveway curb ramp installation guide
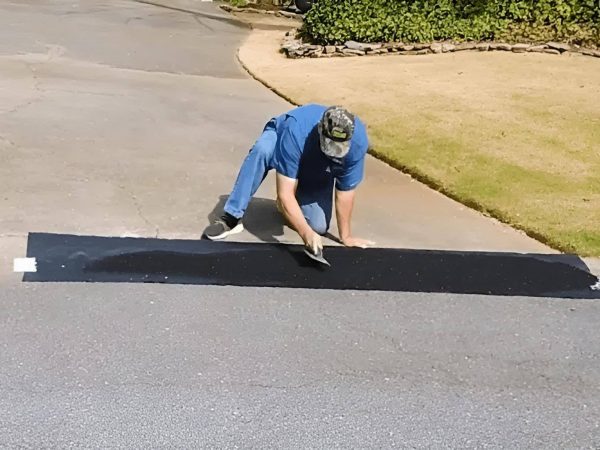
If you’re a DIY enthusiast, consider installing your driveway curb ramp. Our step-by-step DIY guide will walk you through the process, making it a satisfying and cost-effective project.
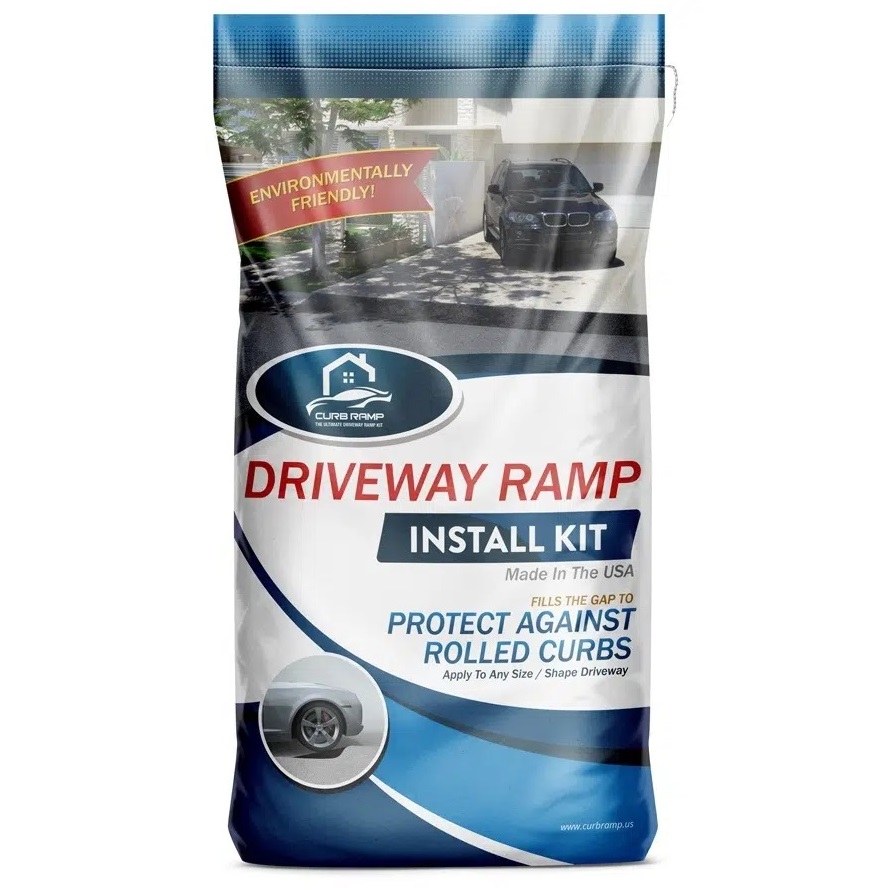
Installation is a breeze with our mix, pour, and spread method, detailed in the provided PDF guide. Each kit conveniently covers approximately 6 feet of curbs. Enhance the longevity of your curb by laying a suitable substrate underneath. Achieve a flawless integration by applying a matching paint coat to seamlessly blend it with your existing curb
Installing a curb ramp for your driveway to prevent car scraping: A step-by-step guide
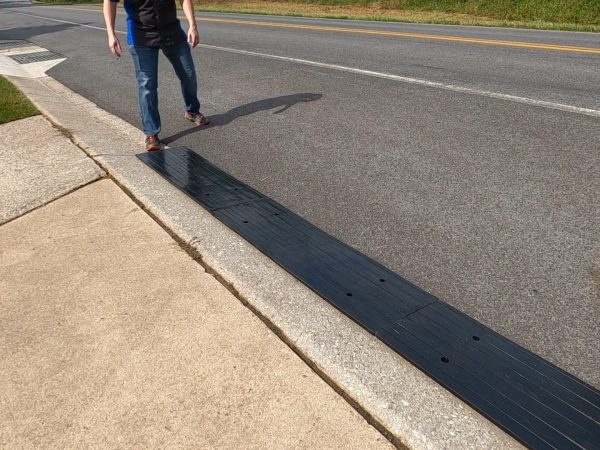
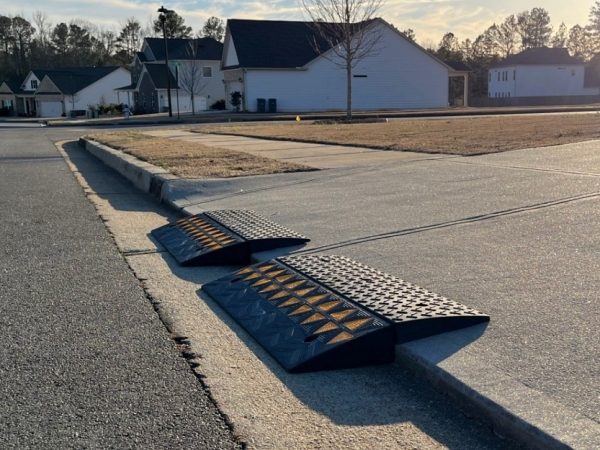
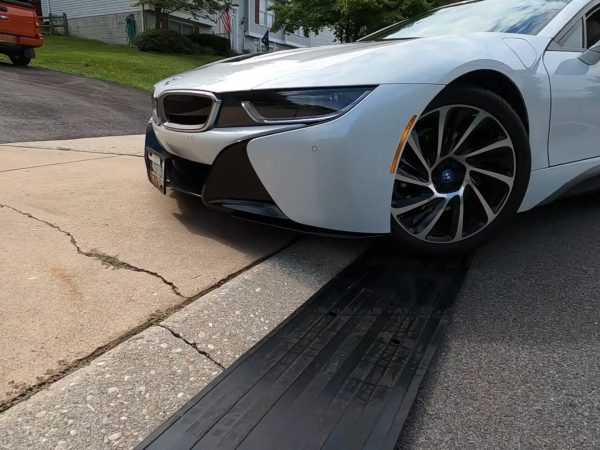
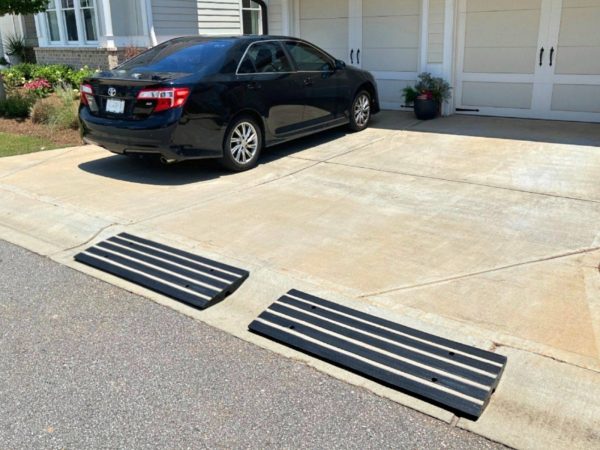
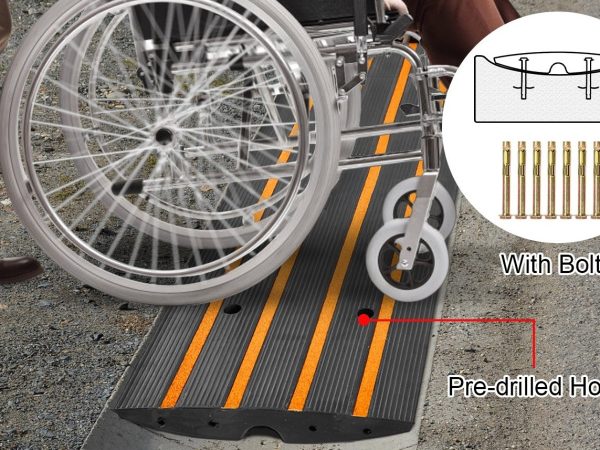
Installing our pre-made rubber ramps is a breeze. Begin by positioning the ramps precisely where you want them on your curb. Then, use a 1/4-inch drill bit to create holes at the specified locations. Insert the included concrete anchors into these holes and secure them with a socket wrench.
For enhanced safety, our rubber ramps feature reflective strips, ensuring excellent visibility during nighttime or low-light conditions. These ramps not only offer easy accessibility but also prioritize safety, making them a valuable addition to your curb, both day and night.
If you’re opting for a DIY approach and building your own ramps using our installation guide, it’s as simple as mixing the compound with adhesive and spreading and shaping it to fill the described area, providing the clearance your car needs
Maintaining your driveway curb ramp for long-term use
To maintain your driveway curb ramps for long-term use, follow these tips:
Regularly inspect the ramps for wear and damage, clean them to remove debris. Tighten any loose hardware, touch up paint or reflective strips for visibility, and avoid heavy impacts. Be cautious when shoveling snow near the ramps during winter.
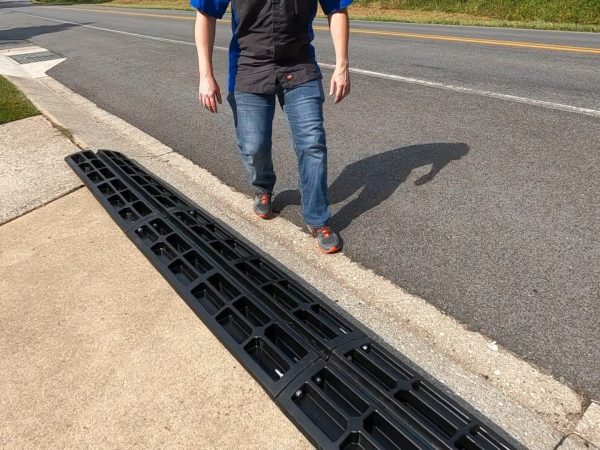
Regularly inspect the drainage channel and remove any debris blockages. If you’ve installed our mixable ramp-building compound, consider applying a protective sealant. This step is especially important for maintaining the longevity of your ramps. These practices will help ensure the durability and safety of your curb ramps over time. If you have any questions about maintaining other specific areas, please don’t hesitate to reach out to us for additional maintenance guidance.
Choosing and Comparing Curb Ramps
Choosing the right curb ramp for your residential driveway
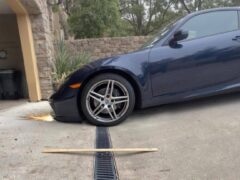
Selecting the appropriate curb ramp for your residential driveway involves considering factors like the driveway’s layout and intended use. We offer ramp solutions for various common driveway situations, including rolled curb ramps, rubber ramps for steep driveway aprons, garage entry ramps, square curb and lip threshold ramps, and driveway straddling (car bottoms out on a ridge in the middle of the driveway).
While our premade ramps are designed to address typical scenarios, our versatile DIY “build-a-ramp” solution can handle more unique curb situations and repairs where premade ramps may not be the perfect fit. We’re here to assist you in finding the best solution that matches your specific needs, so don’t hesitate to reach out.
Comparing rubber and concrete curb ramps for driveways
Rubber and concrete are popular materials for curb ramps. Explore the advantages and disadvantages of each to make an informed decision.
Factors to consider when choosing a driveway curb ramp
Dive deeper into key considerations, including slope, size, and material, to ensure your chosen curb ramp meets your specific needs.
Accessibility and Safety
Ensuring safety with handicap-accessible curb ramps for driveways
Accessibility should be a priority. Learn how handicap-accessible curb ramps can make your driveway safe and accessible for all.
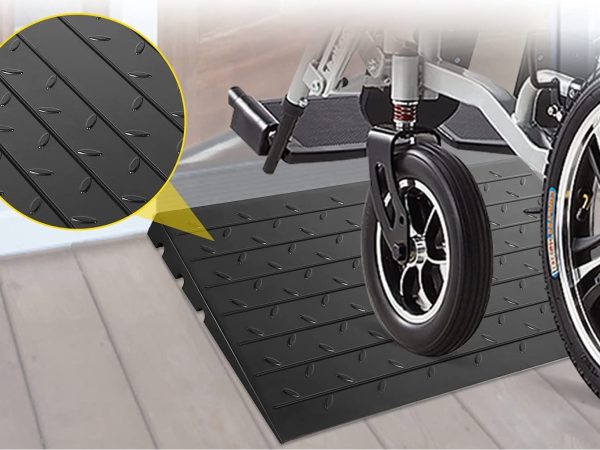
Wheelchair-friendly curb ramp options for your home
Discover the options available to create a wheelchair-friendly driveway, enhancing accessibility for individuals with mobility challenges.
Creating an accessible home driveway with the right curb ramp can transform your driveway into an accessible space. Find out how to achieve this for your home.
As we wrap up our discussion on residential driveway curb ramps, it’s time to shift our focus to commercial applications. In the next installment, we’ll explore the unique considerations for commercial driveway curb ramps, their benefits, advantages, and material considerations.


