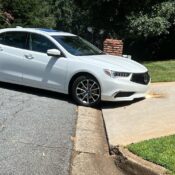
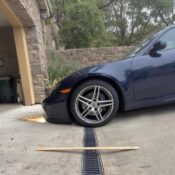
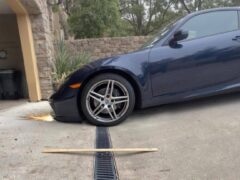
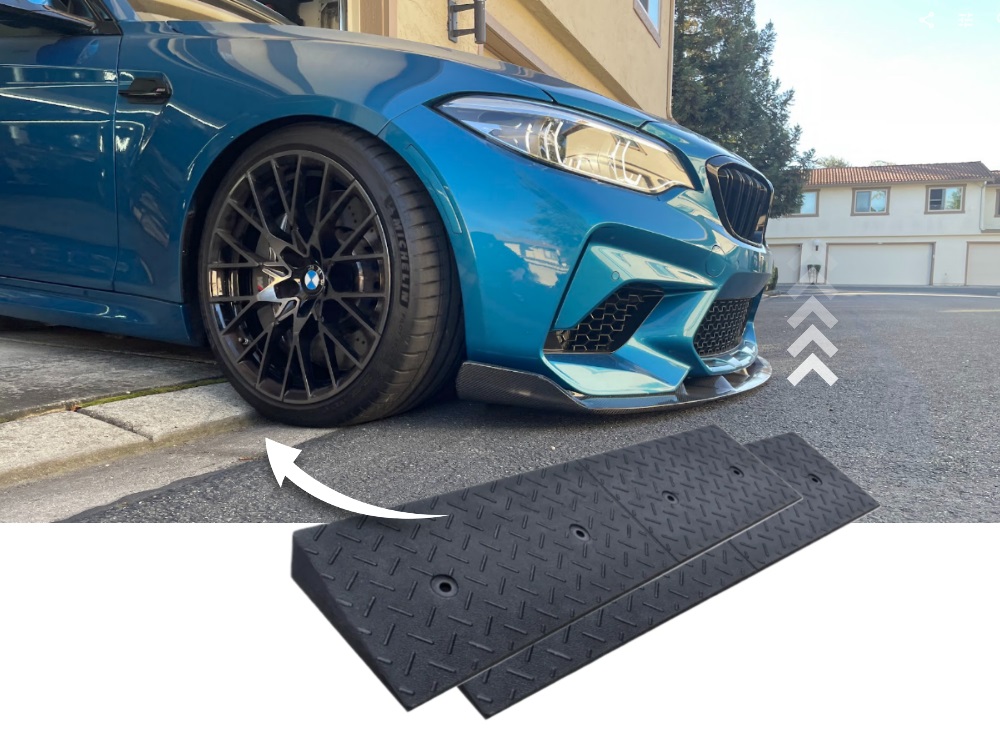
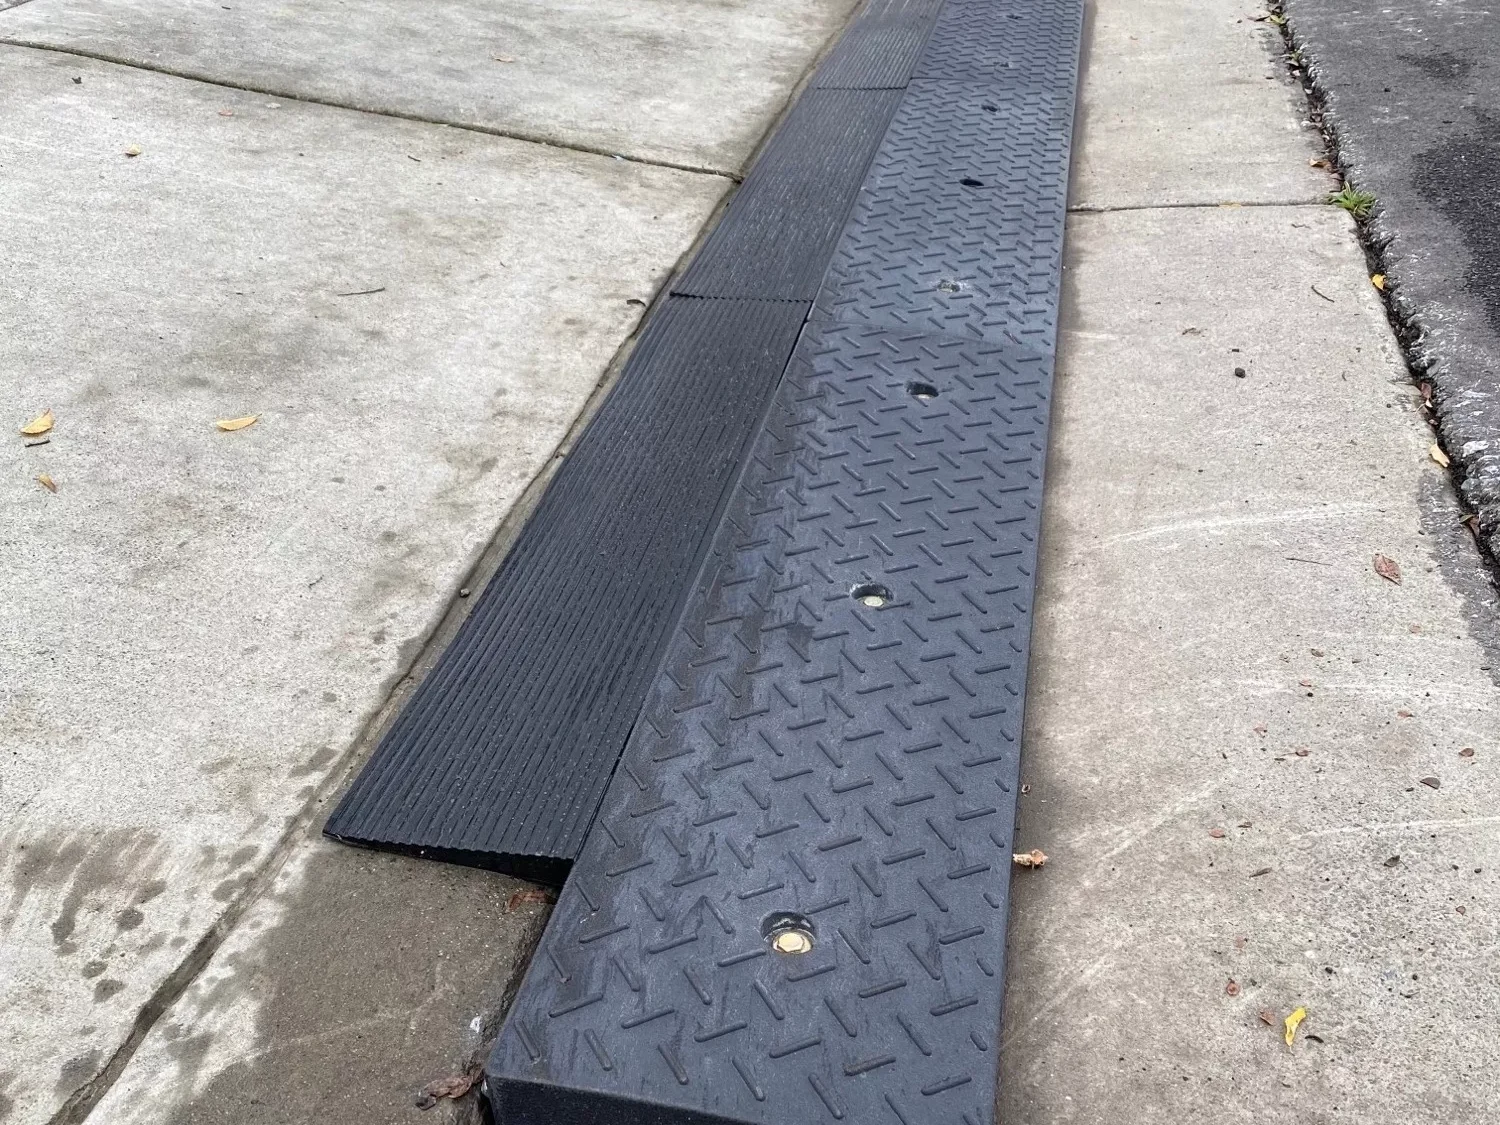
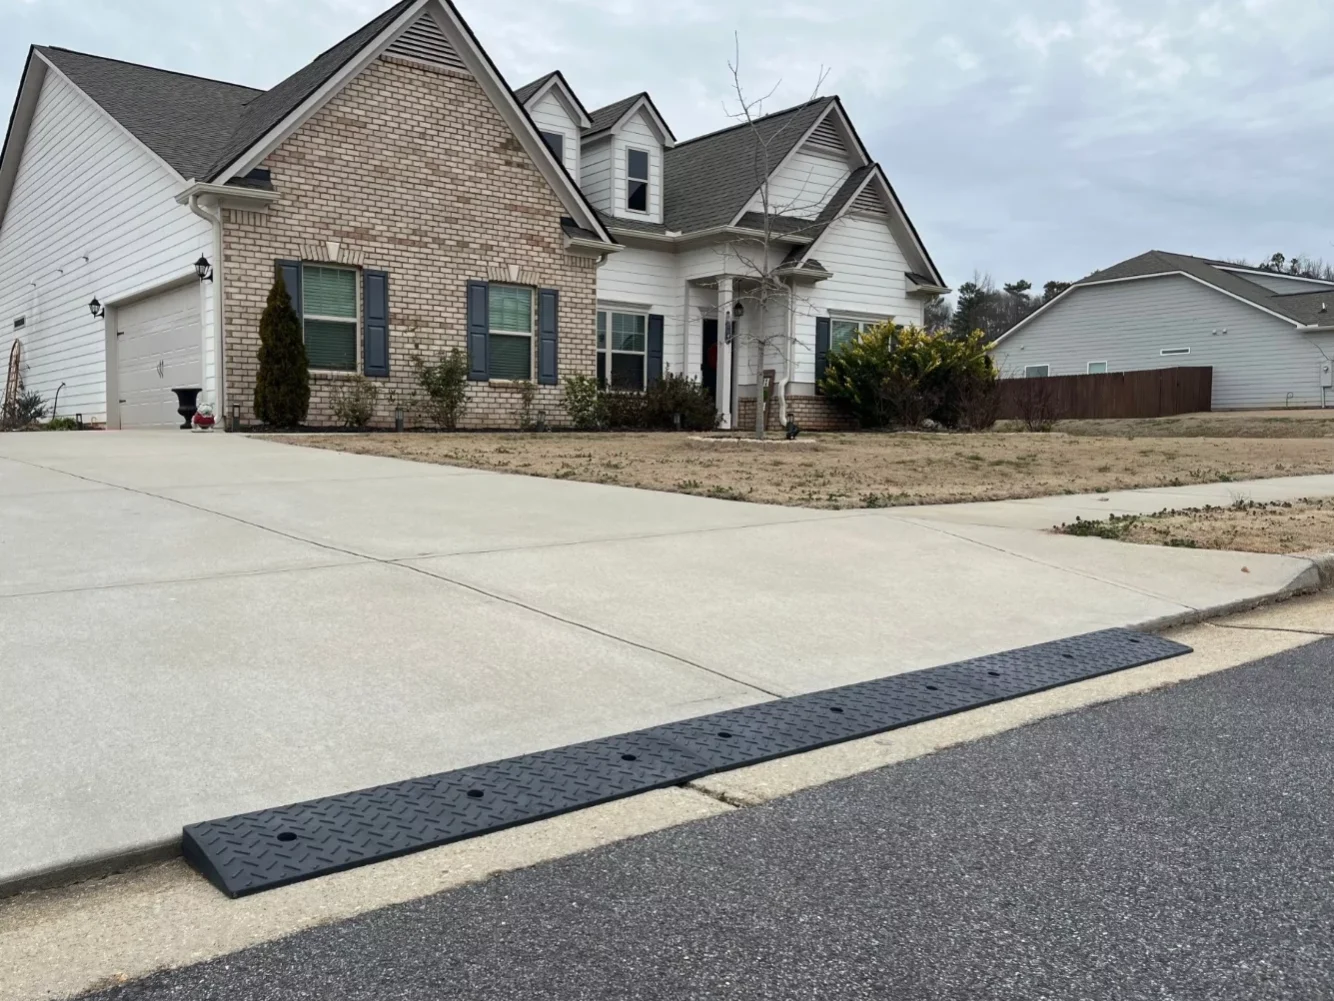
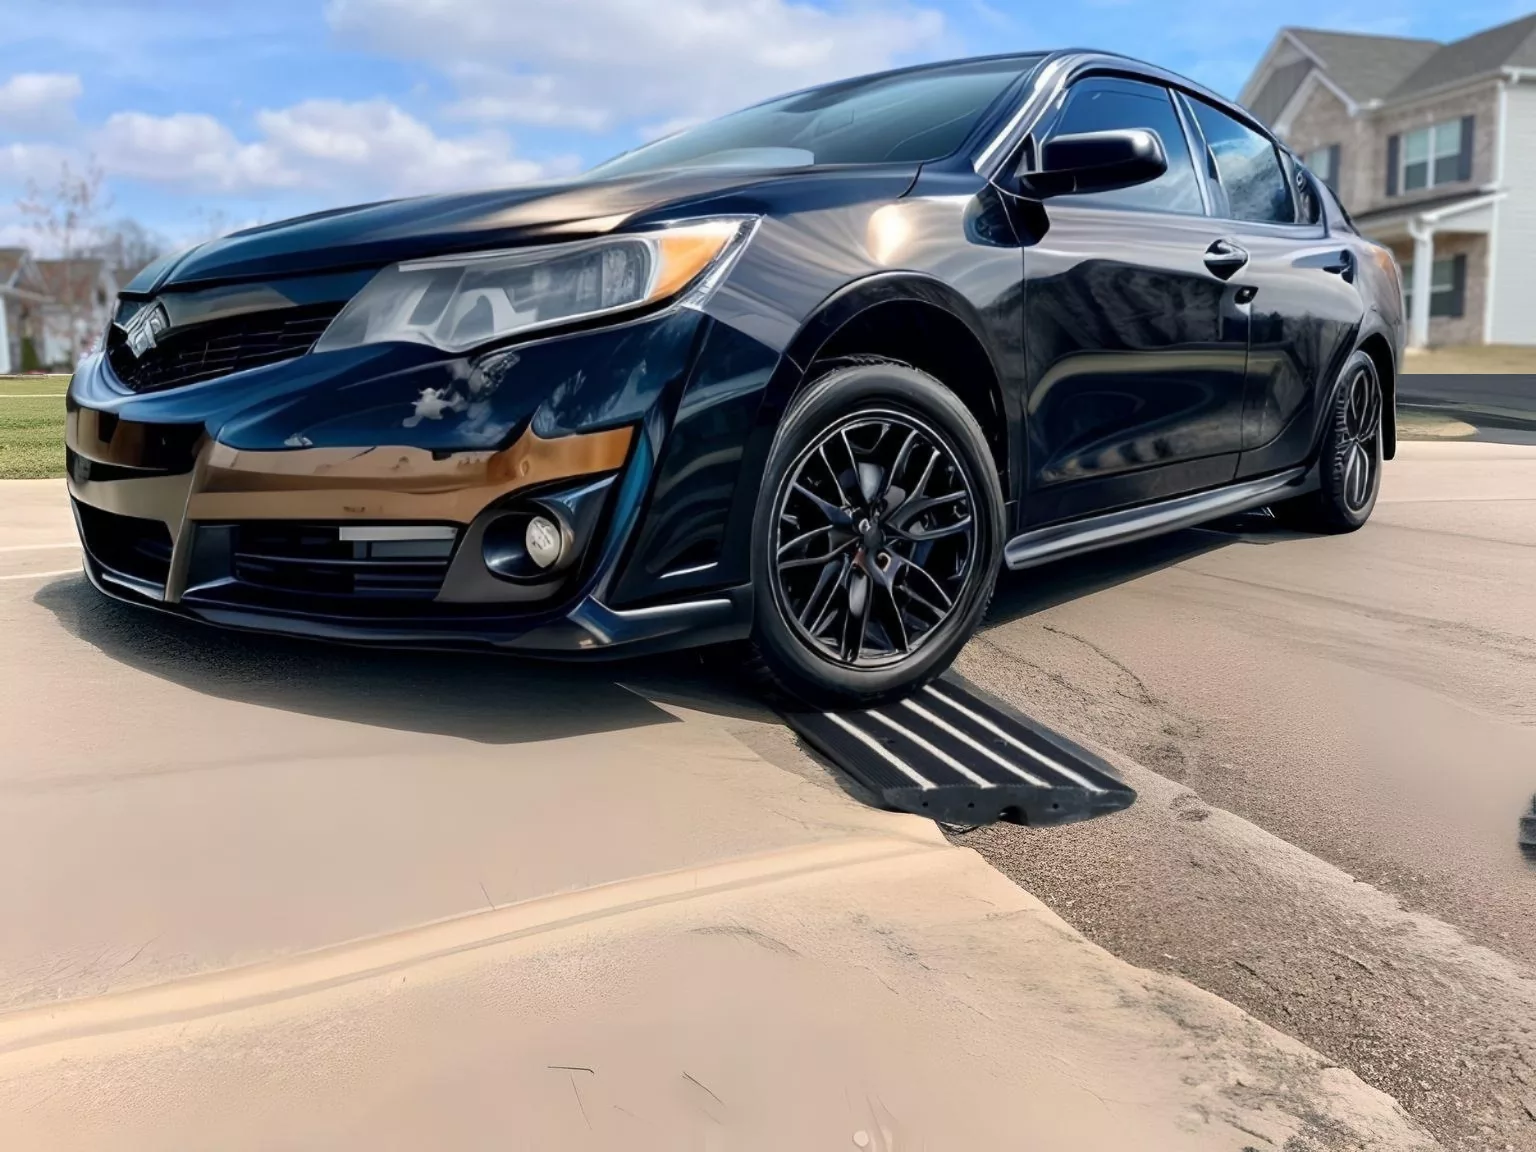
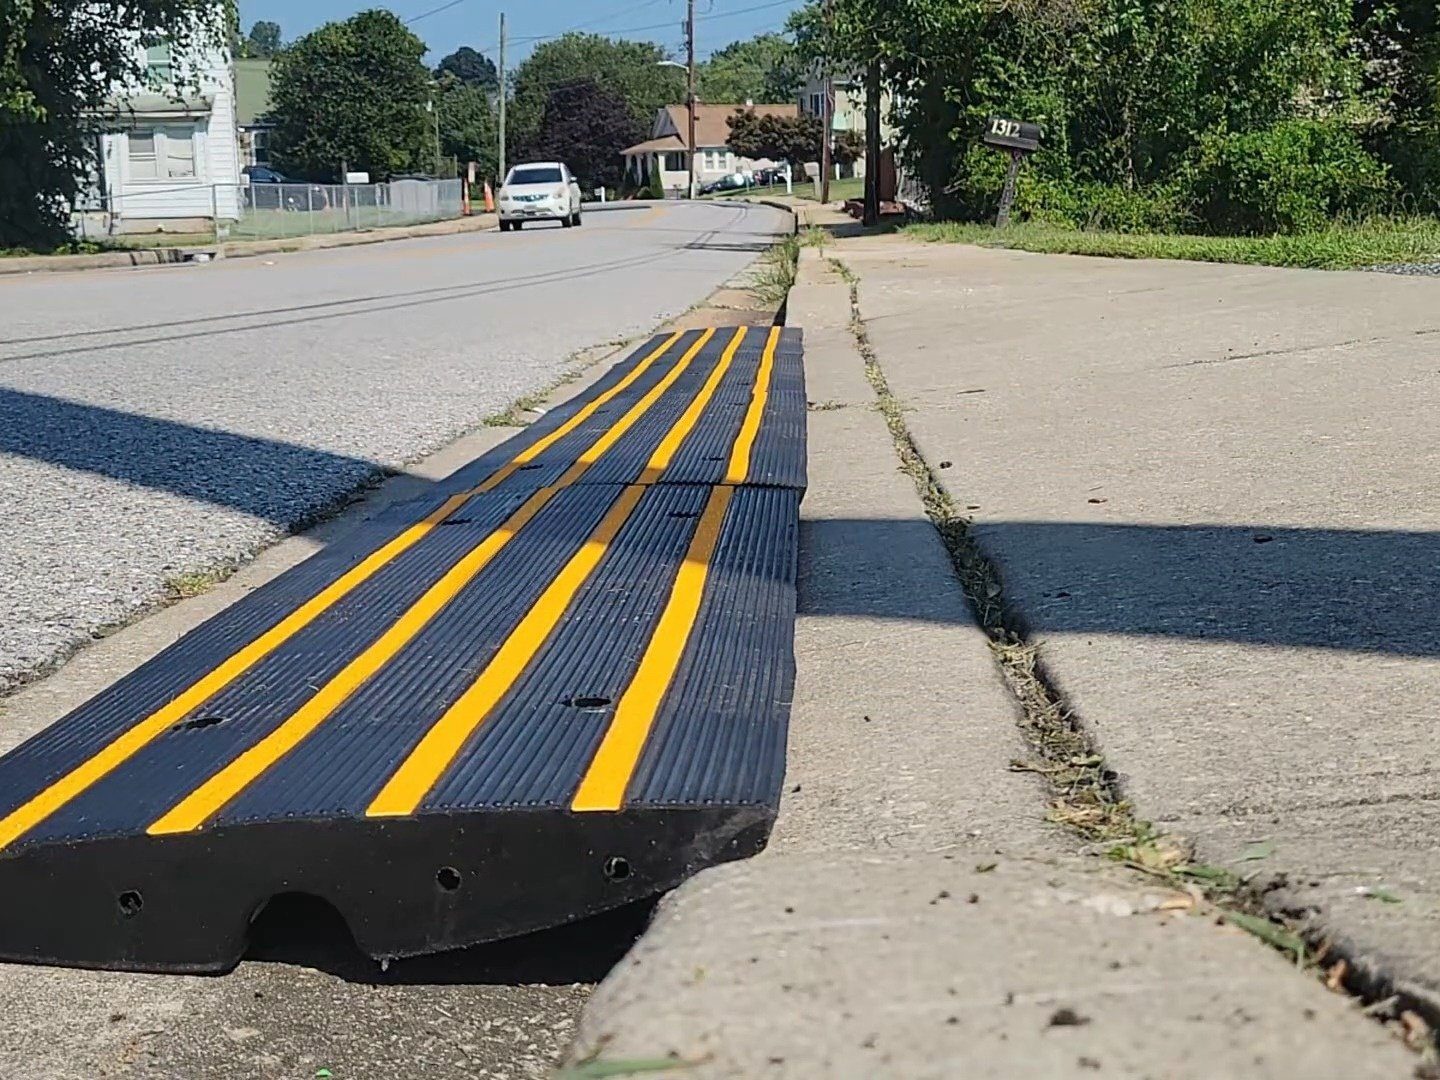
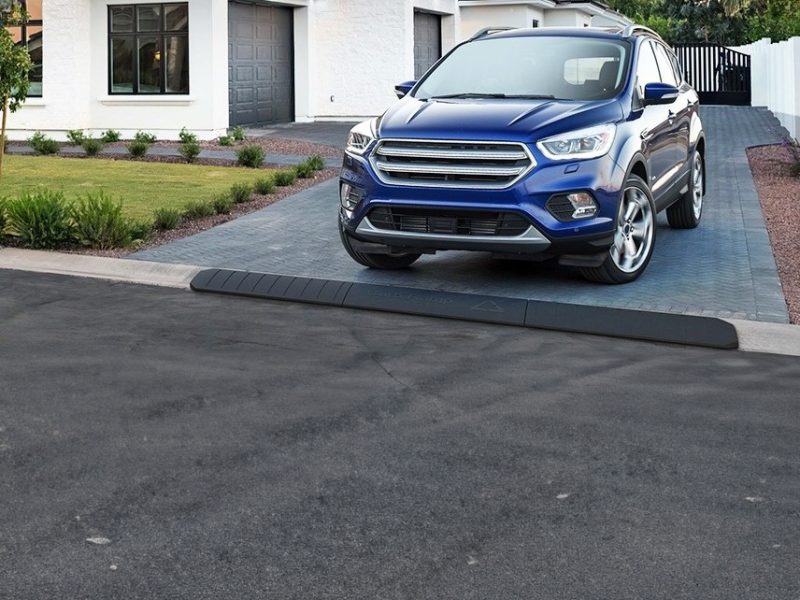
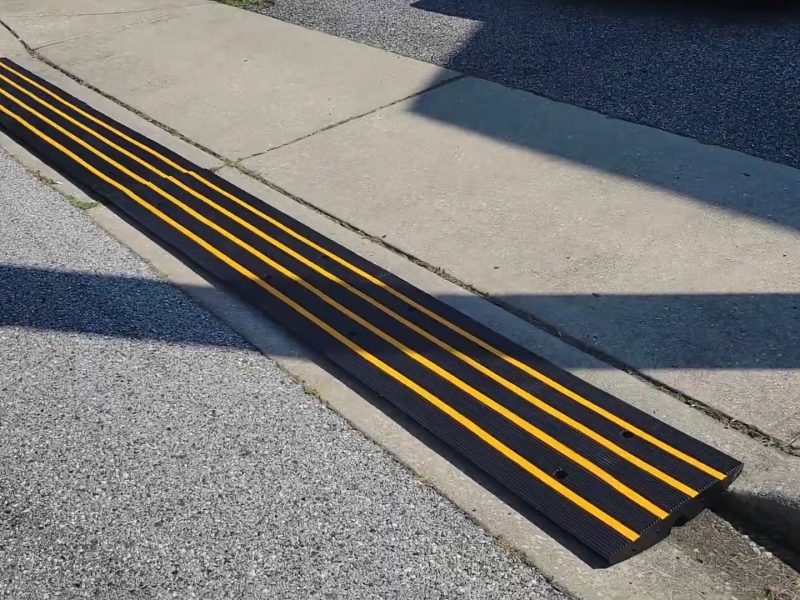
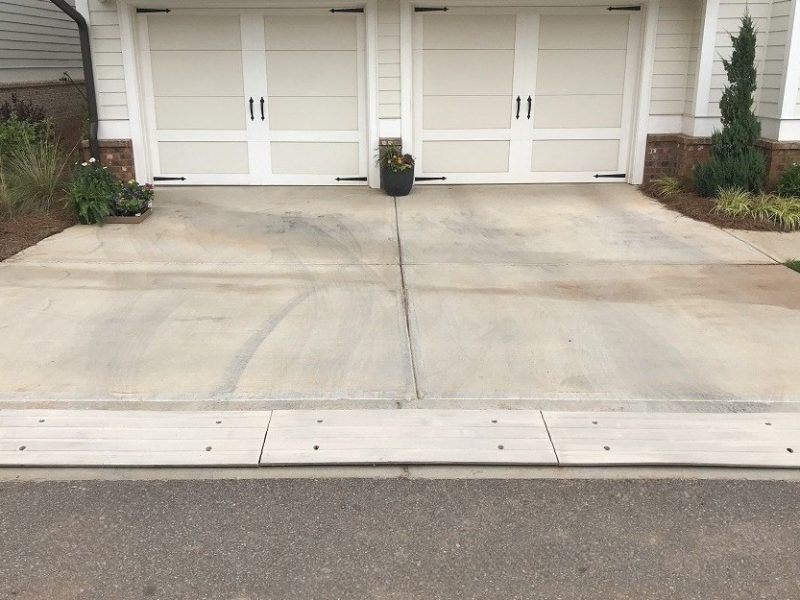
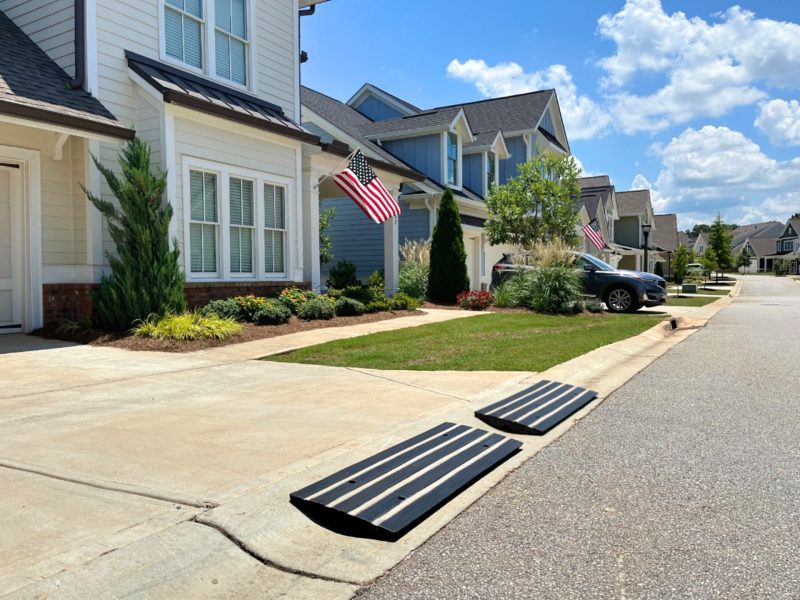
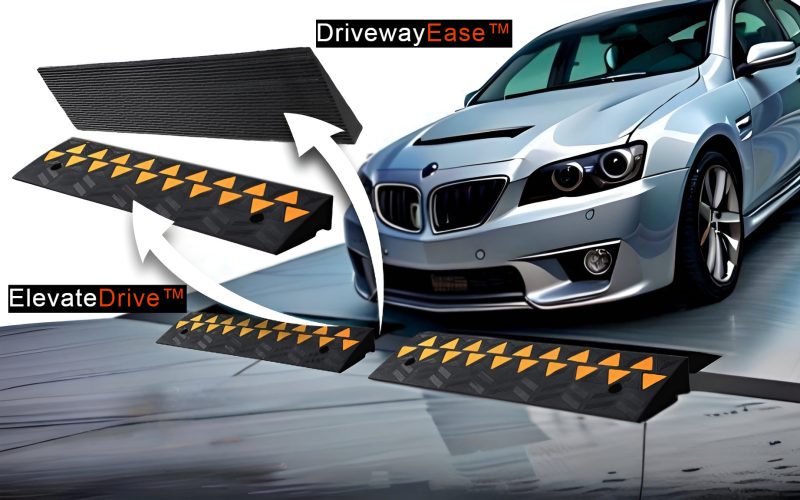
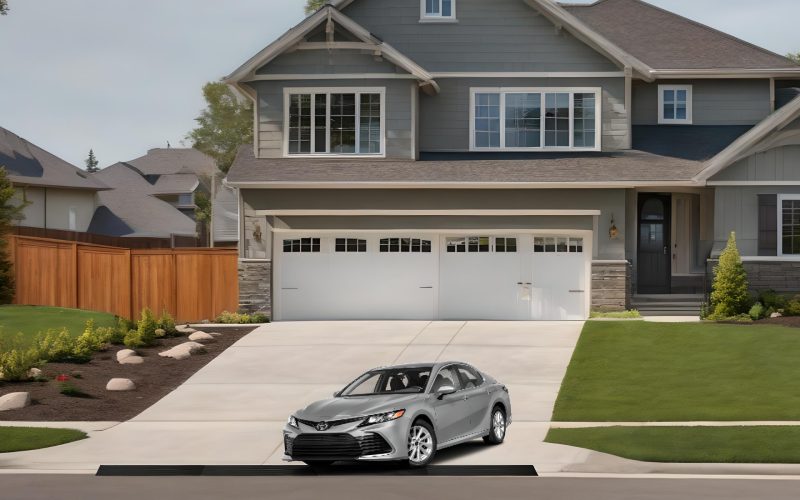
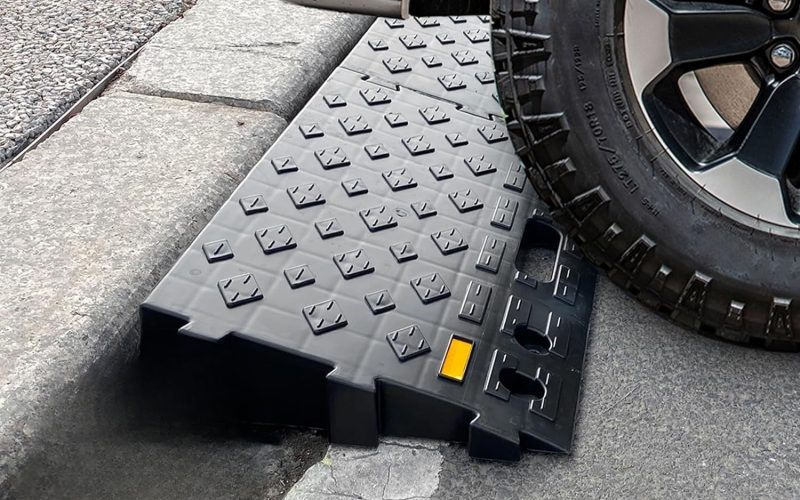
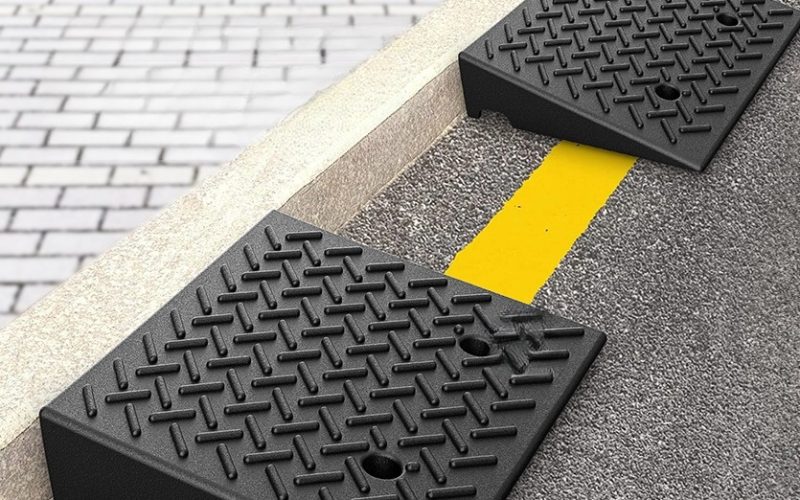
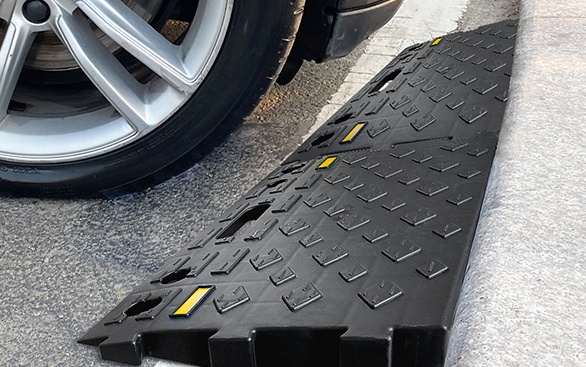
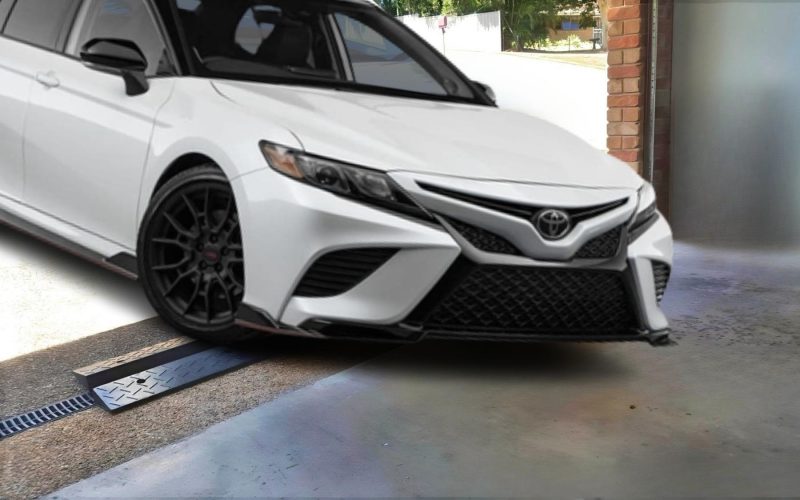
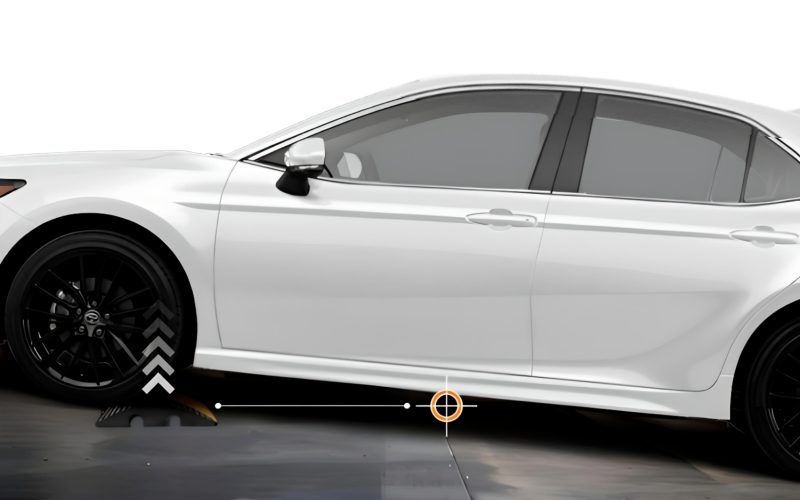
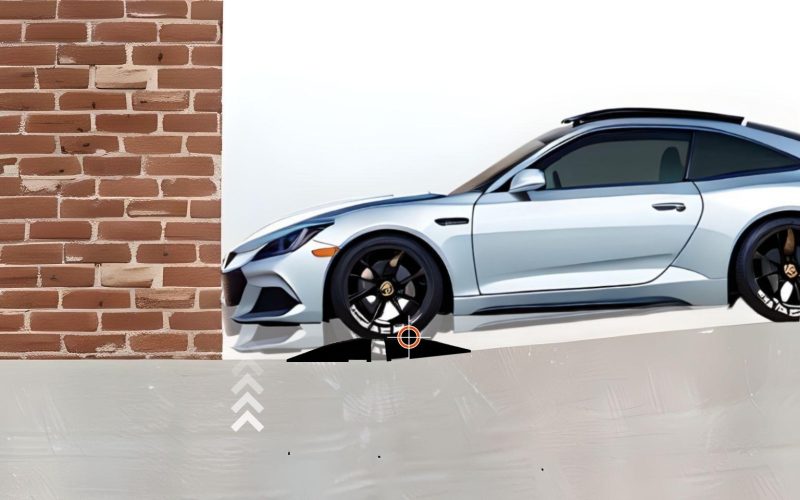
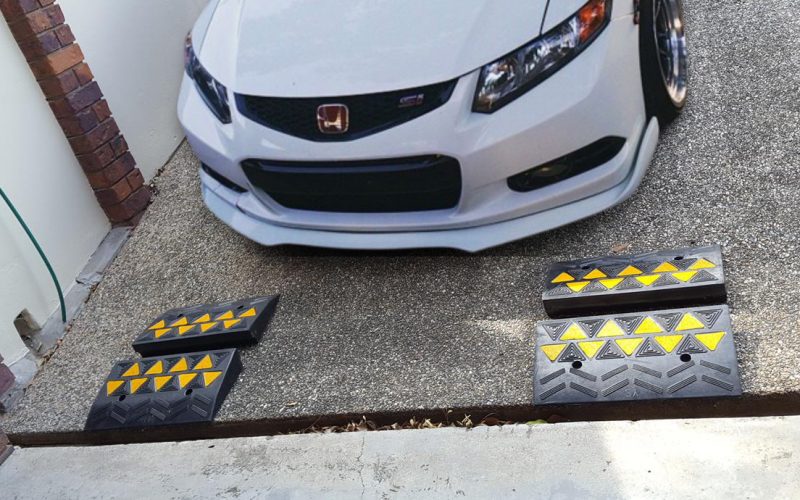
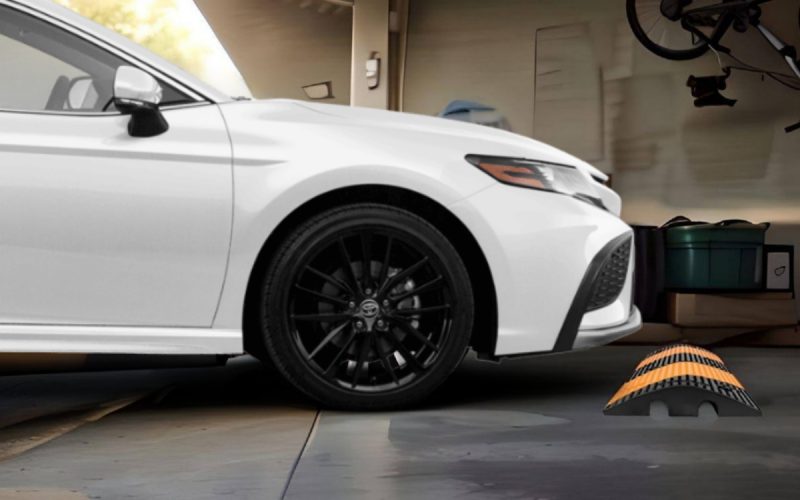
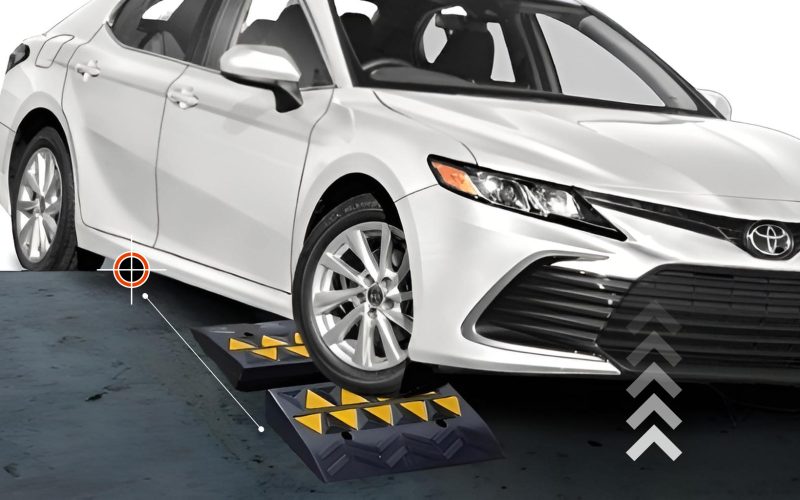
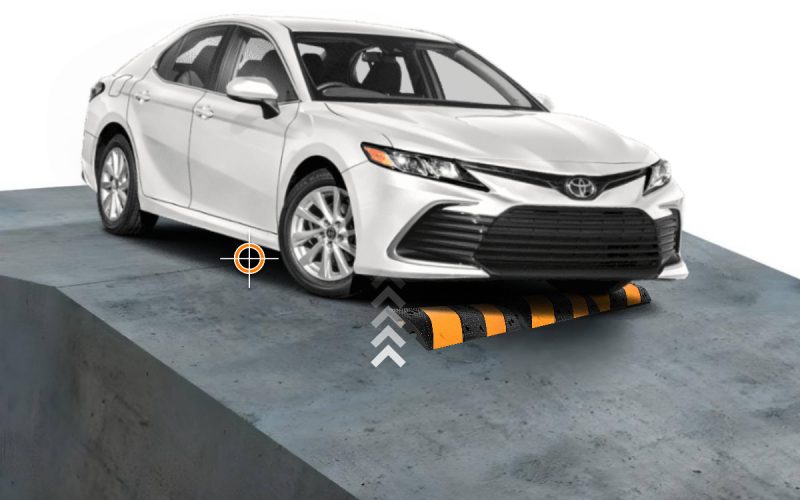
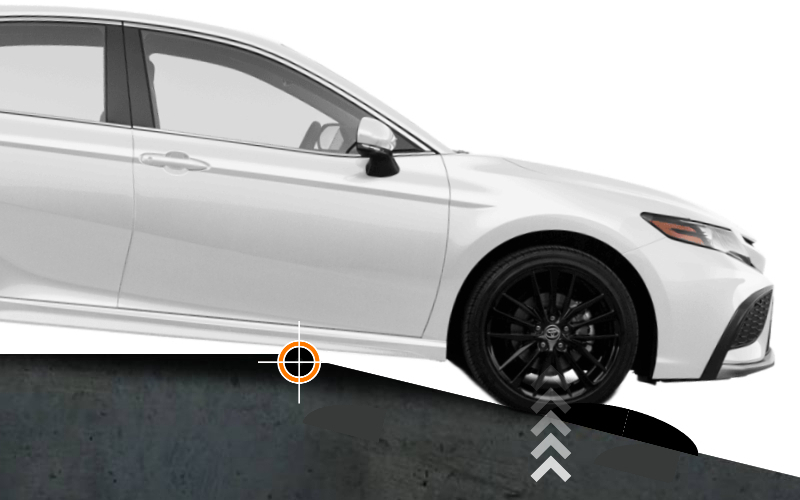
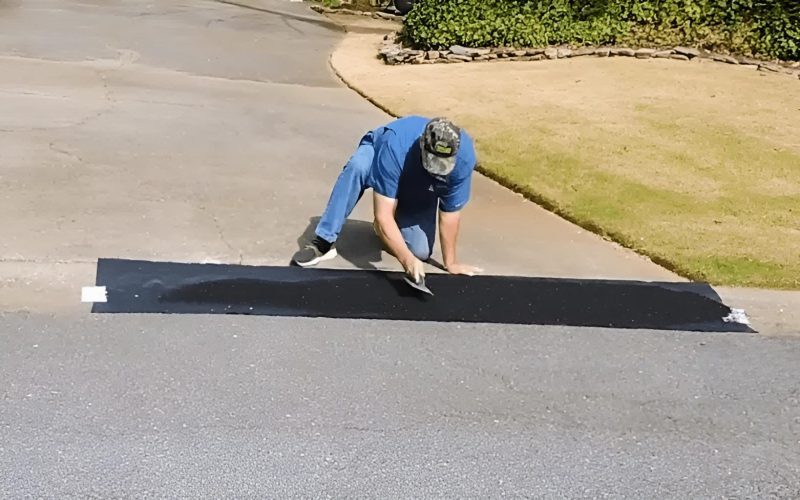
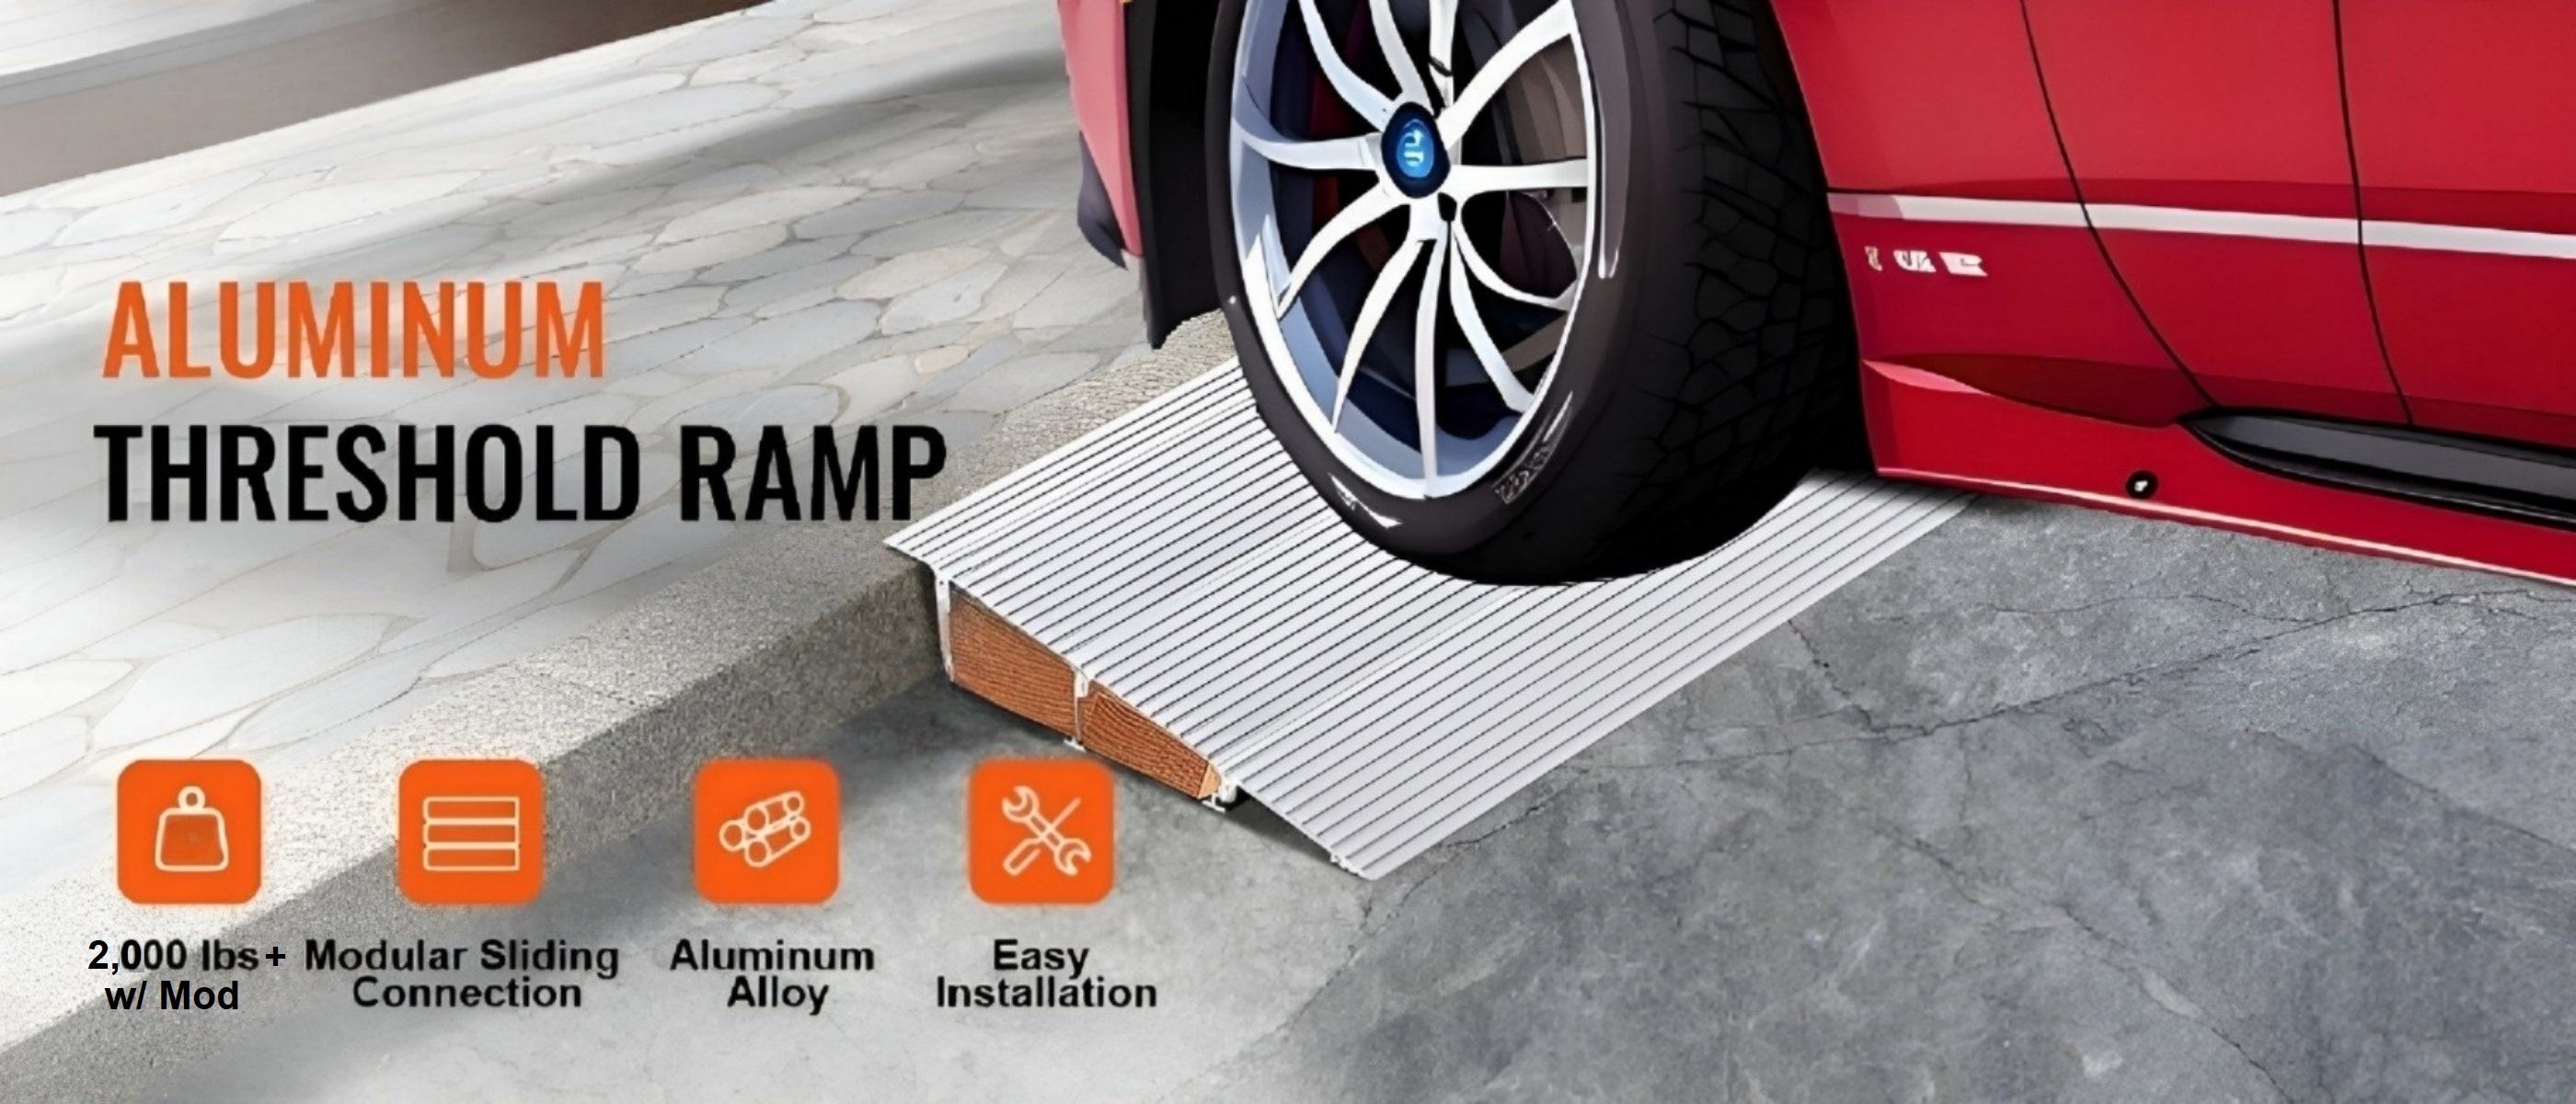
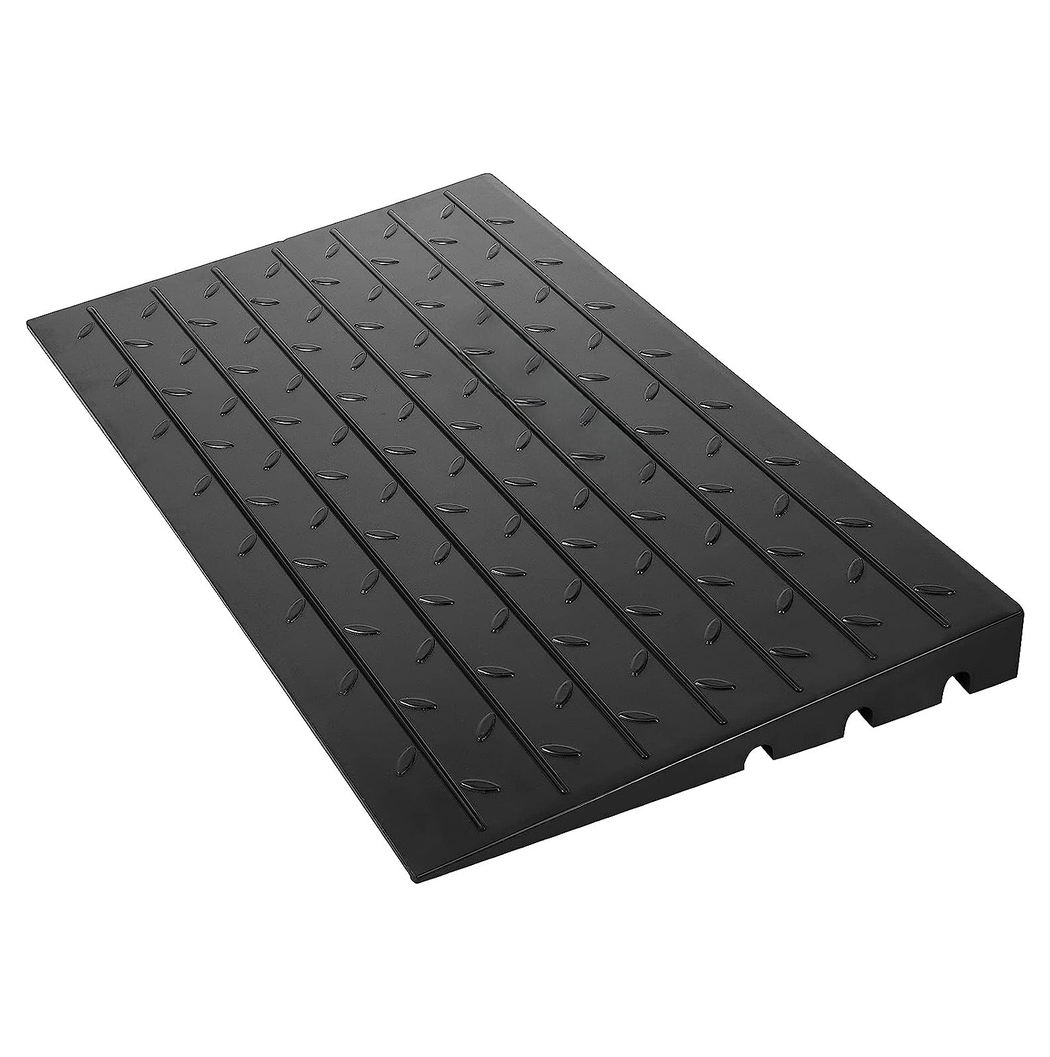
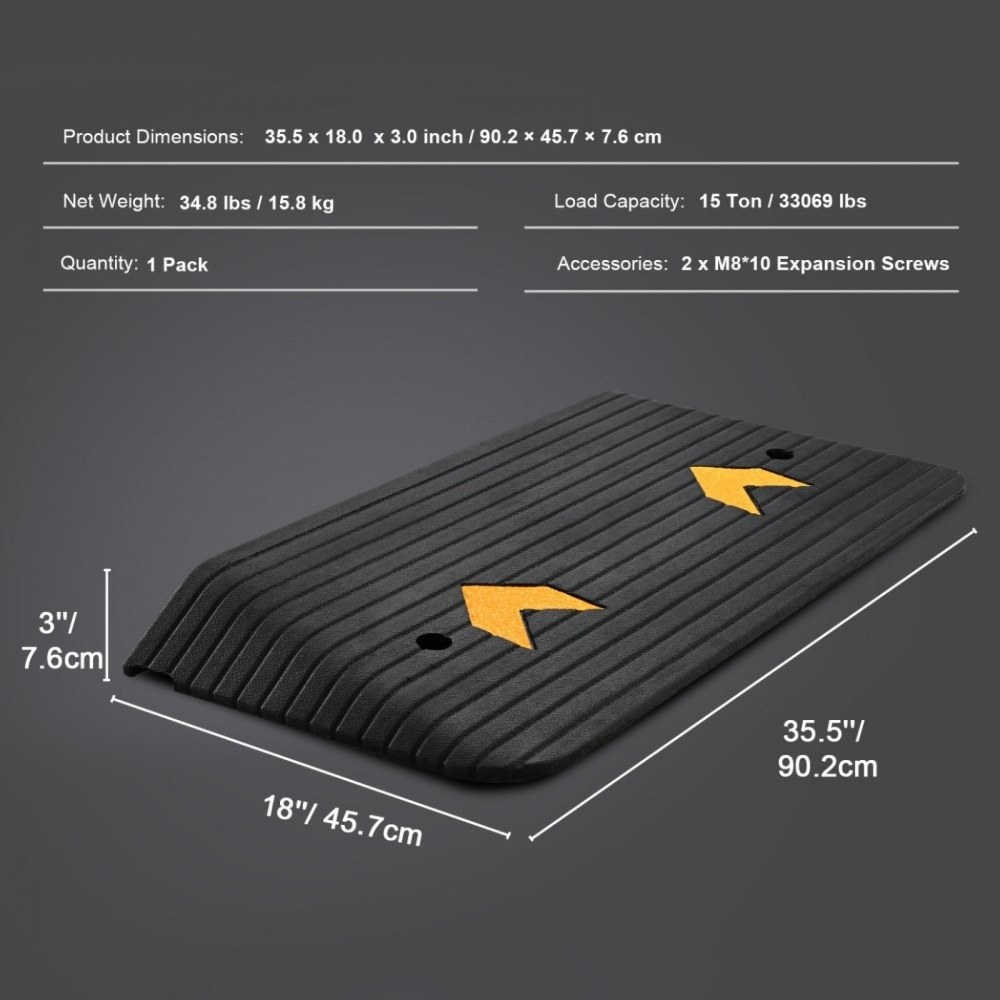
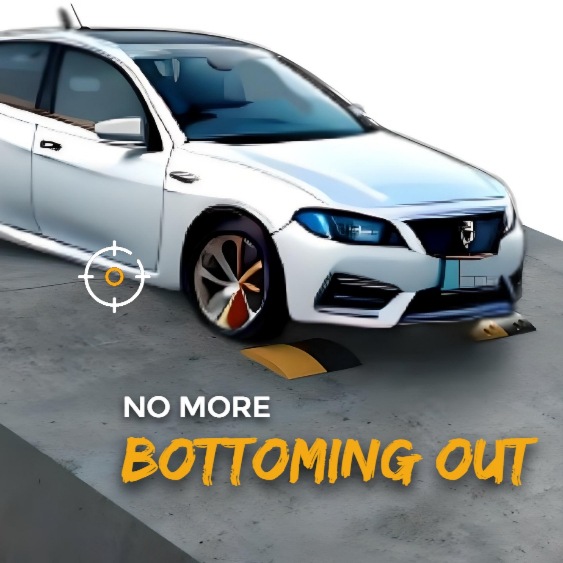
Now that you know how ElevateDrive™ ramps can solve scraping issues on steep driveways, let’s dive into the installation process. Whether you have a simple 2″ lip or a more complex slope, these ramps are easy to customize to meet your specific needs. The key to a successful installation is determining the best location for the ramps, ensuring that the car’s front end has sufficient clearance, and adjusting the setup to suit your driveway’s unique transition.
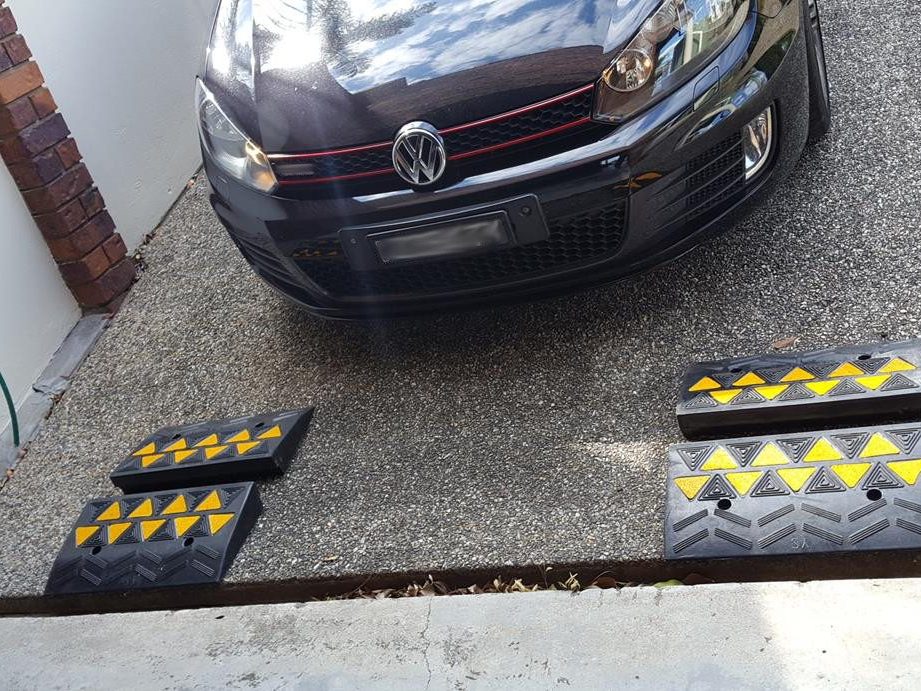
Step 1: Positioning the Ramps
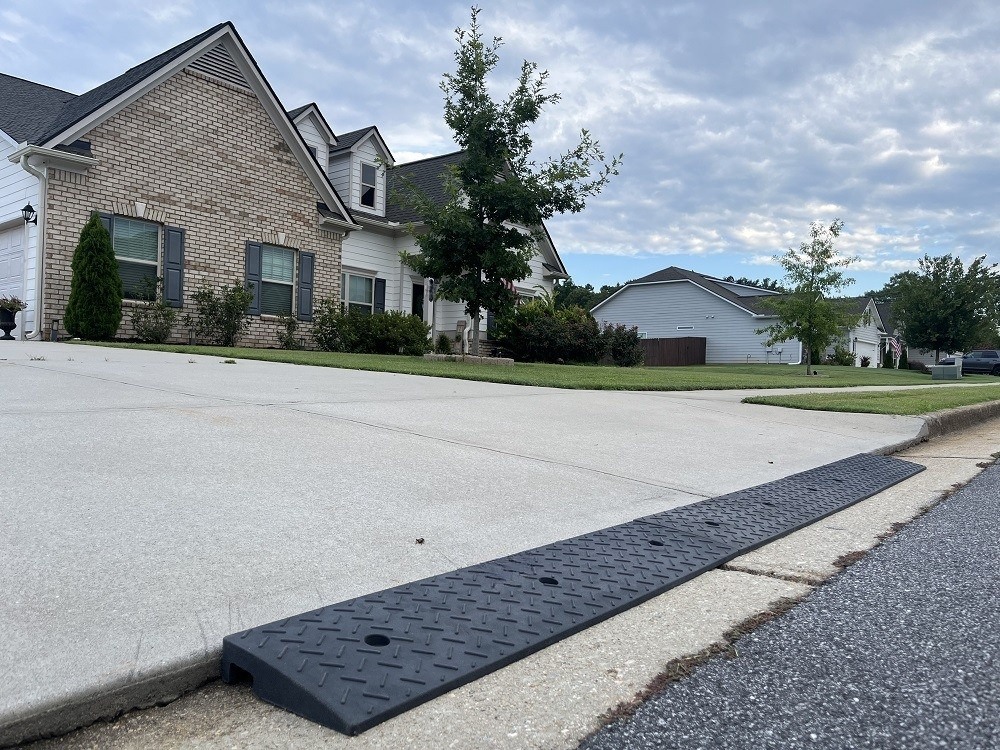
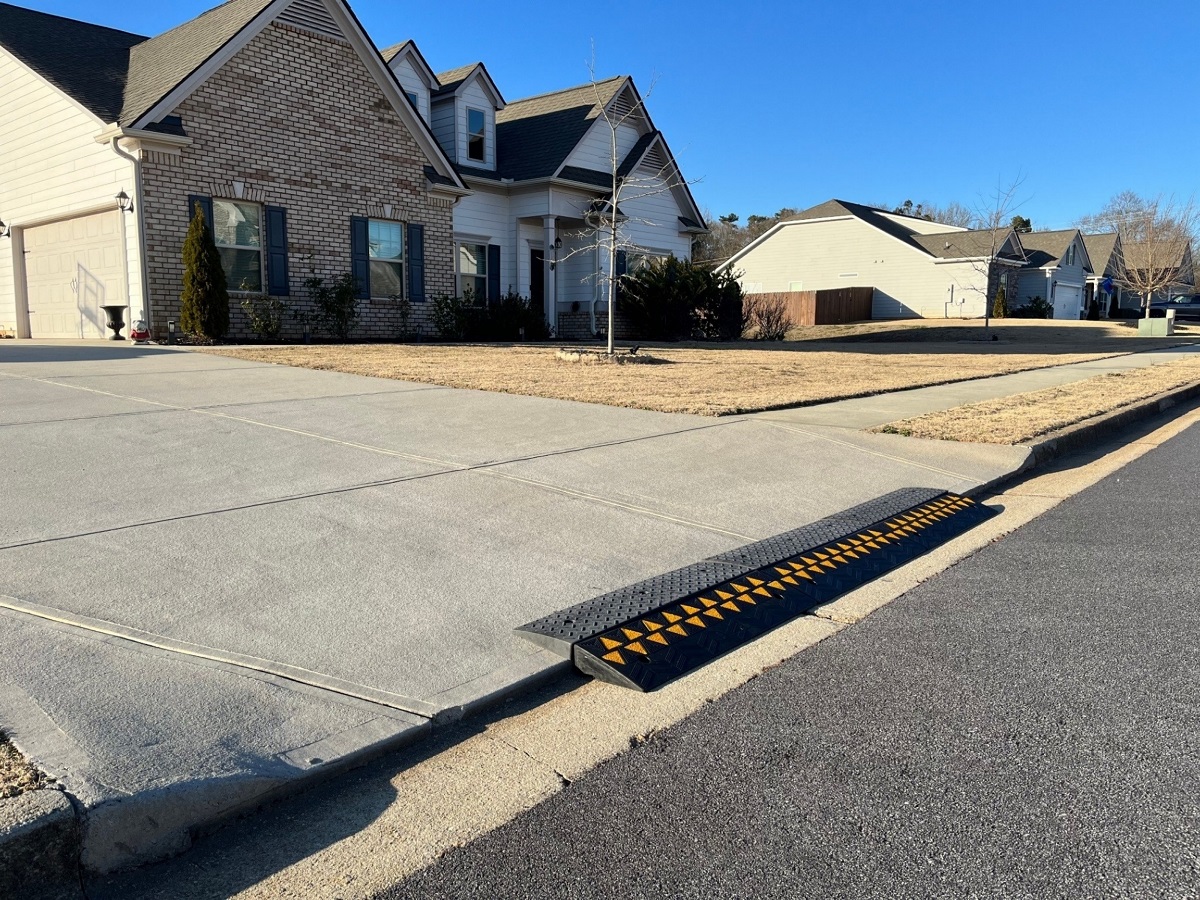
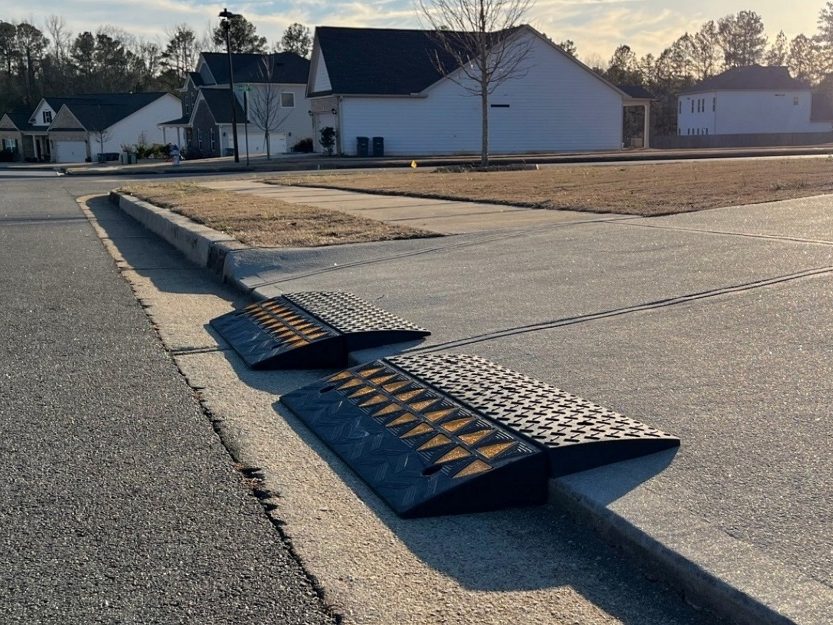
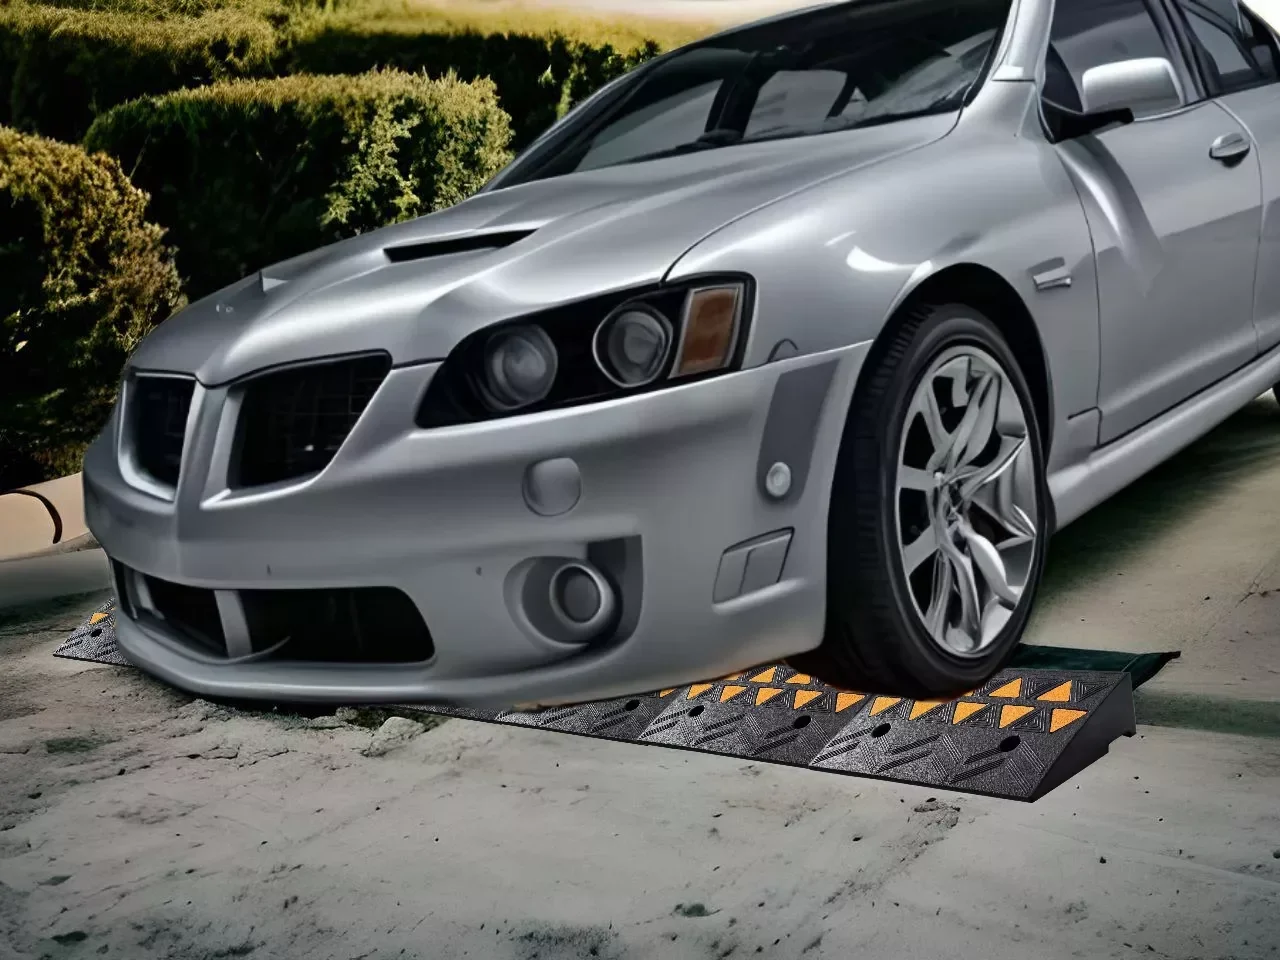
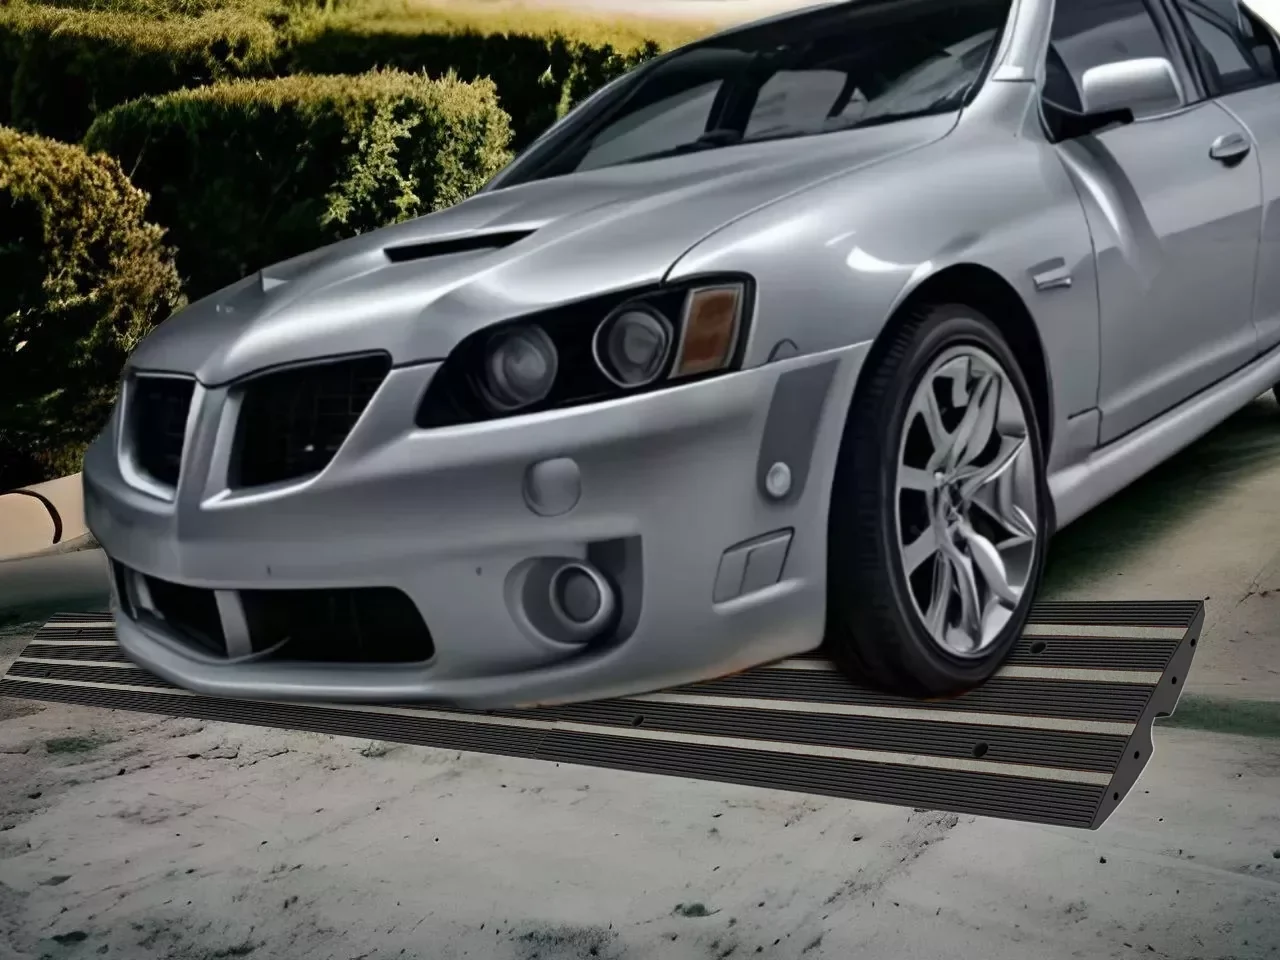
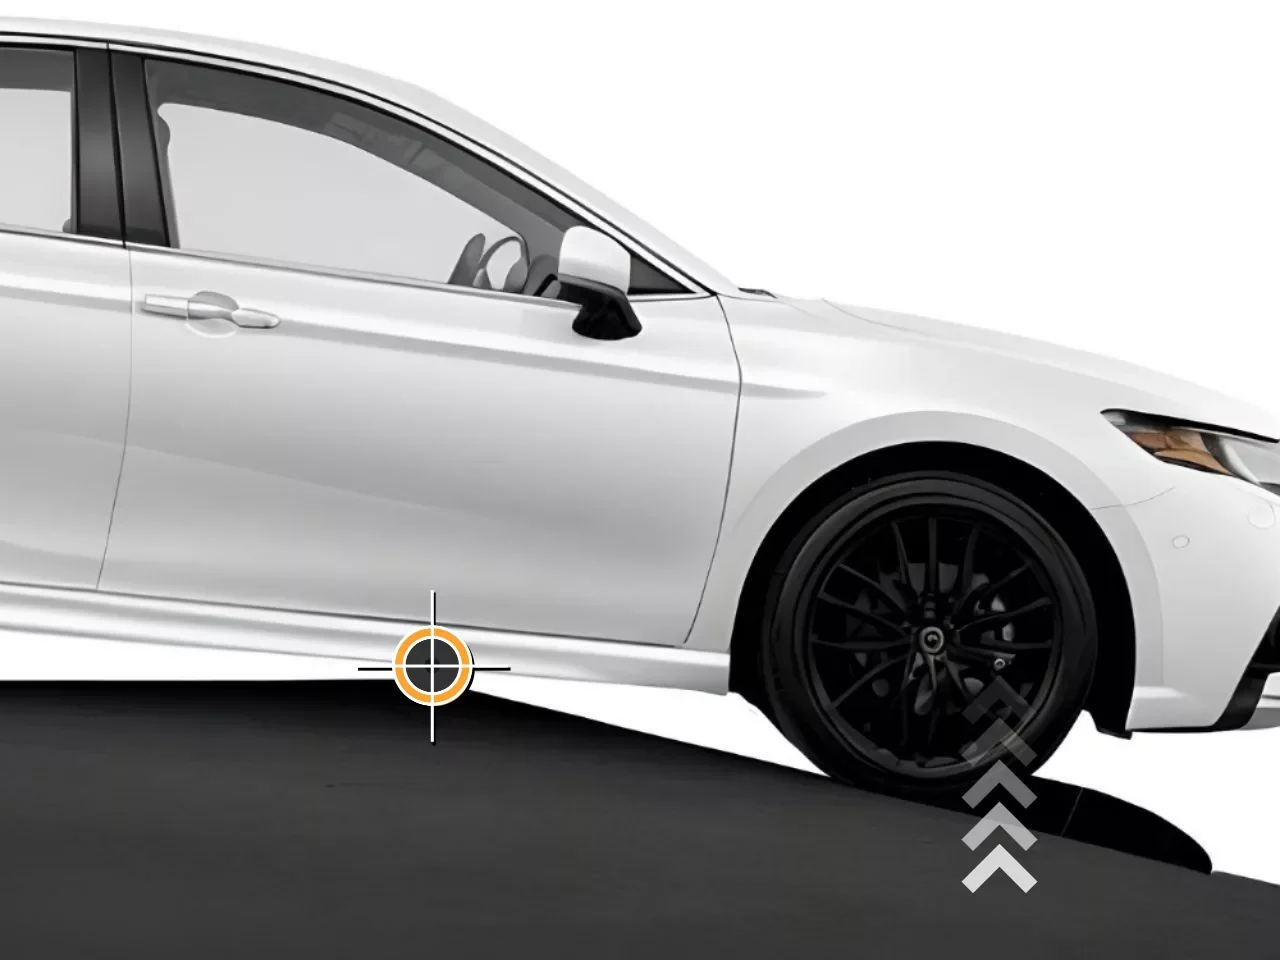
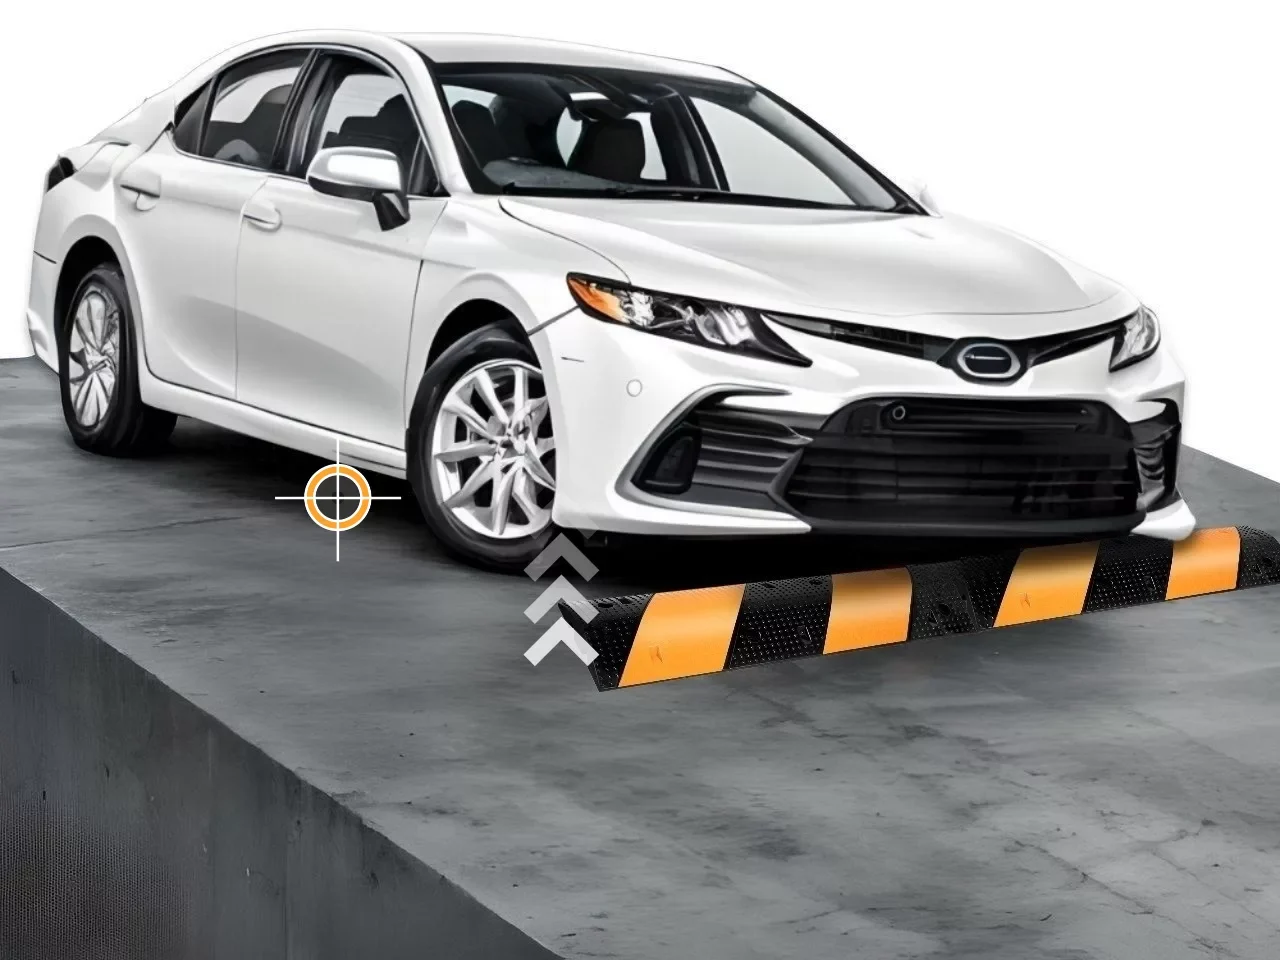
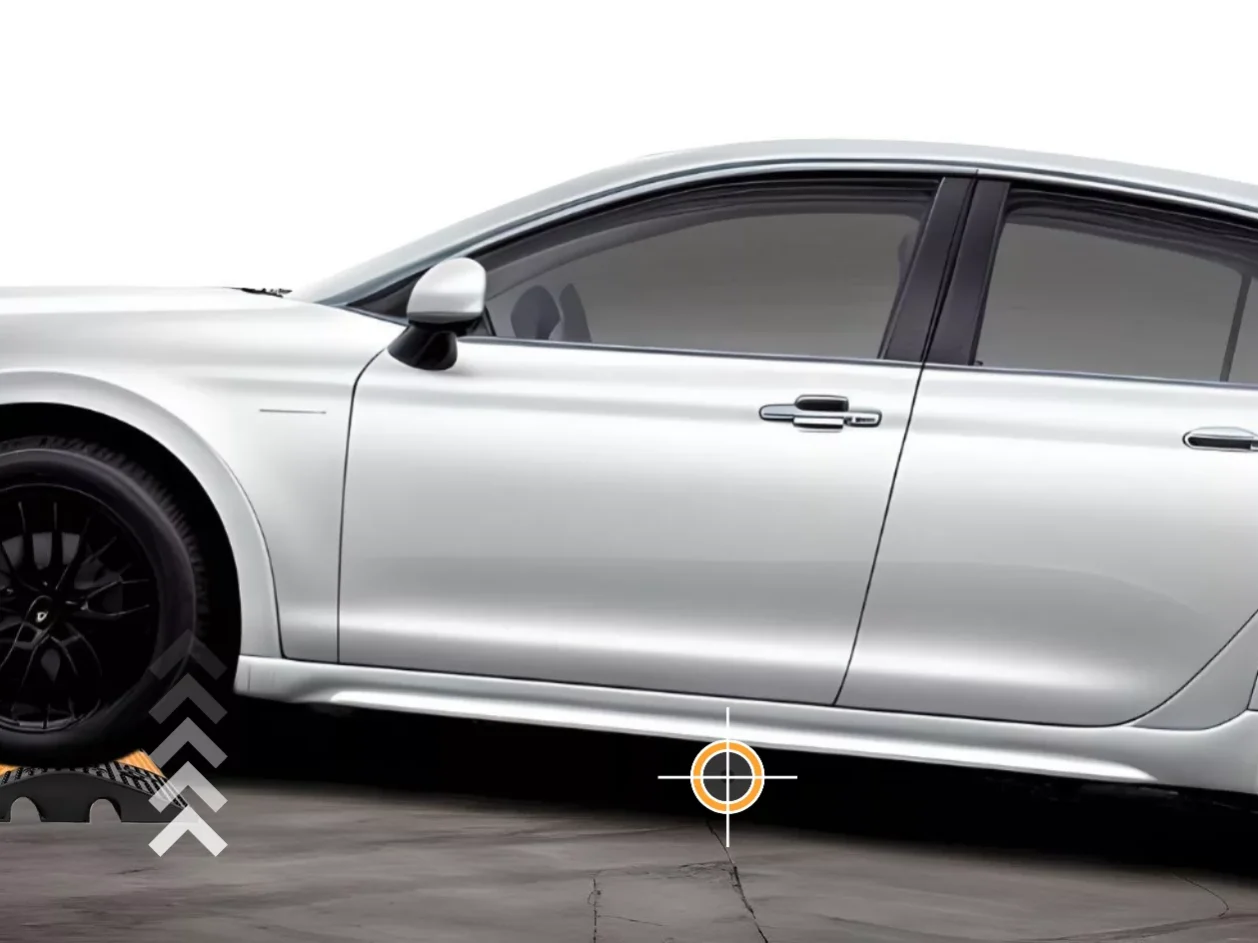
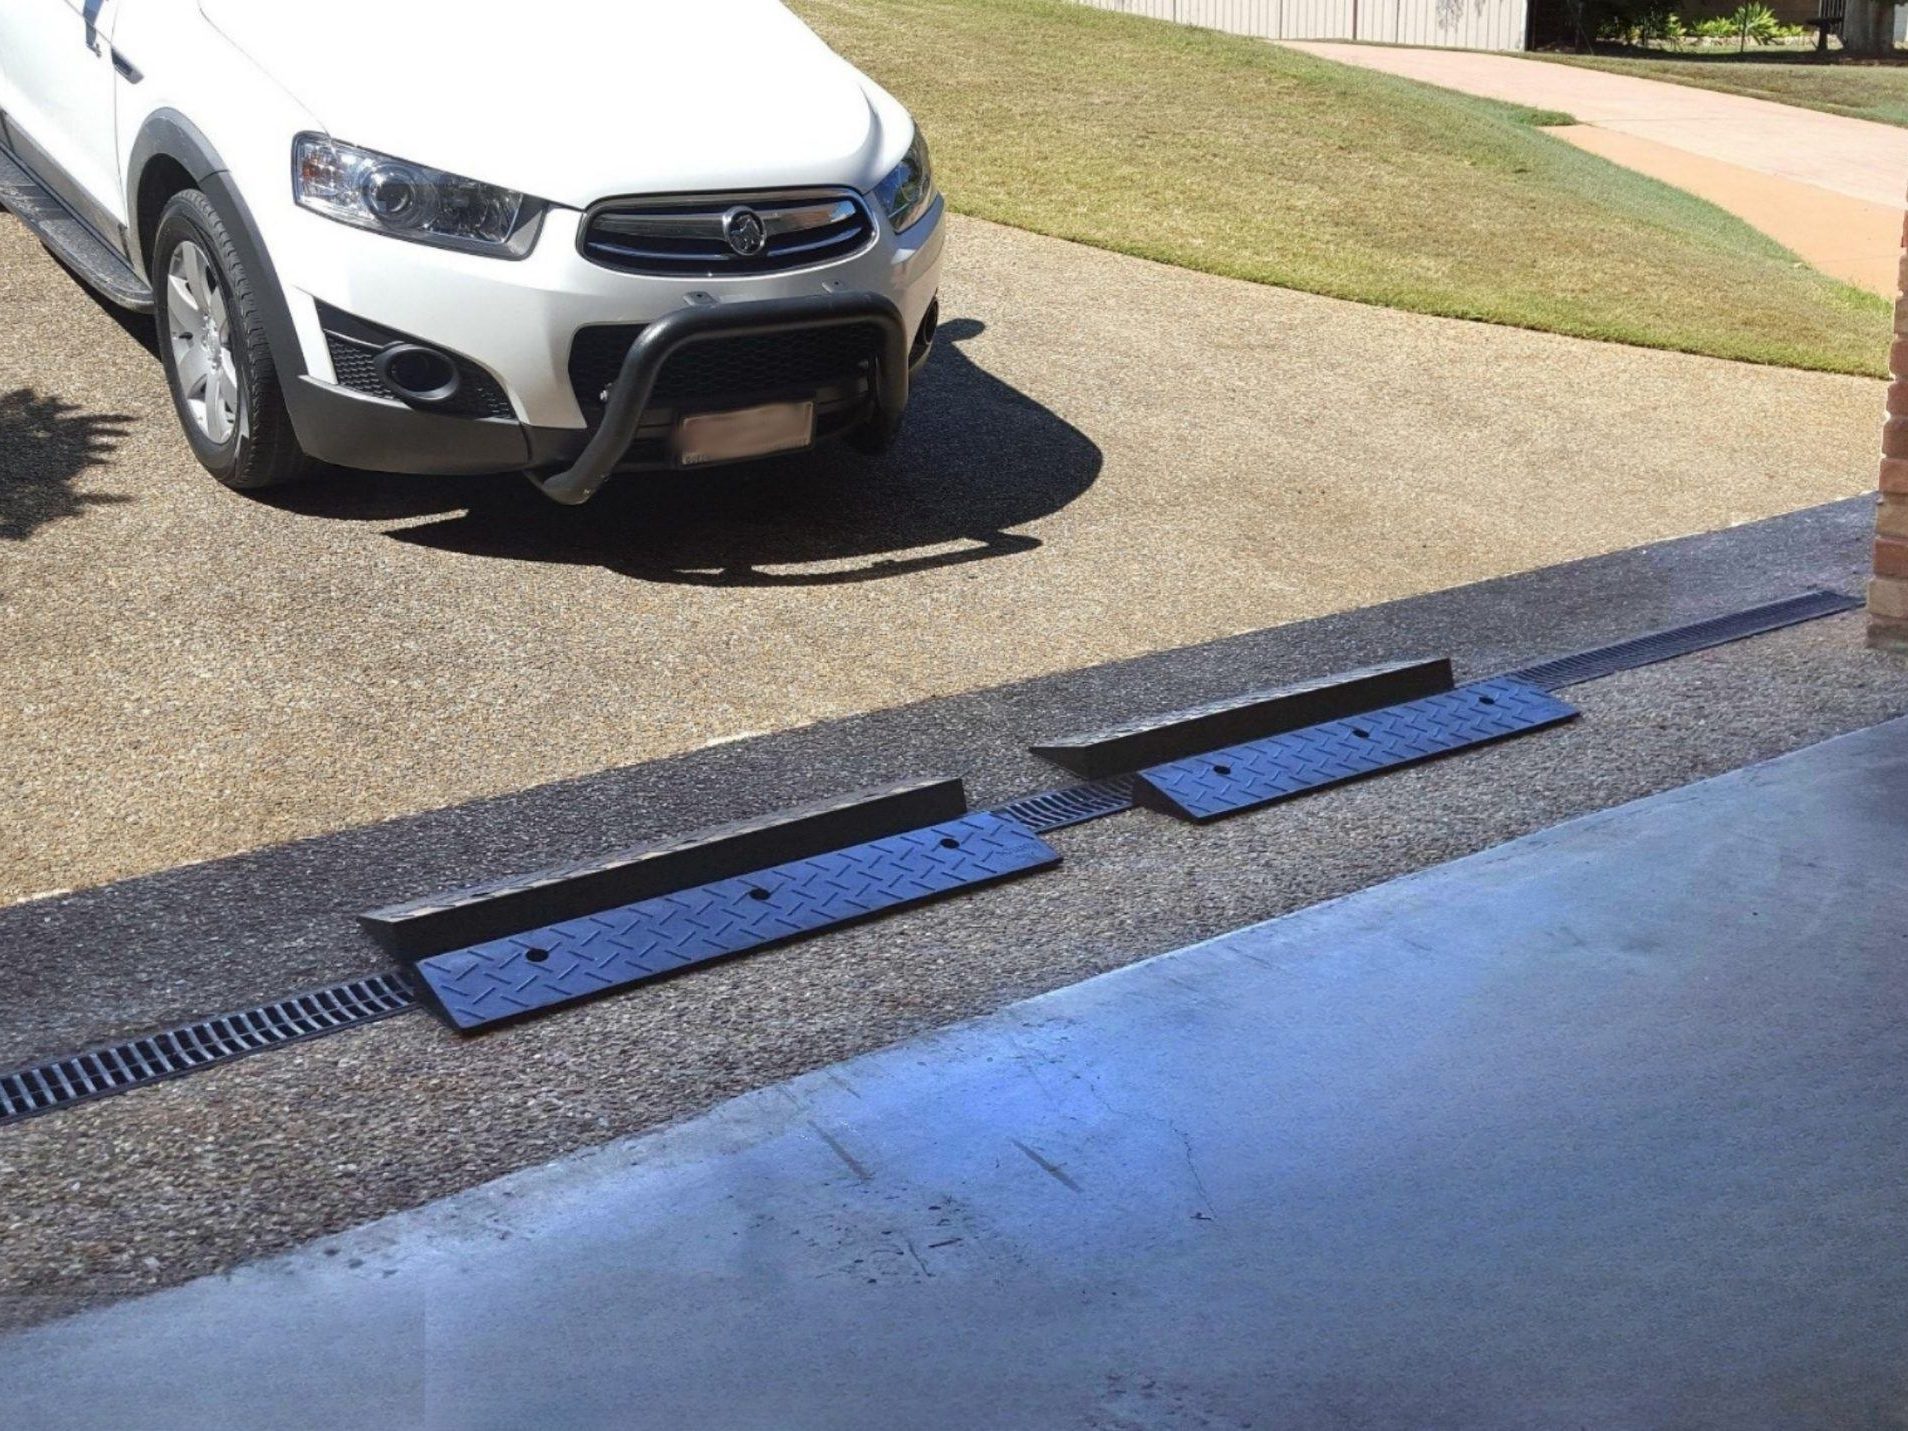
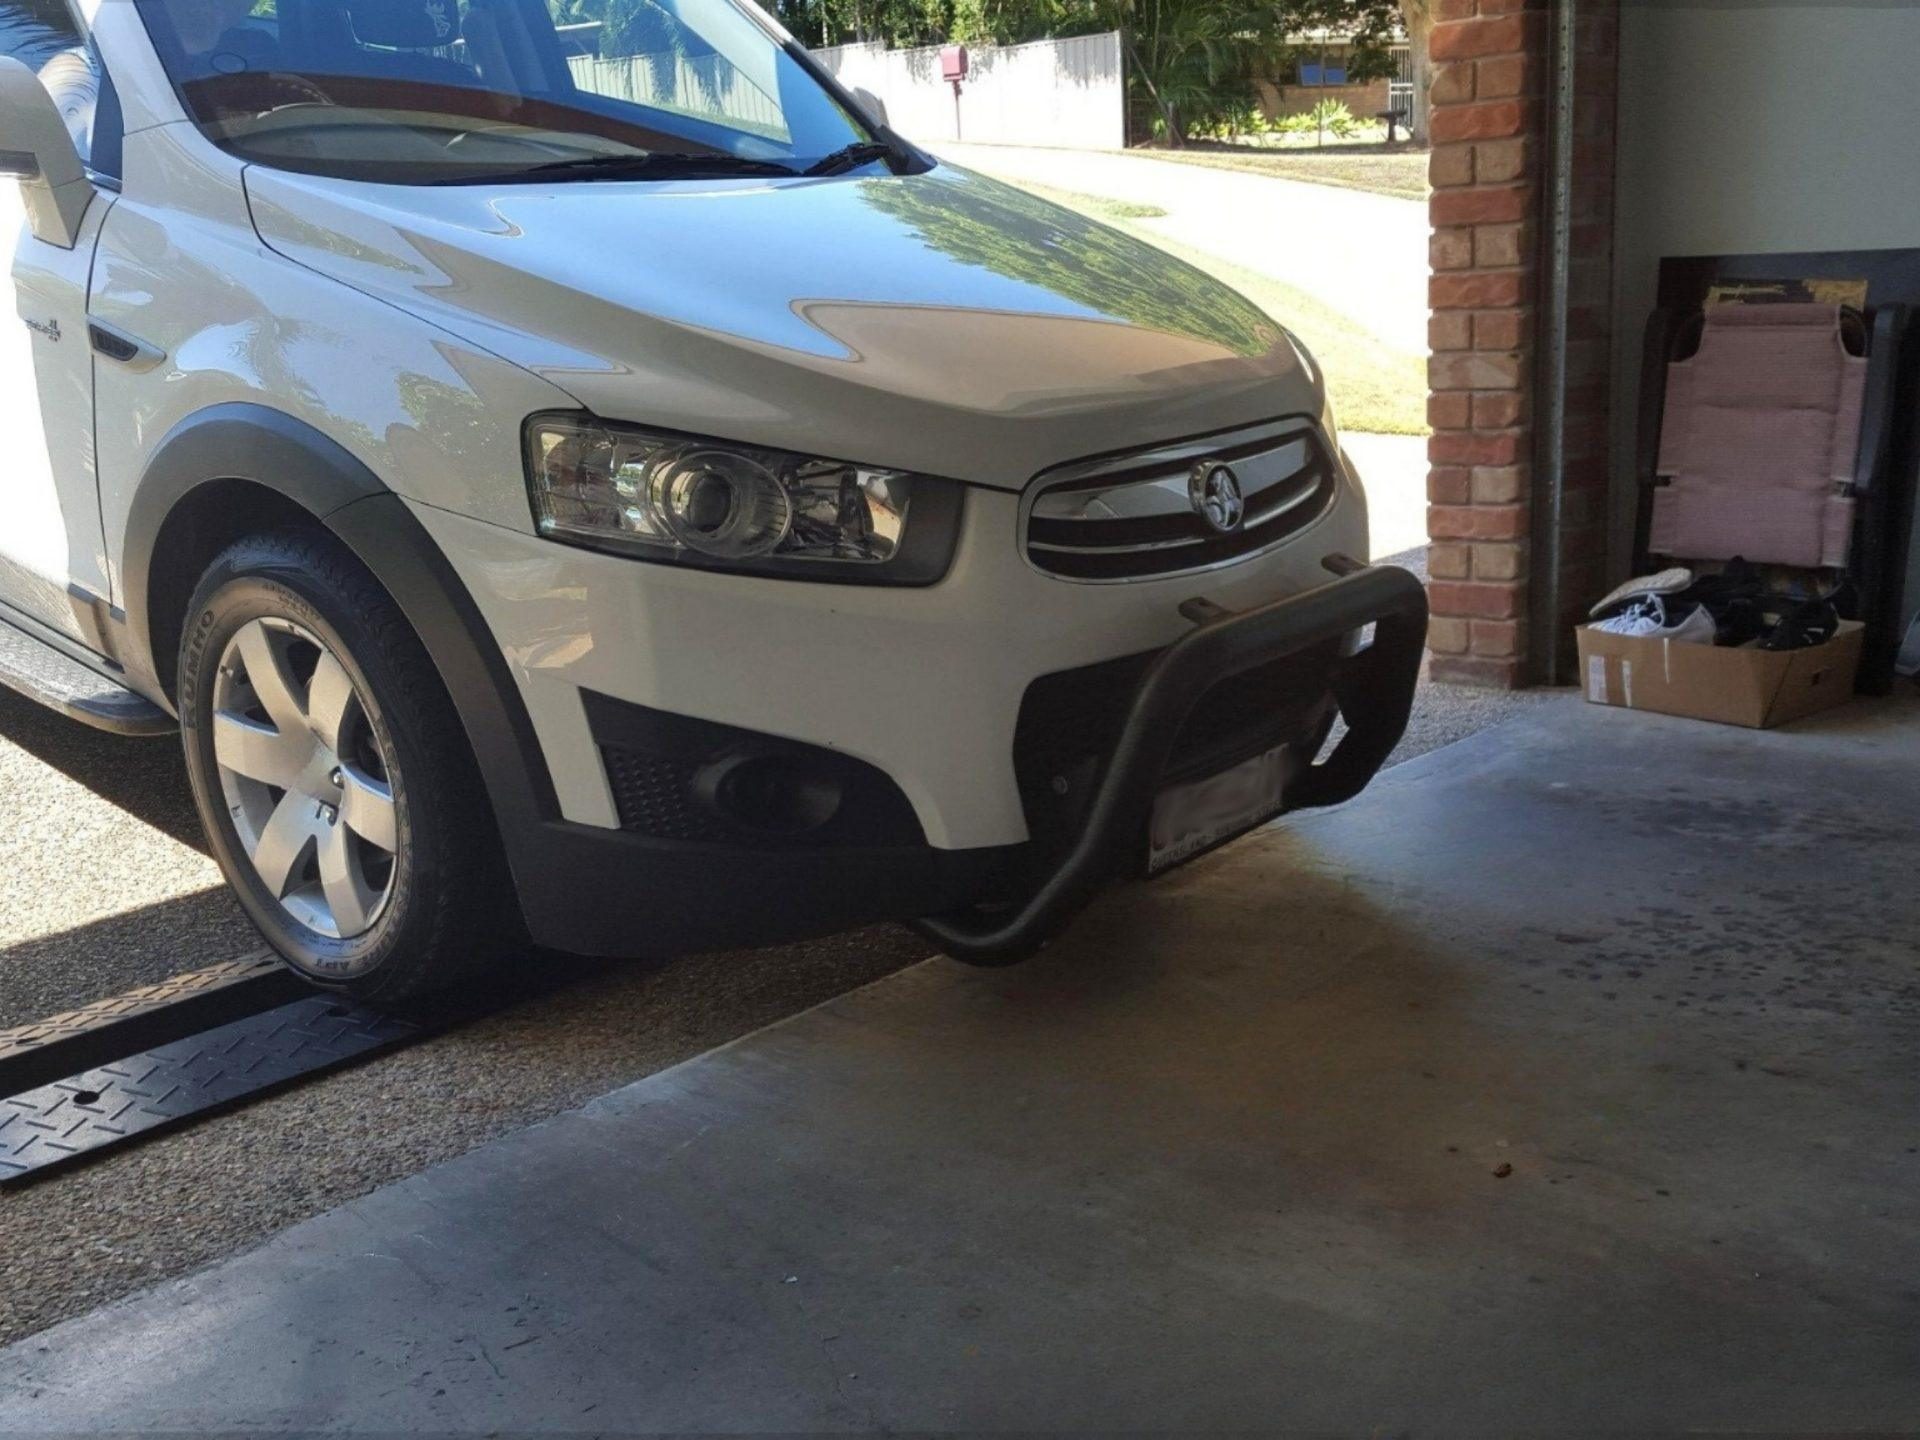
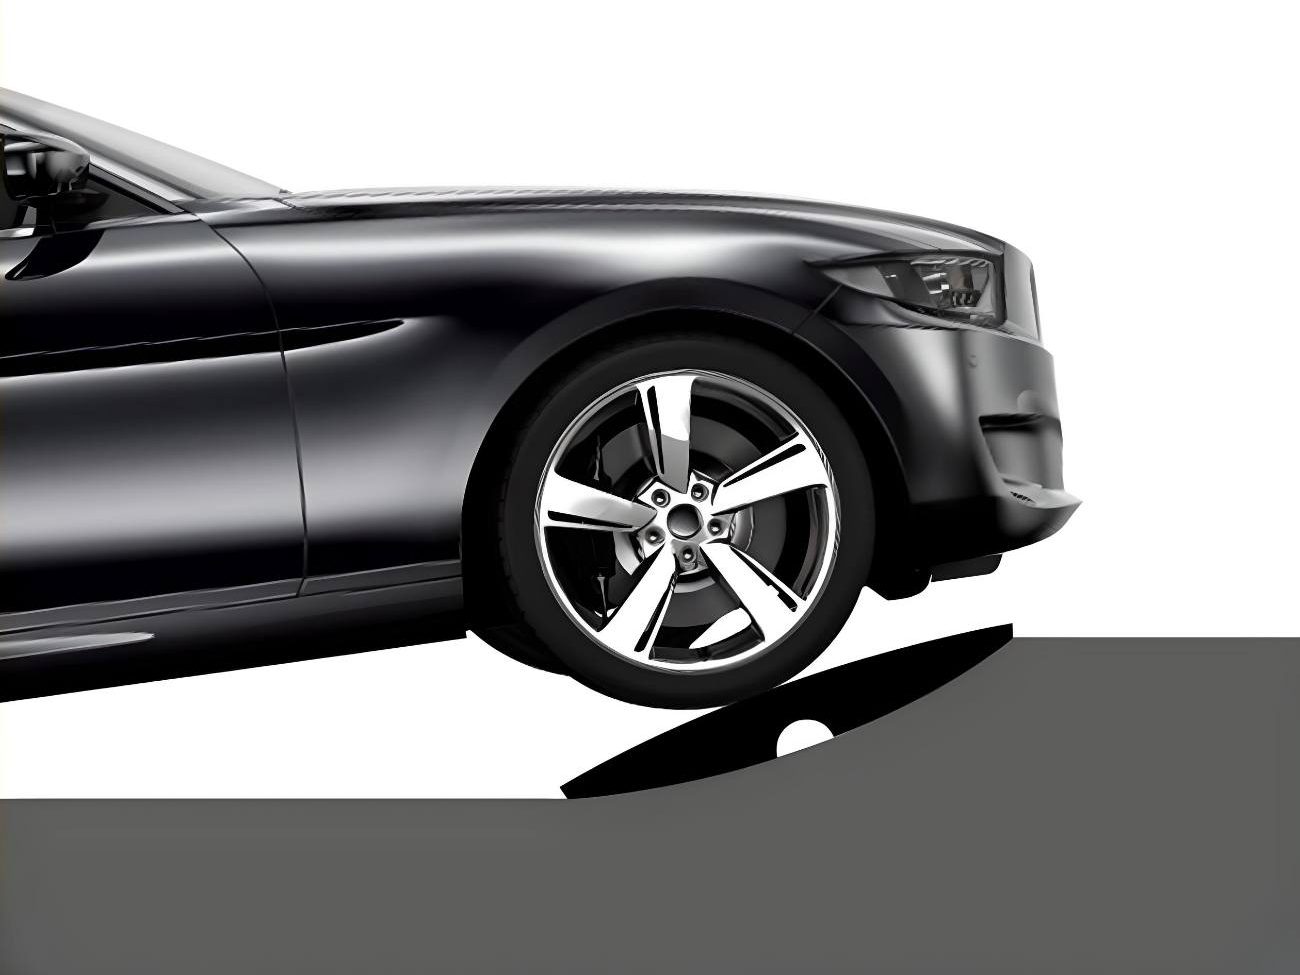
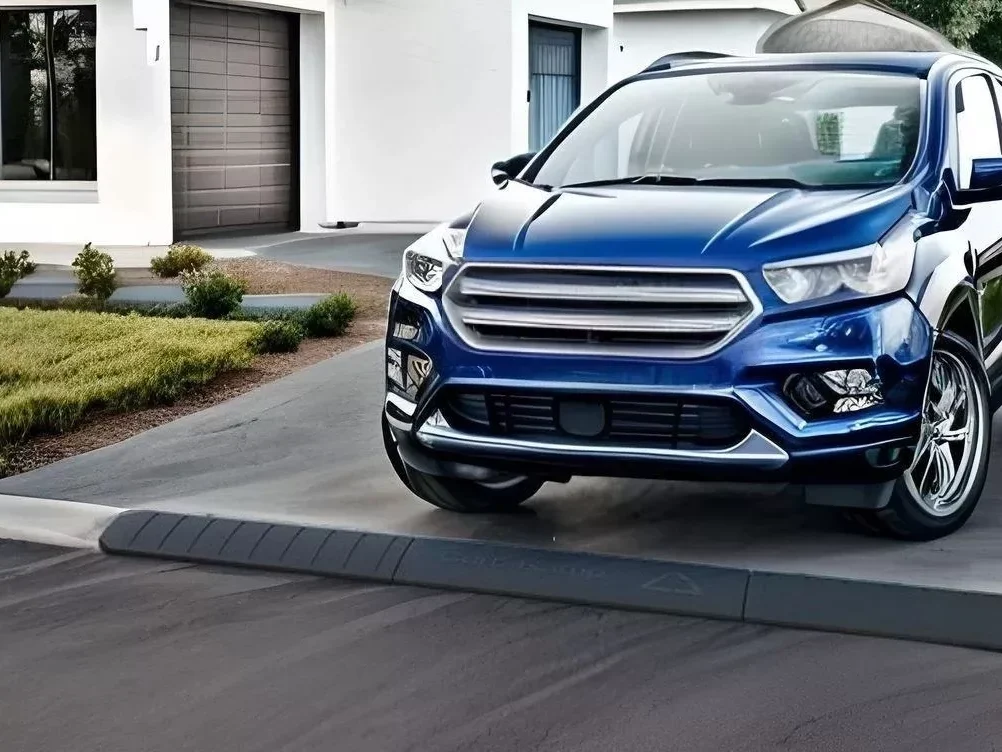
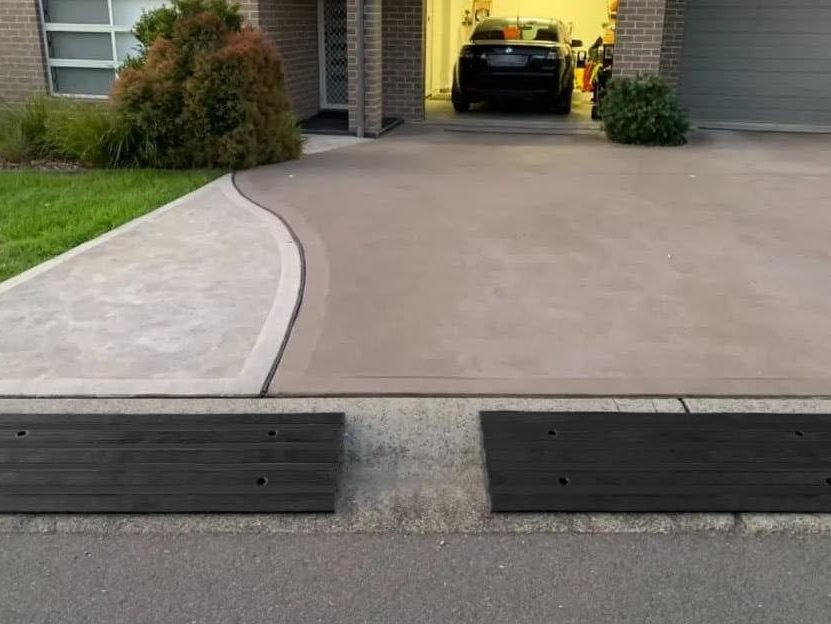
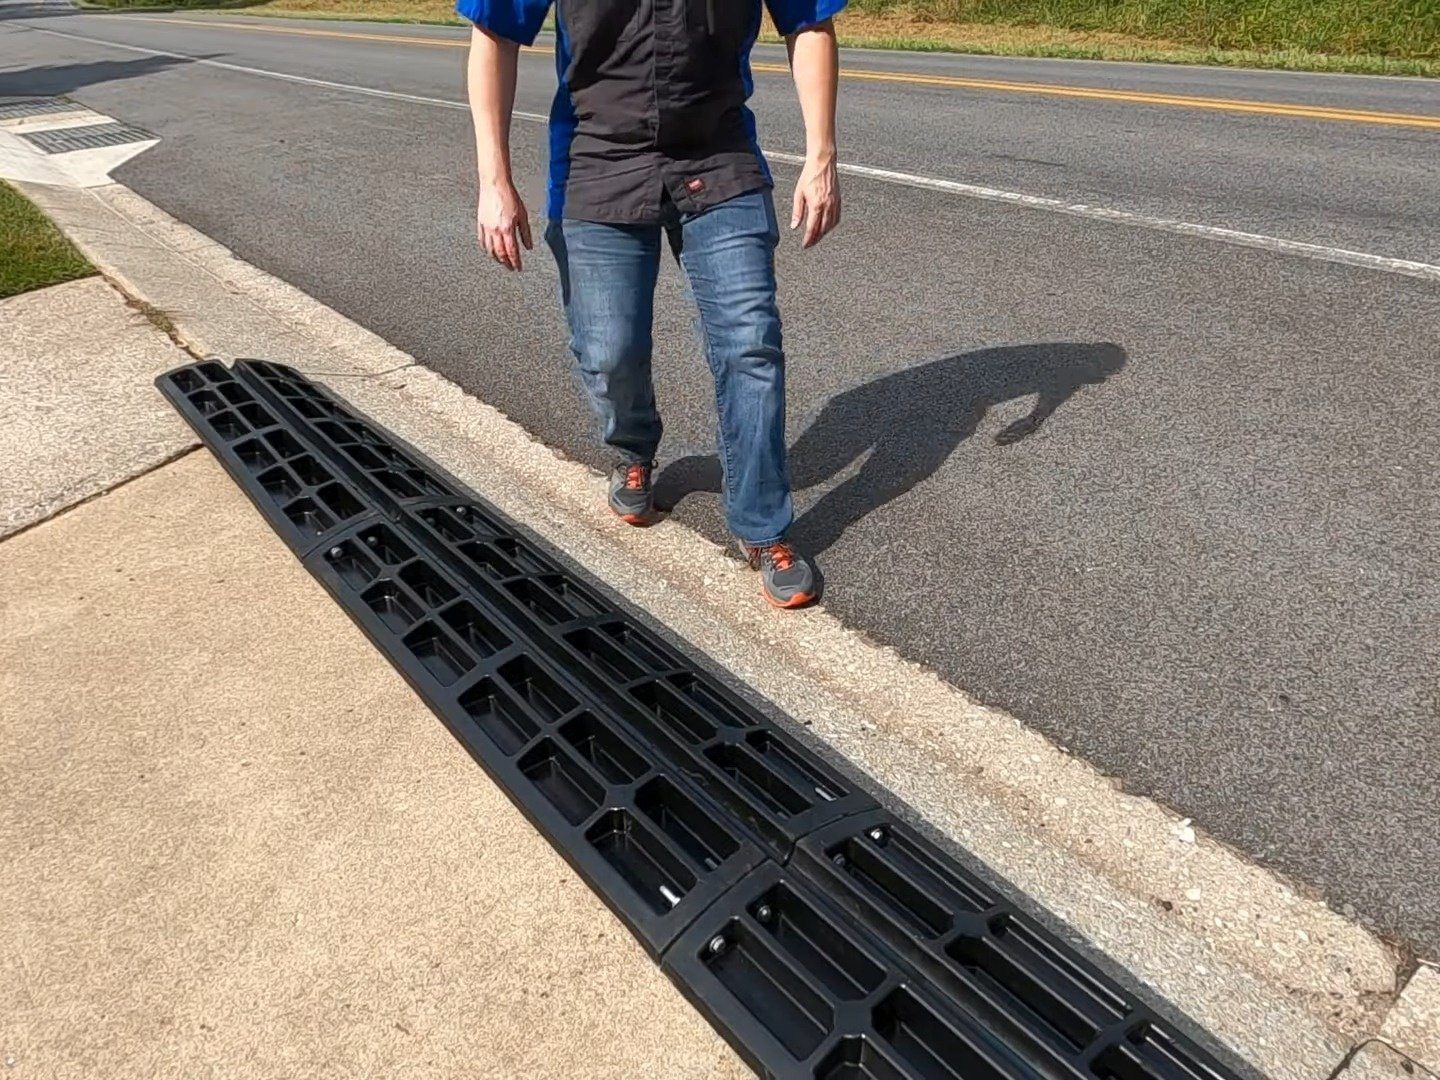
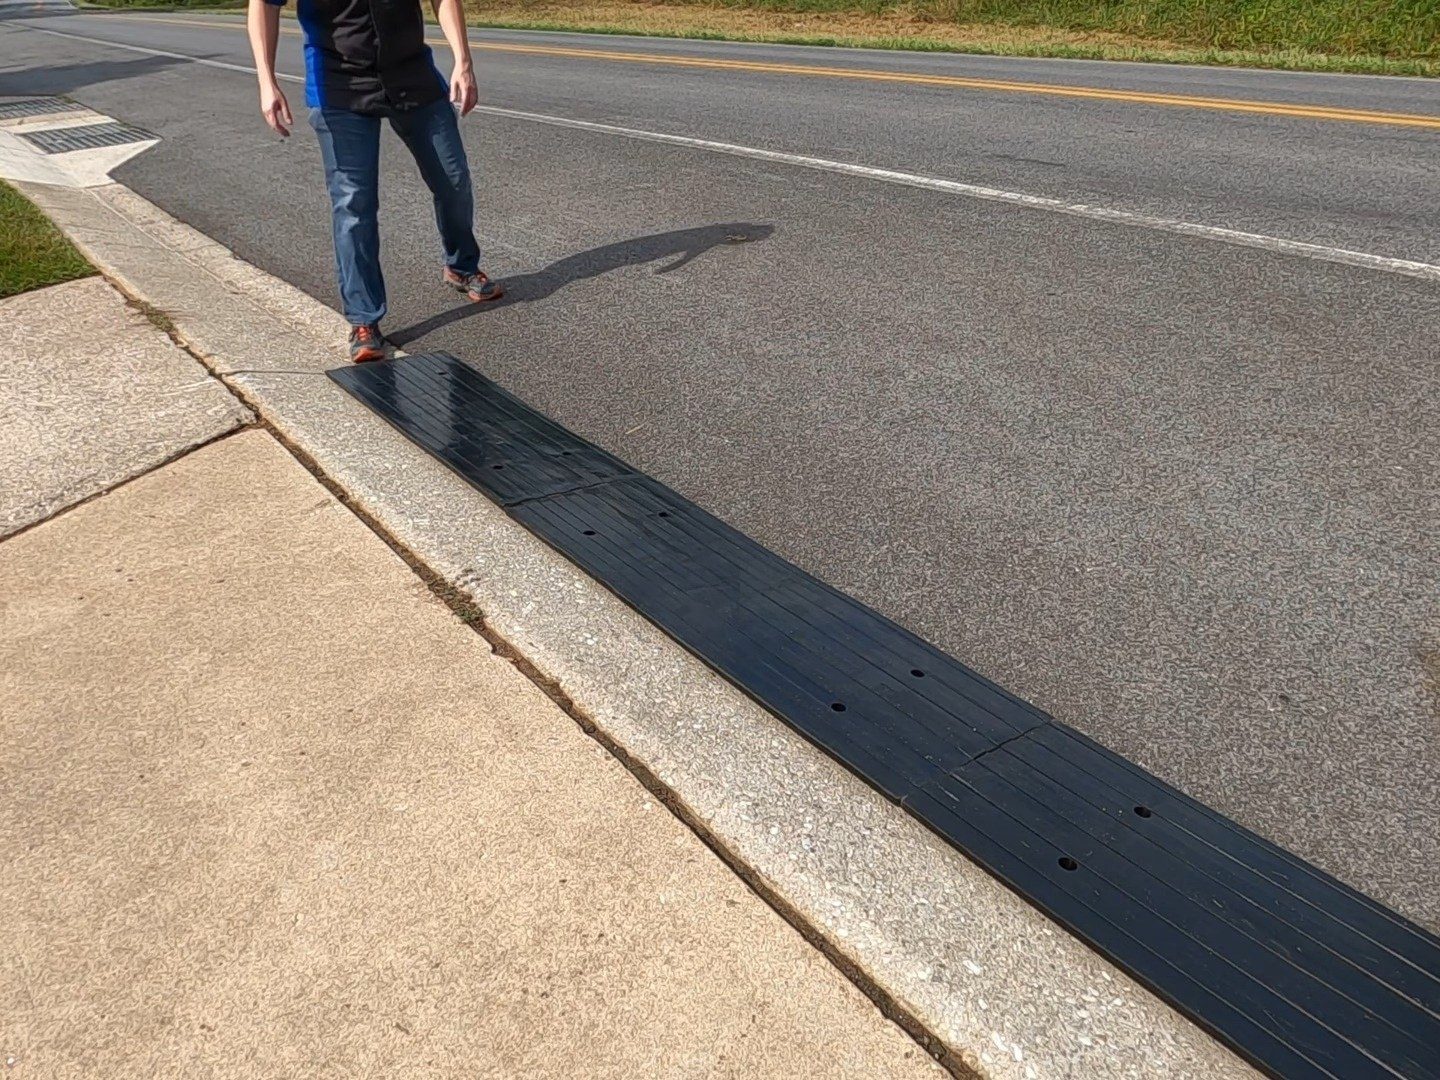
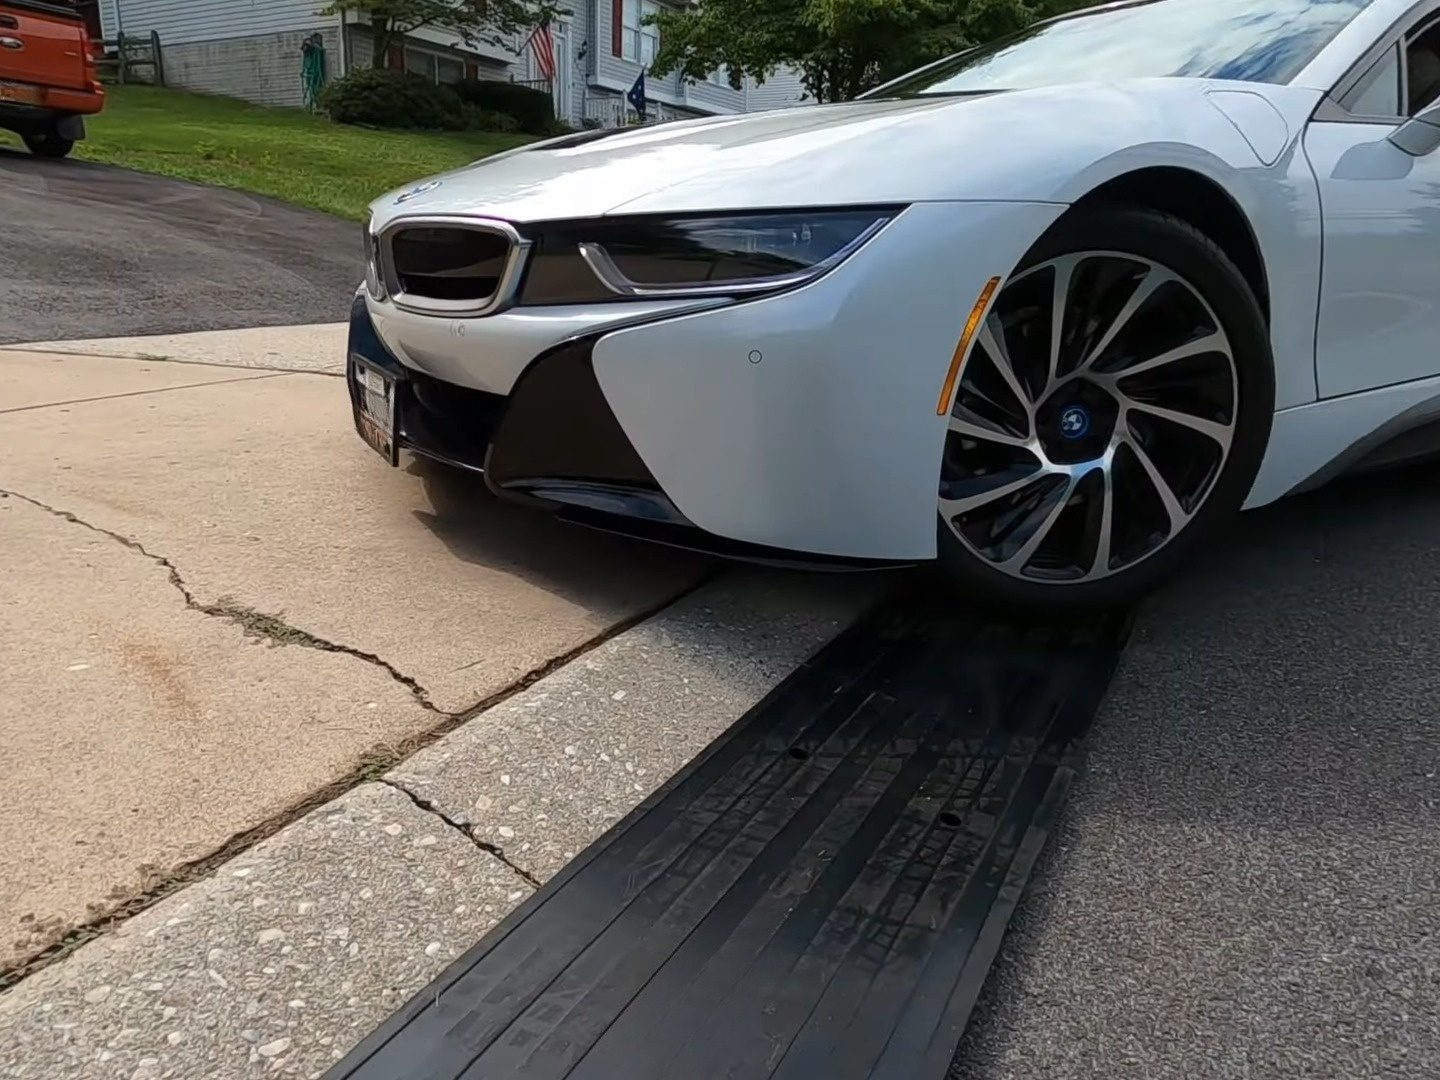
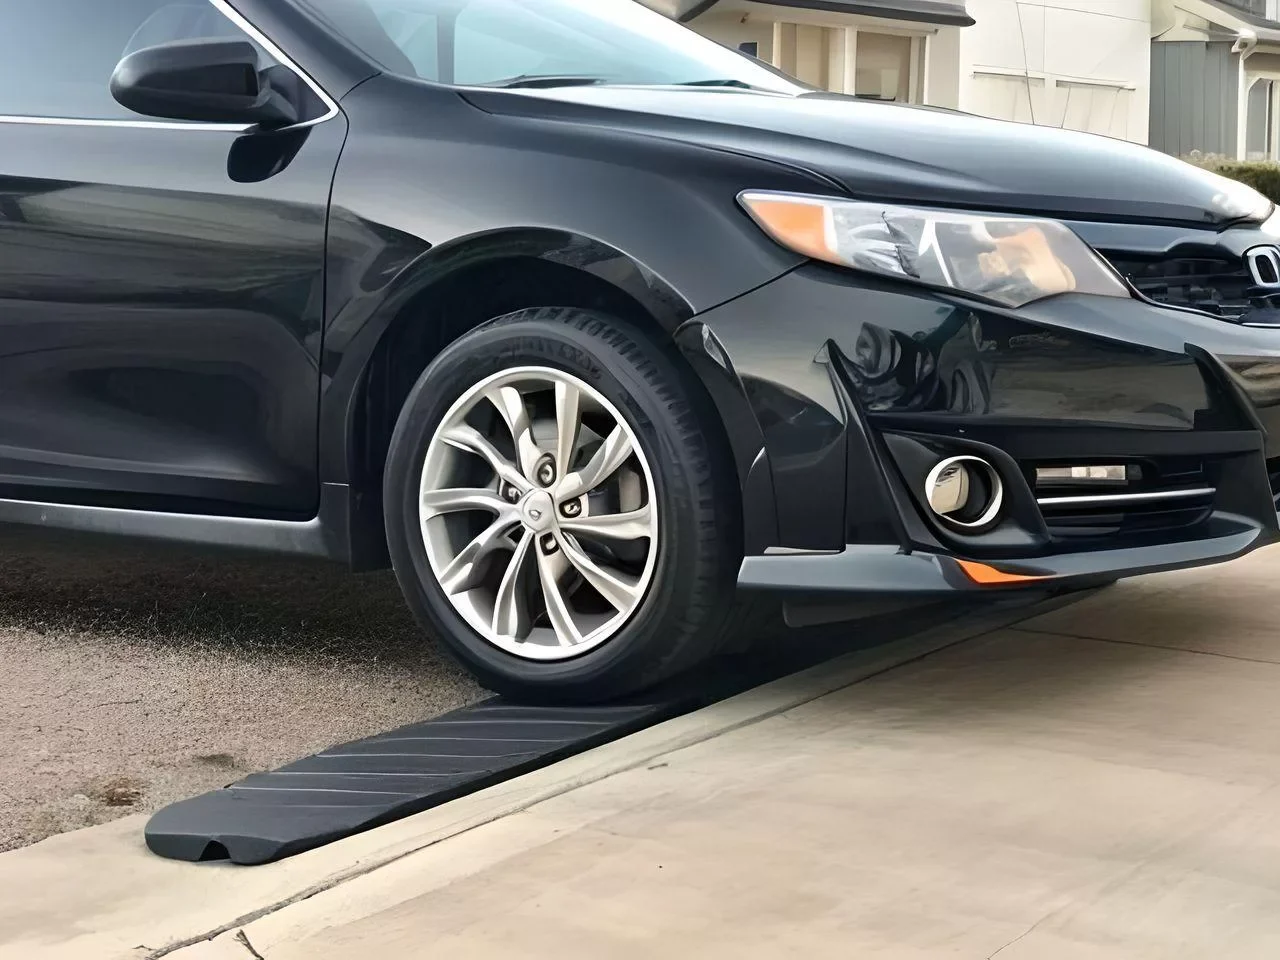
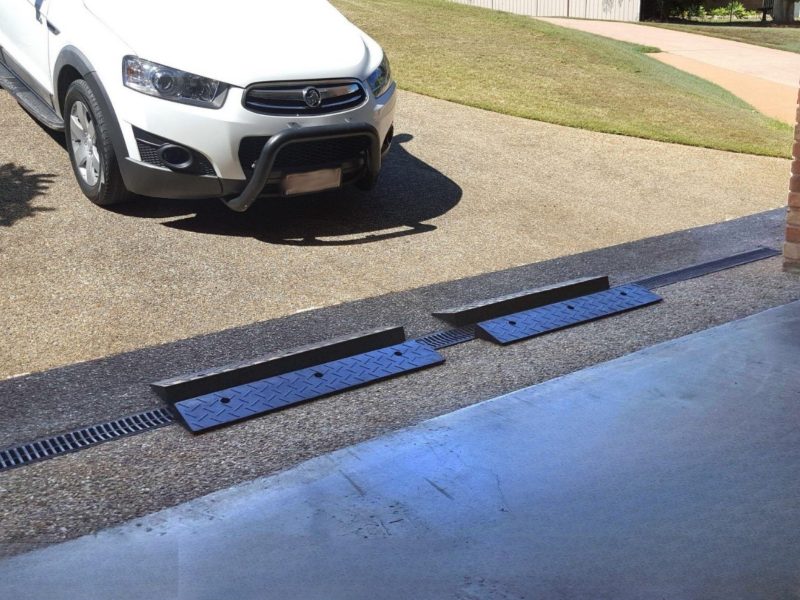
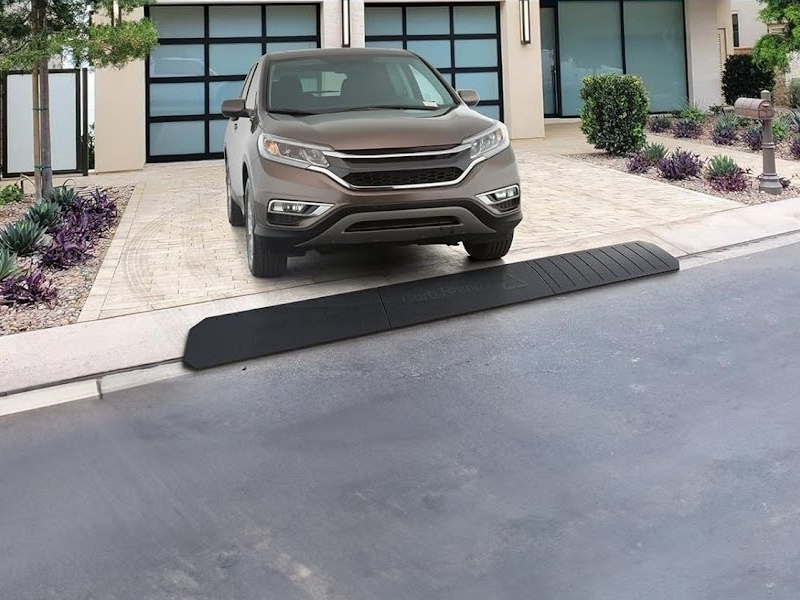
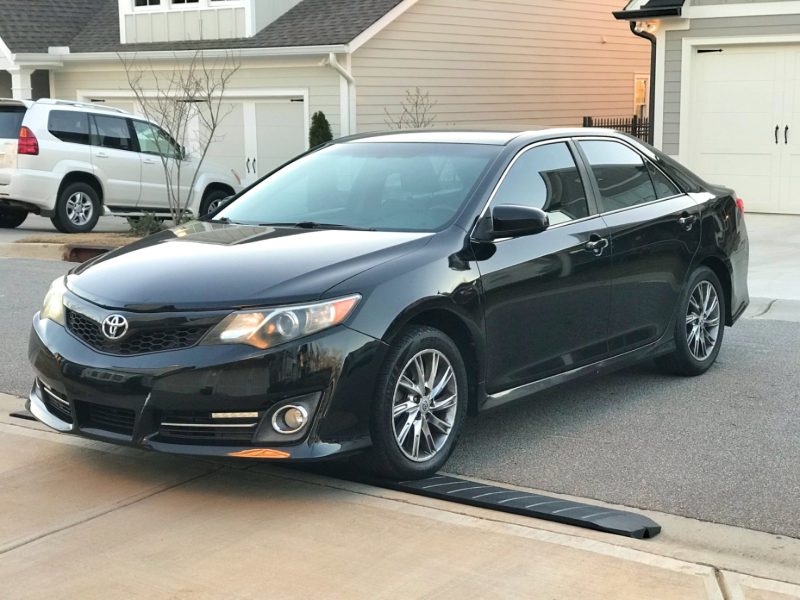
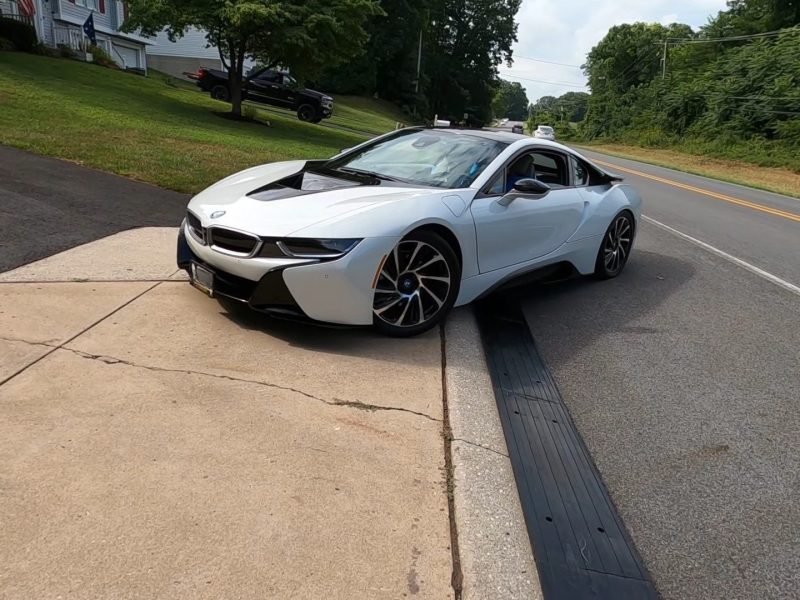
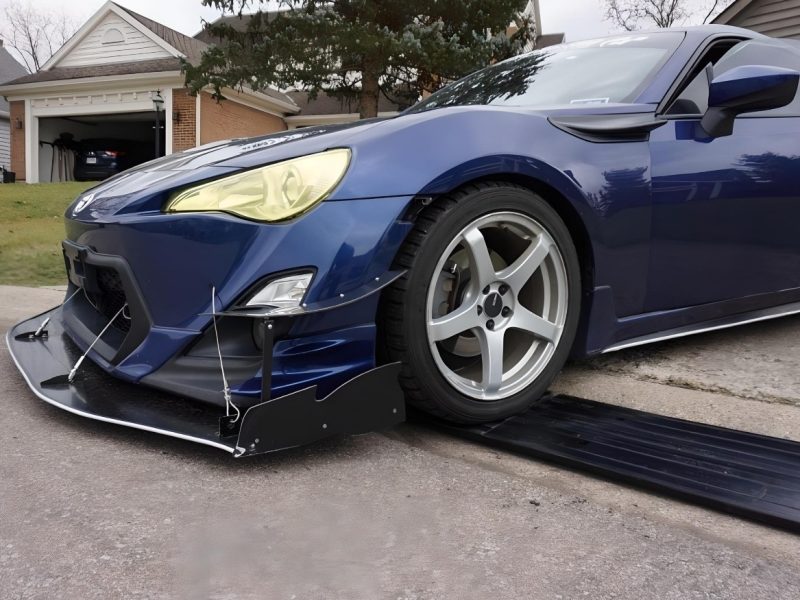
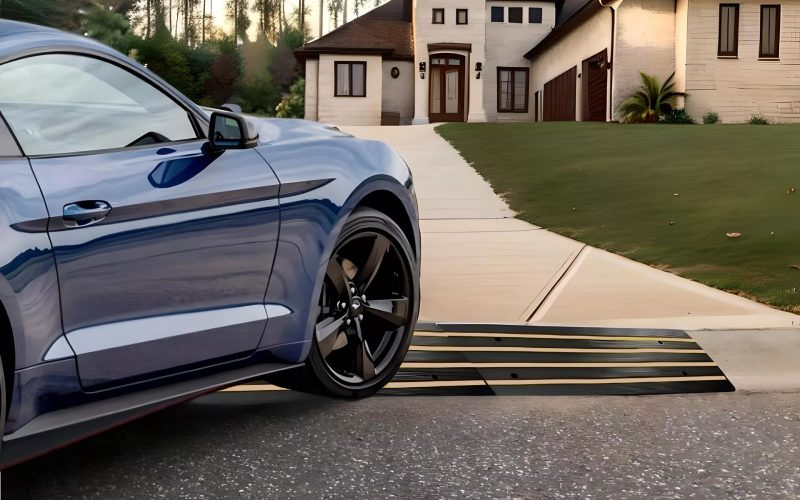
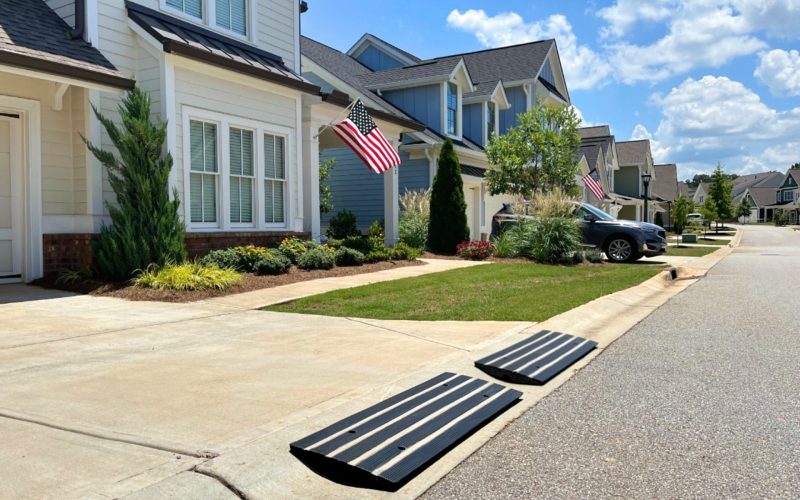
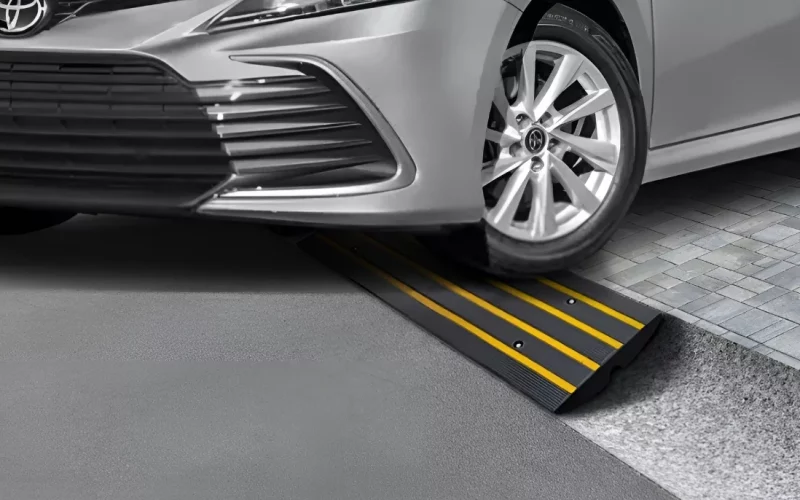
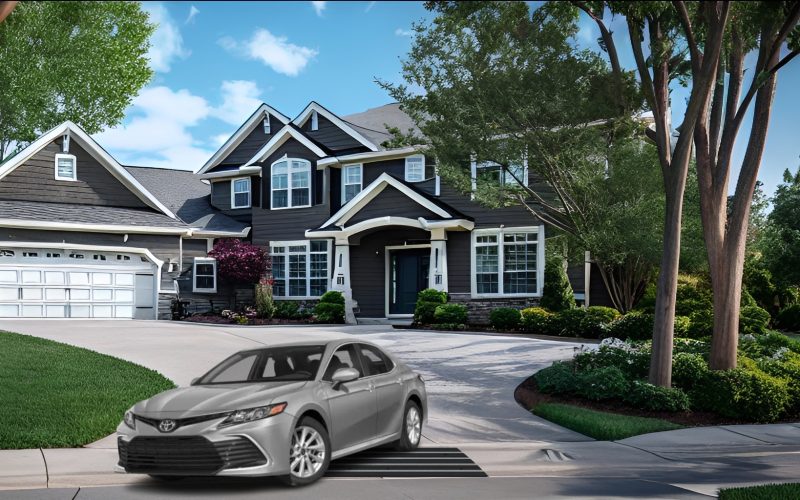
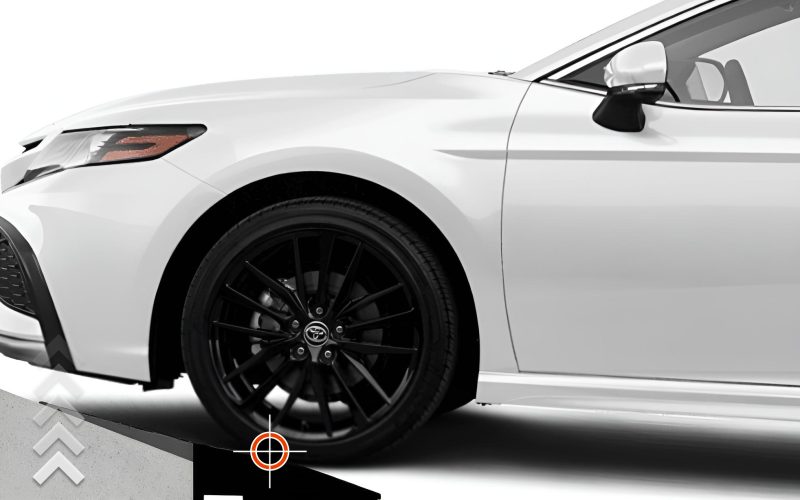
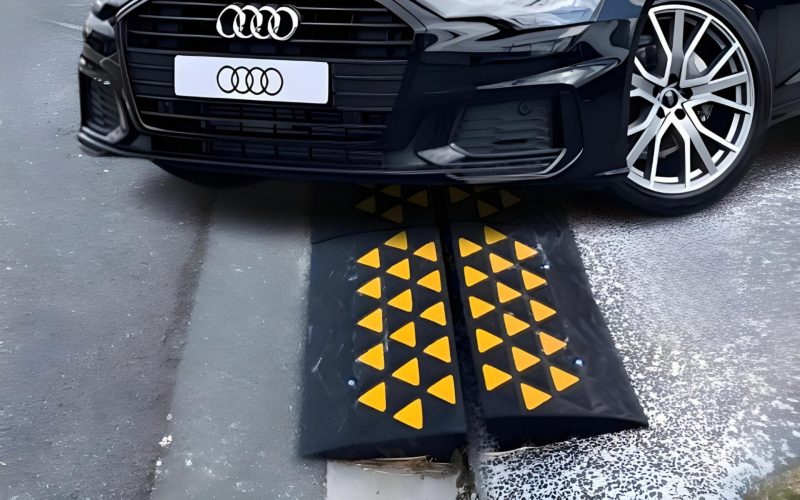
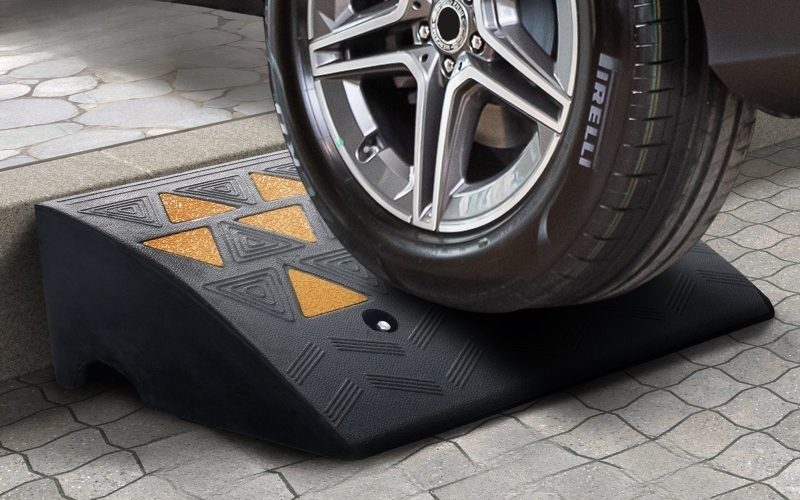
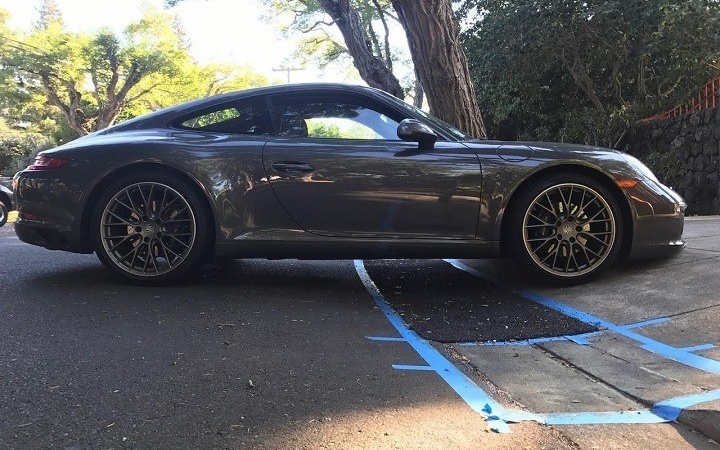
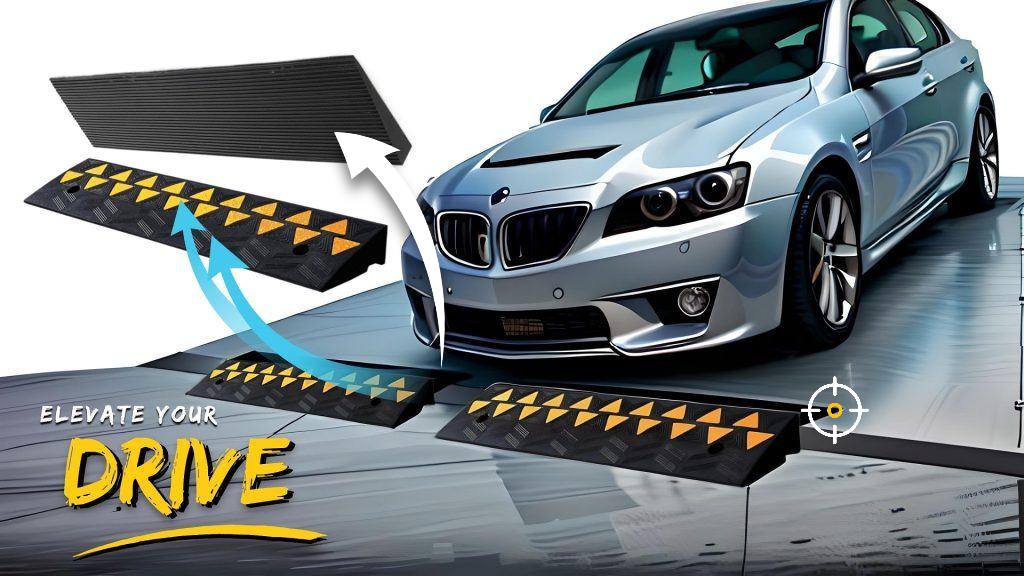
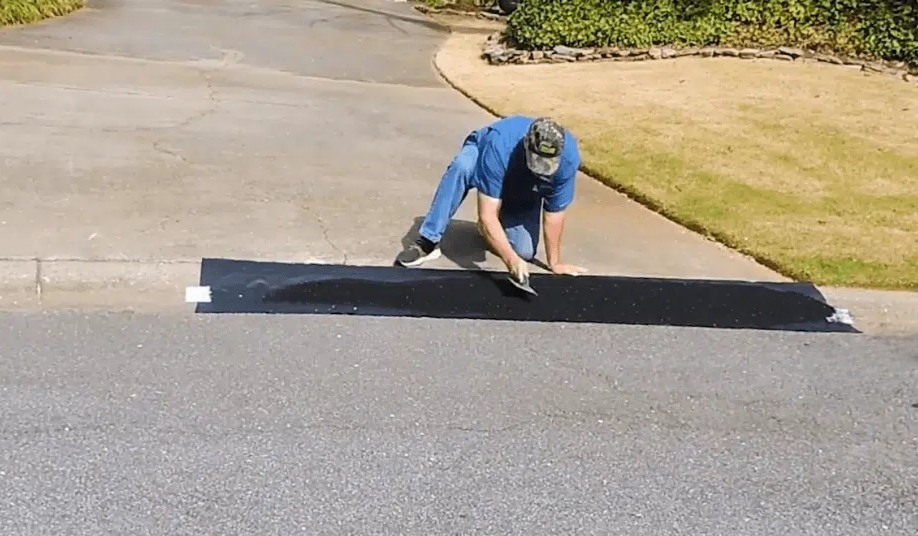
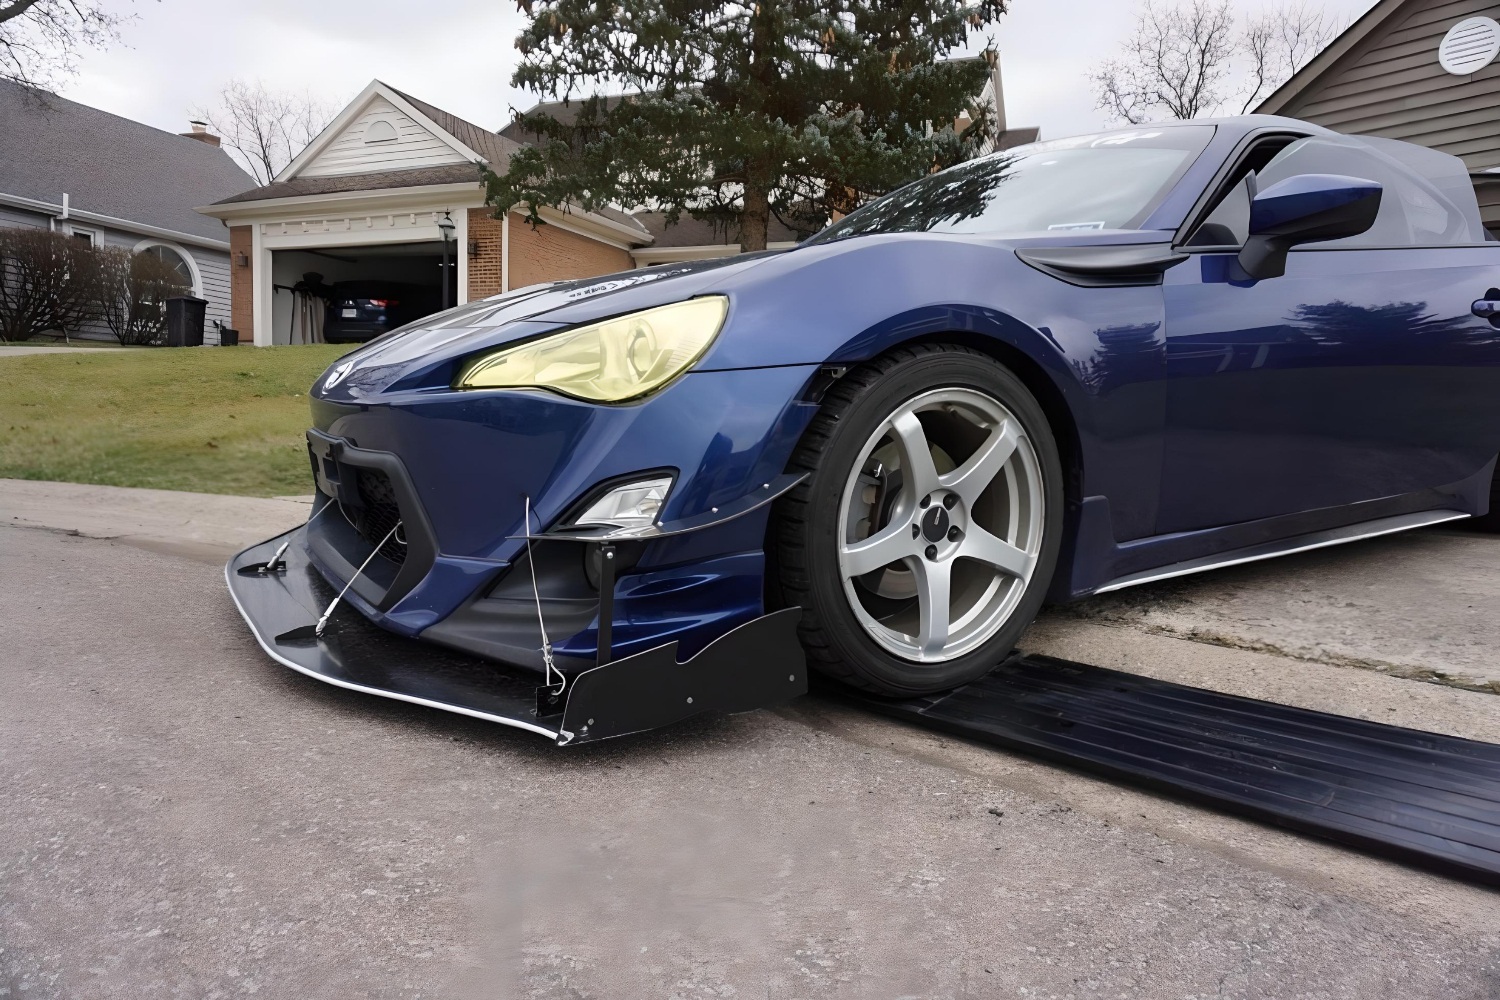
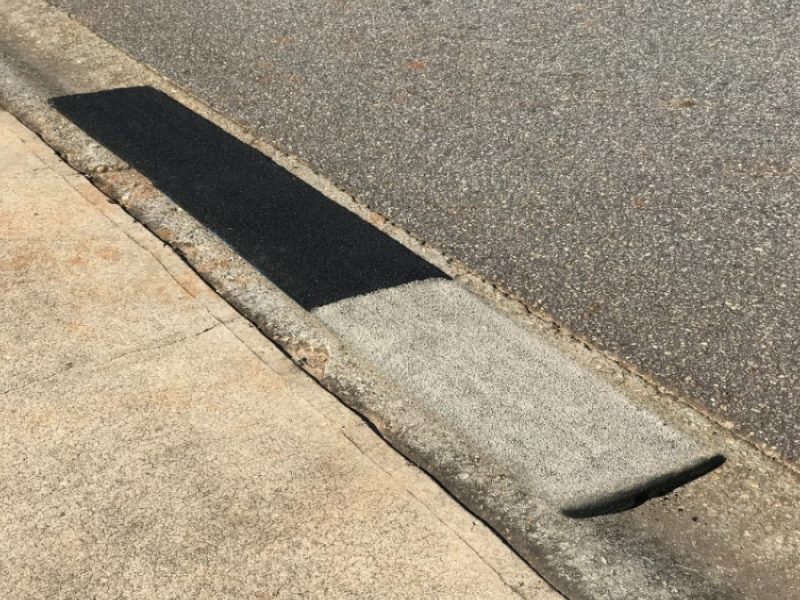
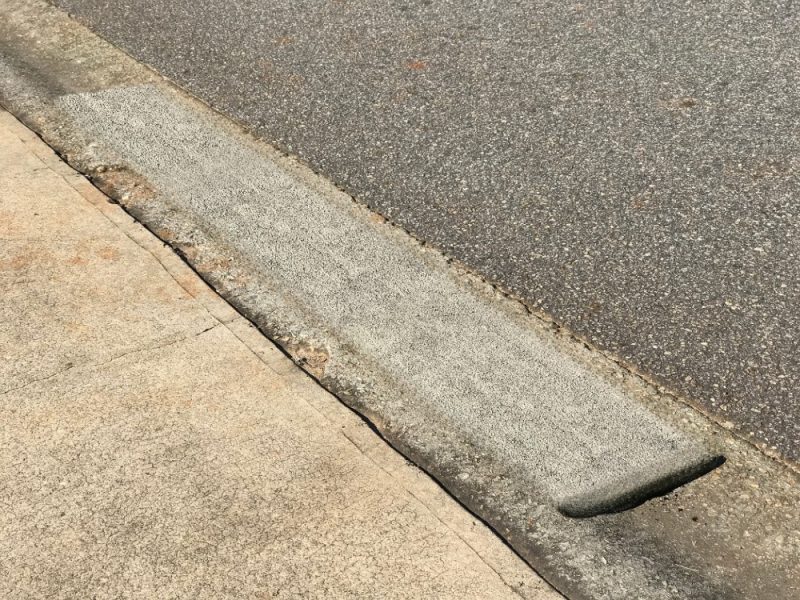
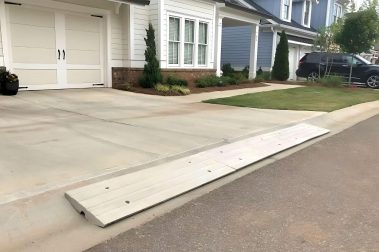
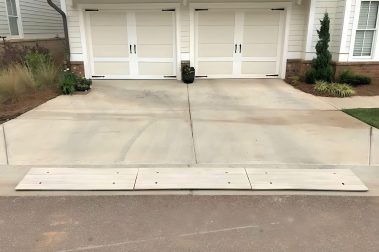
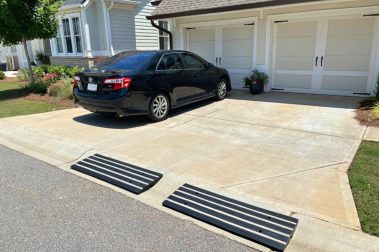
To get started, drive your car up to the point where the front end begins to scrape. Once you reach that point, hop out and mark where the tires are located, as that’s where the ramps need to be positioned.
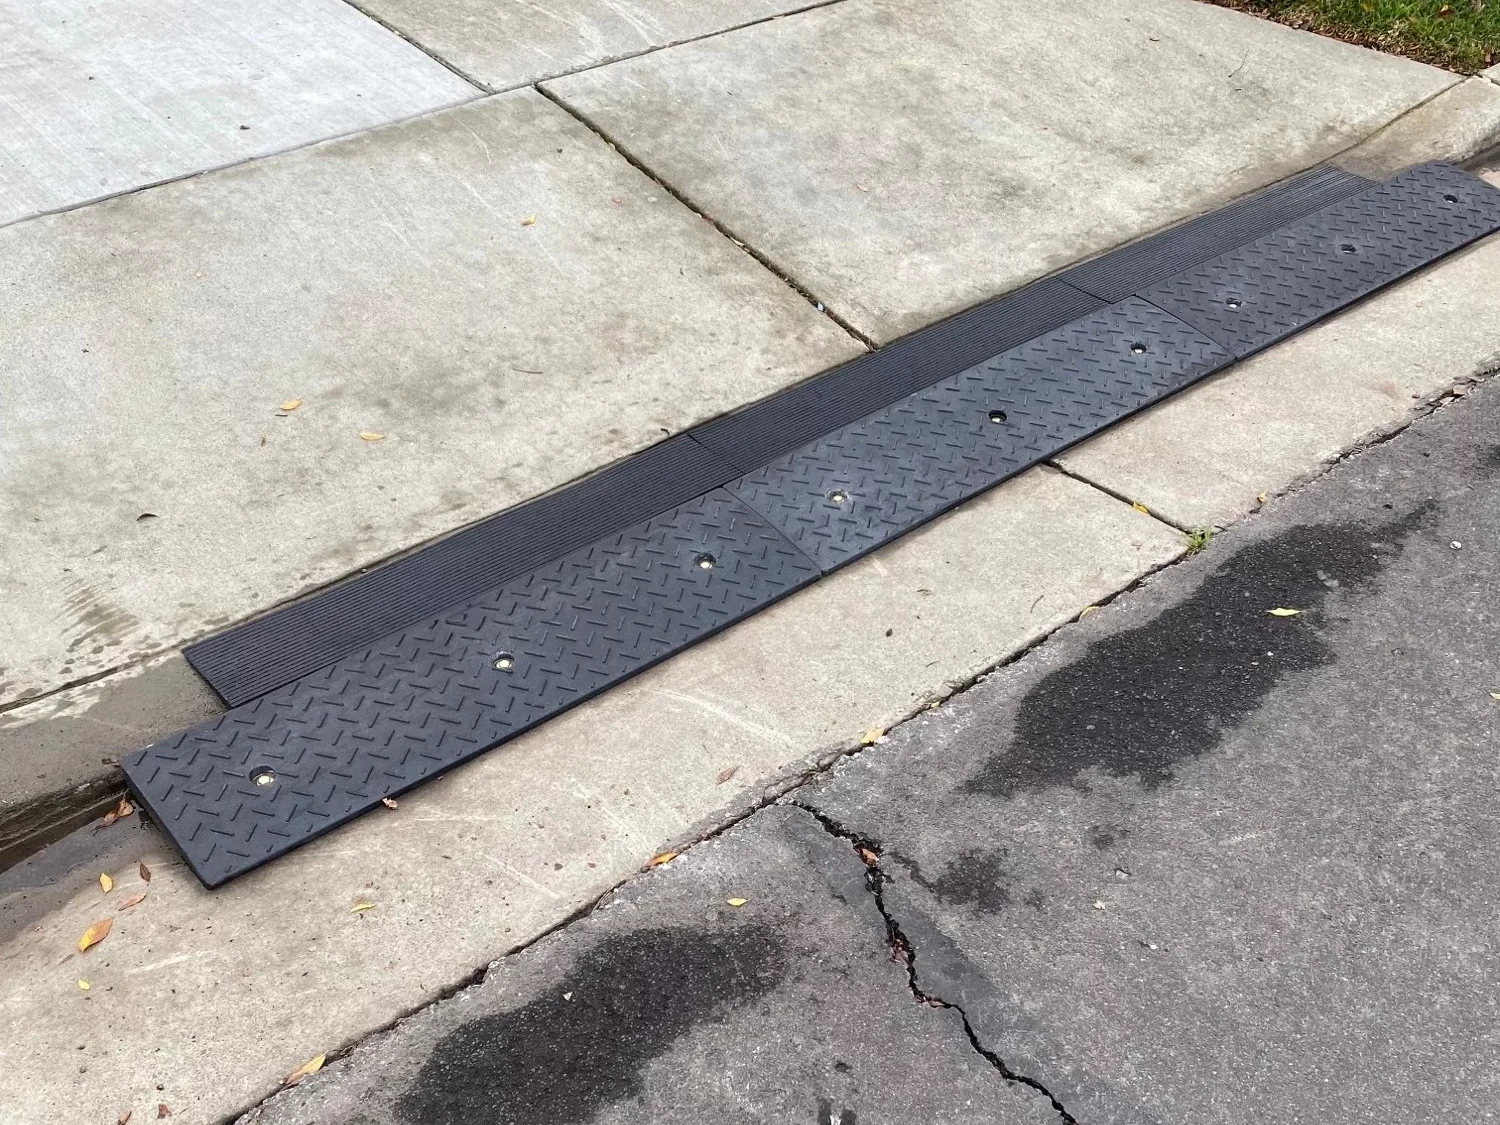
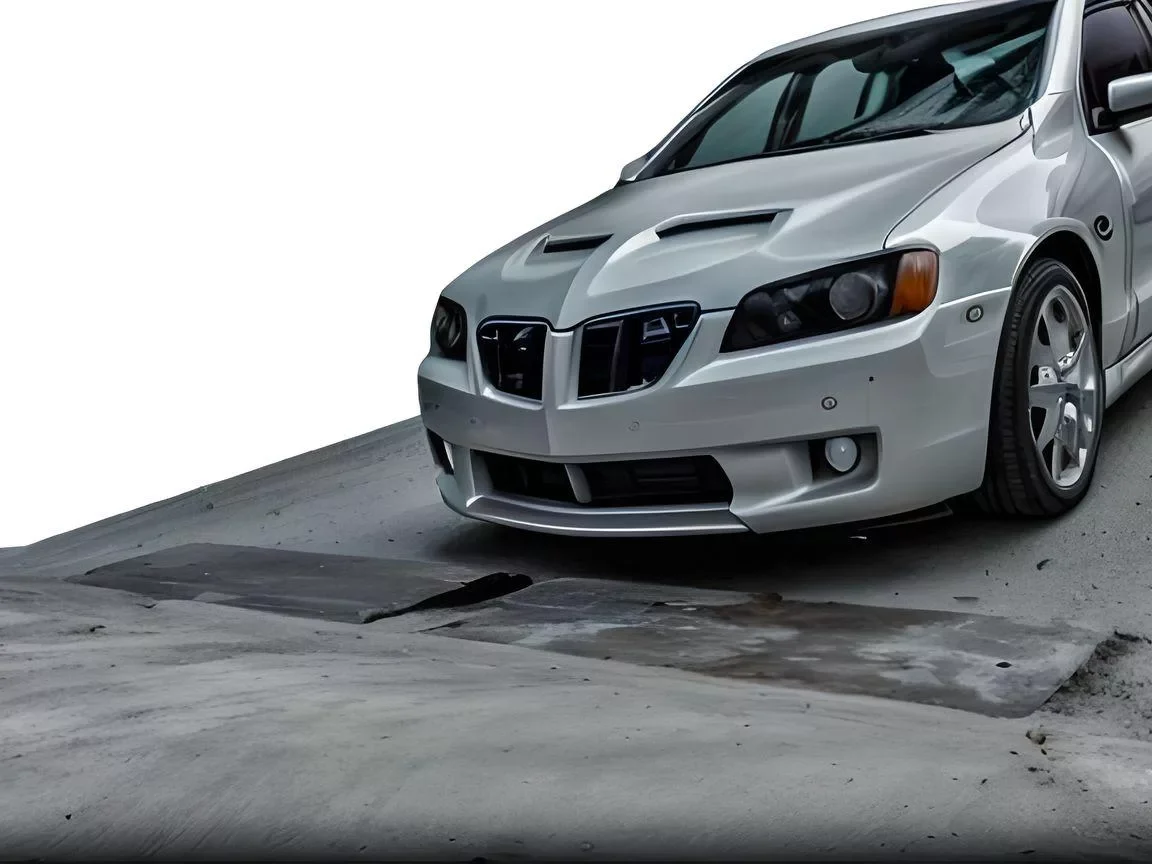
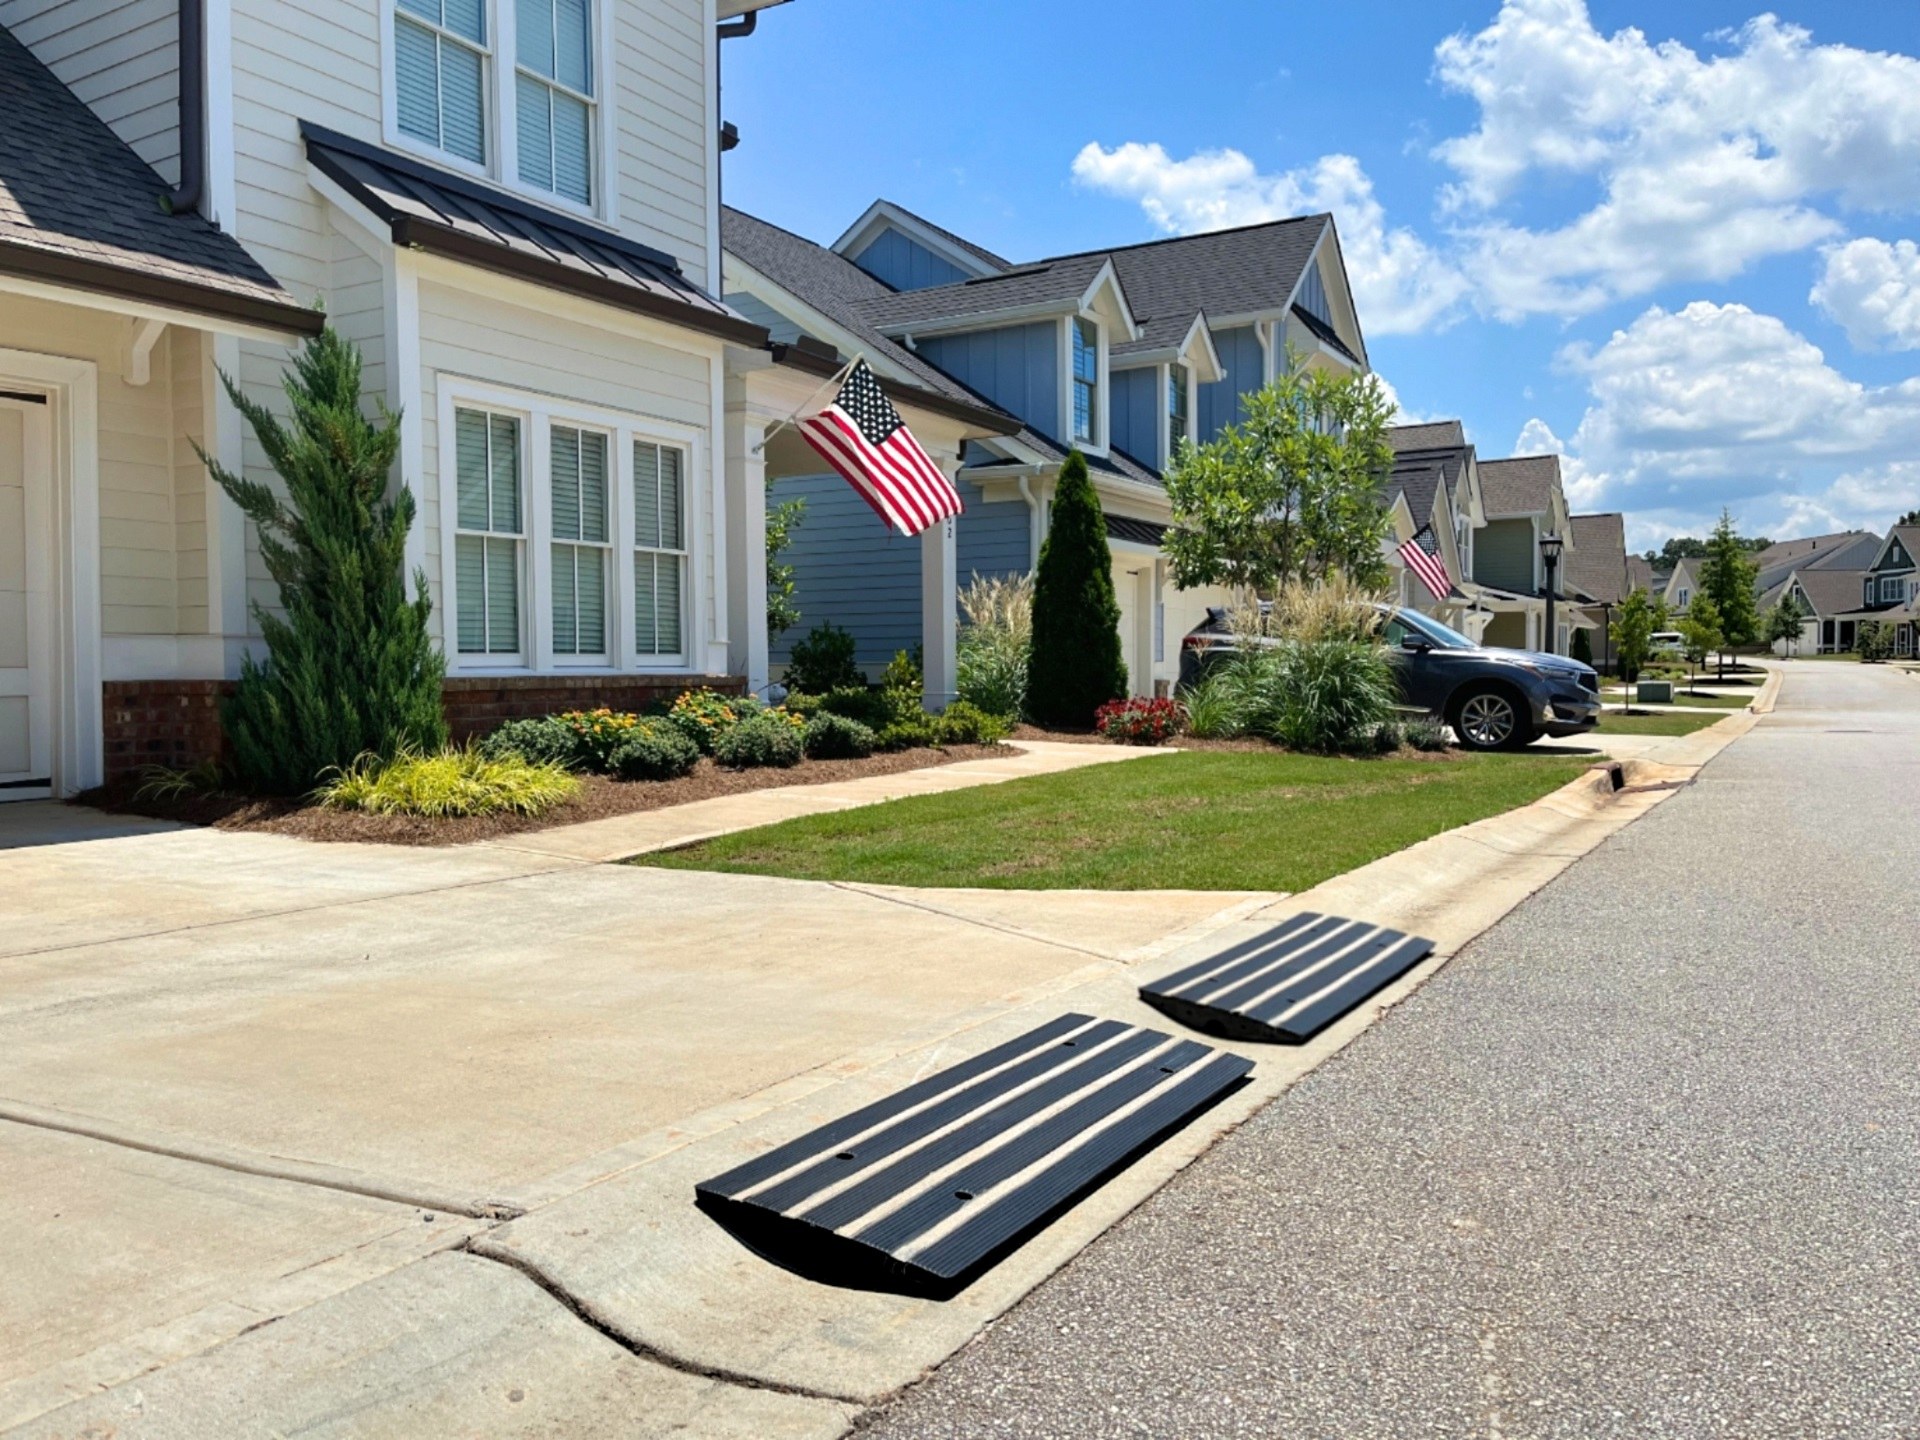
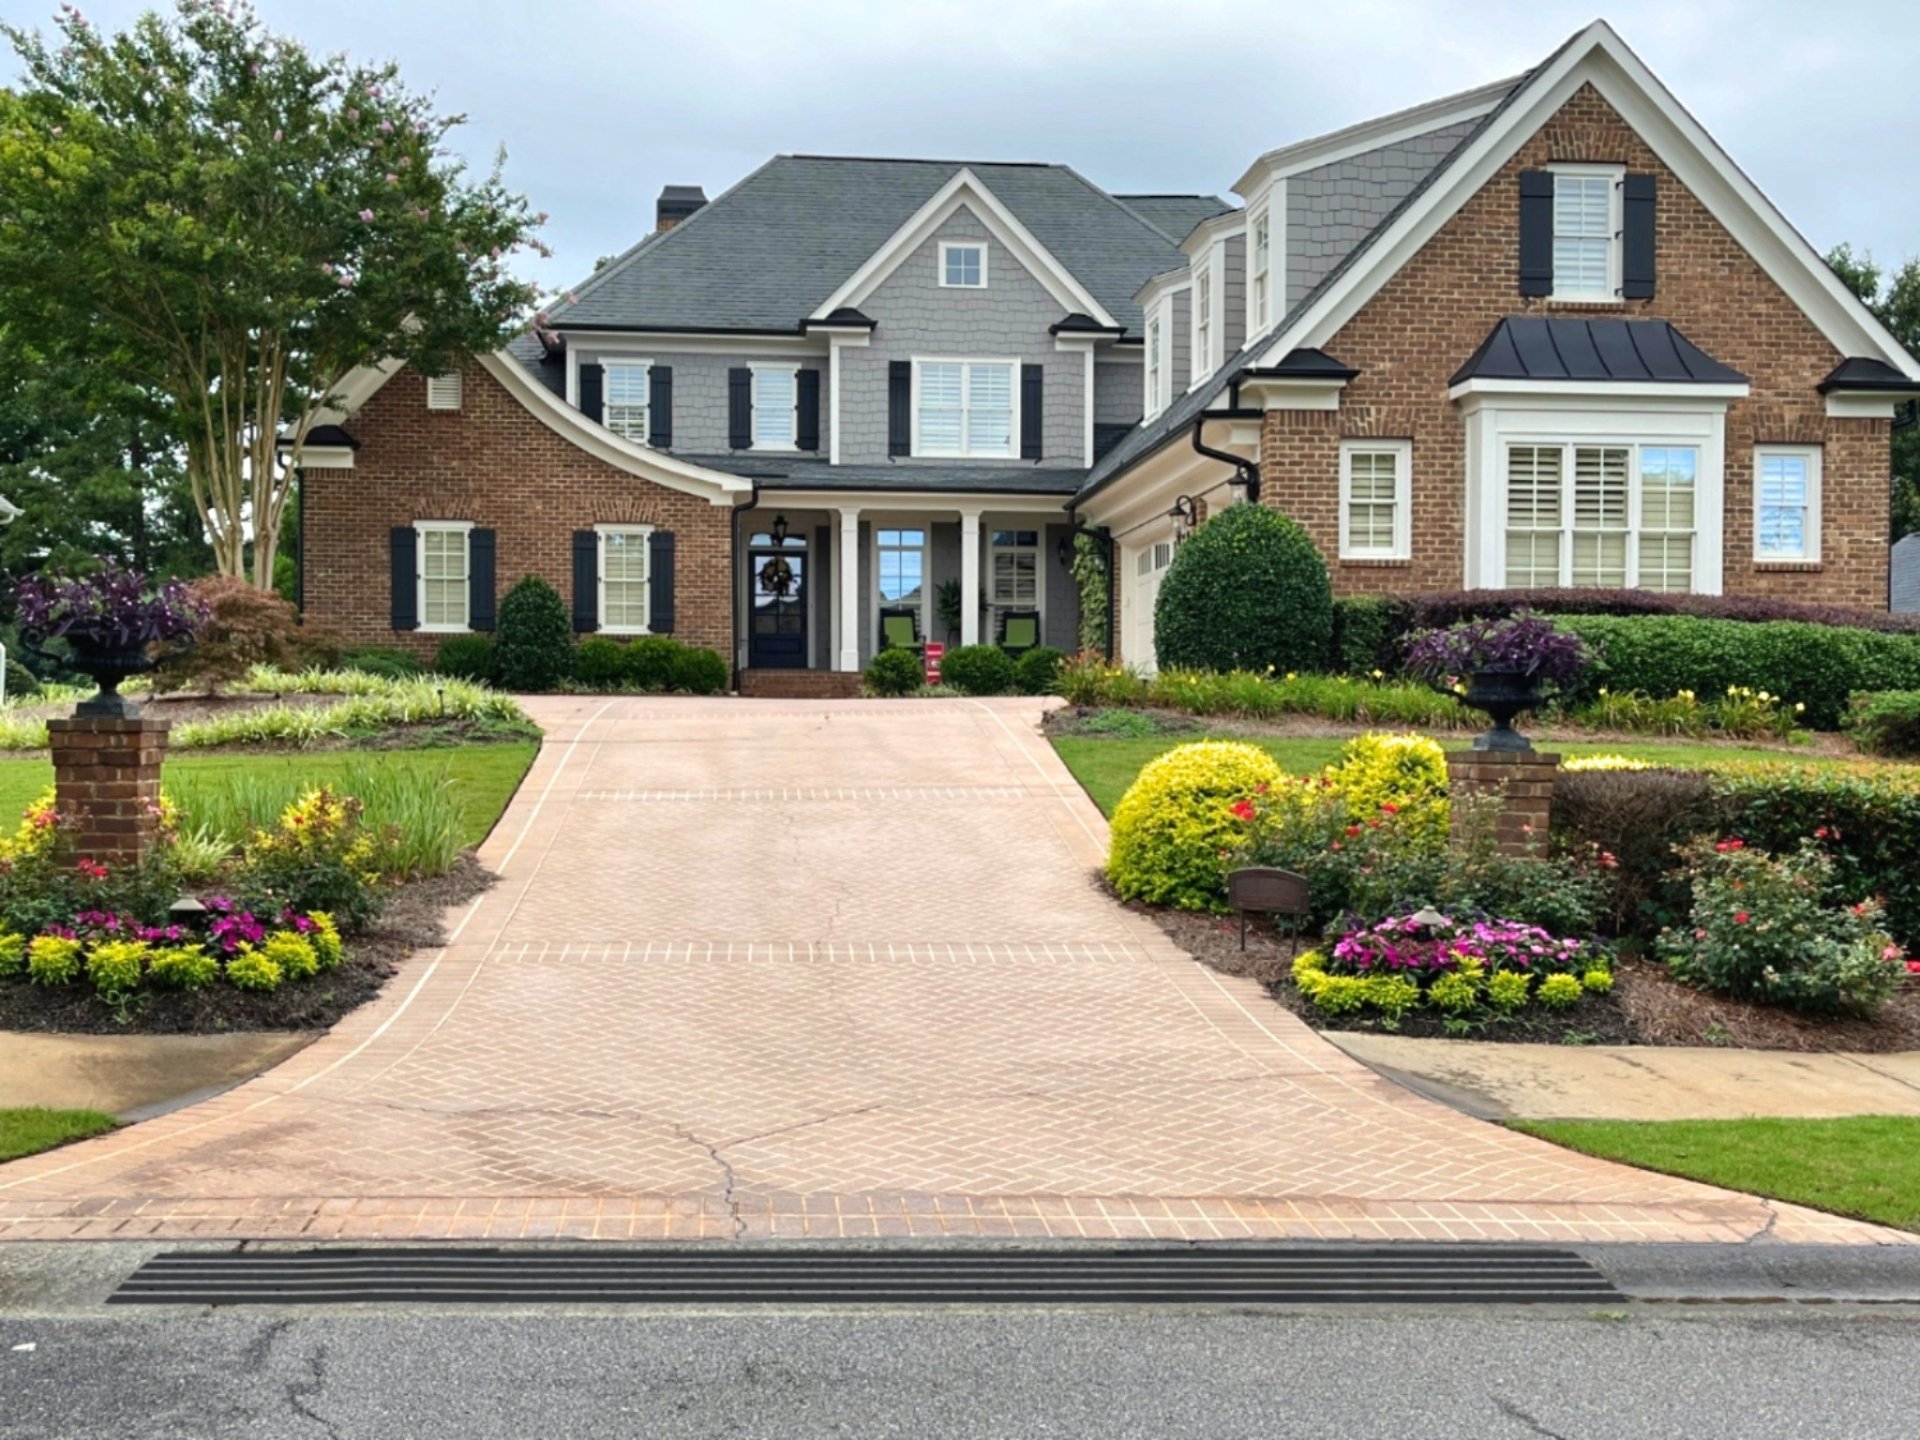
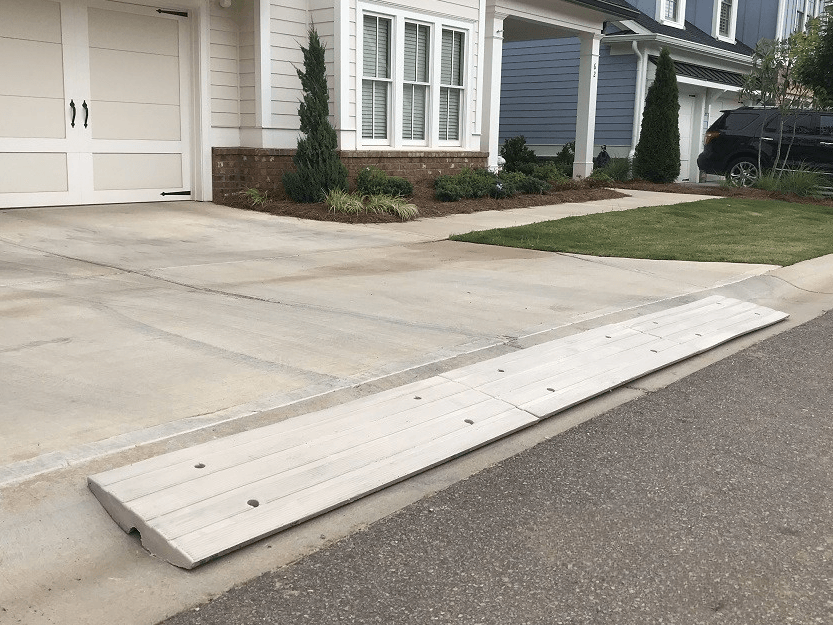
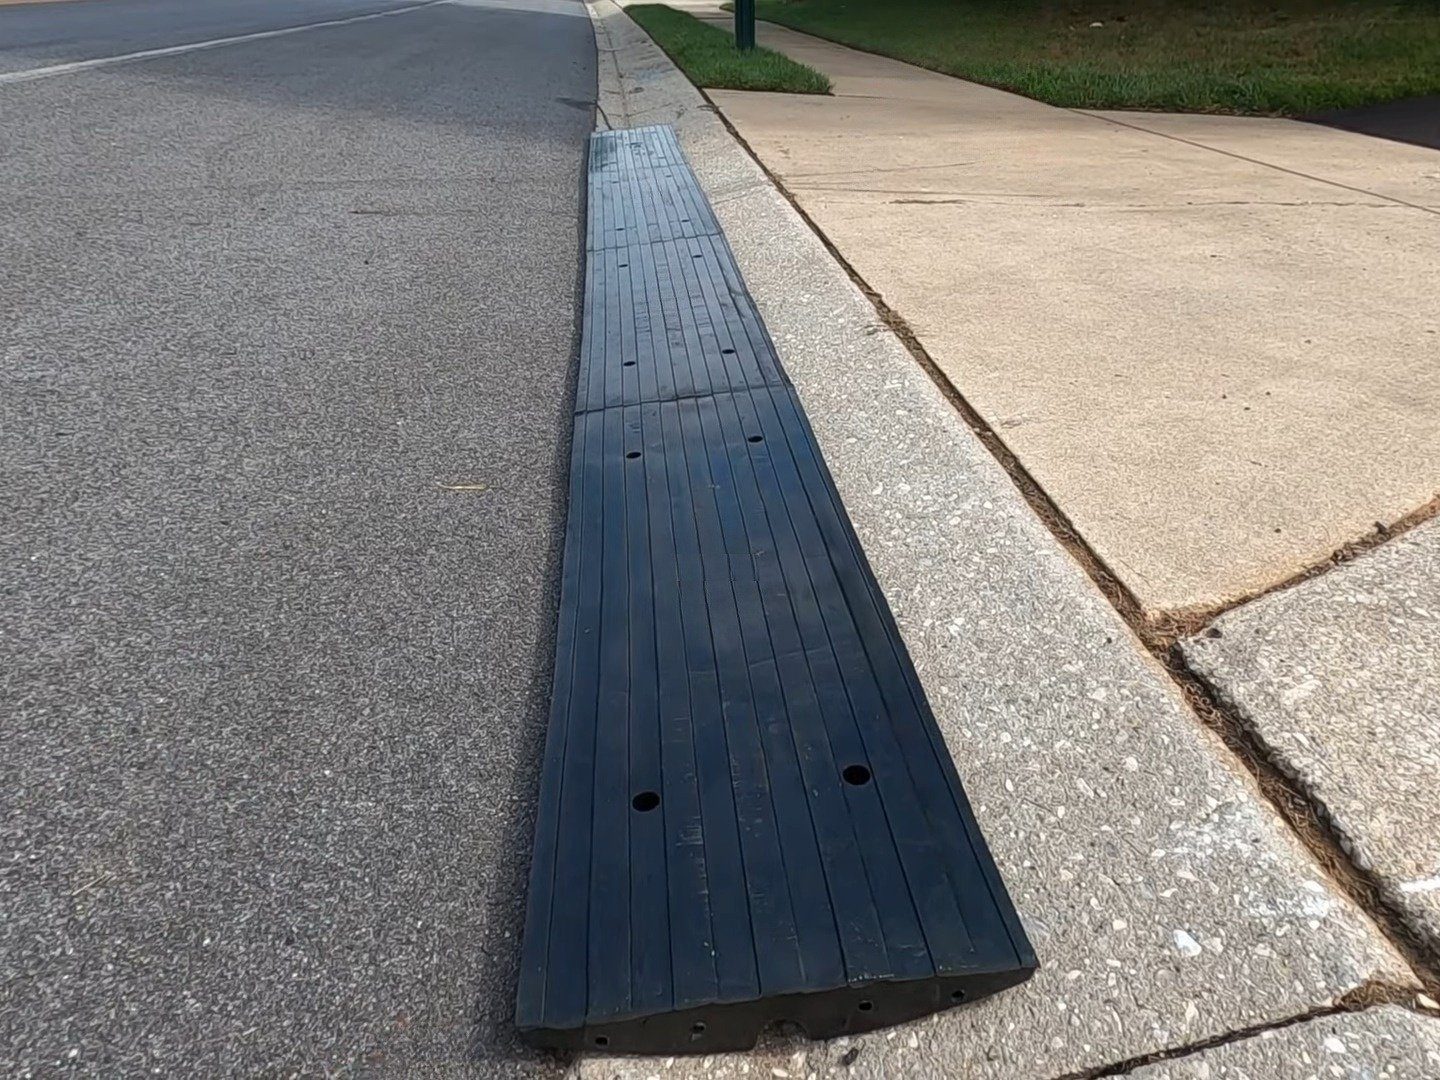
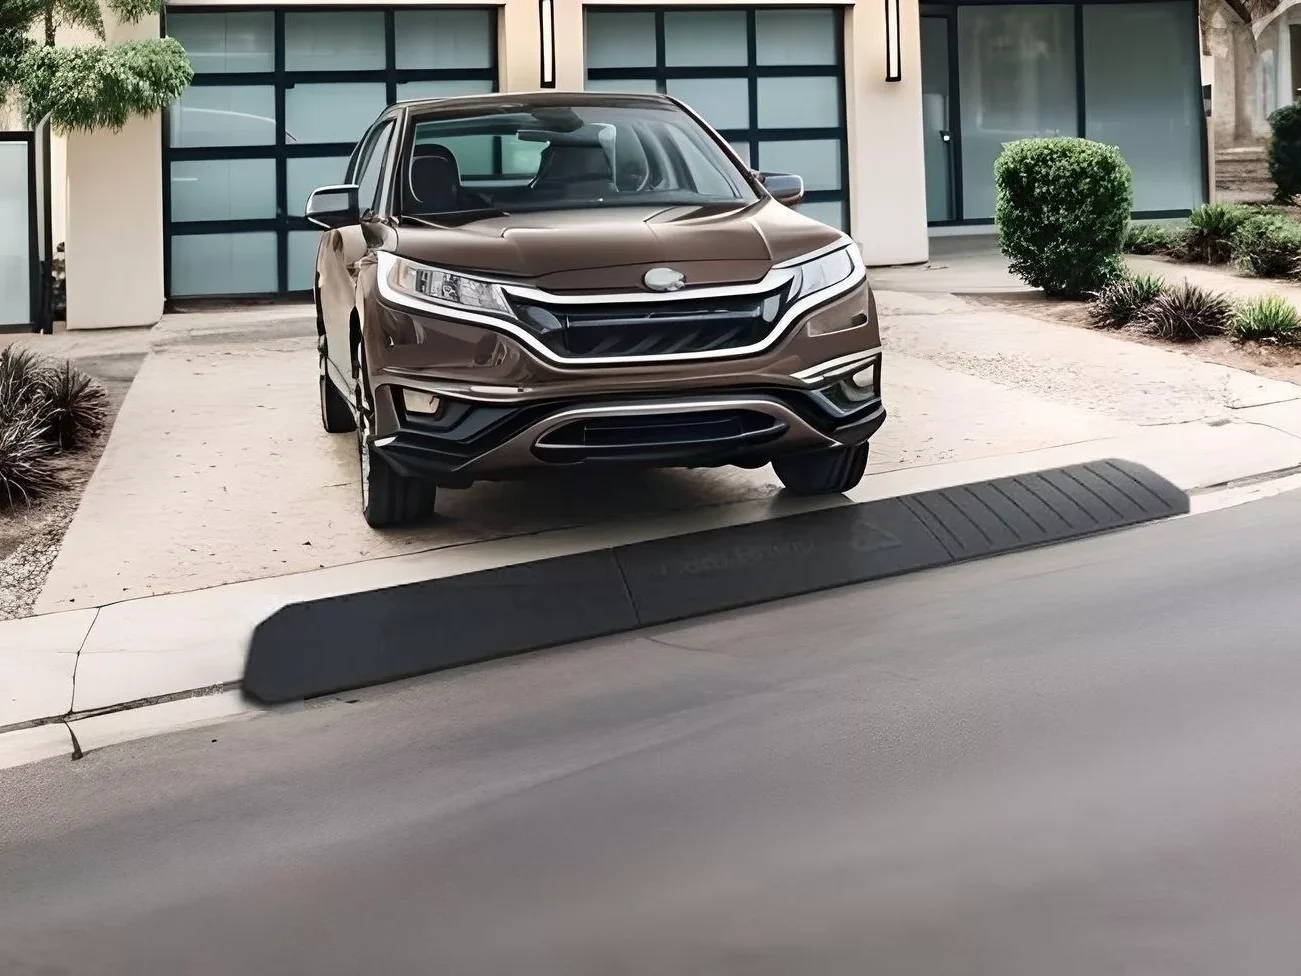
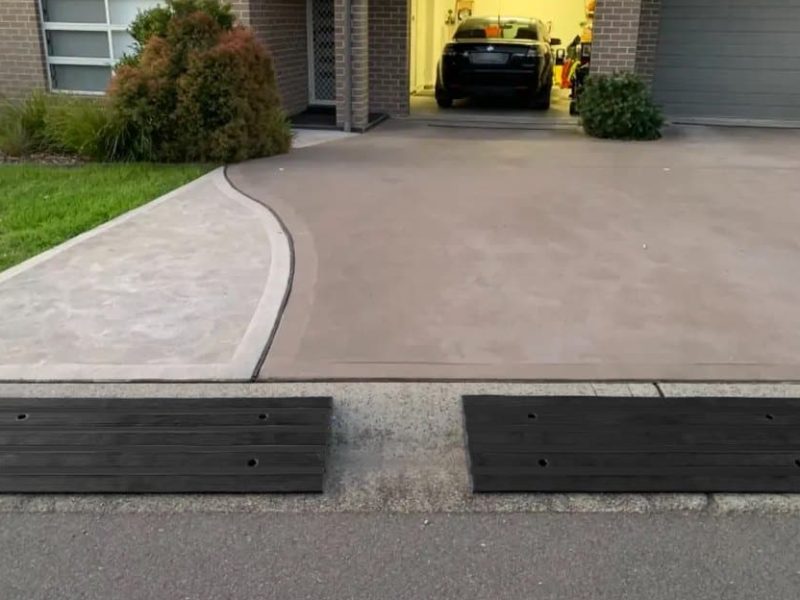
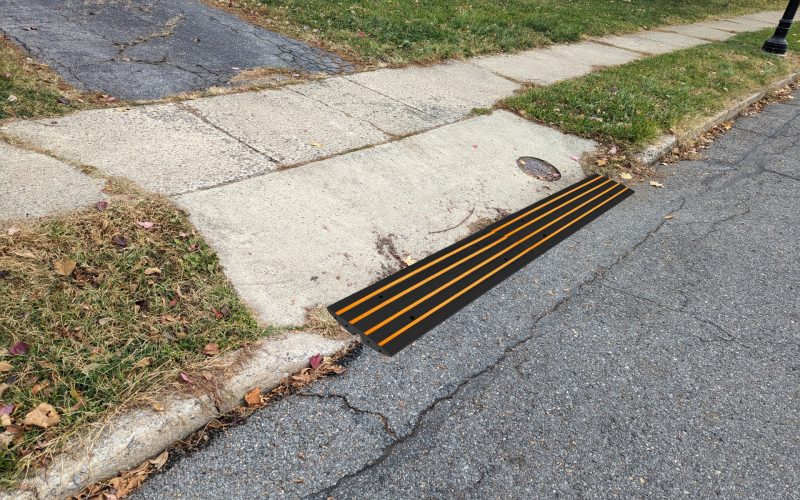
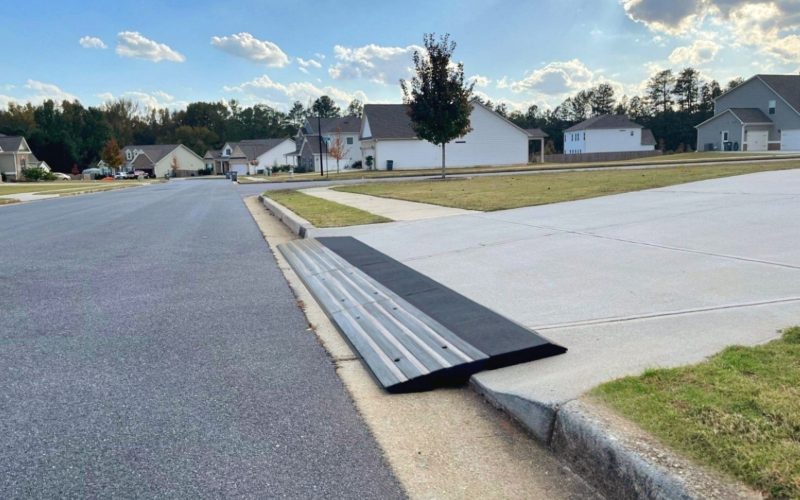
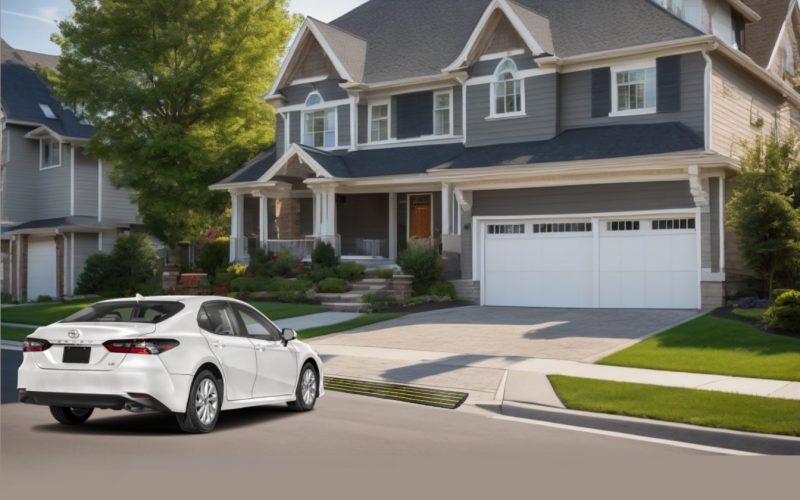
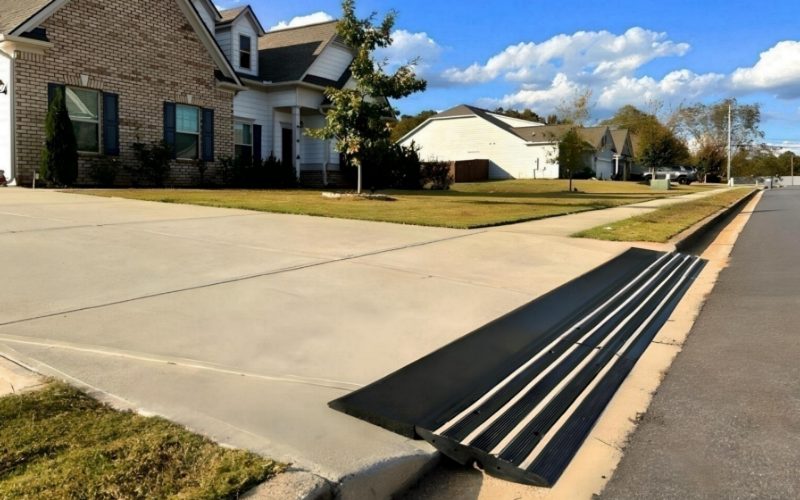
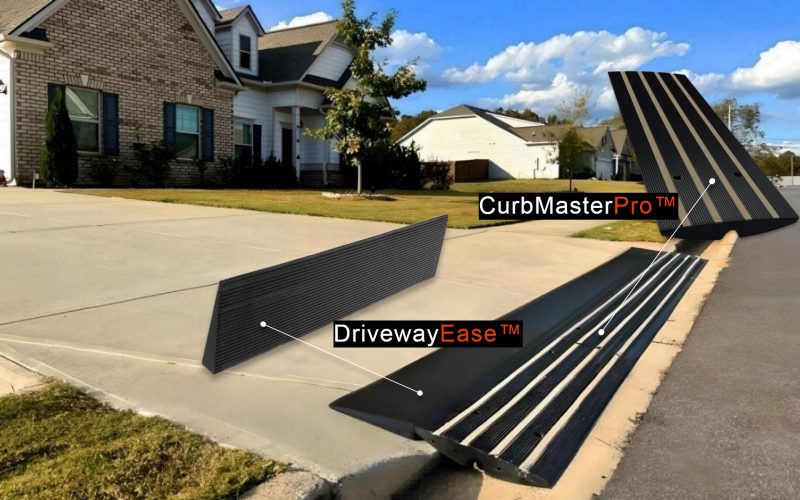
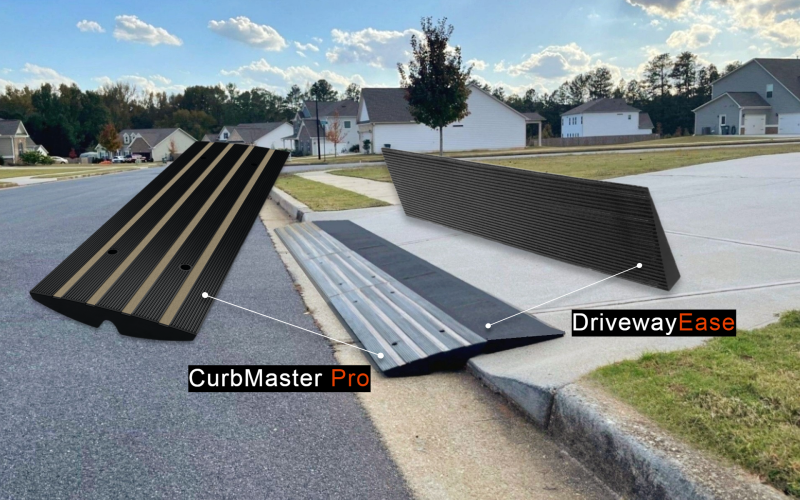
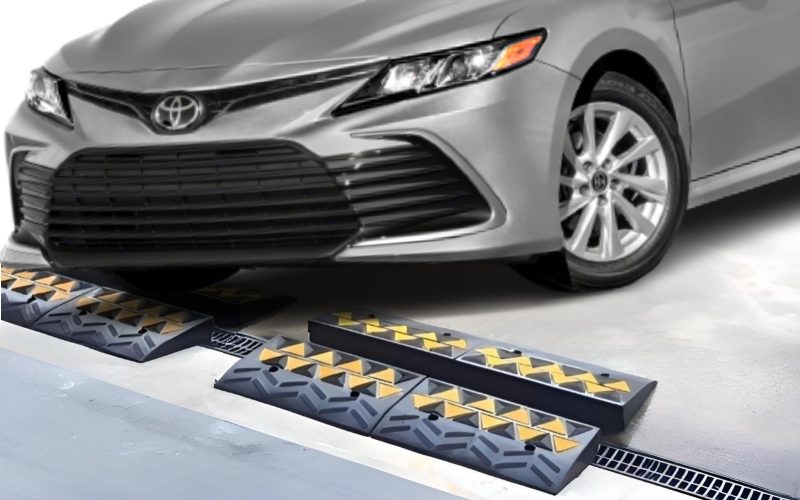
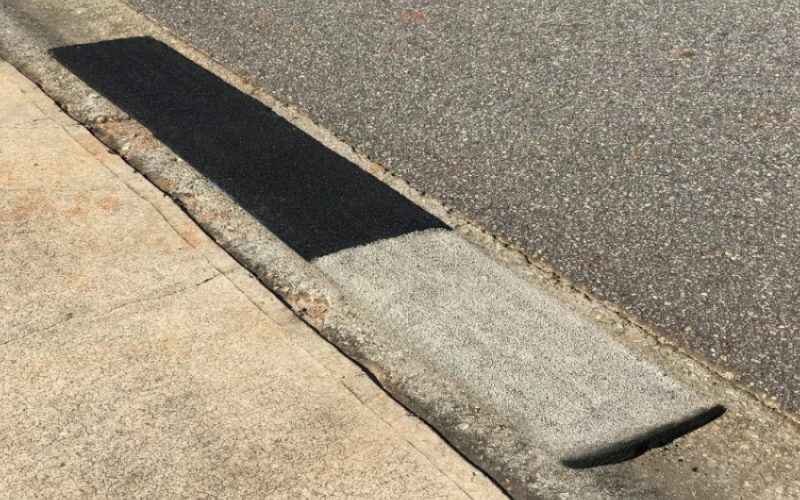
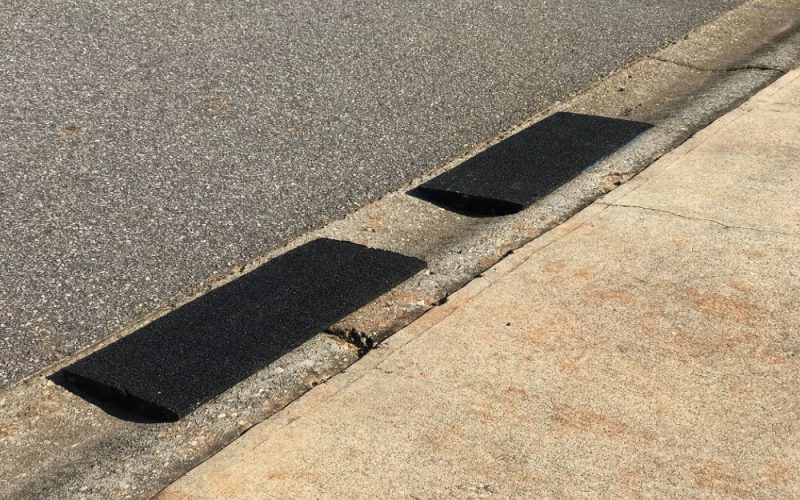
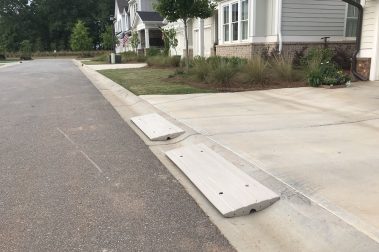
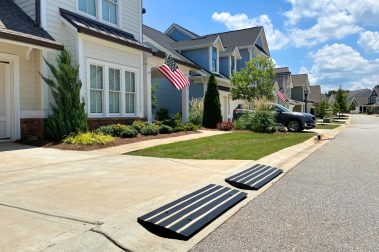
Typically, this will be in the street gutter where the lip is located, but there may be cases where a slightly different setup is more effective. For example, you may find that leaving a 1-2″ gap between the back side of the ramp and the driveway lip offers better coverage or smoother transition. This gap enables the ramp to span a wider area and provide more lift over a broader section of the driveway.
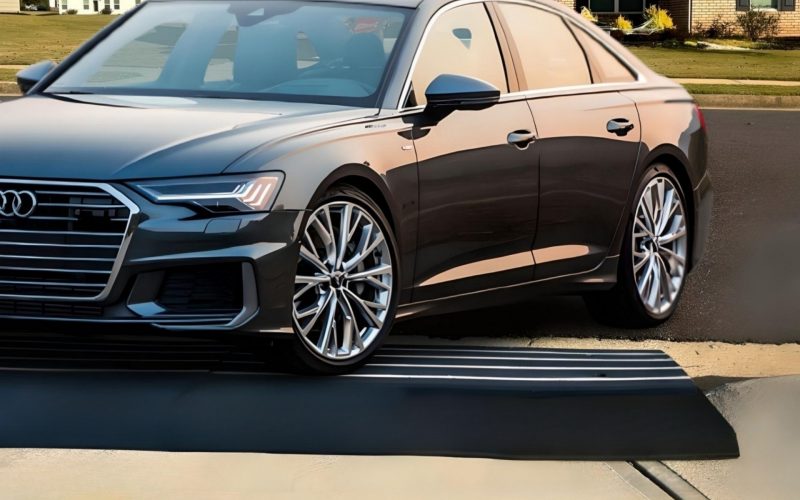
If needed, you may also choose to move the ramps slightly up the driveway to provide additional clearance, particularly if the entry is steep enough to cause scraping further up the driveway. Adjusting the ramp placement is key to ensuring the vehicle’s front end lifts correctly, preventing scraping, and giving you a smooth drive in and out of your driveway.
Step 2: Mixing and Matching Sizes
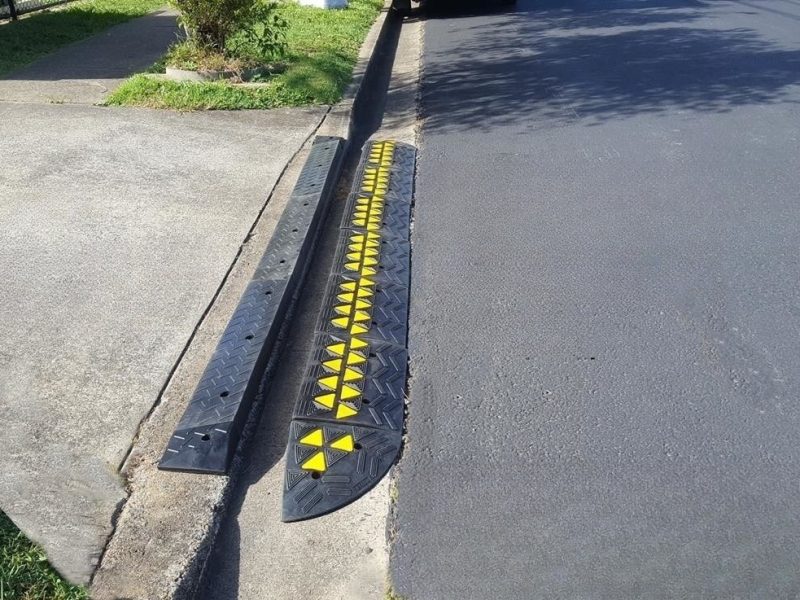
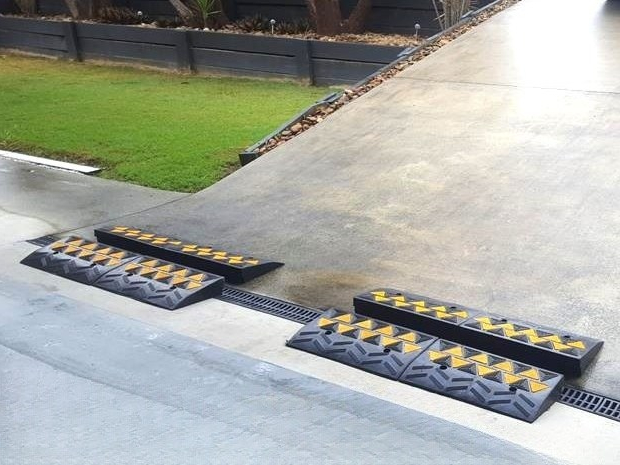
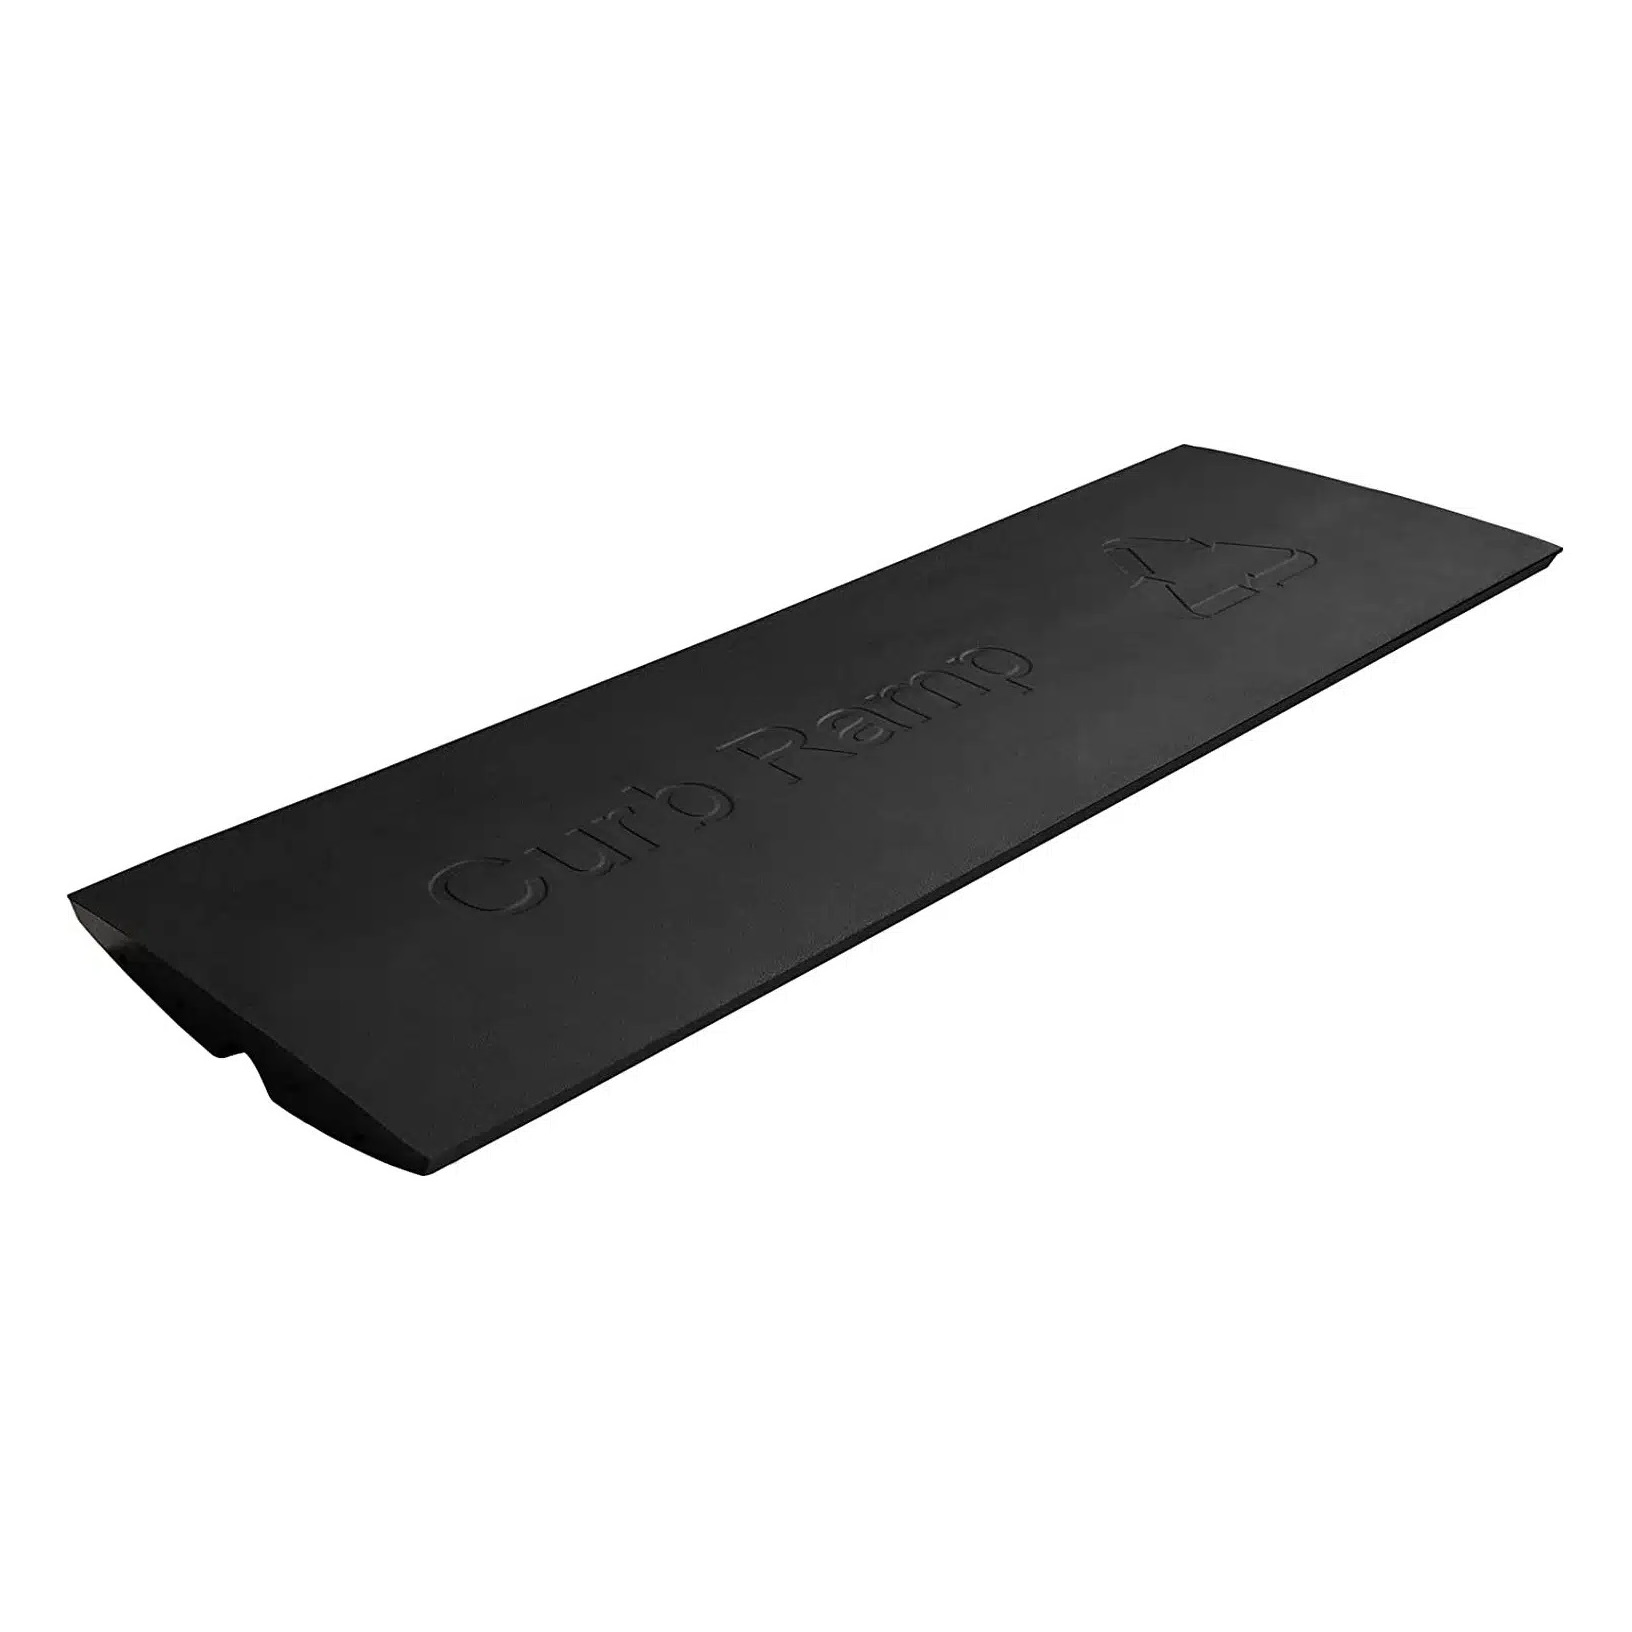
Depending on the severity of the driveway’s slope, you can mix and match different ramp sizes to create the perfect custom solution. For example:
- A 3″ ramp can be used in the gutter area to create a steeper transition and a 2″ ramp on the driveway side for extra lift if the lip is lower, but the angle still causes scraping.
The flexibility to mix ramp sizes allows you to tailor the solution to the exact shape and height of your driveway, ensuring optimal clearance for your vehicle.
Step 3: Installation Options
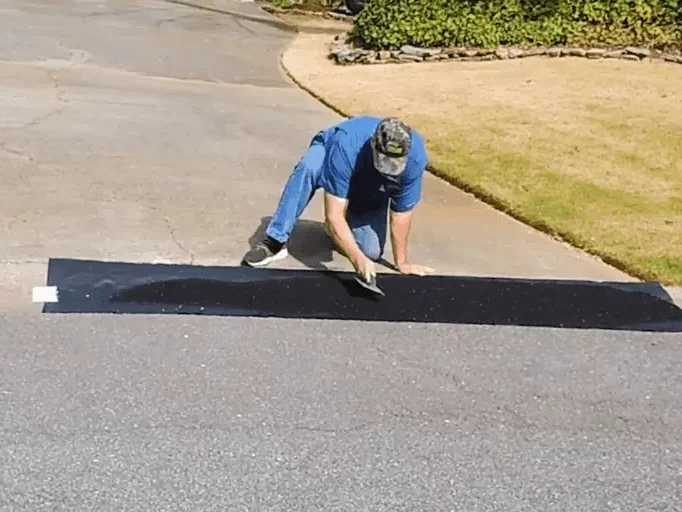
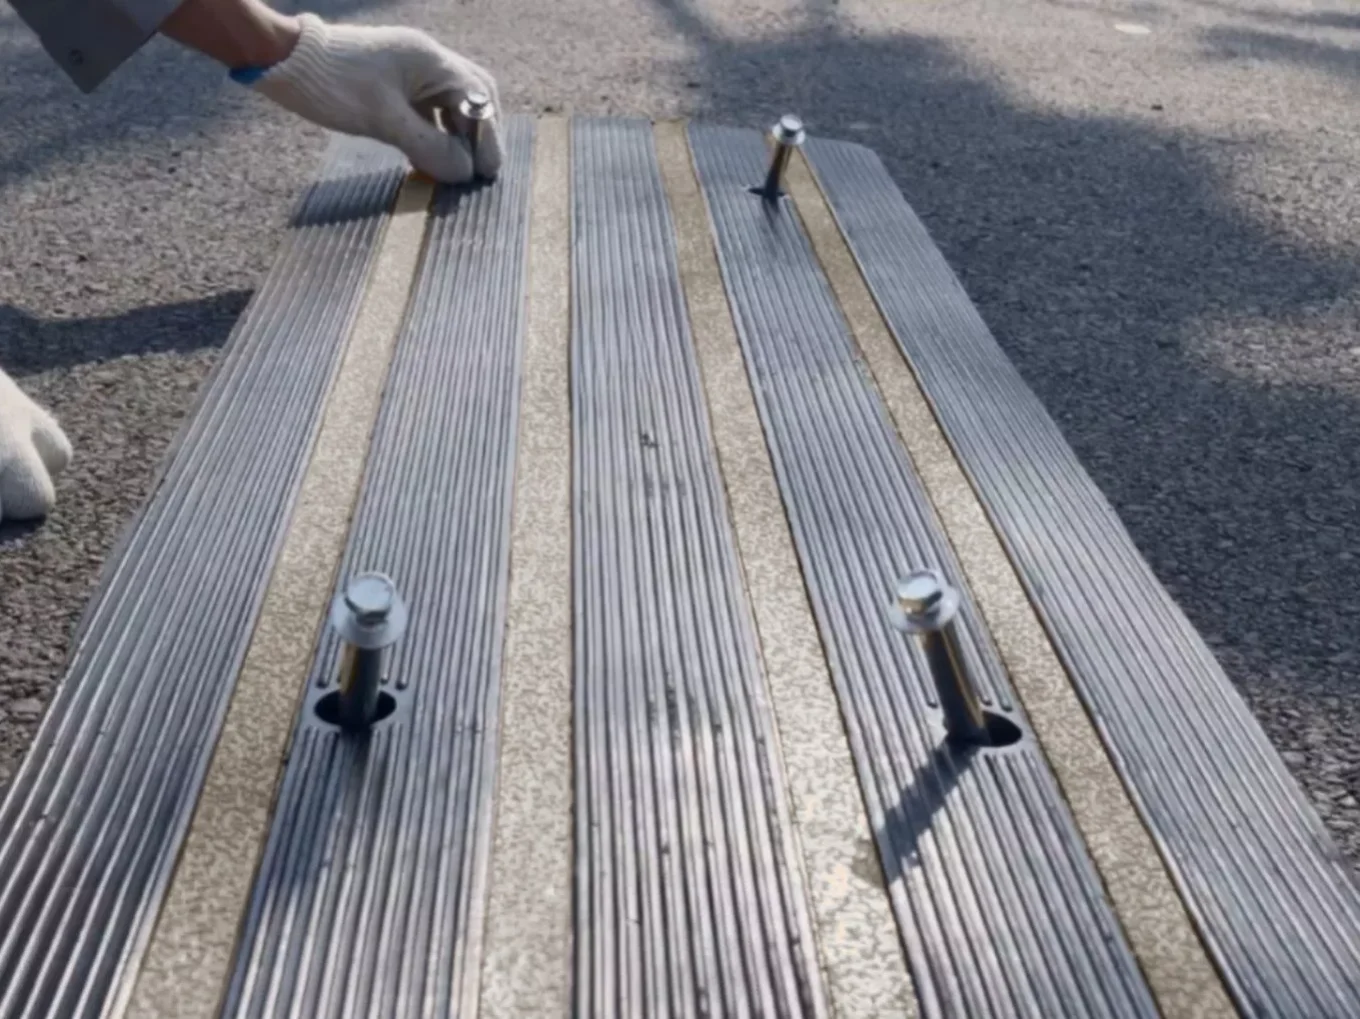
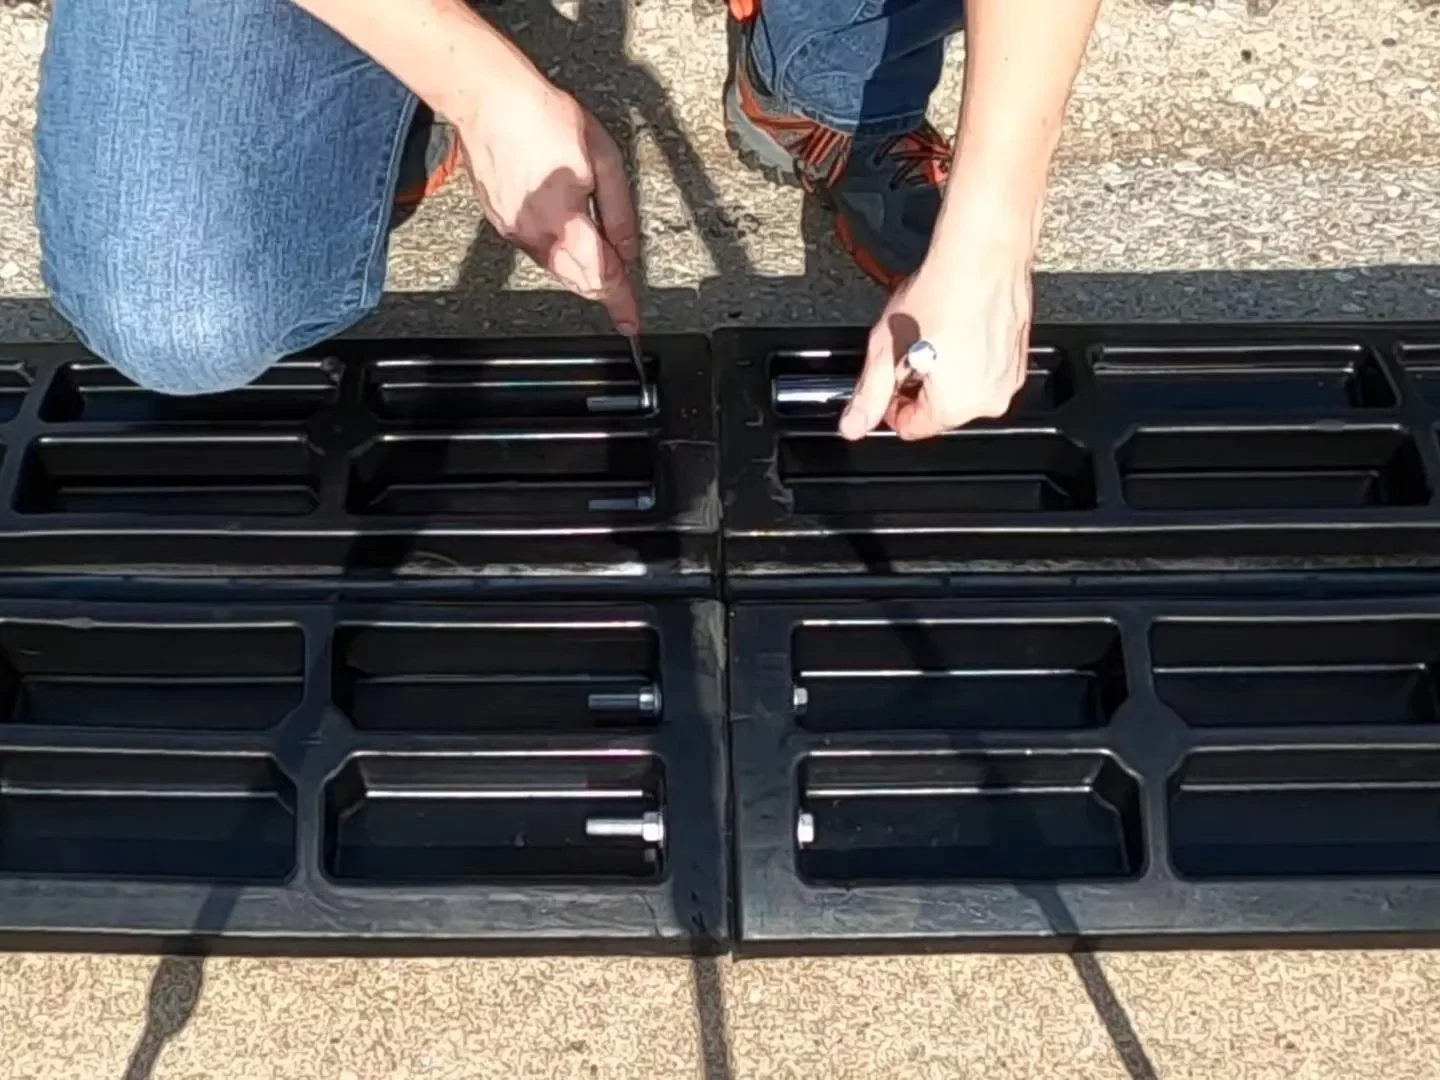
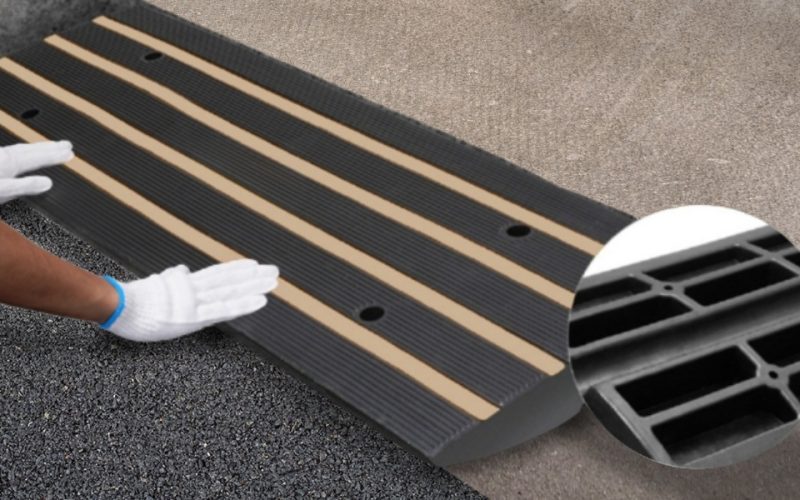
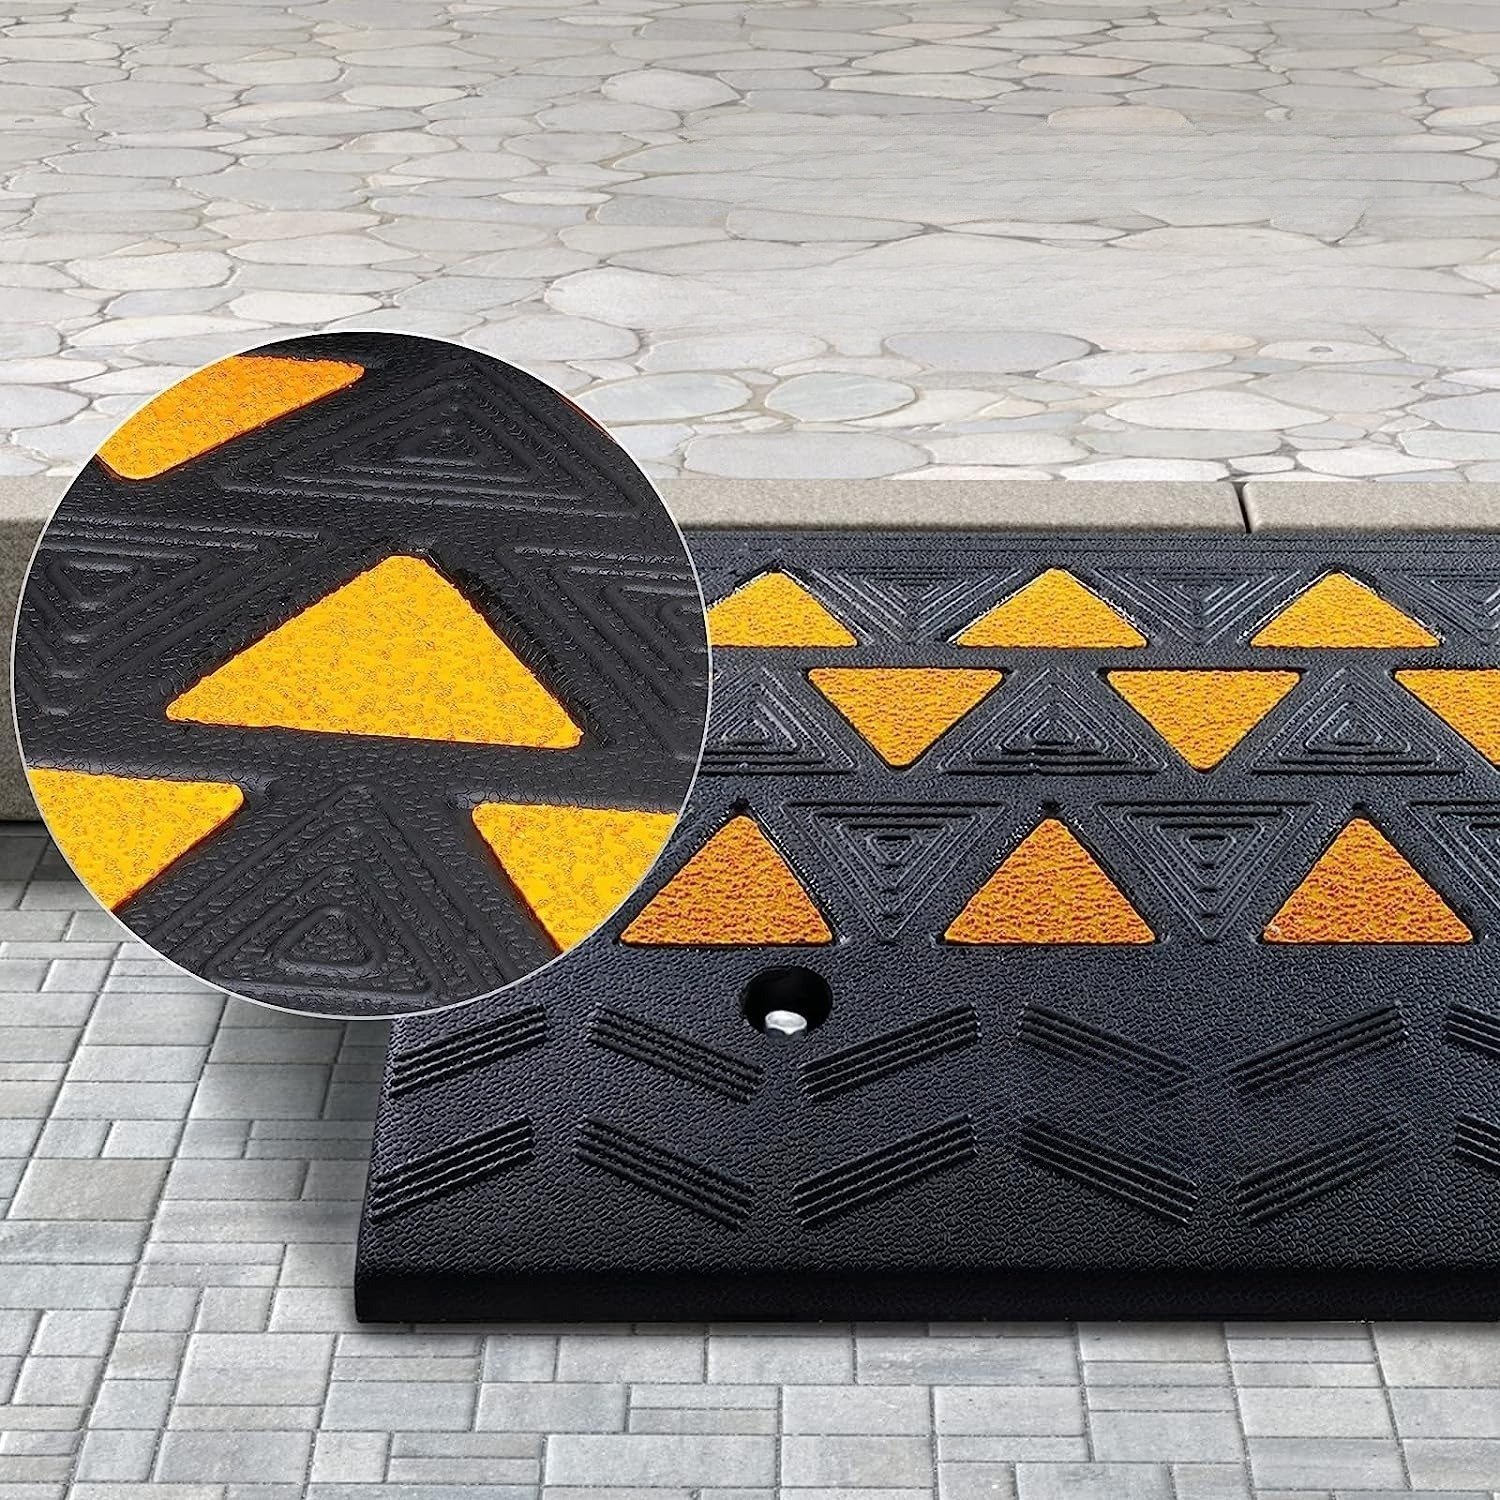
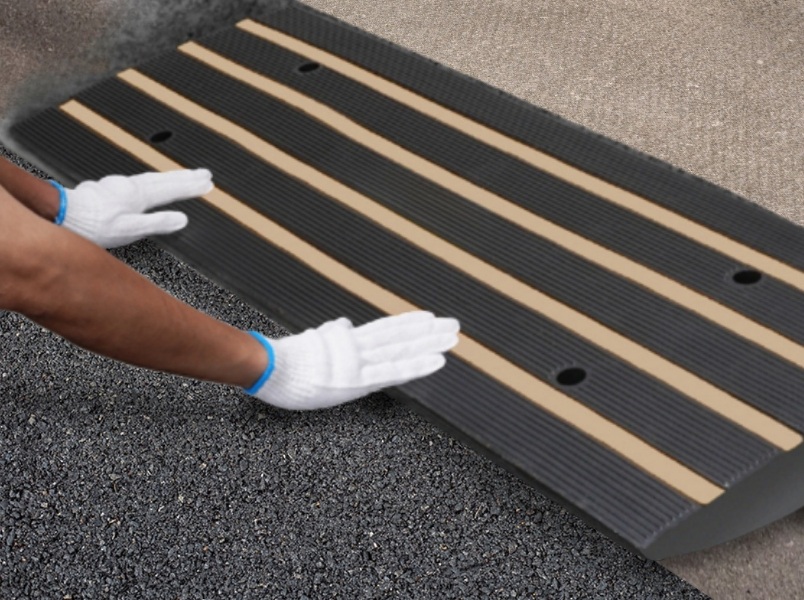
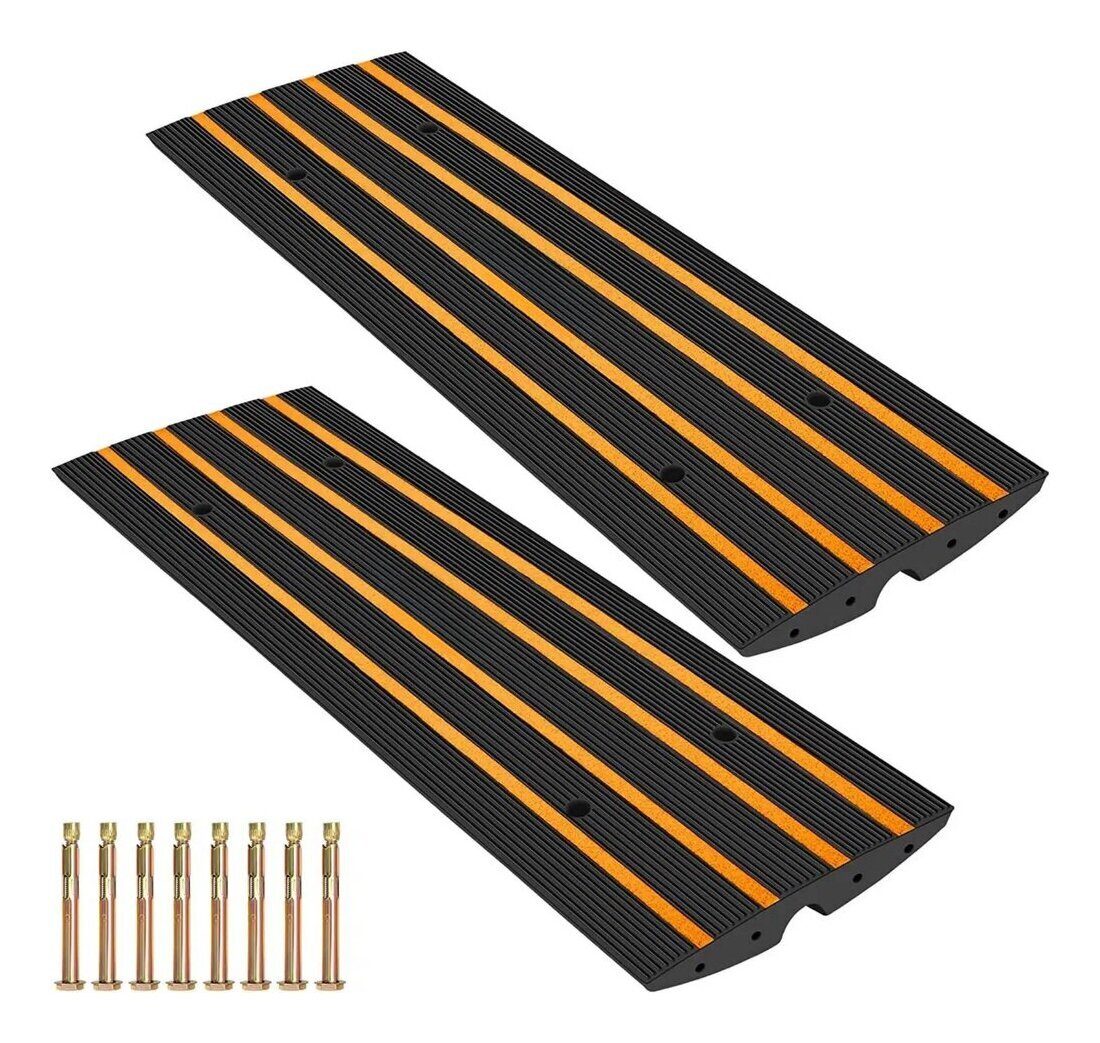
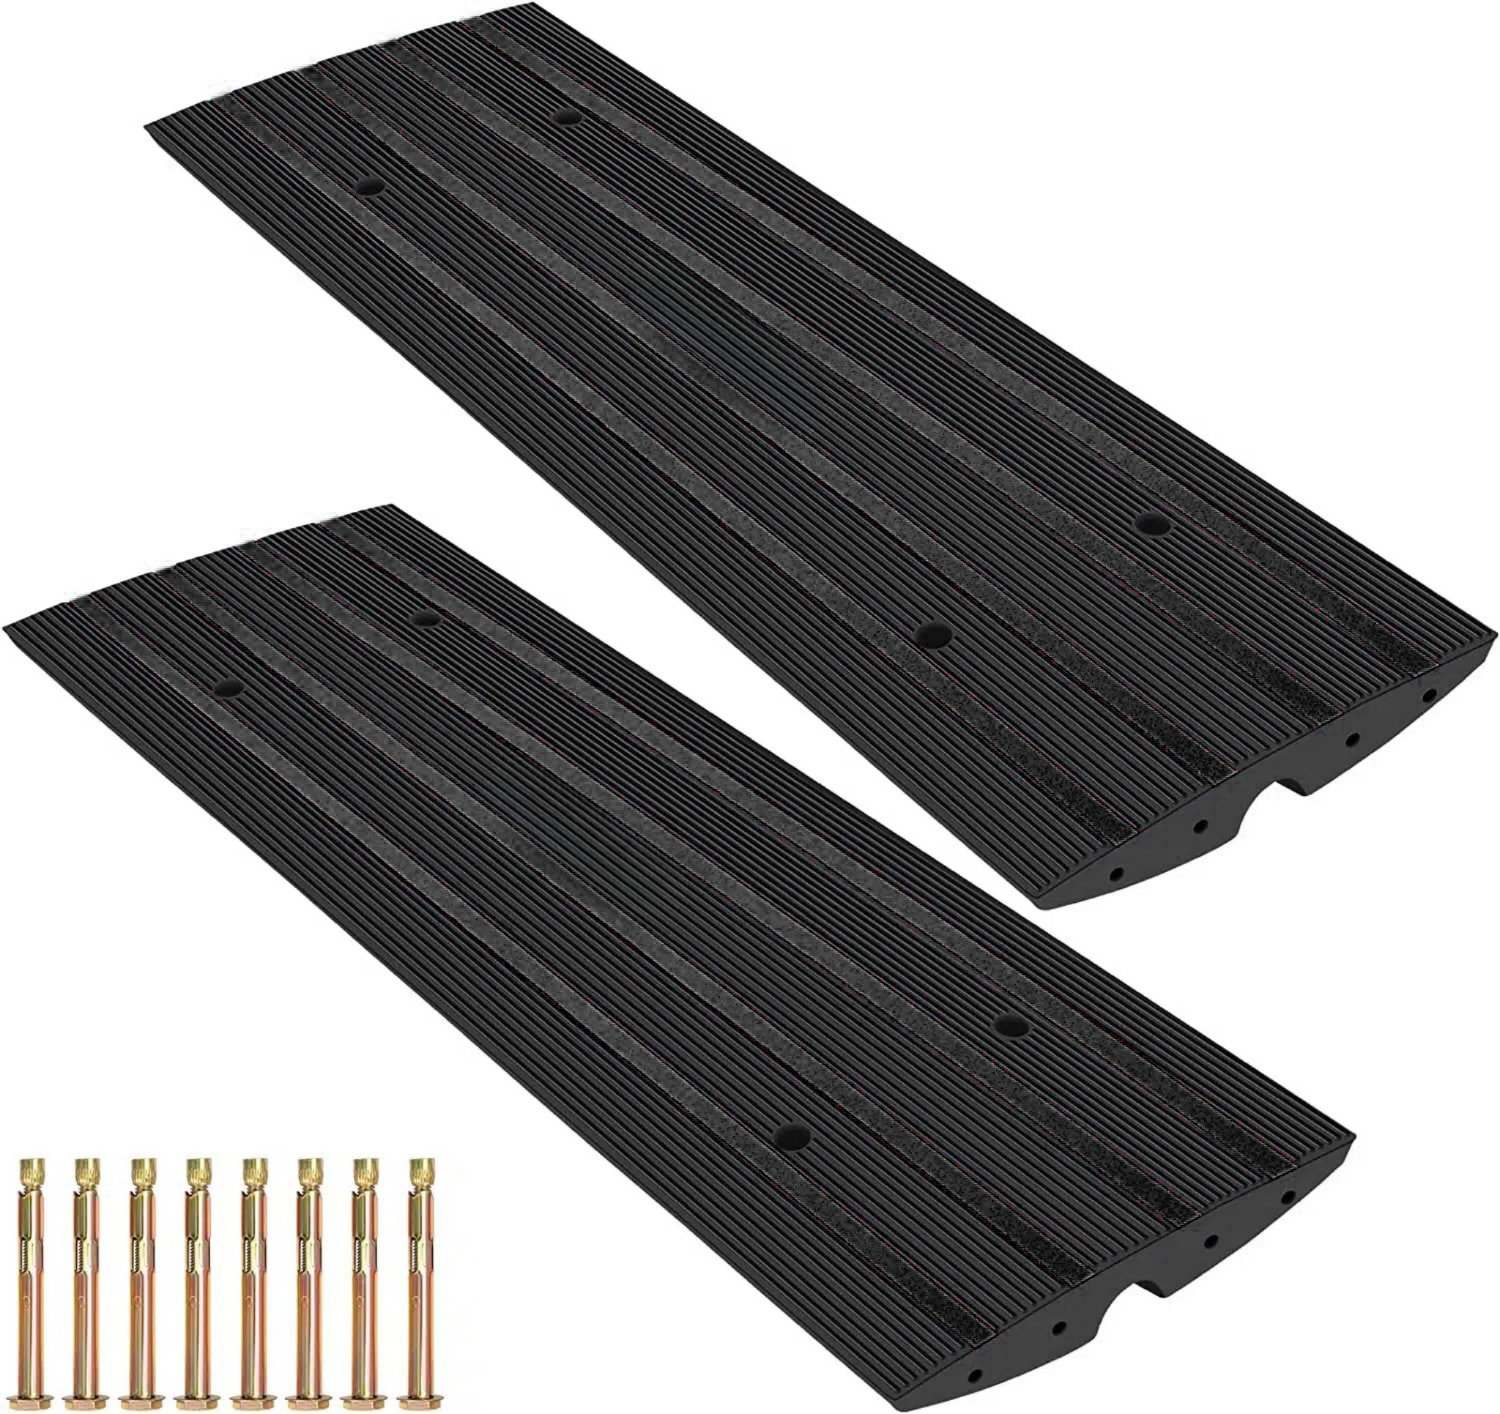
ElevateDrive™ ramps come with anchors that can be used to mount them securely to the concrete. This option is ideal for a permanent and stable setup. However, if you prefer not to drill, you can also use construction adhesive like Liquid Nails to glue the ramps to the concrete. This option is perfect for a less invasive installation and offers flexibility if you’re renting or don’t want to make permanent modifications.
Step 4: Water Drainage Considerations
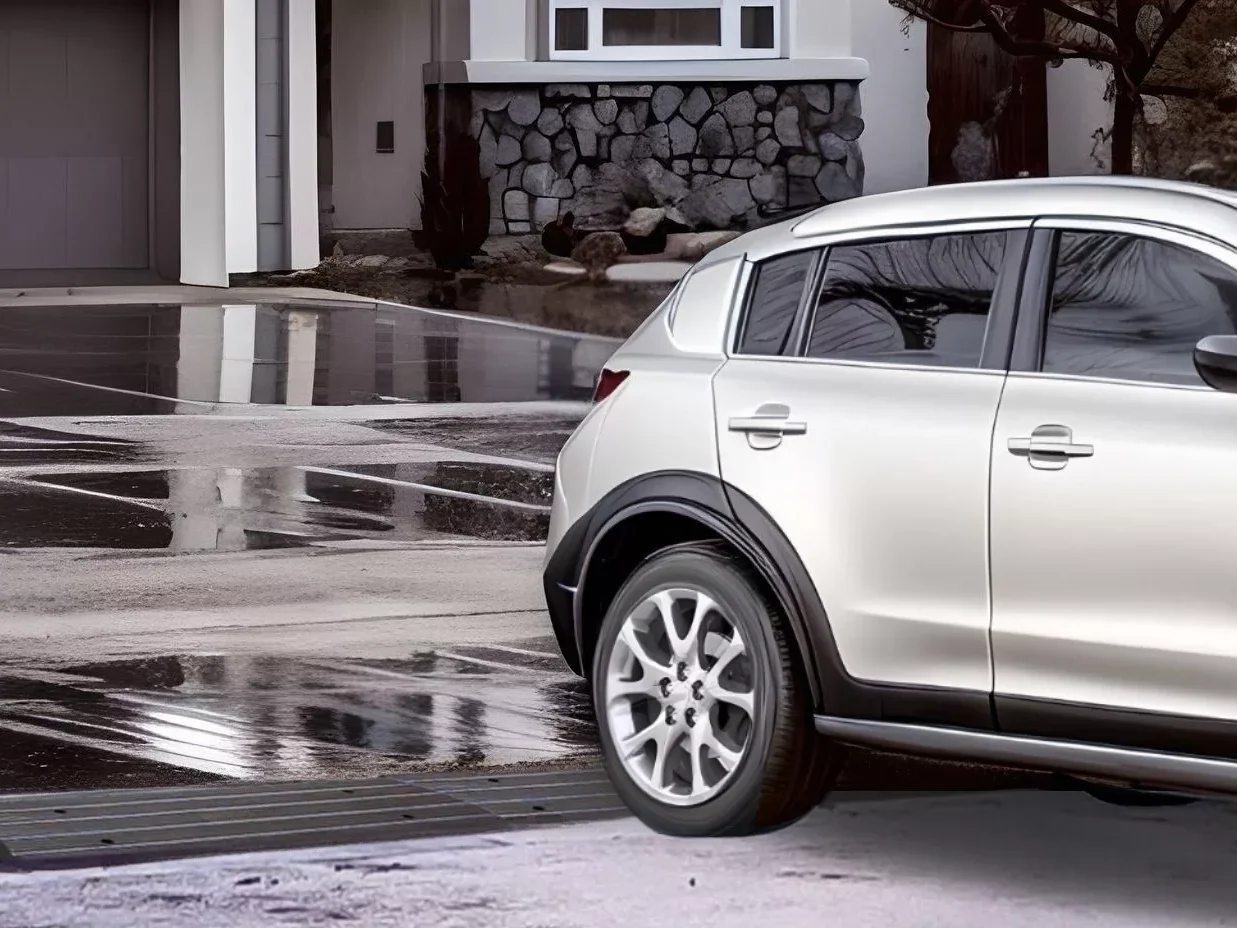
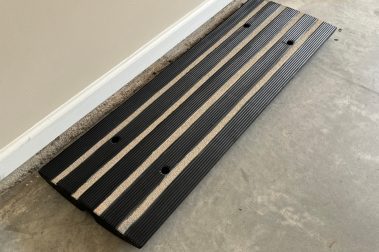
Most of the gutter-side ramps come with channels for water drainage, ensuring that the ramps won’t block the natural water flow of the street. Additionally, the ramps feature open grid bottoms, which provide structure and stability while allowing water to flow through.
If your ramps don’t come with built-in drainage features, don’t worry. It’s easy to create small openings on the sides of the ramps using a utility knife to ensure that water flows through. This ensures that the ramps won’t interfere with water runoff, maintaining proper drainage on your driveway and street.

Extra Tips to Avoid Scraping and Improve Vehicle Clearance
In addition to using ElevateDrive™ ramps, there are a few more methods you can try to minimize scraping and protect your vehicle:
- Drive Slowly and Carefully: Take your time when transitioning from the street to the driveway. Moving slowly reduces the impact of the lip and allows your vehicle to adjust to the change in height without causing damage.
- Adjust Your Approach: When entering your driveway, try approaching it at an angle rather than directly head-on. This allows the car’s weight to be distributed more evenly, minimizing scraping on the front end. You can also drive from the downhill side of the street if the slope allows, which reduces the angle of entry.
- Monitor Tire Pressure: Keeping your tires properly inflated is essential for vehicle clearance. If your car is scraping frequently, slightly lowering tire pressure can sometimes provide a little more flexibility when driving over uneven surfaces. However, this is more of a temporary fix, so be cautious of too much adjustment.
- Consider Suspension Adjustments: For vehicles with low clearance, you might consider suspension modifications. By adjusting the suspension, you can either raise your vehicle or soften the ride, making it easier to drive over steeper transitions.
- Add Scrape Protection Accessories: Installing aftermarket protections like a front splitter or scraping guards can offer extra protection for your vehicle’s undercarriage. These accessories are designed to absorb impact and reduce the likelihood of damage when approaching tricky driveway entries.
Helpful Resources:
- Solving the Dreaded Driveway Scrape
- Check out this article for additional information on how to protect low-clearance vehicles from scraping, and learn more about the benefits of using curb ramps.
- ElevateDrive™ Curb Ramps DIY Fix for Driveway Scrapes and Curb Lips
- For a detailed guide on using ElevateDrive™ curb ramps to fix driveway scraping issues, this link will show you how to use the ramps effectively.
- 1″ Rise Threshold Ramp for Garages, Driveways and Doorways
- If you’re seeking a solution for driveways with a lip or threshold at the garage entrance, these 1-1.5″ flexible multipurpose rubber threshold ramps can help vehicles smoothly transition over the height difference between the driveway and garage floor.
- Best Car and Garage Ramps For Steep Garage Entrances
- This link highlights some of the best ramps for navigating steep garage entries, which can also be useful for steep driveway transitions.


