Solve Steep Driveway Problems: Build DIY Polystyrene Slope Reduction Ramps
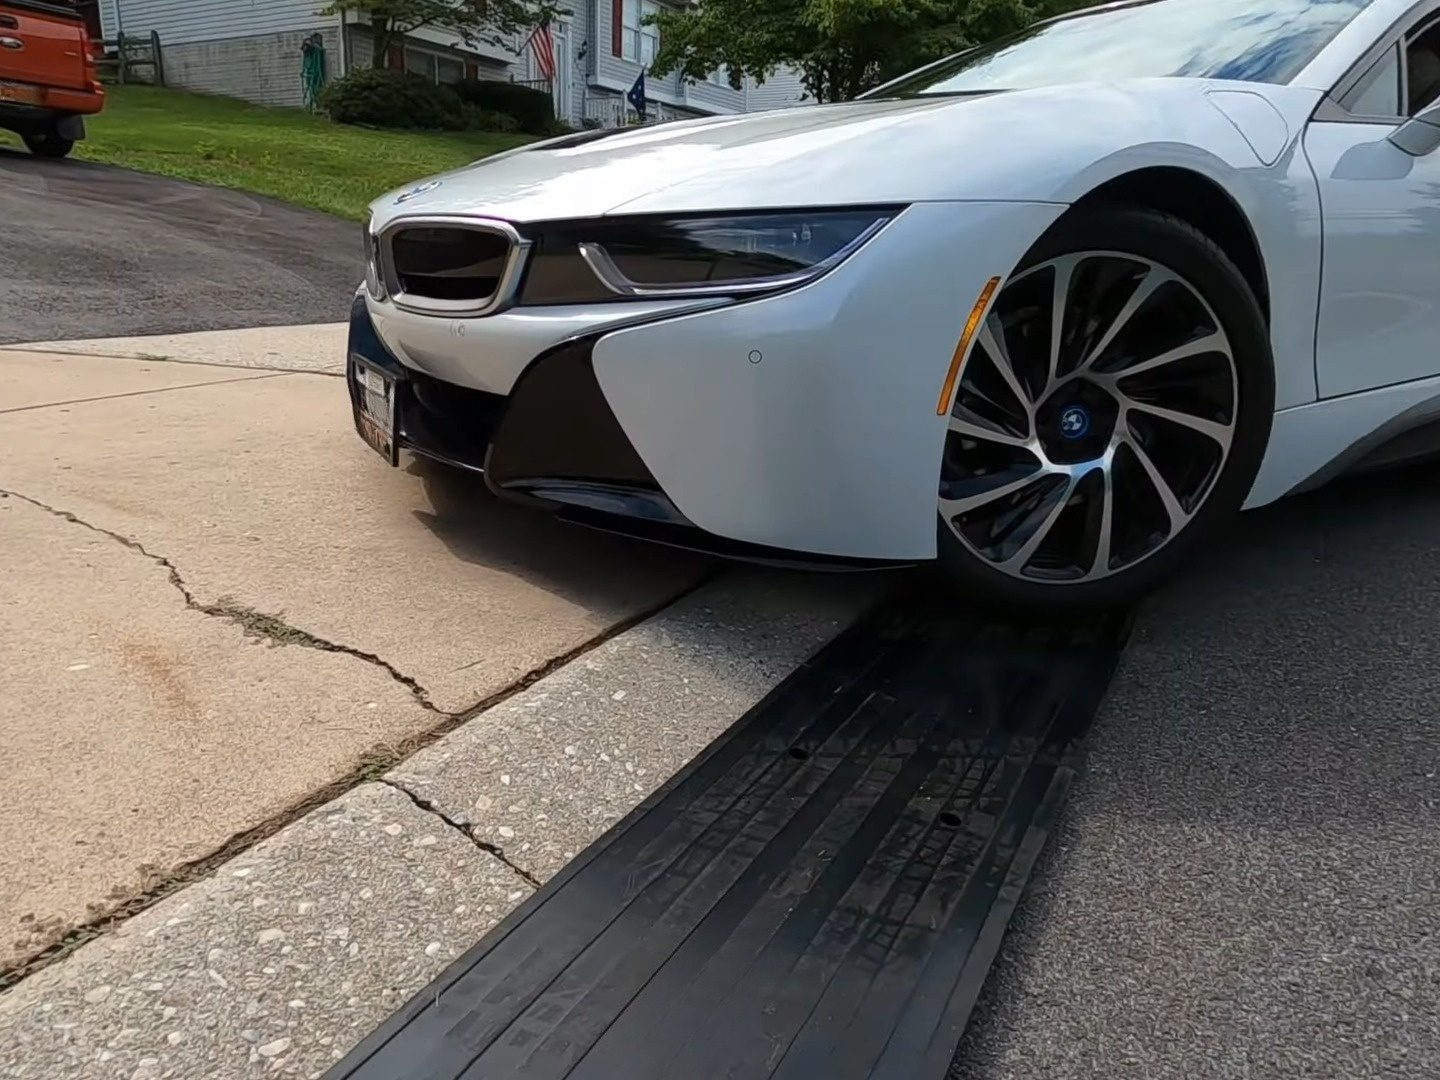
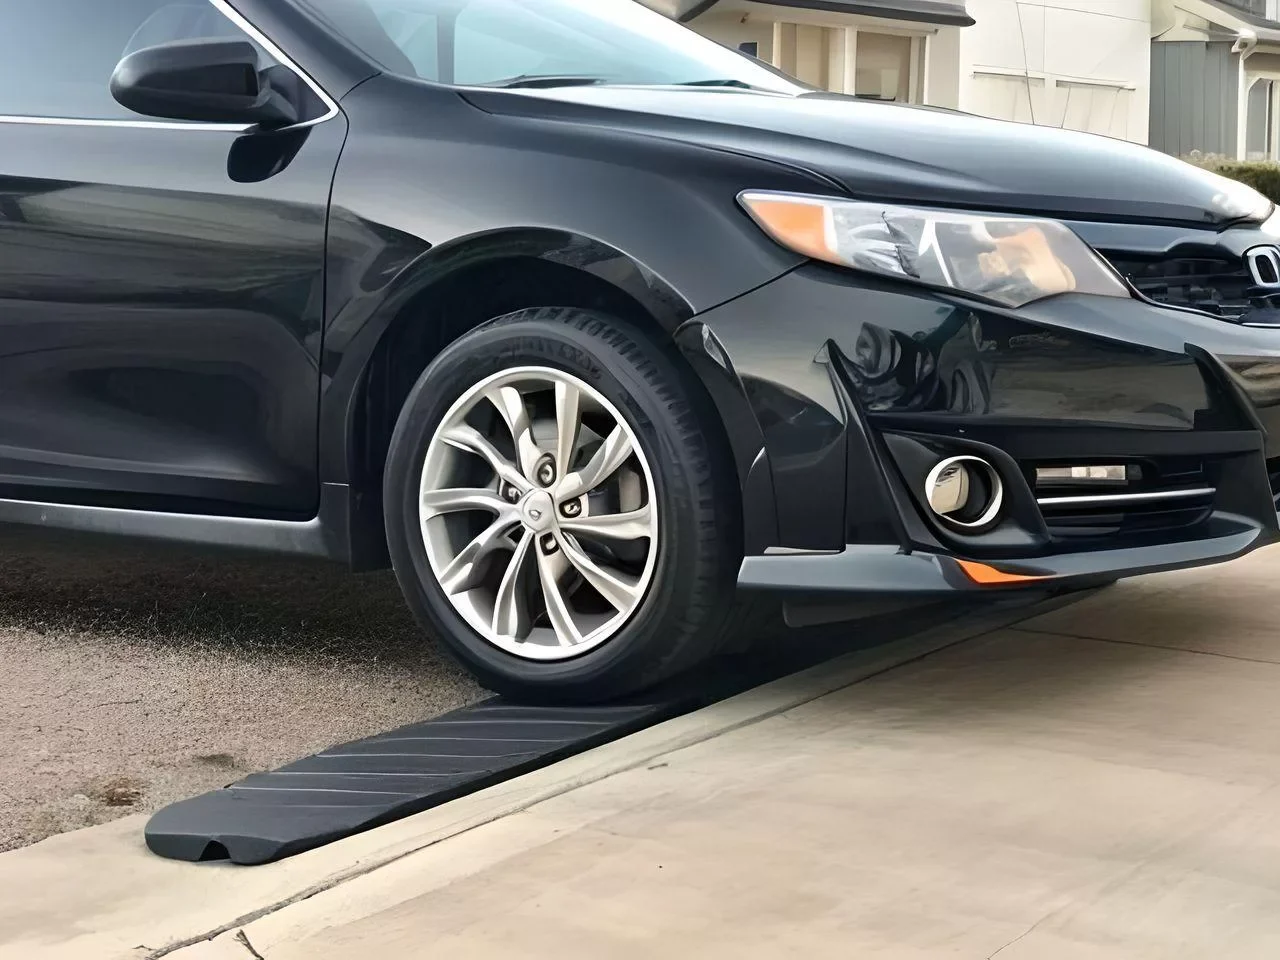
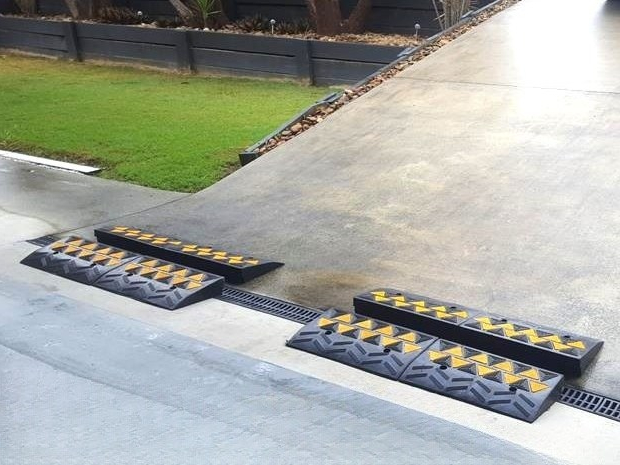
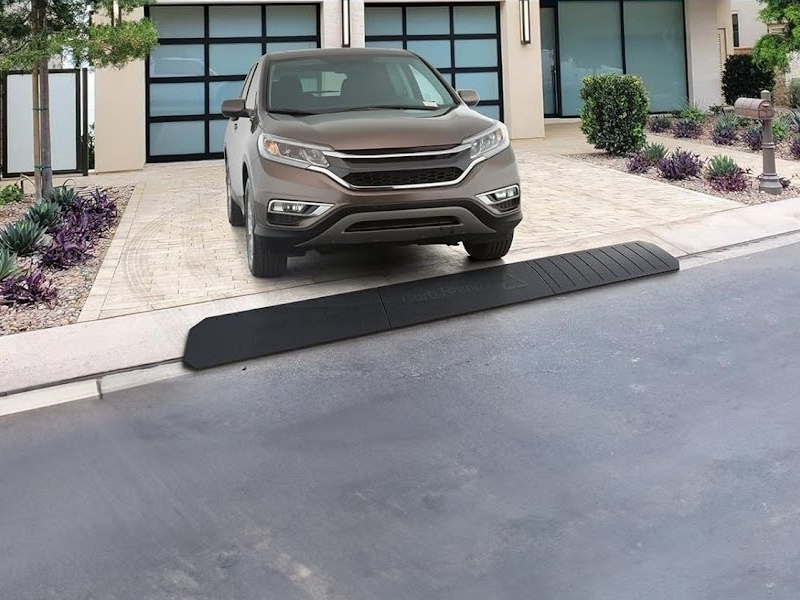
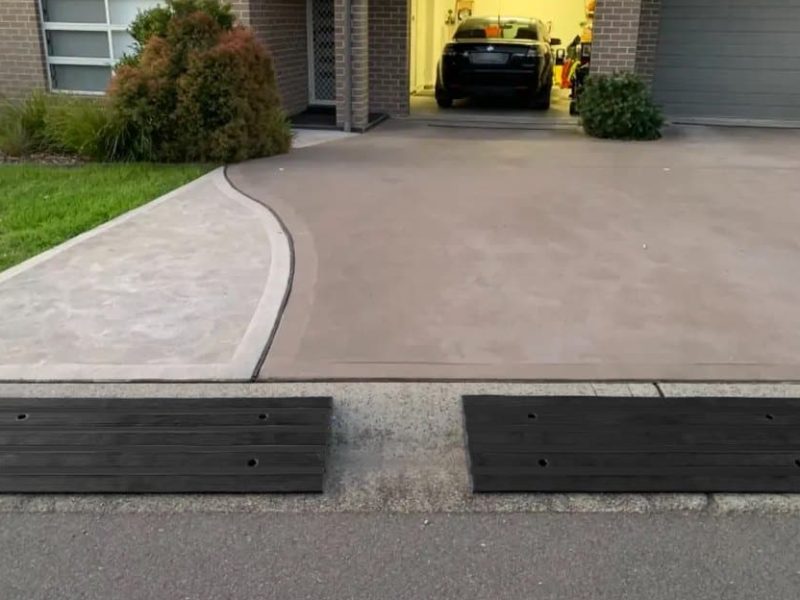
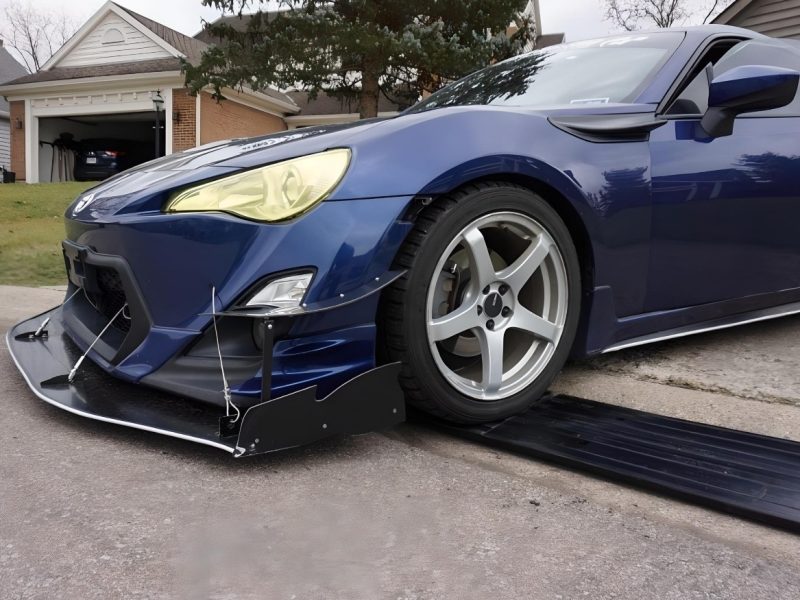
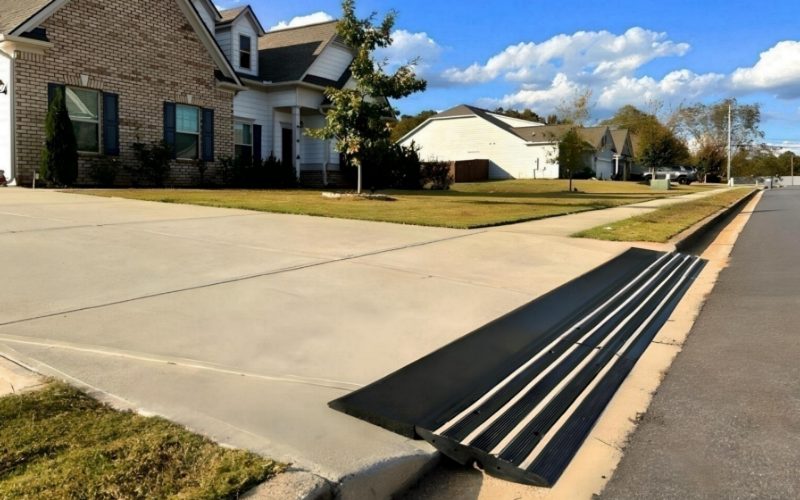
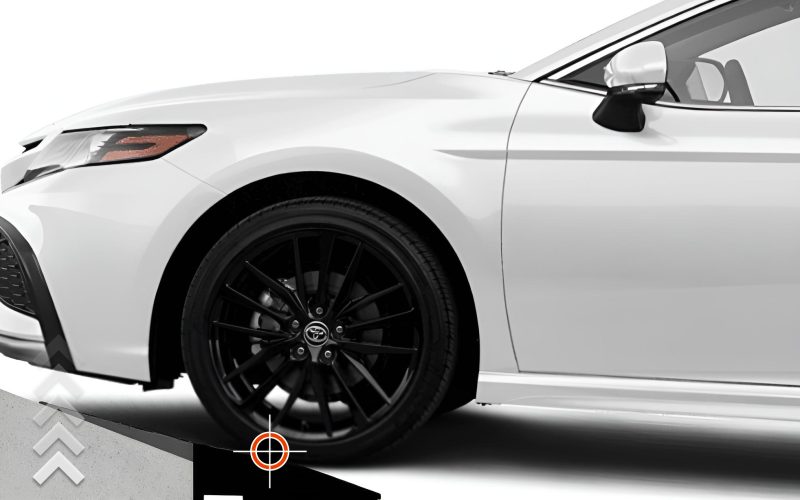
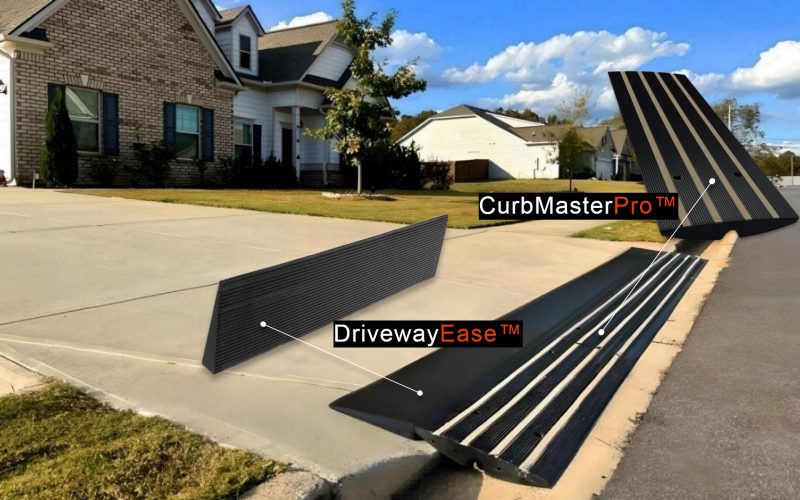
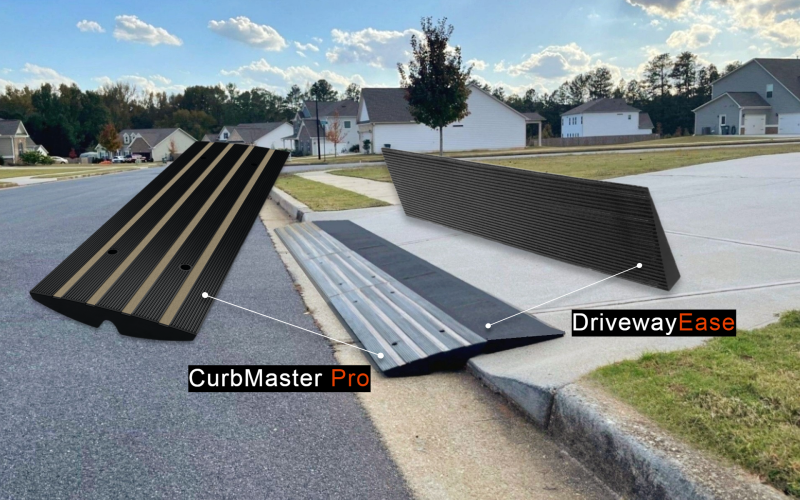
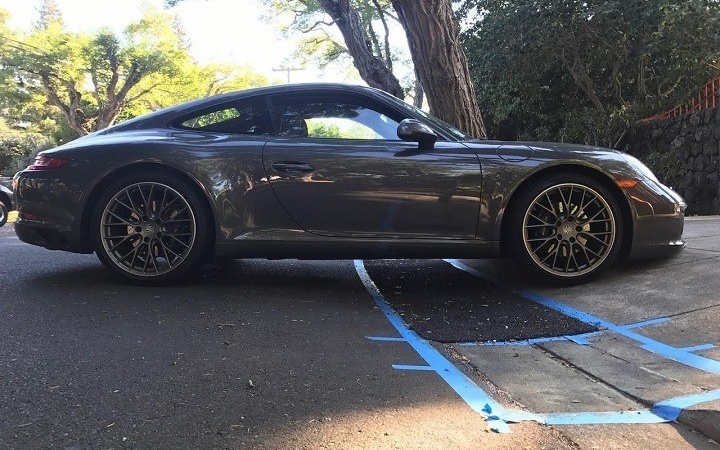
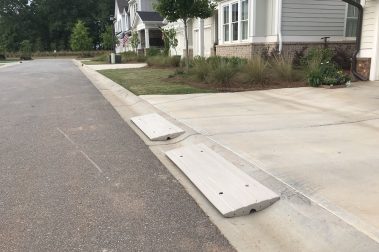
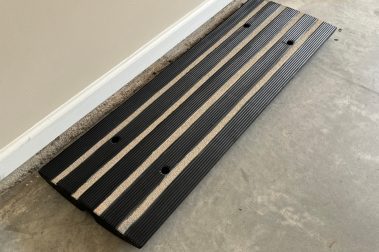
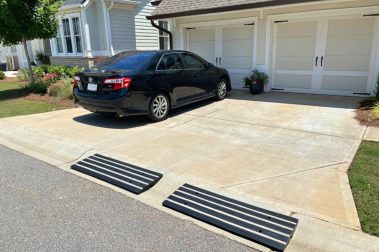
Are you tired of the constant struggle of your car scraping against your steep driveway or struggling with the challenging entry into your garage? We have the solution you’ve been searching for. In this comprehensive guide, we will show you how to address these common problems by creating your own DIY Polystyrene Slope Reduction Ramps. These ramps will not only prevent car scrapes but also improve your garage entry experience, making it smooth and hassle-free. Follow our step-by-step instructions, and soon you’ll have a reliable and cost-effective solution that enhances your driveway accessibility.
Step 1: Measure the Slope
To get started on your journey to a more car-friendly driveway, the first step is to accurately measure the slope of your descent. Using a degree-measuring app, such as a compass or a similar app available in your smartphone’s app store, determine the exact angle of the incline. This crucial measurement will serve as the foundation for your DIY project, ensuring that your Polystyrene Slope Reduction Ramps effectively address the problem.
Step 2: Create a Ramp Profile
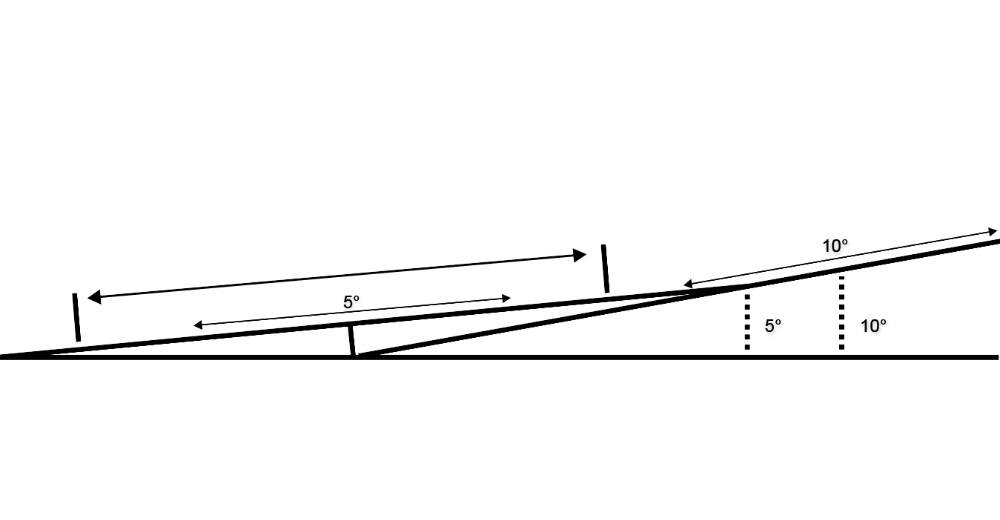
With the slope measurement in hand, it’s time to design the profile of your ramps. Consider the size of the expanded polystyrene (EPS) panels you’ll be using and how much you want to decrease the slope. You can easily achieve this by using a simple CAD program or traditional tools like rulers and squares. Crafting a well-thought-out profile is essential for a successful project.
Step 3: Design the Modules
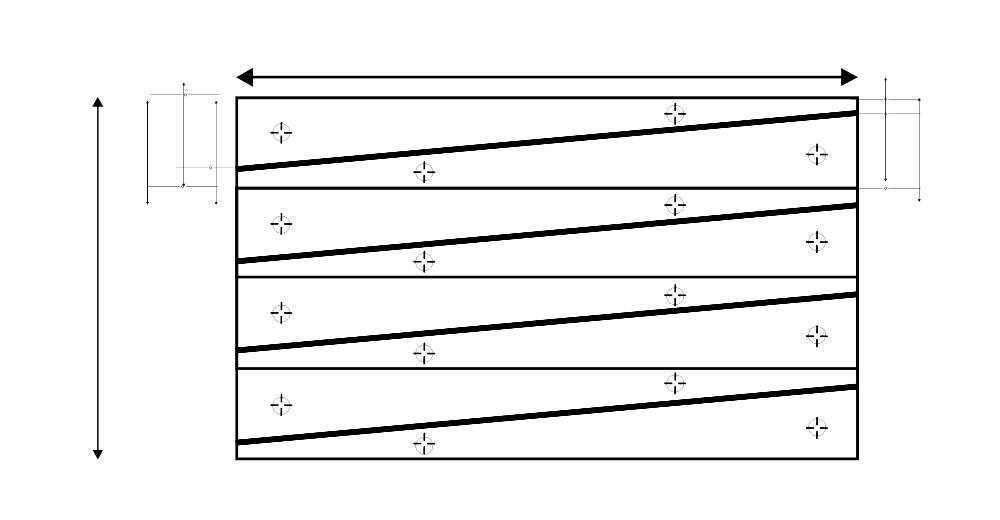
Next, draw lines to outline the various modules that you’ll need to cut. These lines should be based on the dimensions of your EPS panel. Don’t forget to mark the positions of the holes—one towards the front of the module and one towards the back. You can use a CAD program or traditional measuring tools like rulers and squares for this step. Designing your modules carefully ensures a precise and functional ramp system.
Step 4: Replicate the Design on EPS Sheets
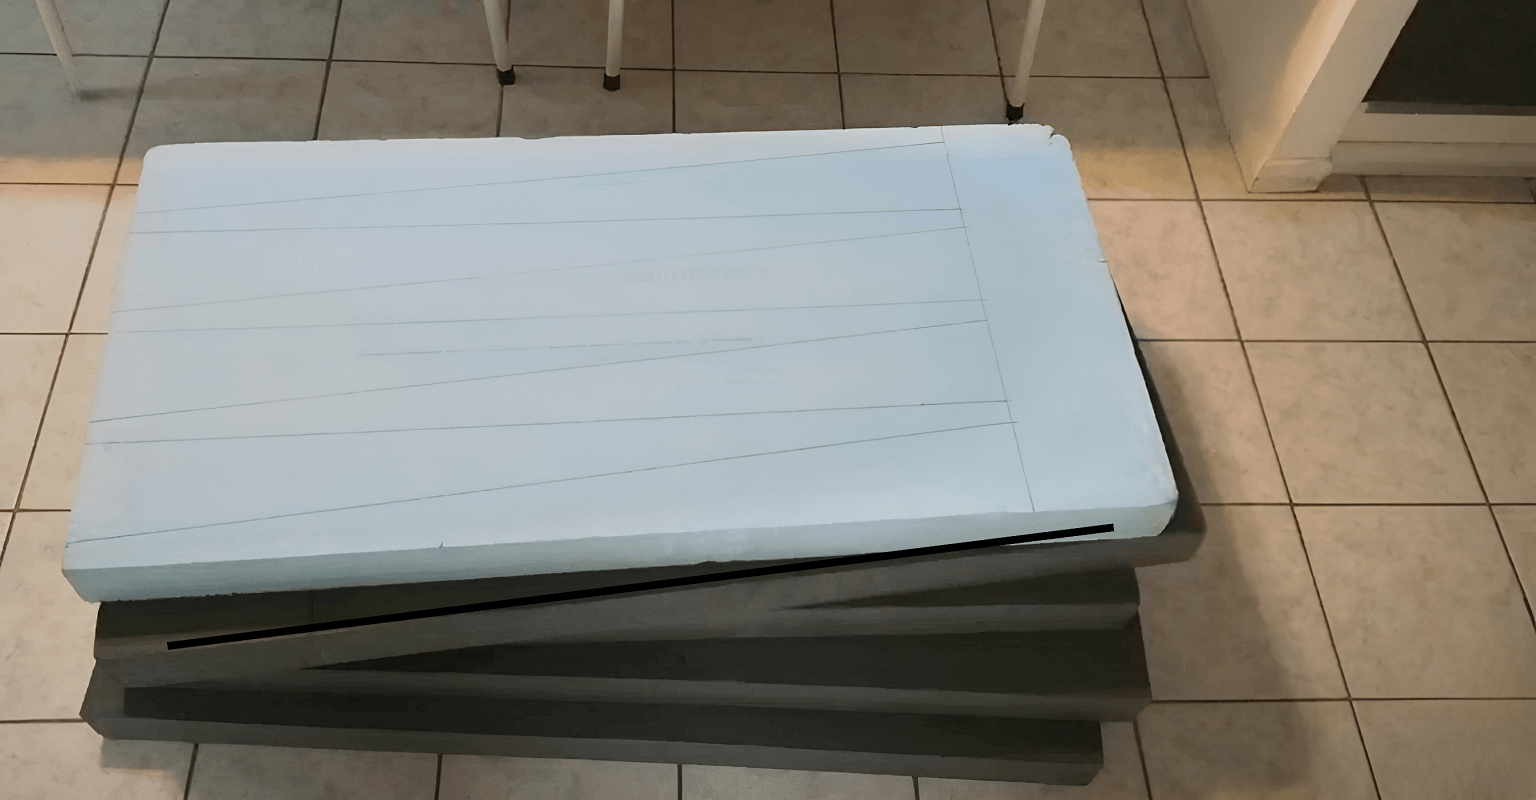
Now, transfer your carefully designed CAD drawing onto the EPS sheets. The lines you’ve drawn will serve as cutting guides for your ramps. This step ensures that your ramps will match the intended design, providing effective slope reduction.
Step 5: Determine Panel Quantity
The number of panels you’ll need to purchase and cut depends on the thickness of each panel and your desired ramp design. Thicker panels require fewer modules to be cut. Use rulers and a pen to mark these cuts accurately, optimizing your material usage.
Step 6: Cut the EPS Panels
Carefully cut the EPS panels along the marked cutting lines. Consider using a wire cutter if you want cleaner cuts with minimal dust. Alternatively, a box cutter or jigsaw can also be used, depending on your preference and the available tools.
Step 7: Drill Holes and Assemble
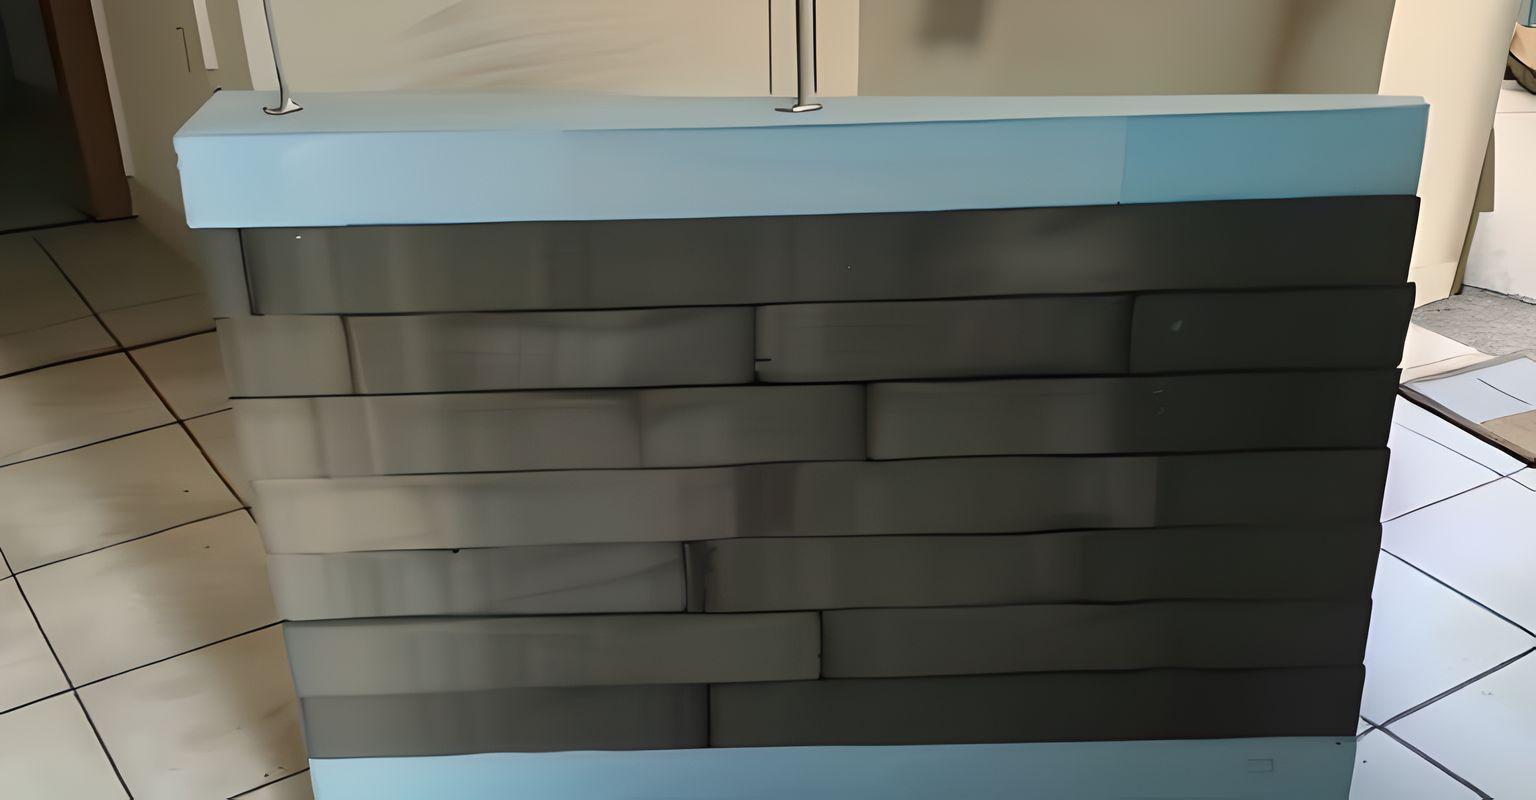
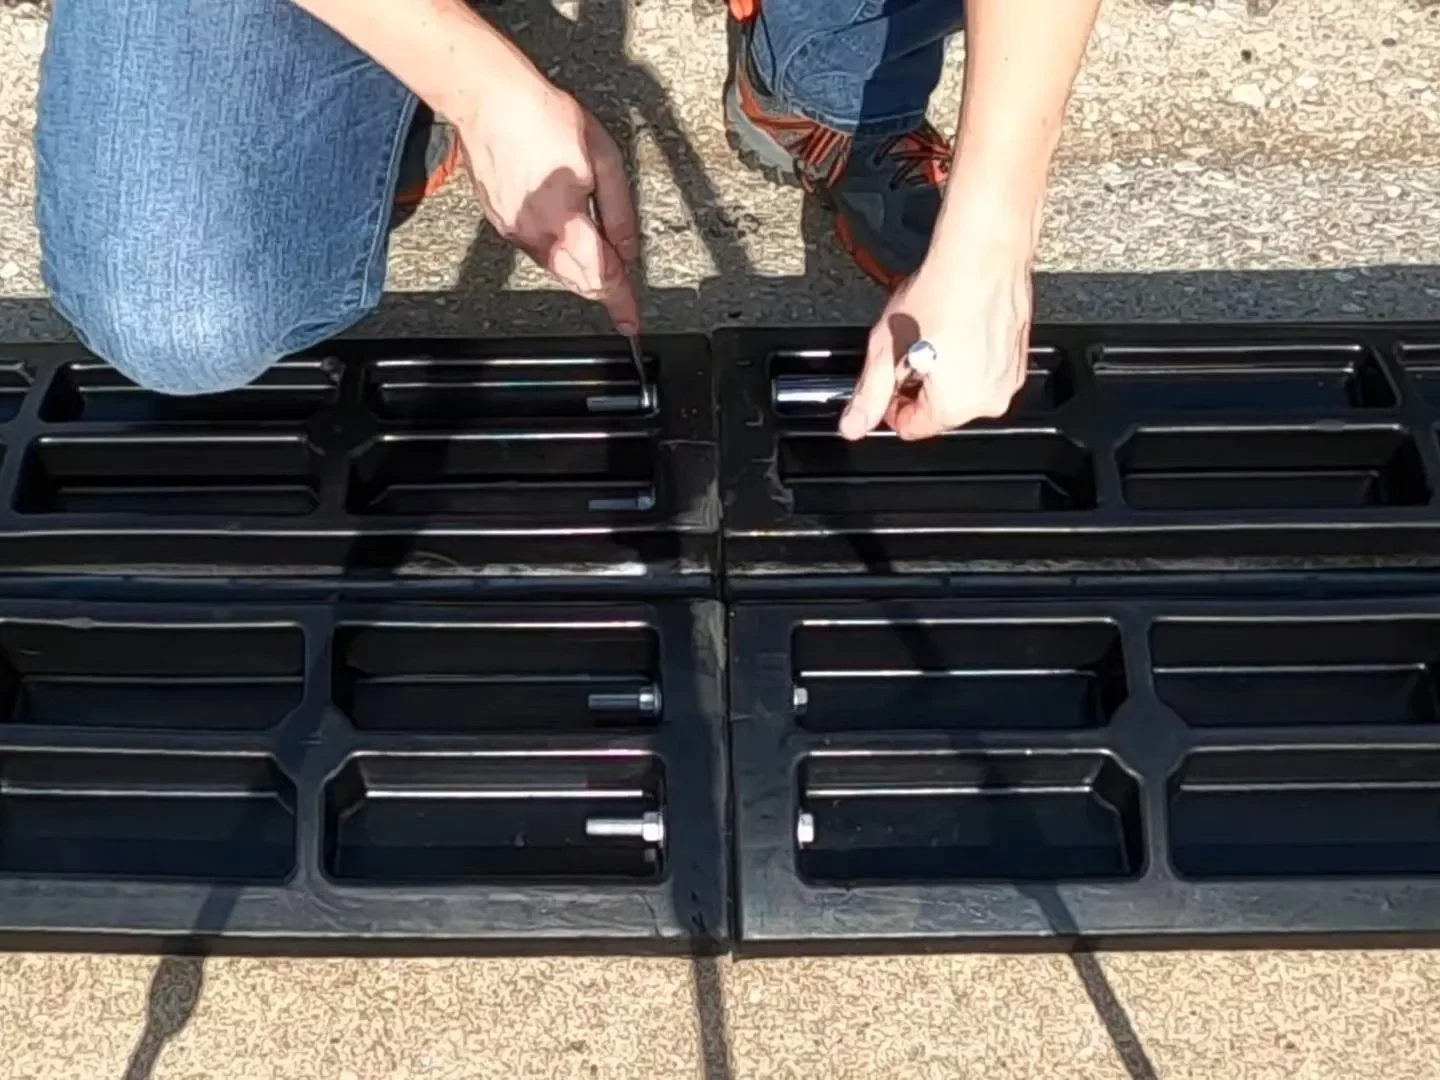
Drill 8-10mm holes according to the previously marked signs using a drill, preferably a column drill for precision. Assemble the modules using threaded rods, typically around 6mm in diameter, until you achieve your desired width. Secure the modules with bolts and large washers, and then trim the threaded rods to size using a jigsaw for cutting bars.
Step 8: Reinforce with Fabric
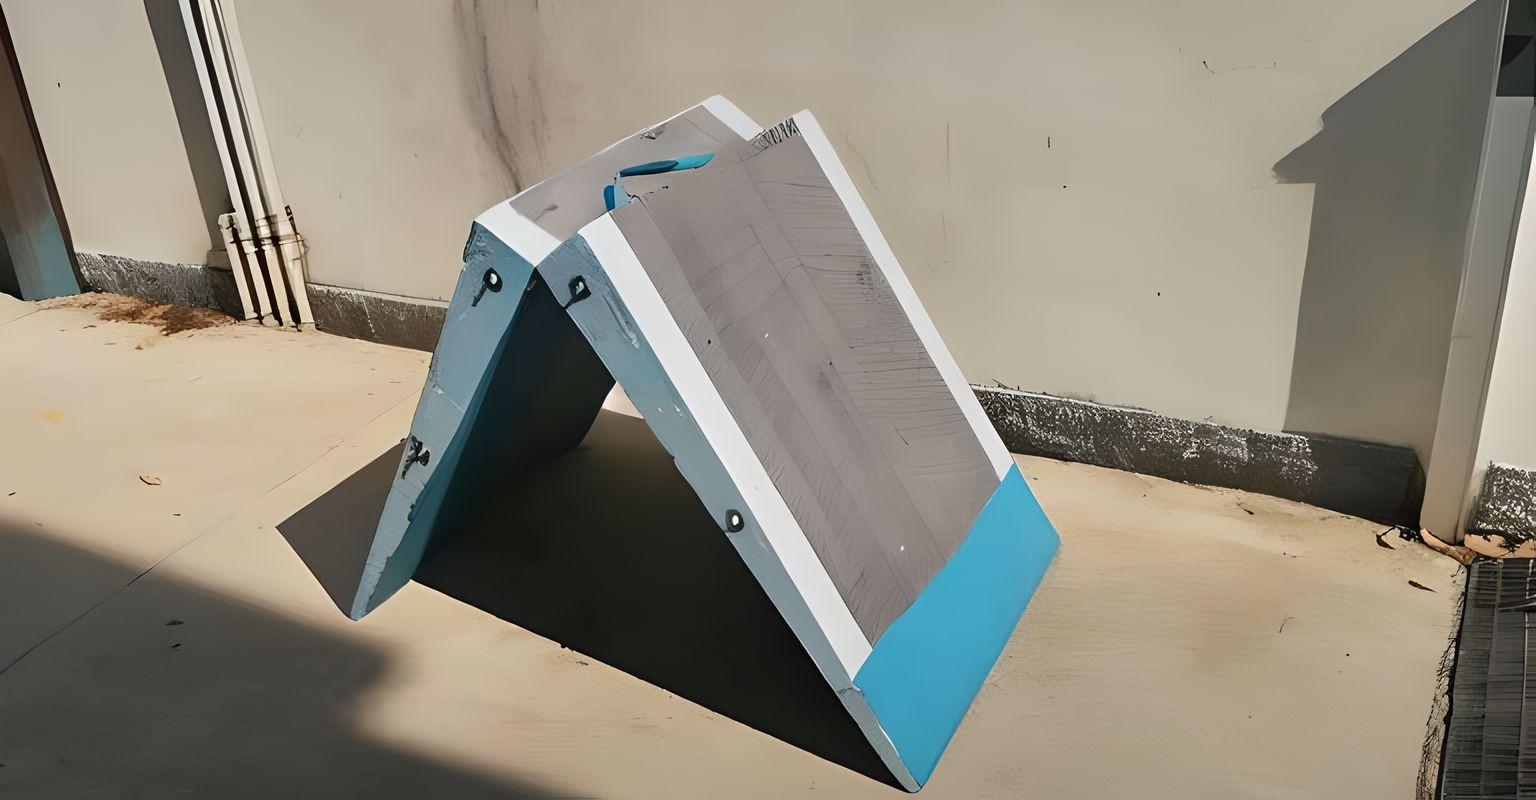
Apply cotton fabric to the entire surface of the two halves of the ramp to reinforce them and create a hinge between the two halves. Use vinyl glue and a spatula for this step. Ensure that you use an ample amount of glue and spread it evenly, strengthening the structure.
Step 9: Attach Handle
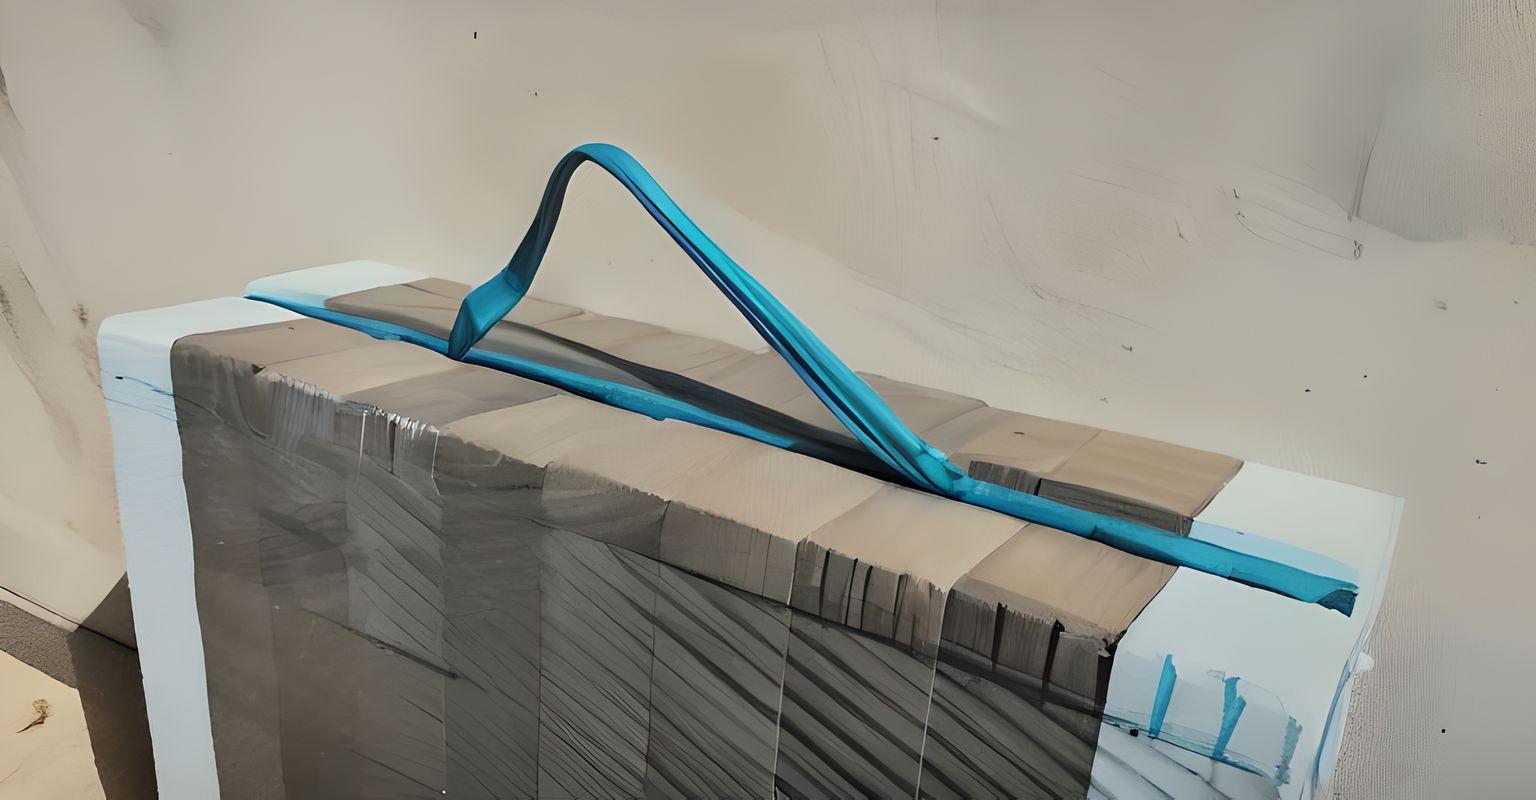
Before gluing fabric to the other side, add a wooden batten of equal thickness to reinforce the loading edge. In the middle of the fabric, attach a handle using a needle and thread for easy carrying. It’s easier to sew the handle on before gluing the fabric to both sides of the ramp.
Step 10: Position the Ramp
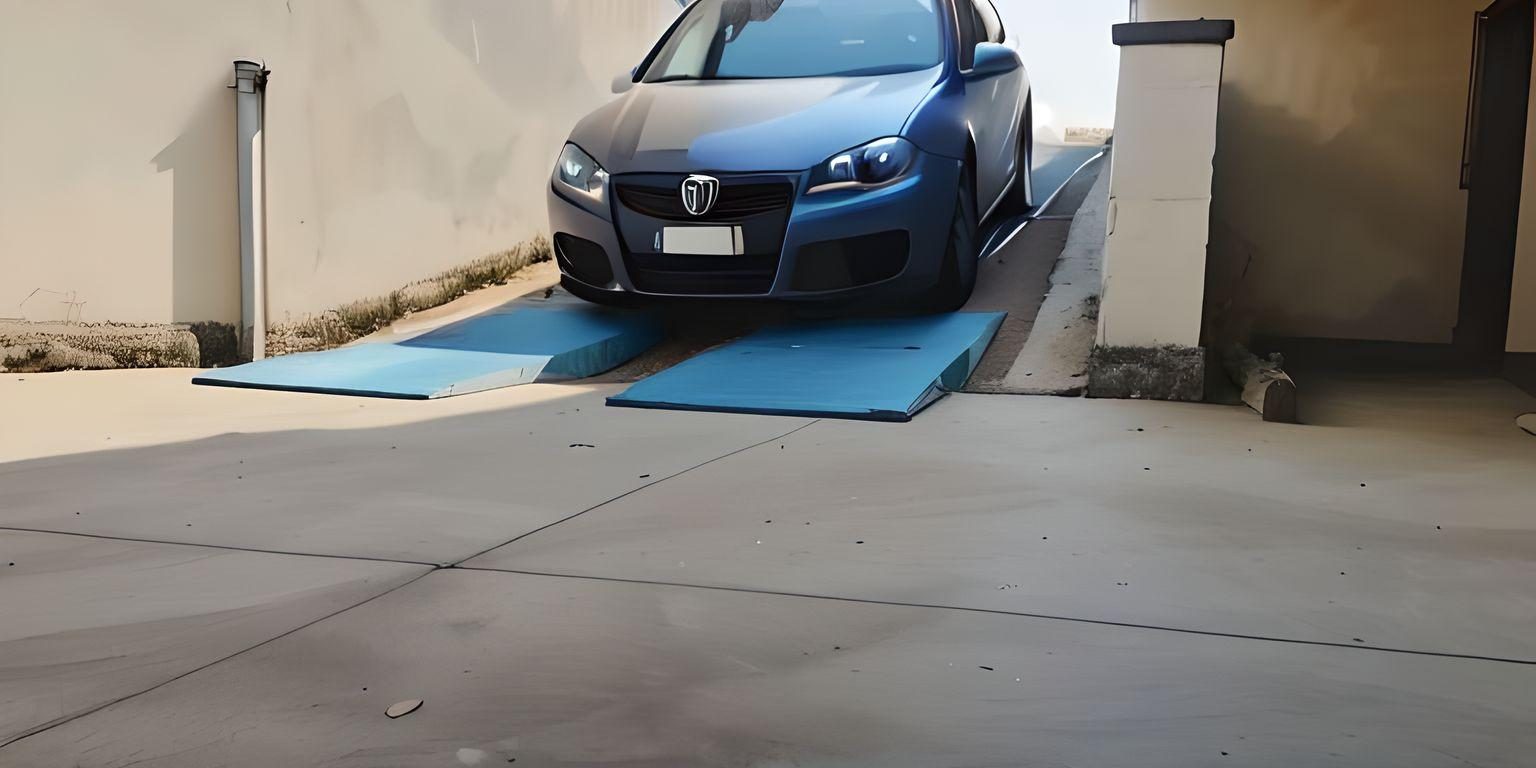
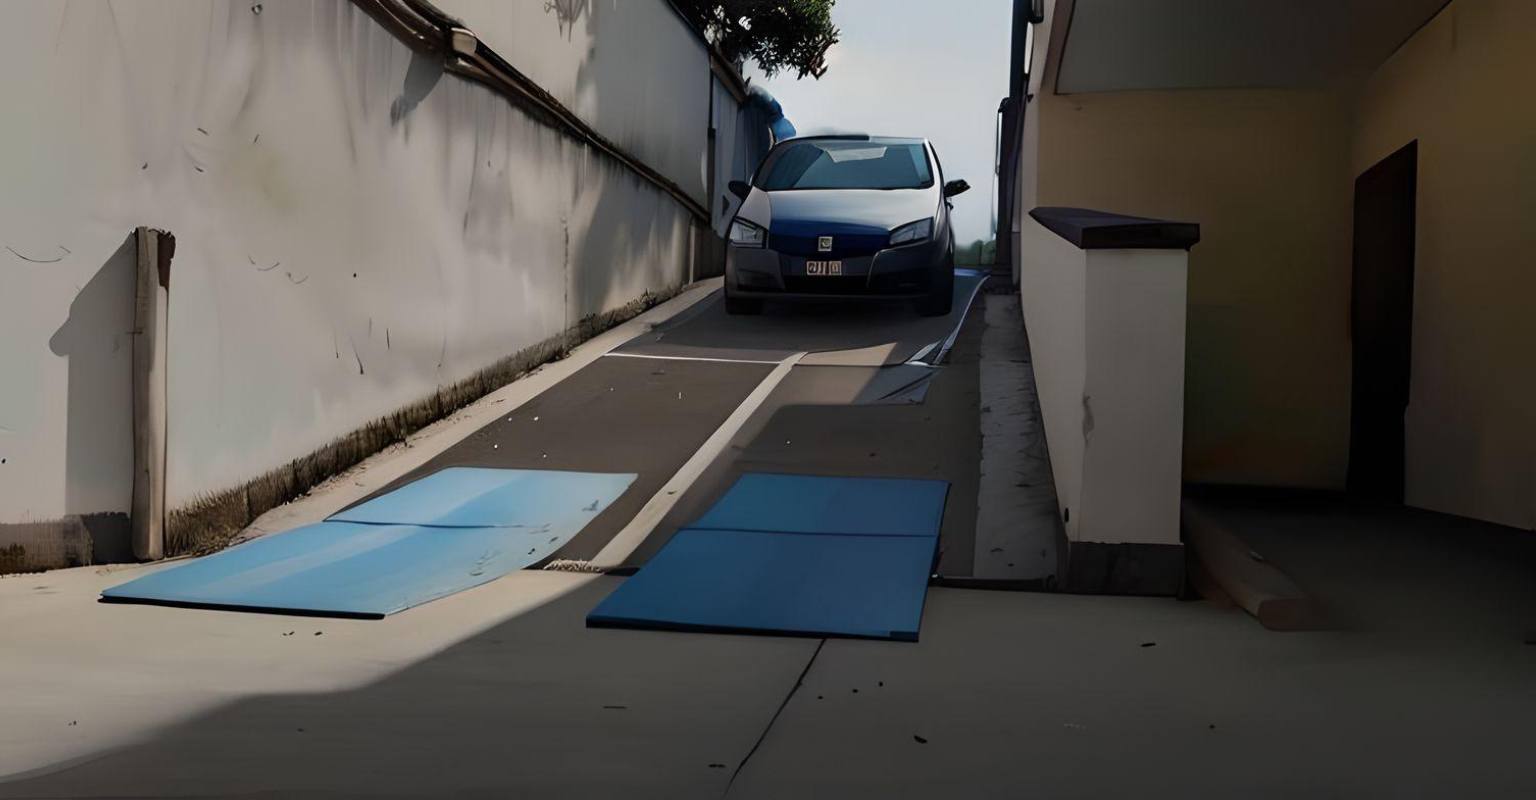
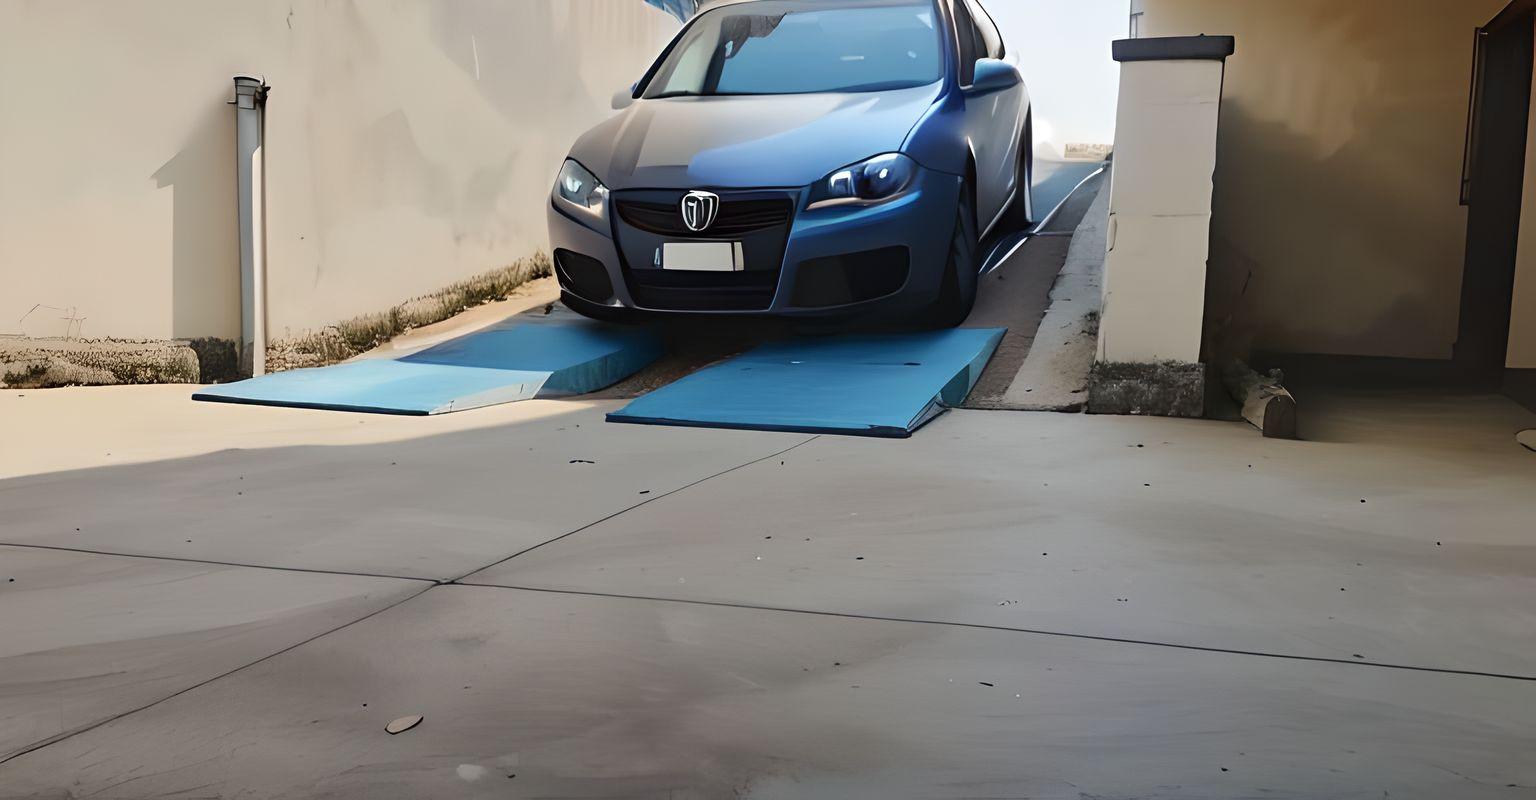
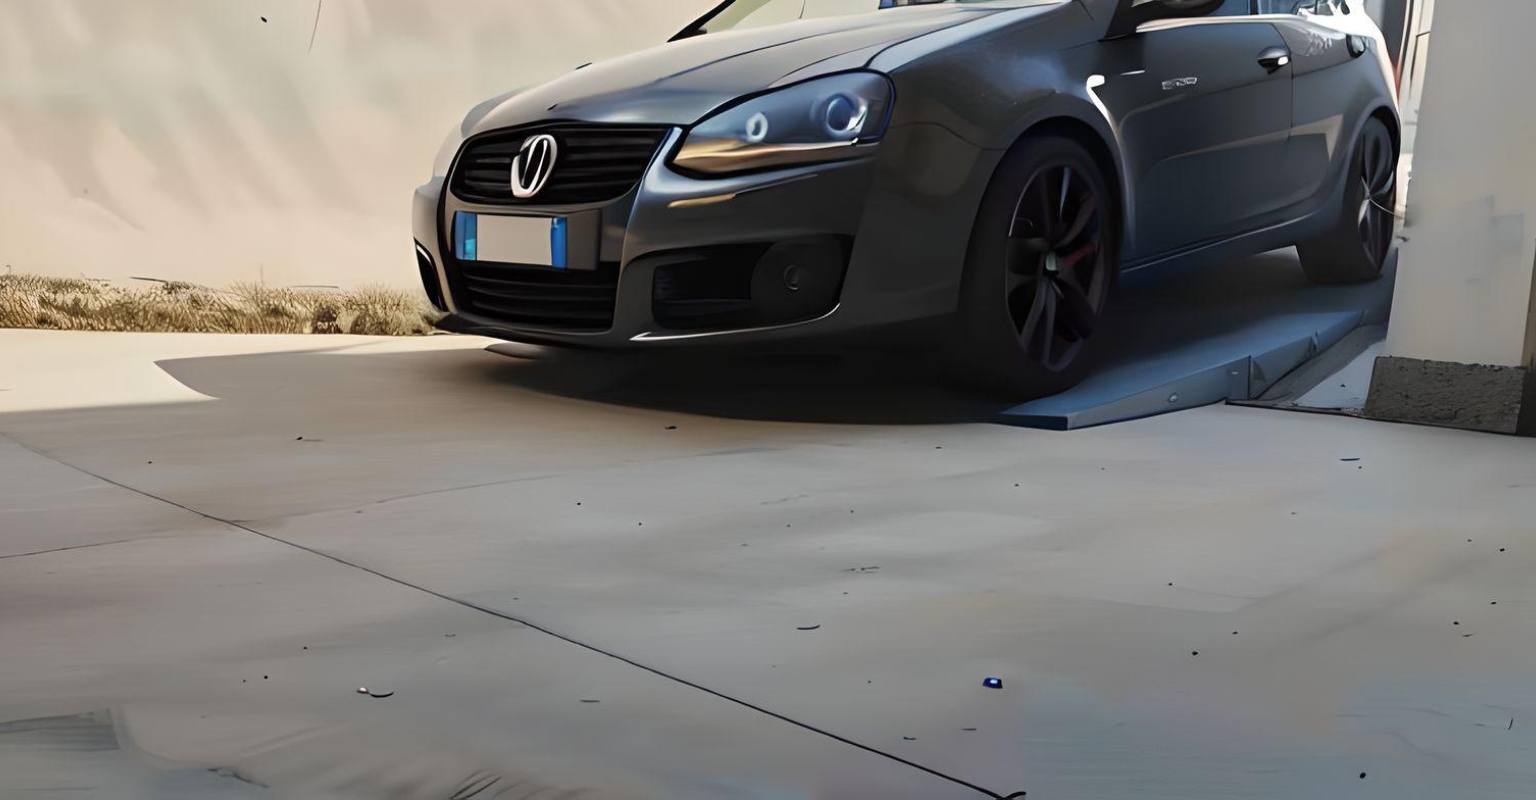
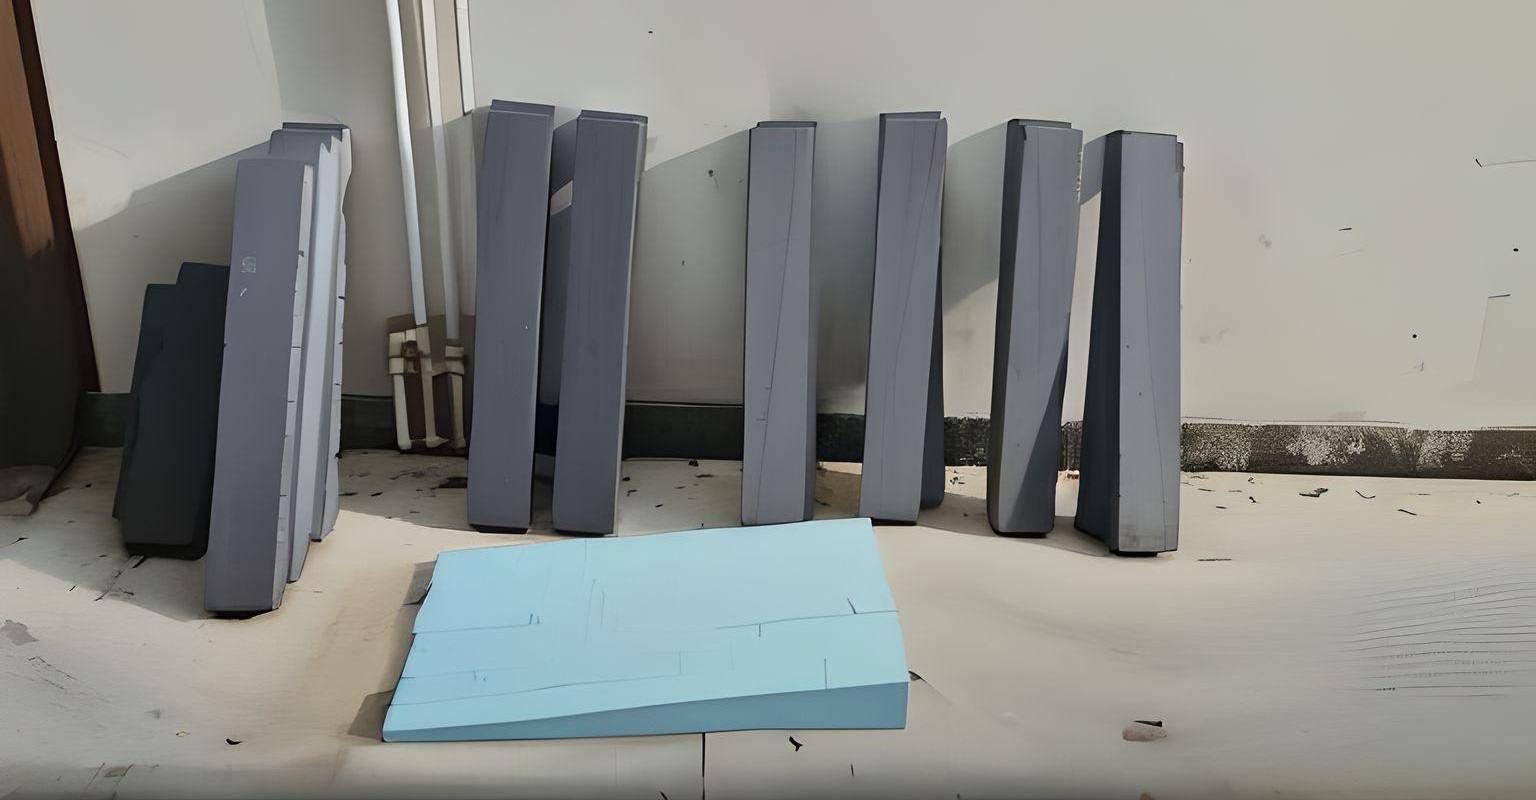
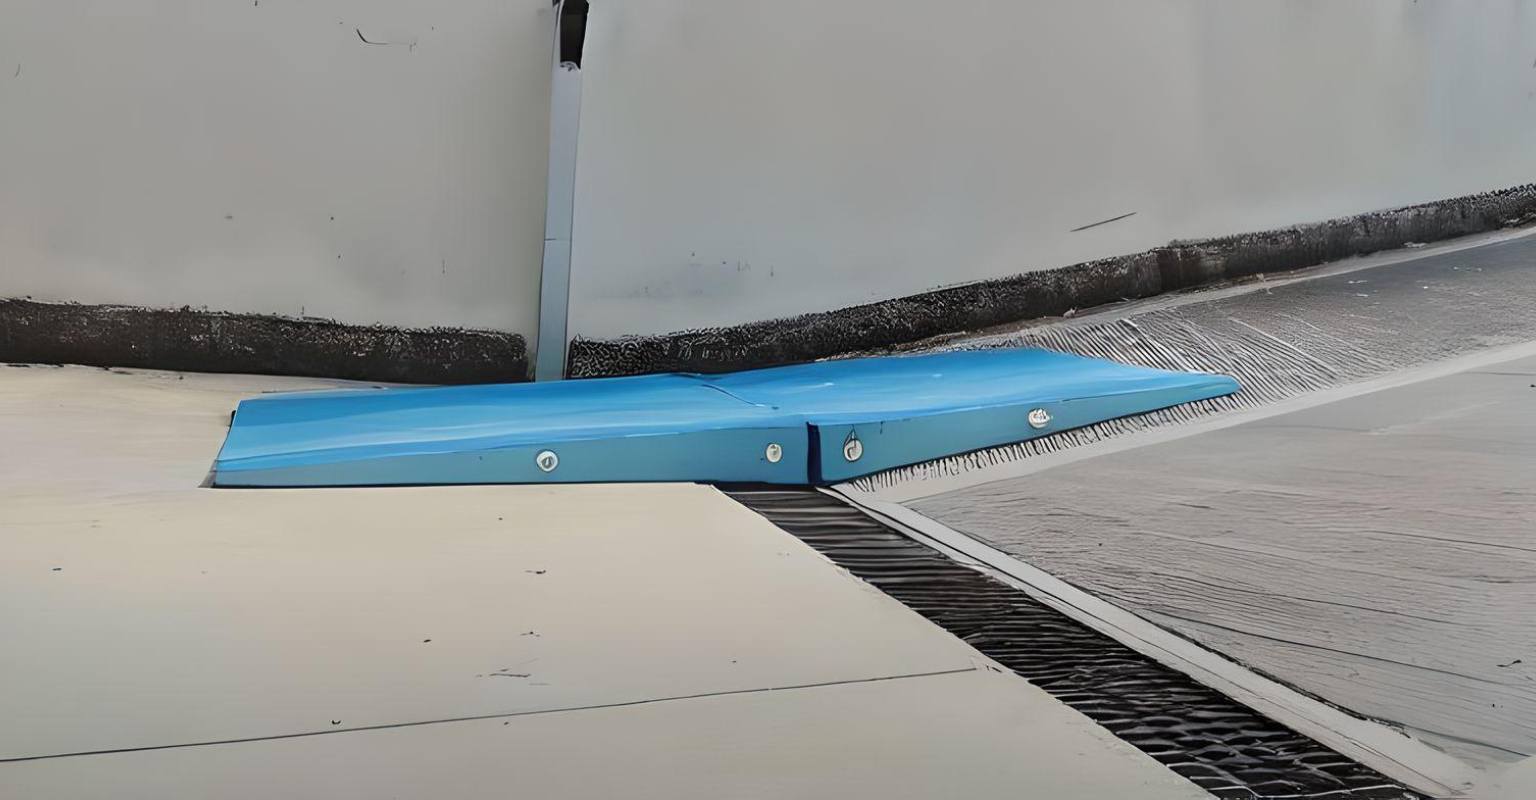
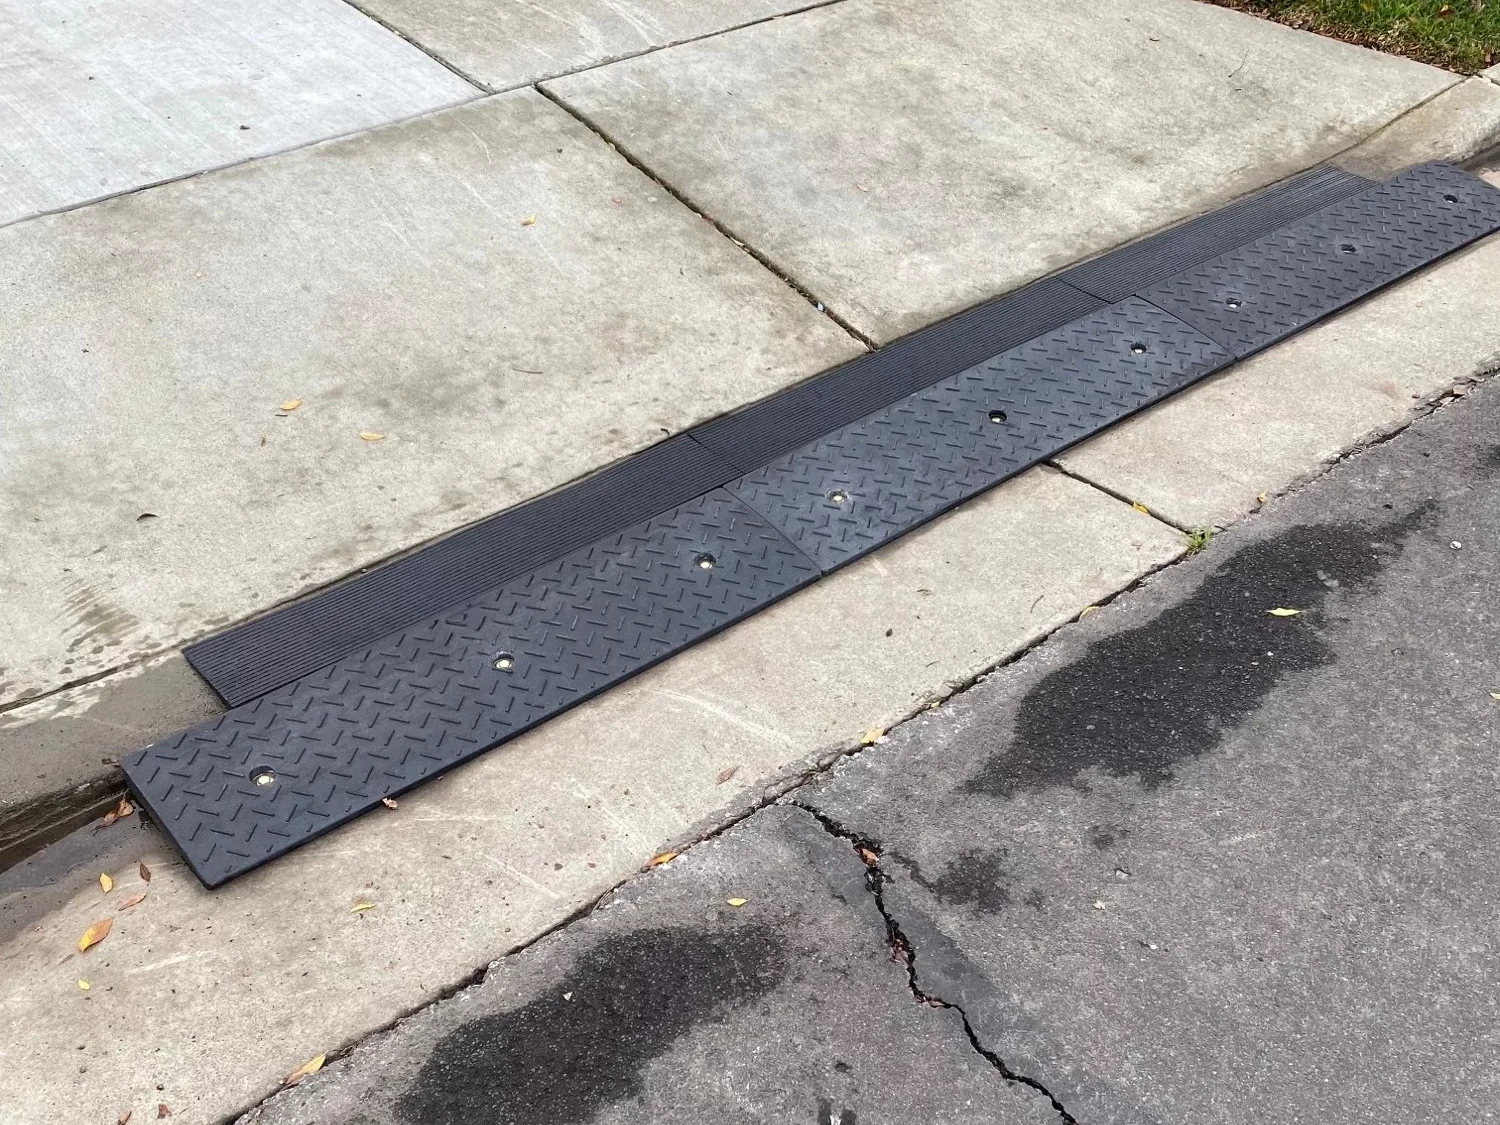
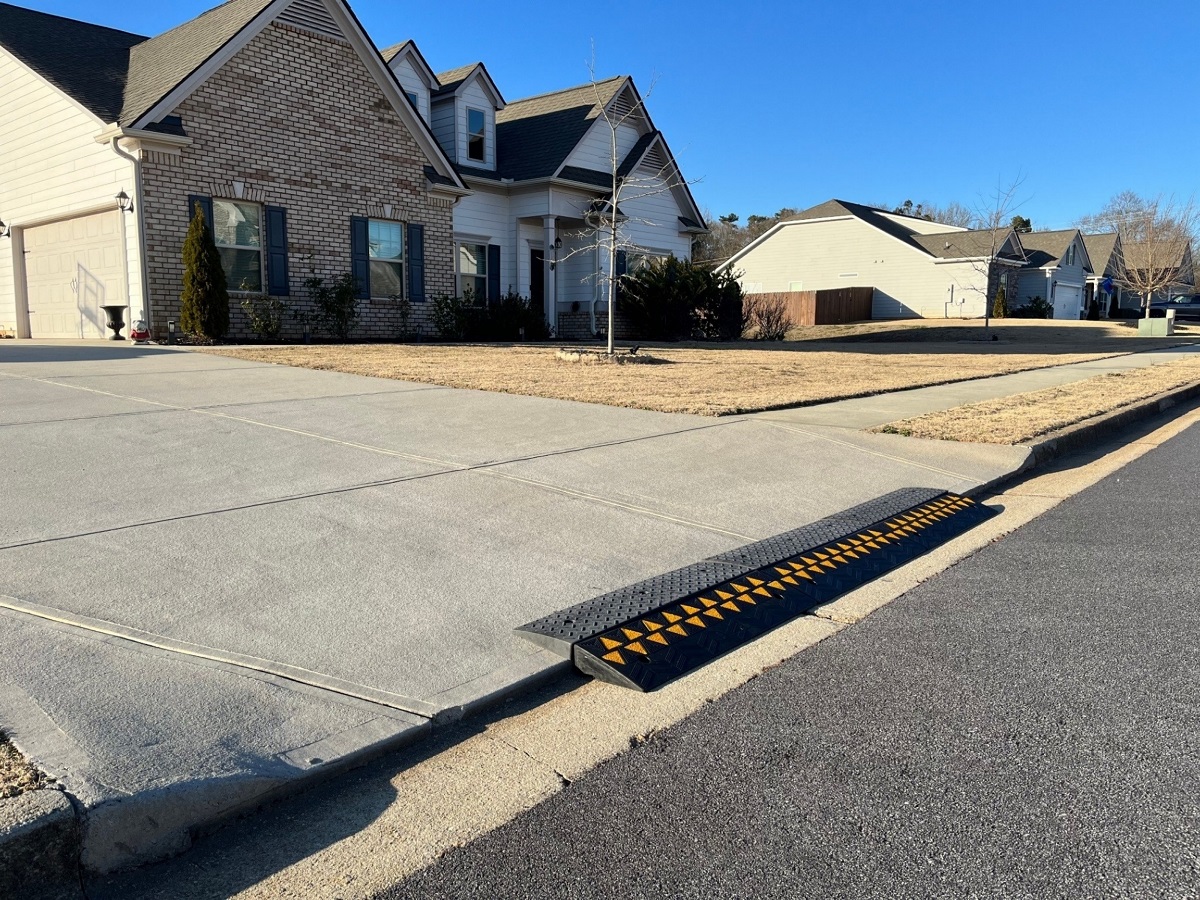
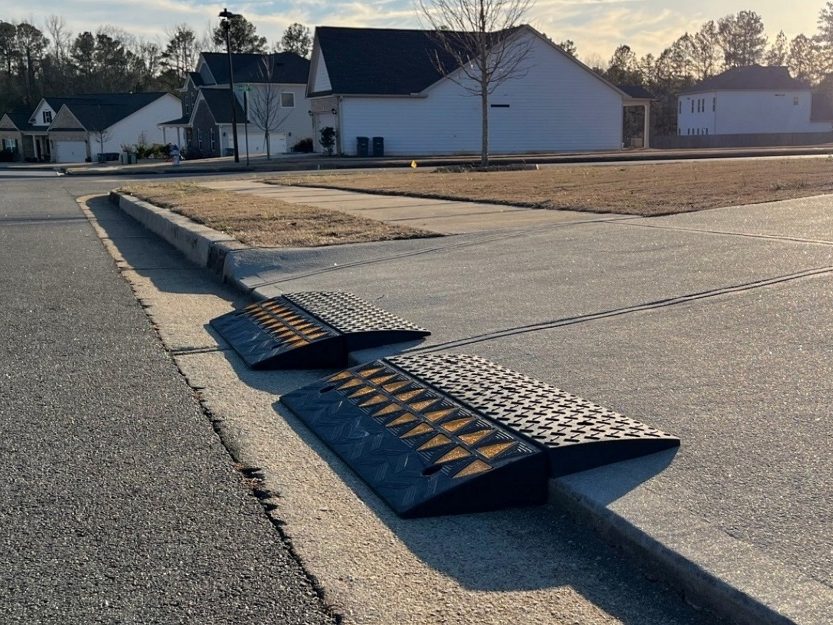
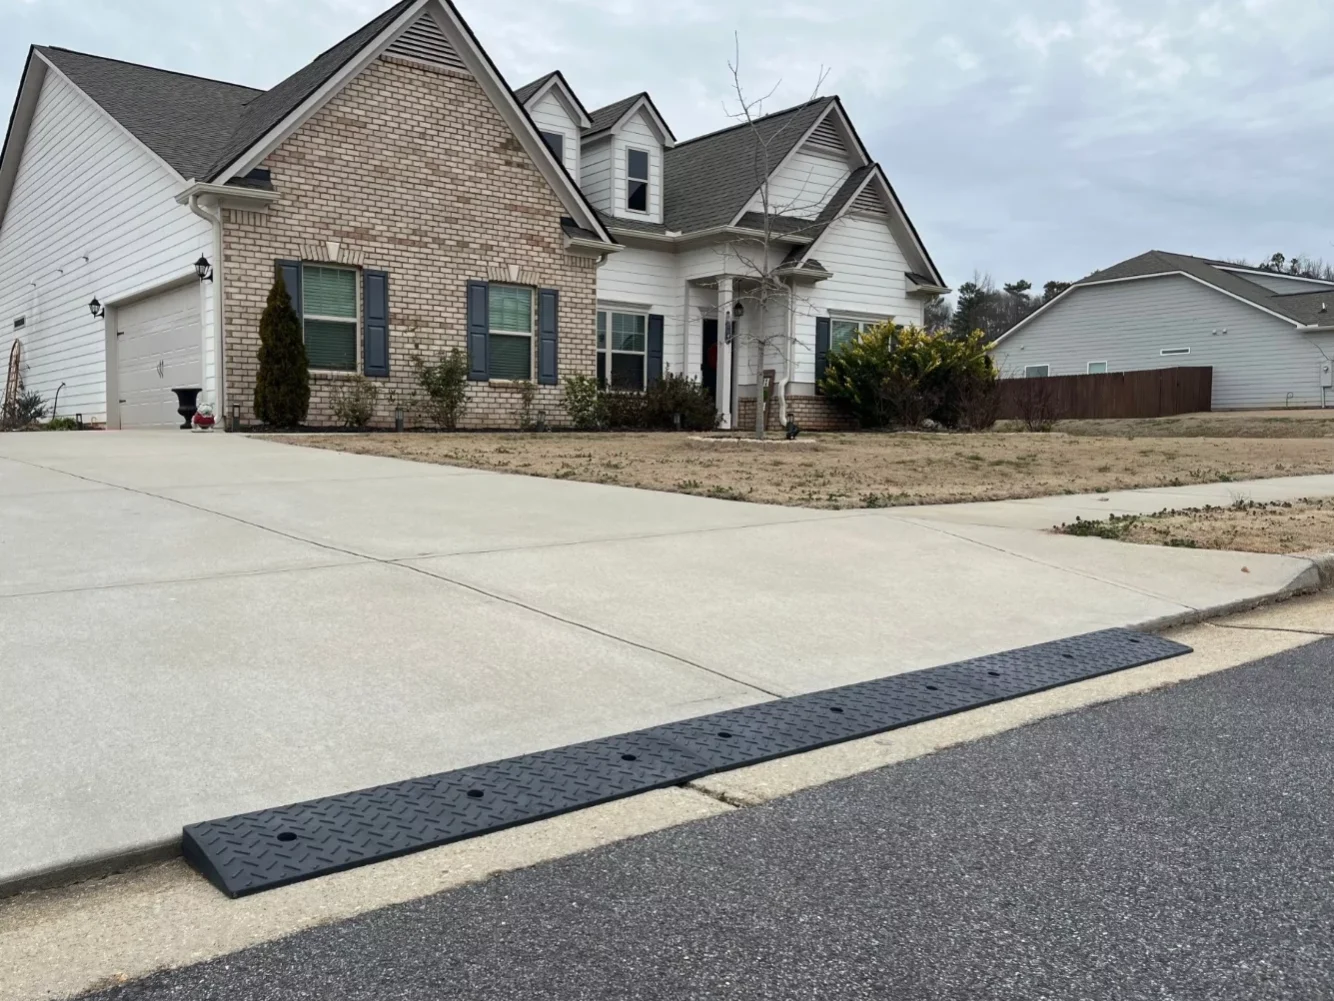
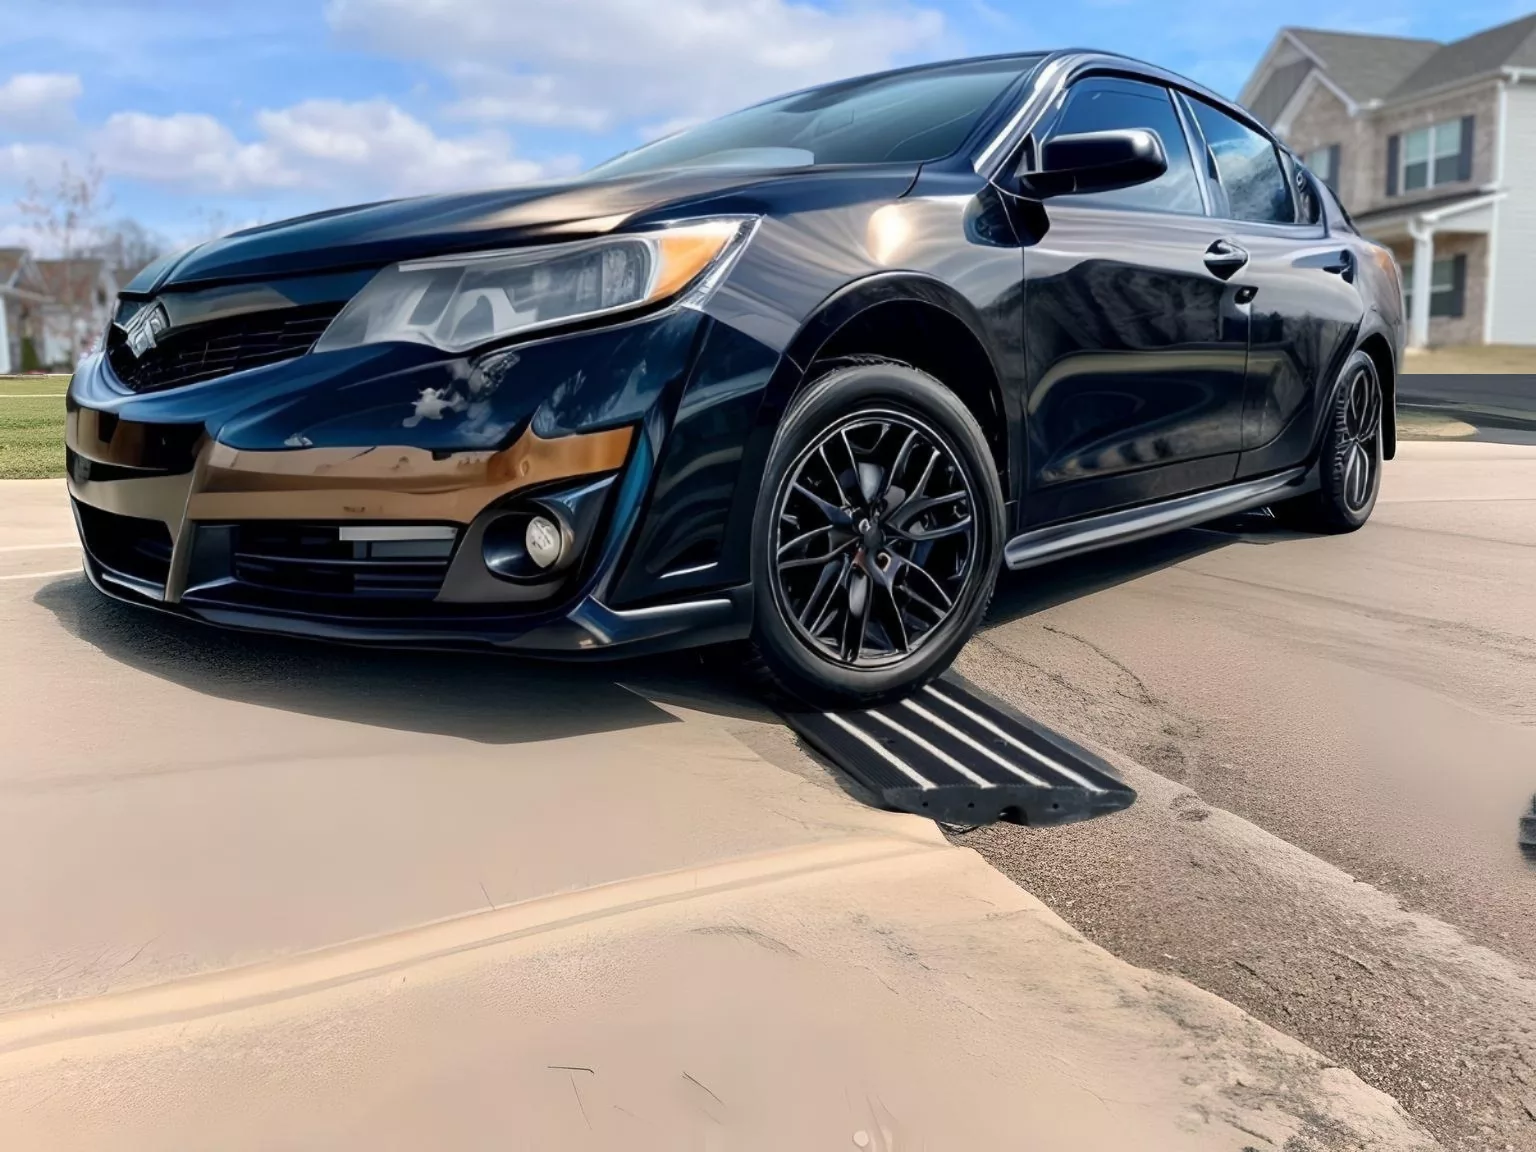
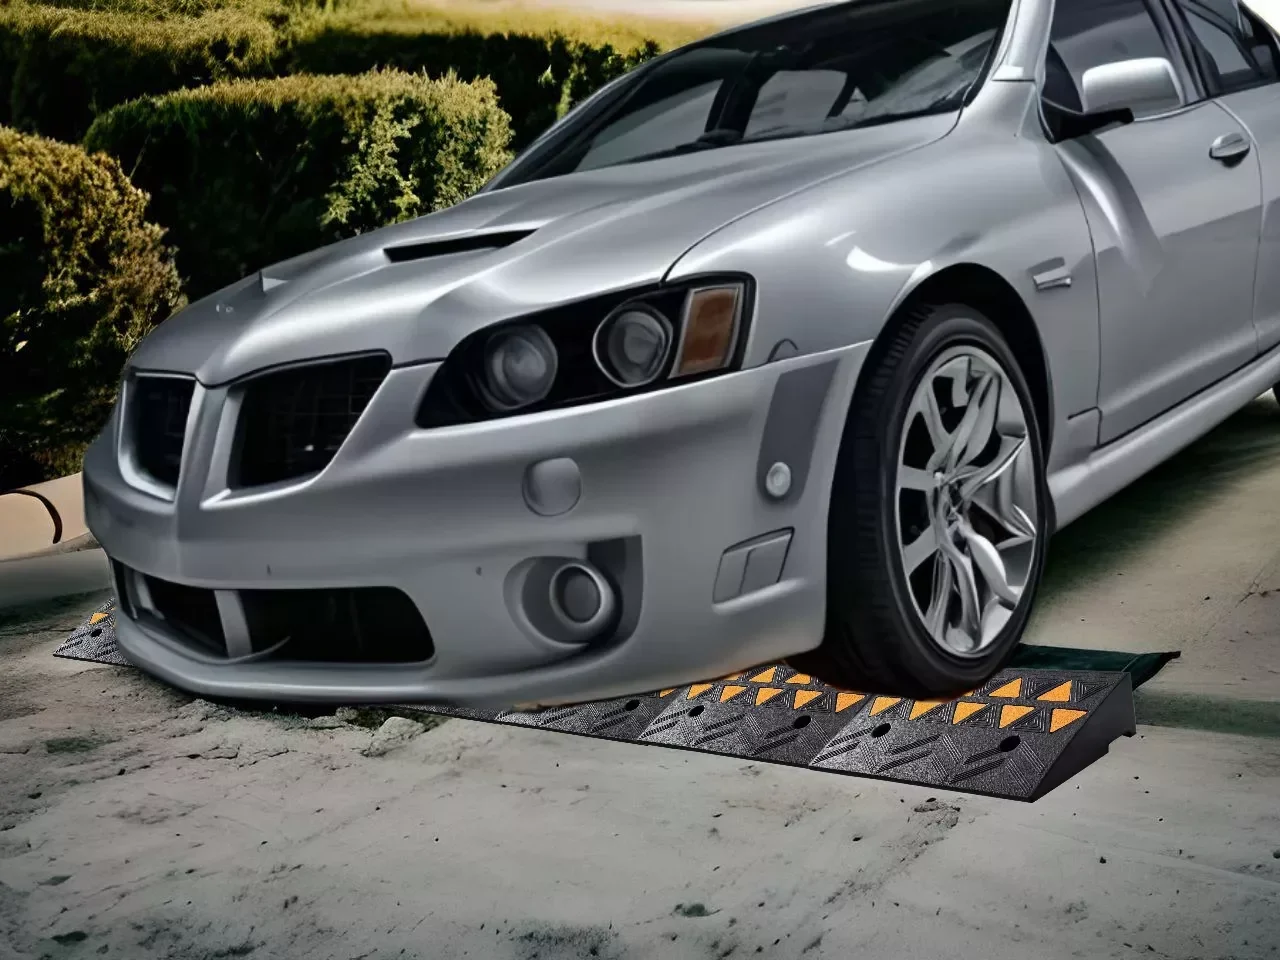
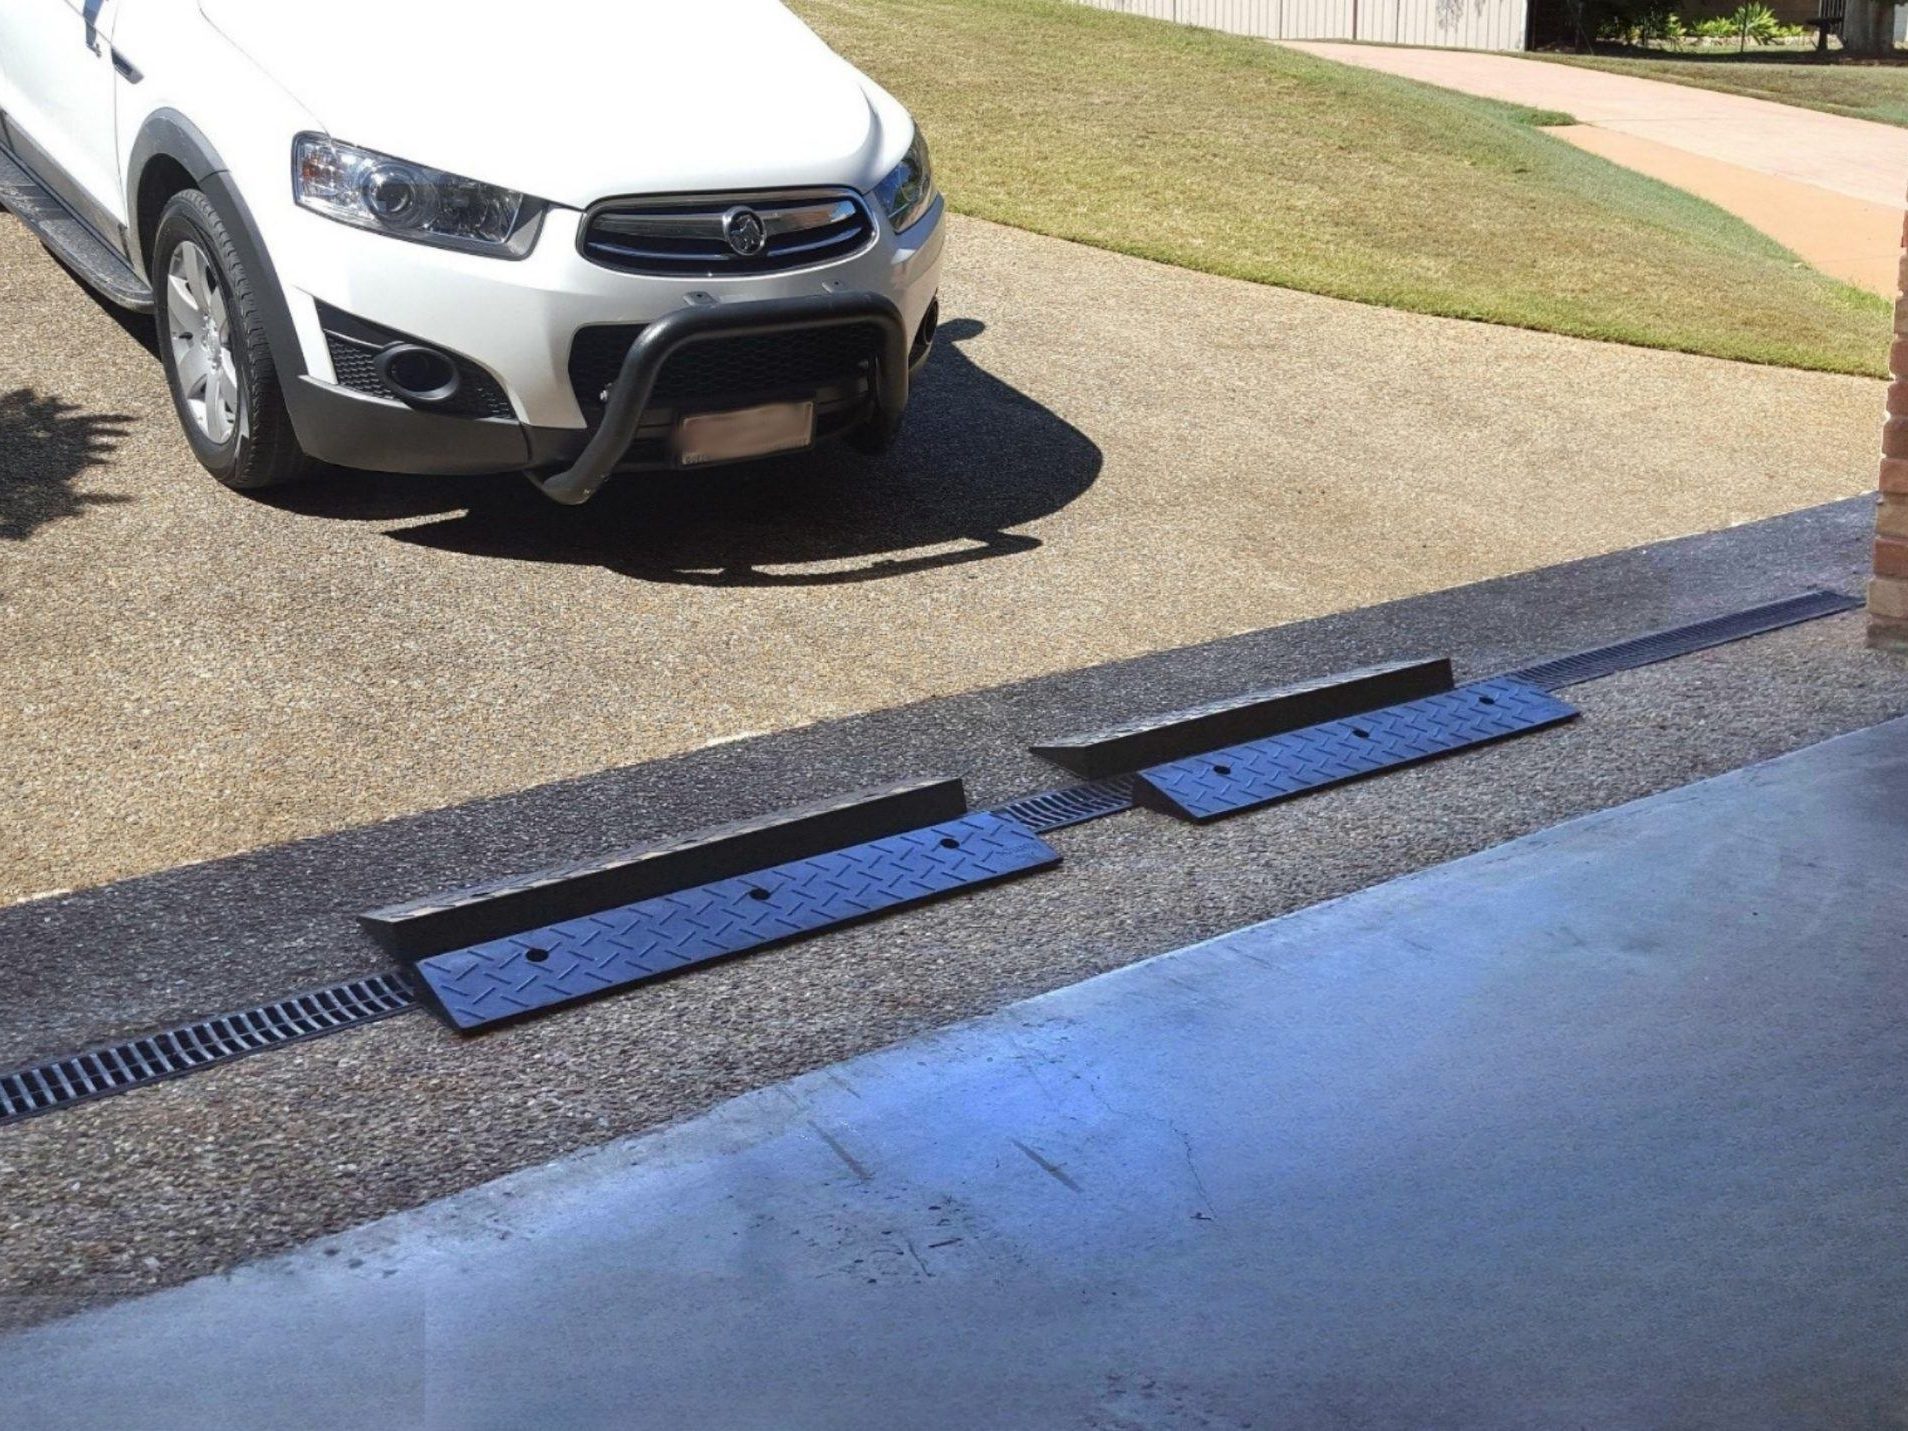
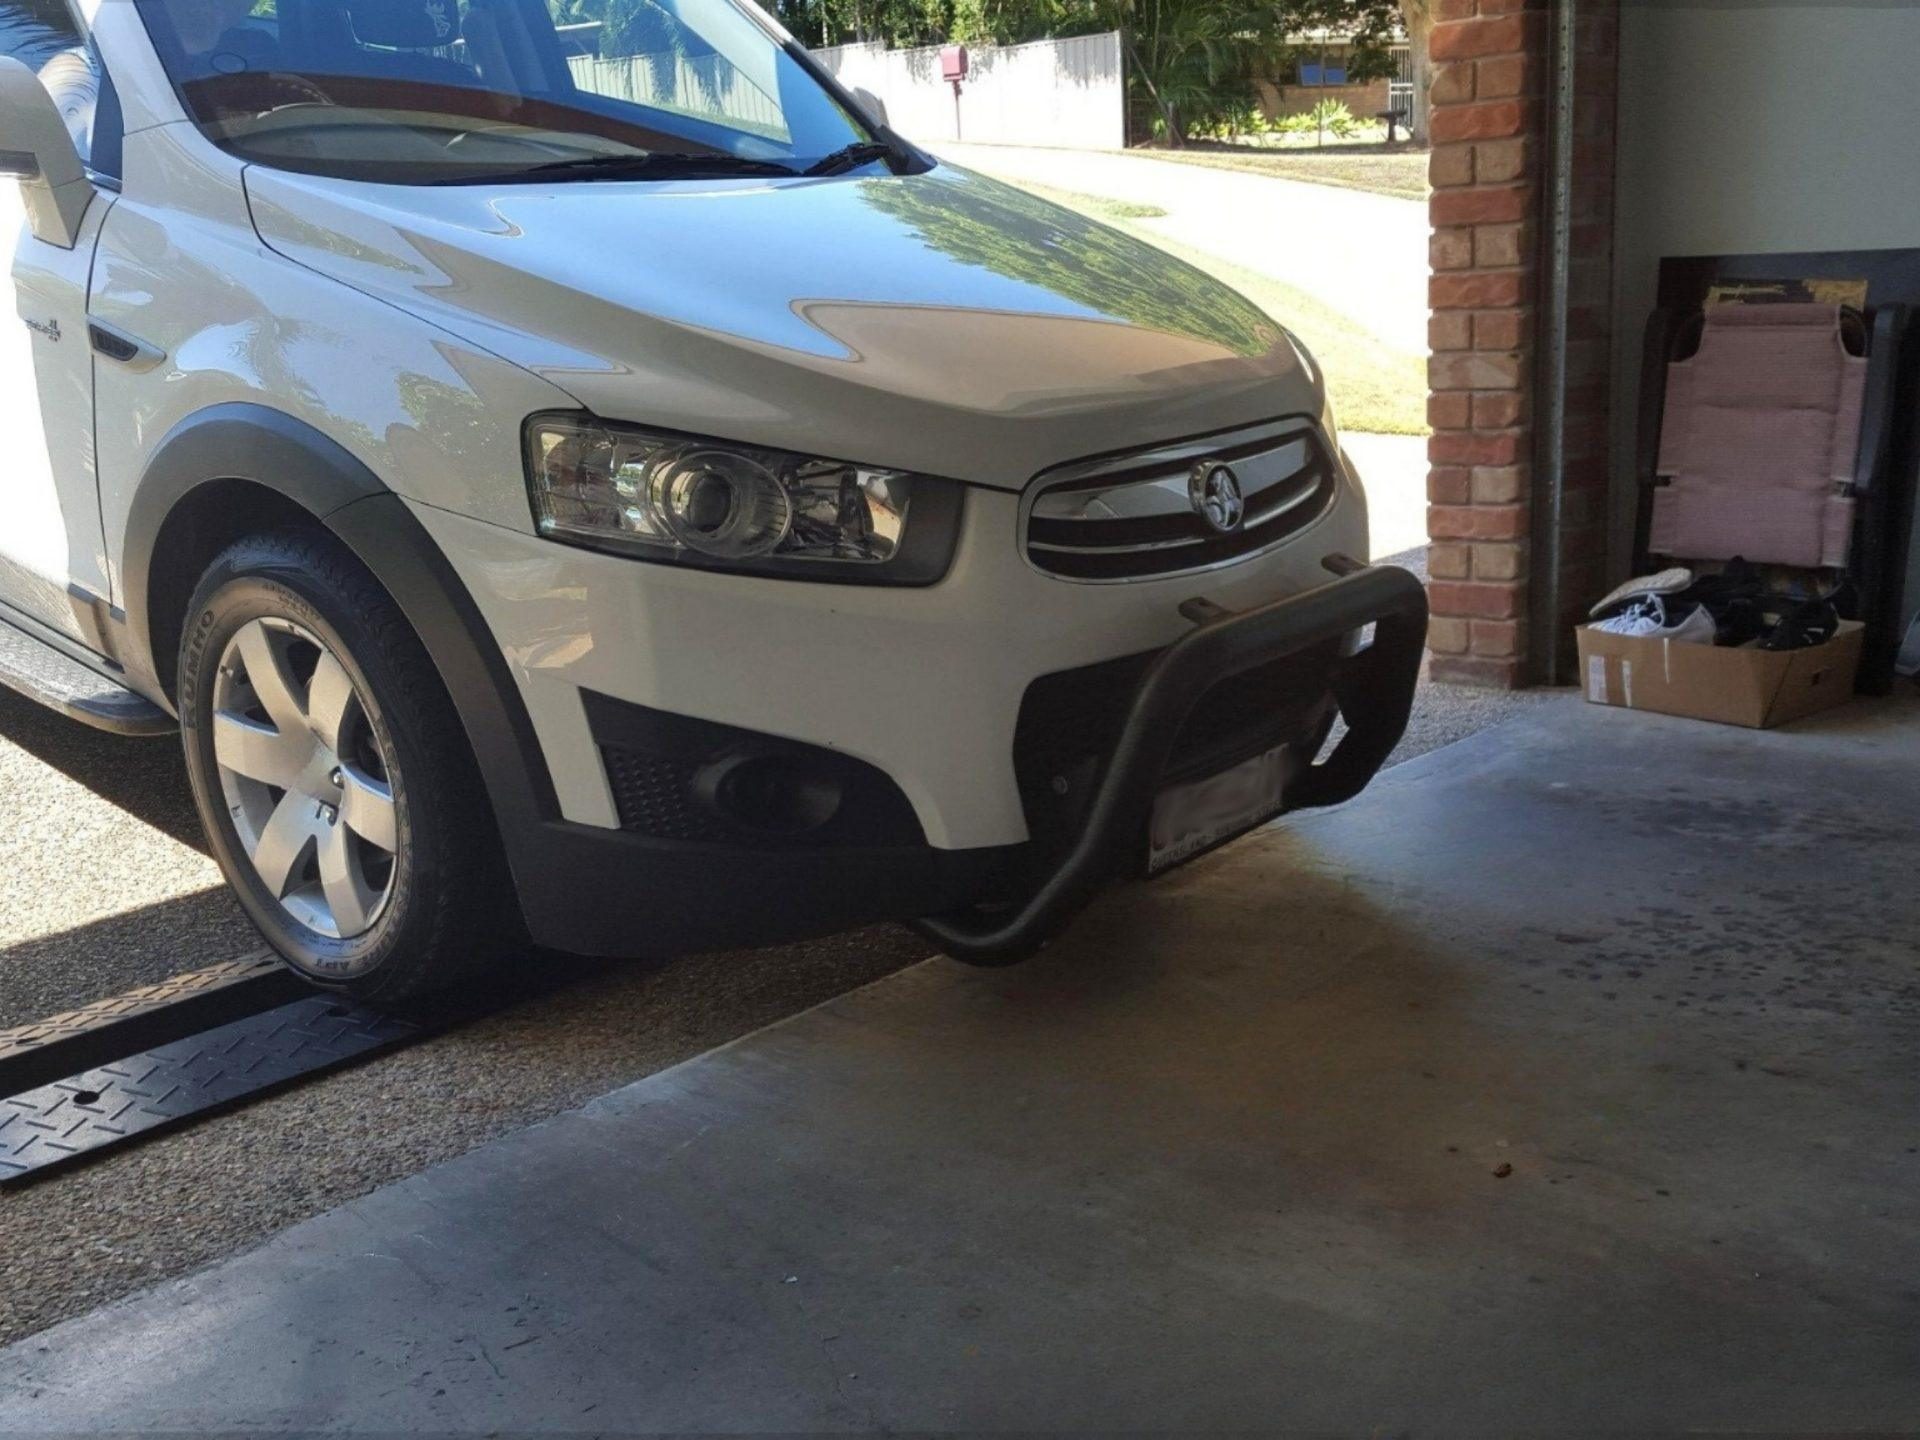
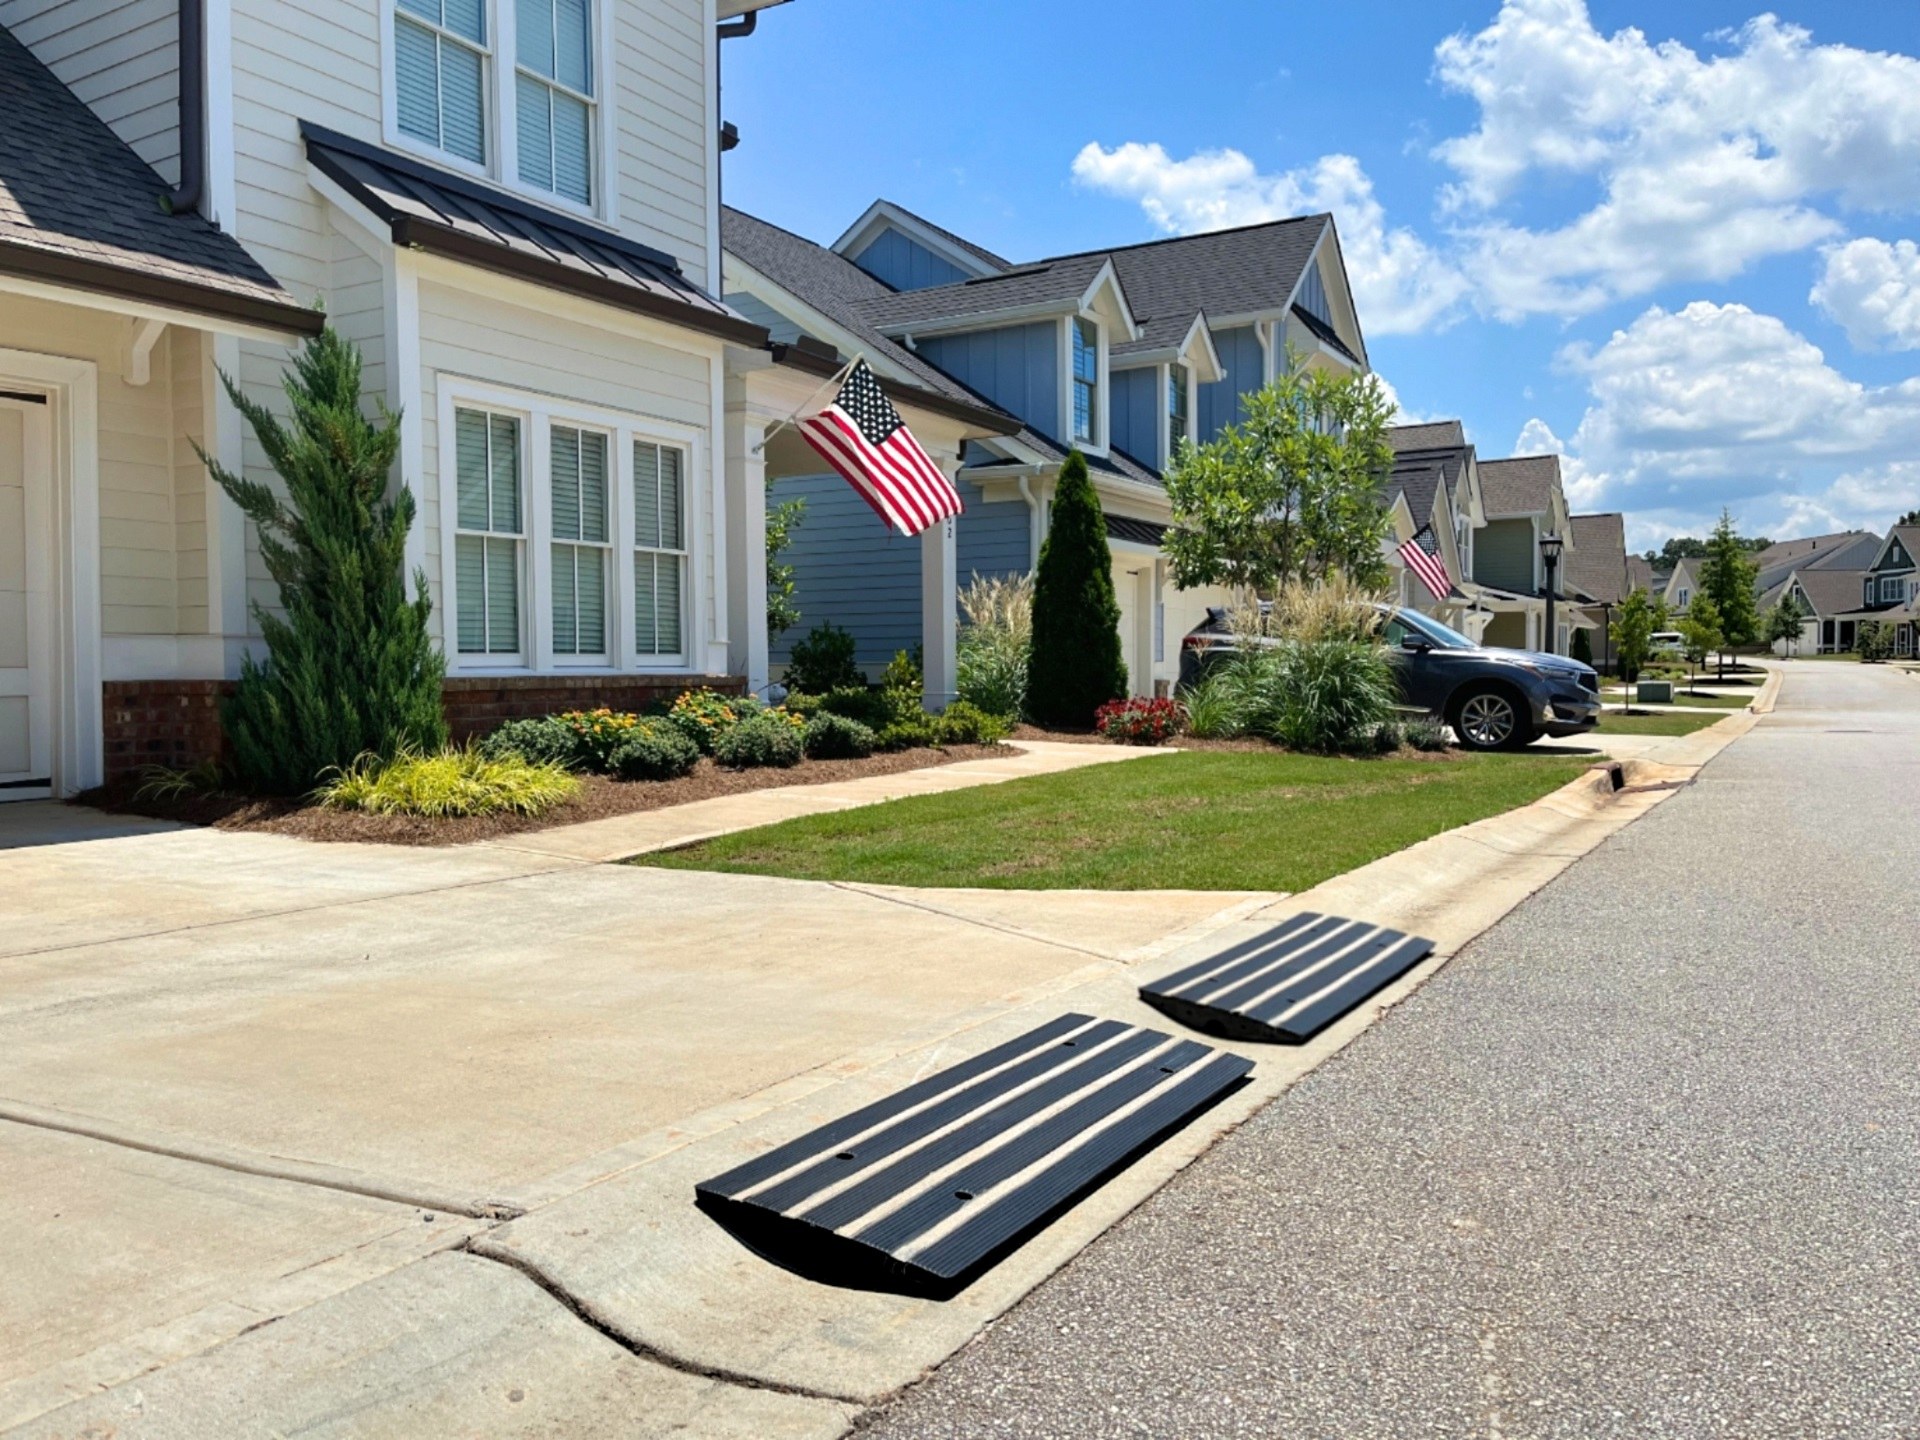
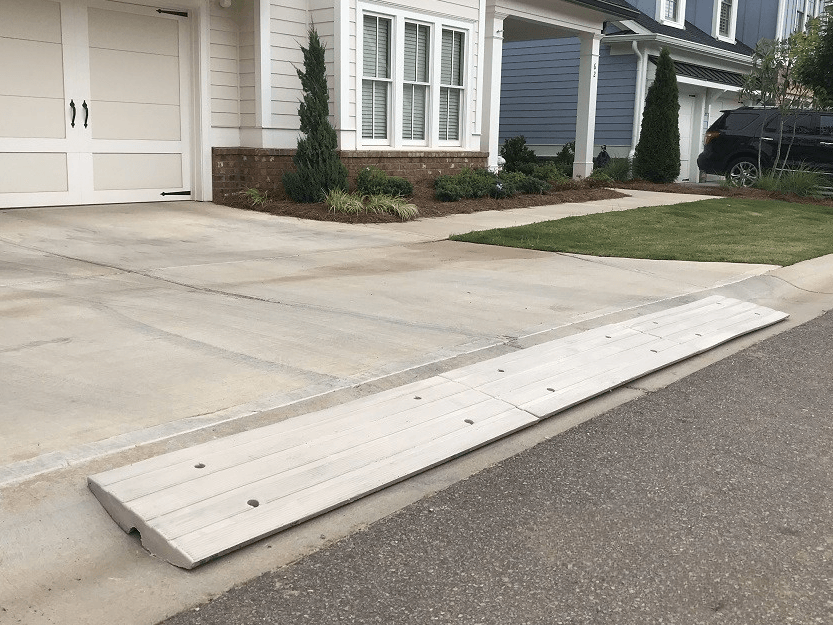
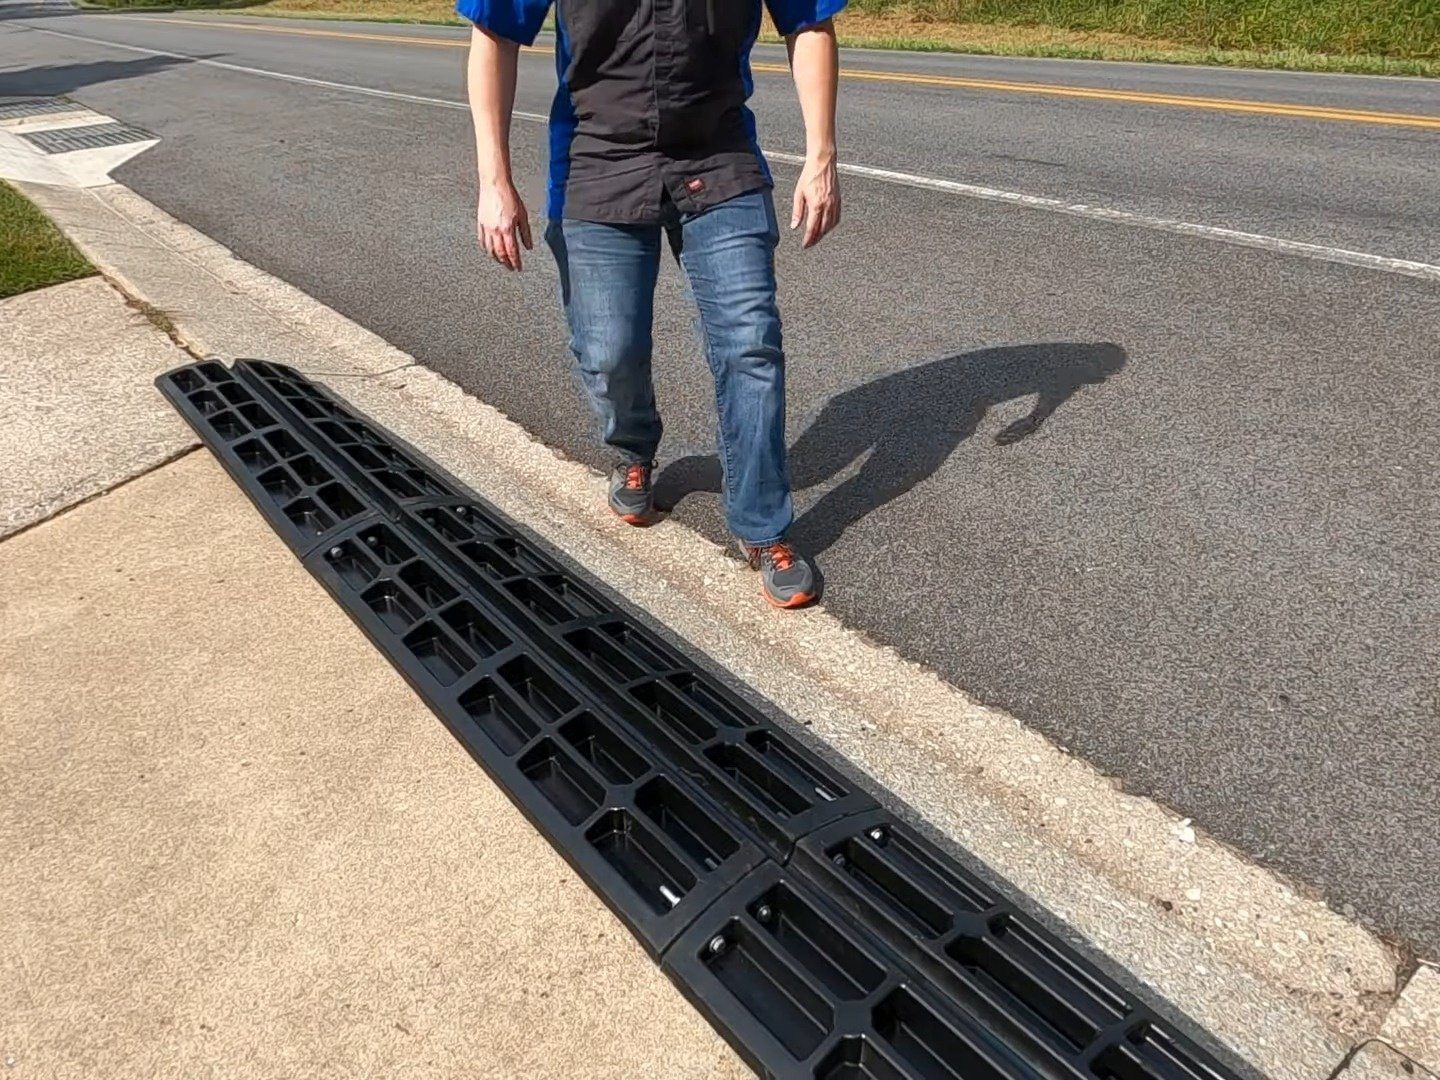
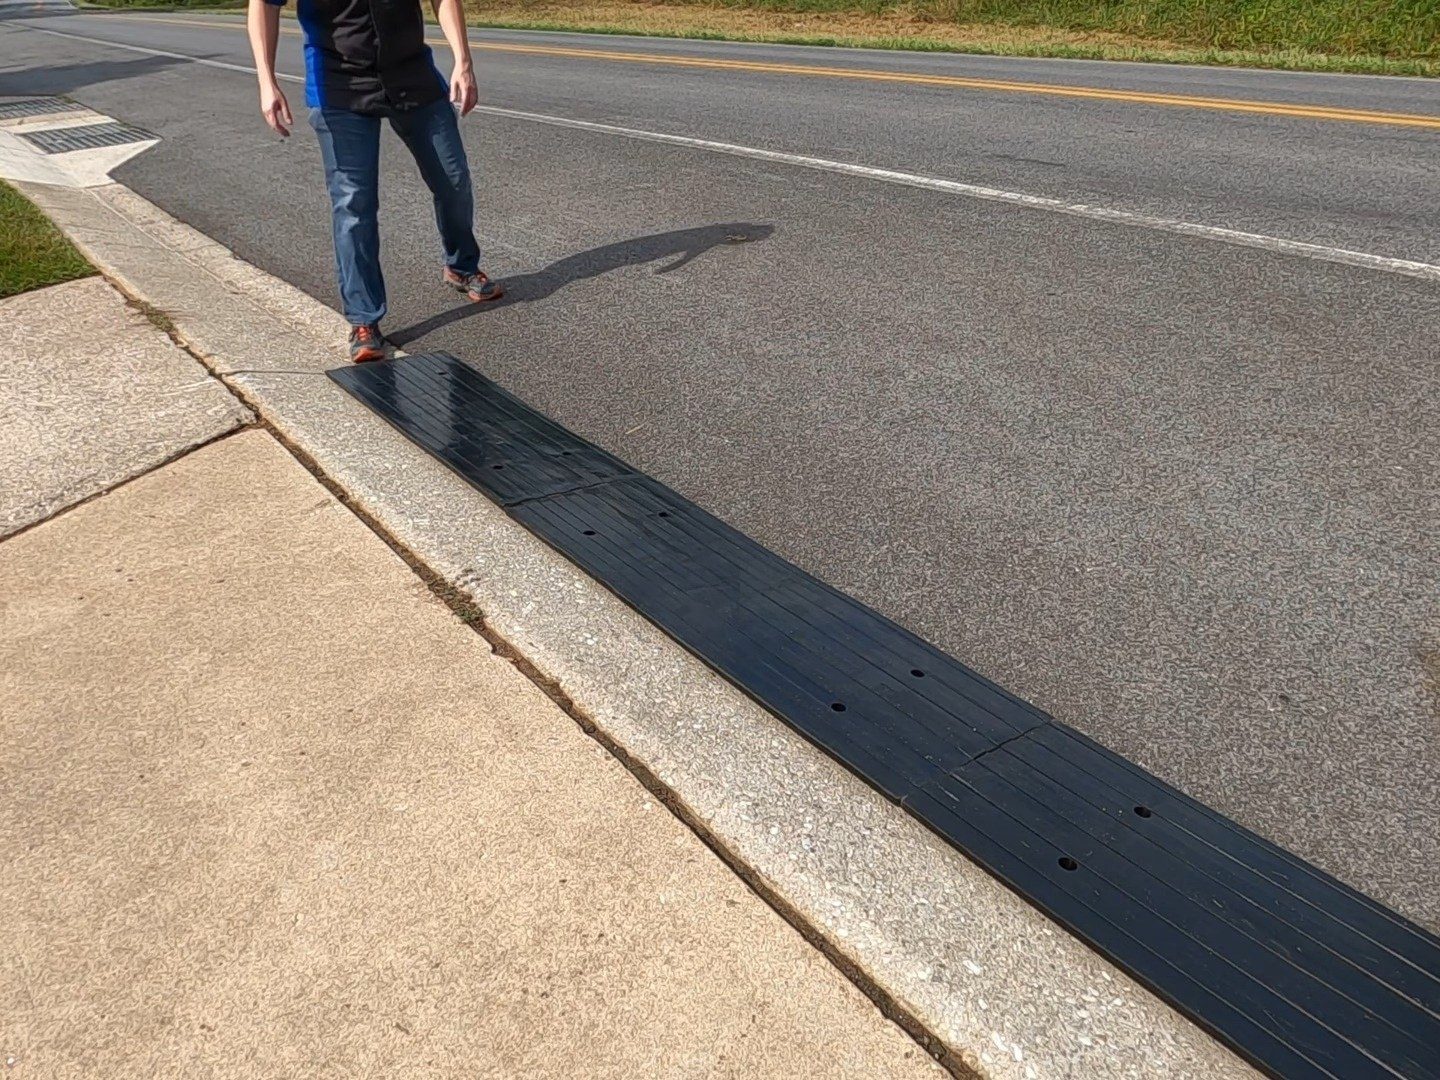
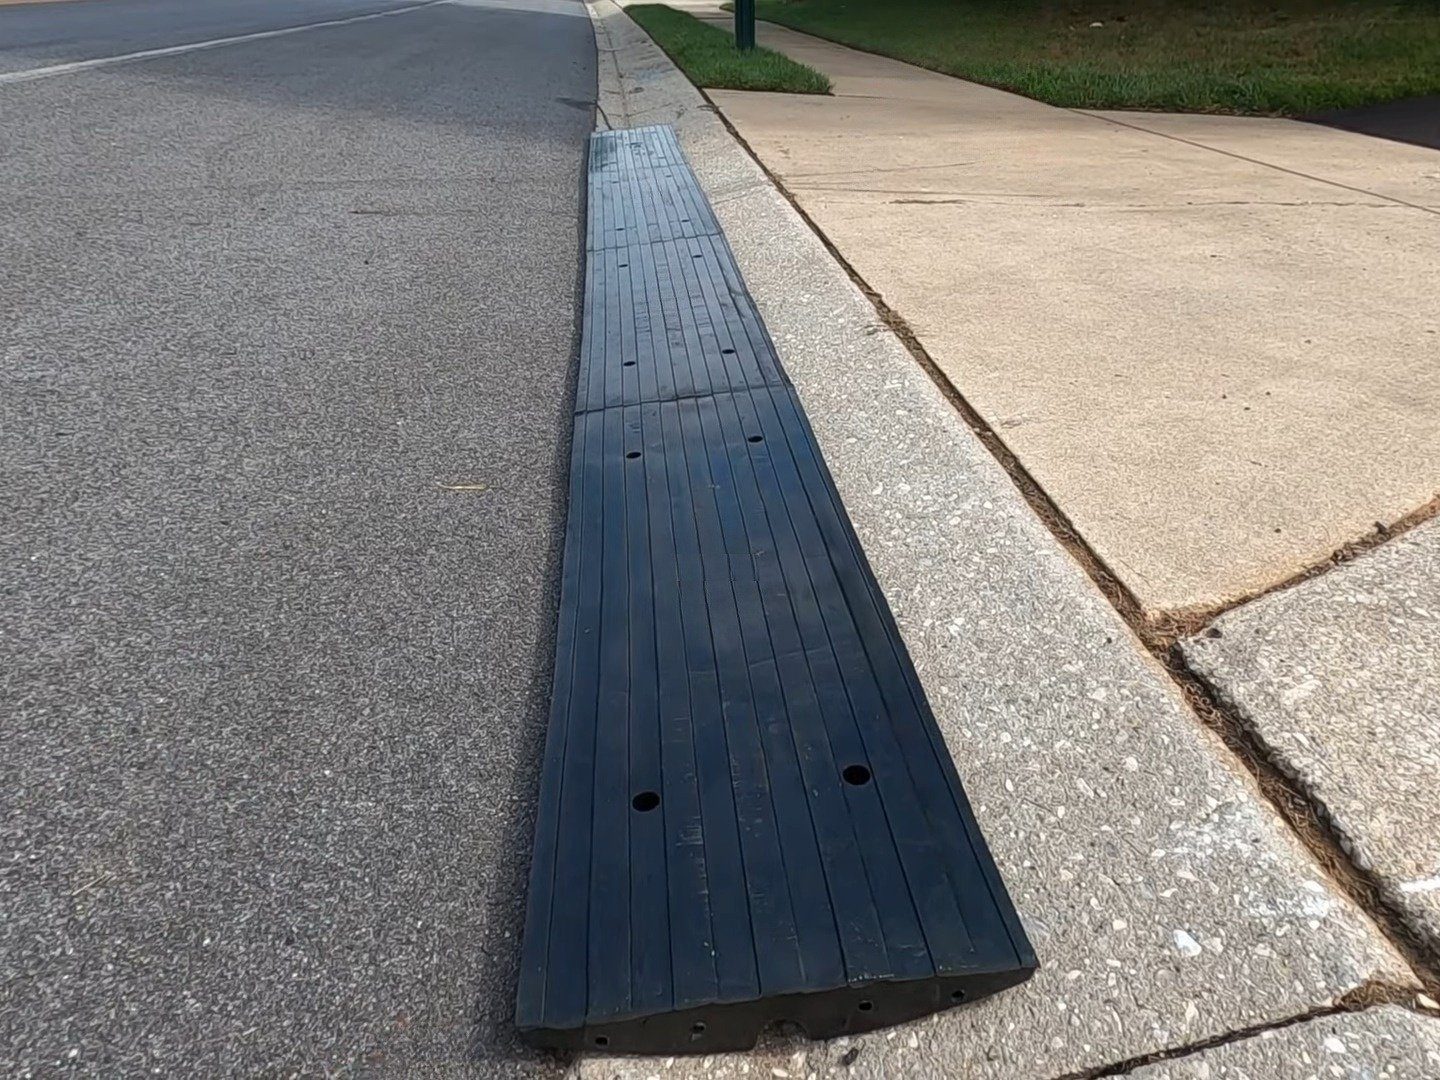
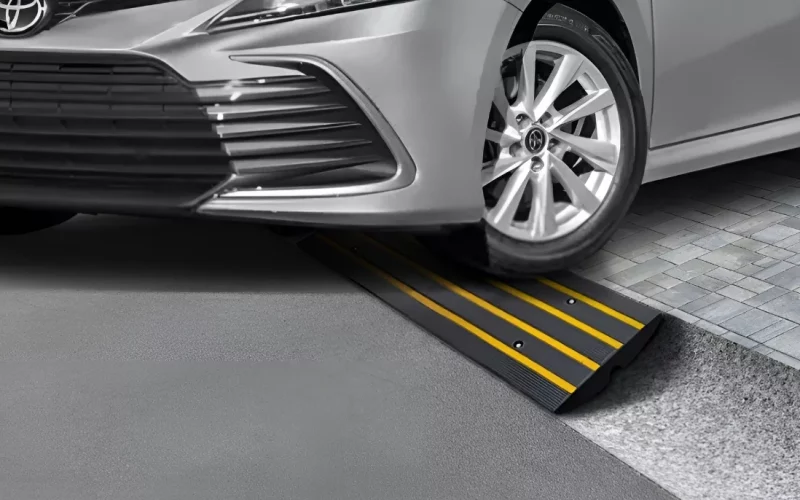
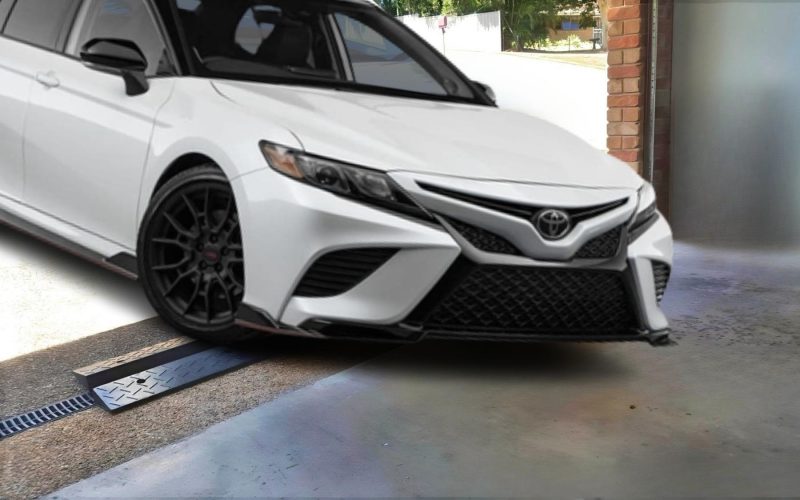
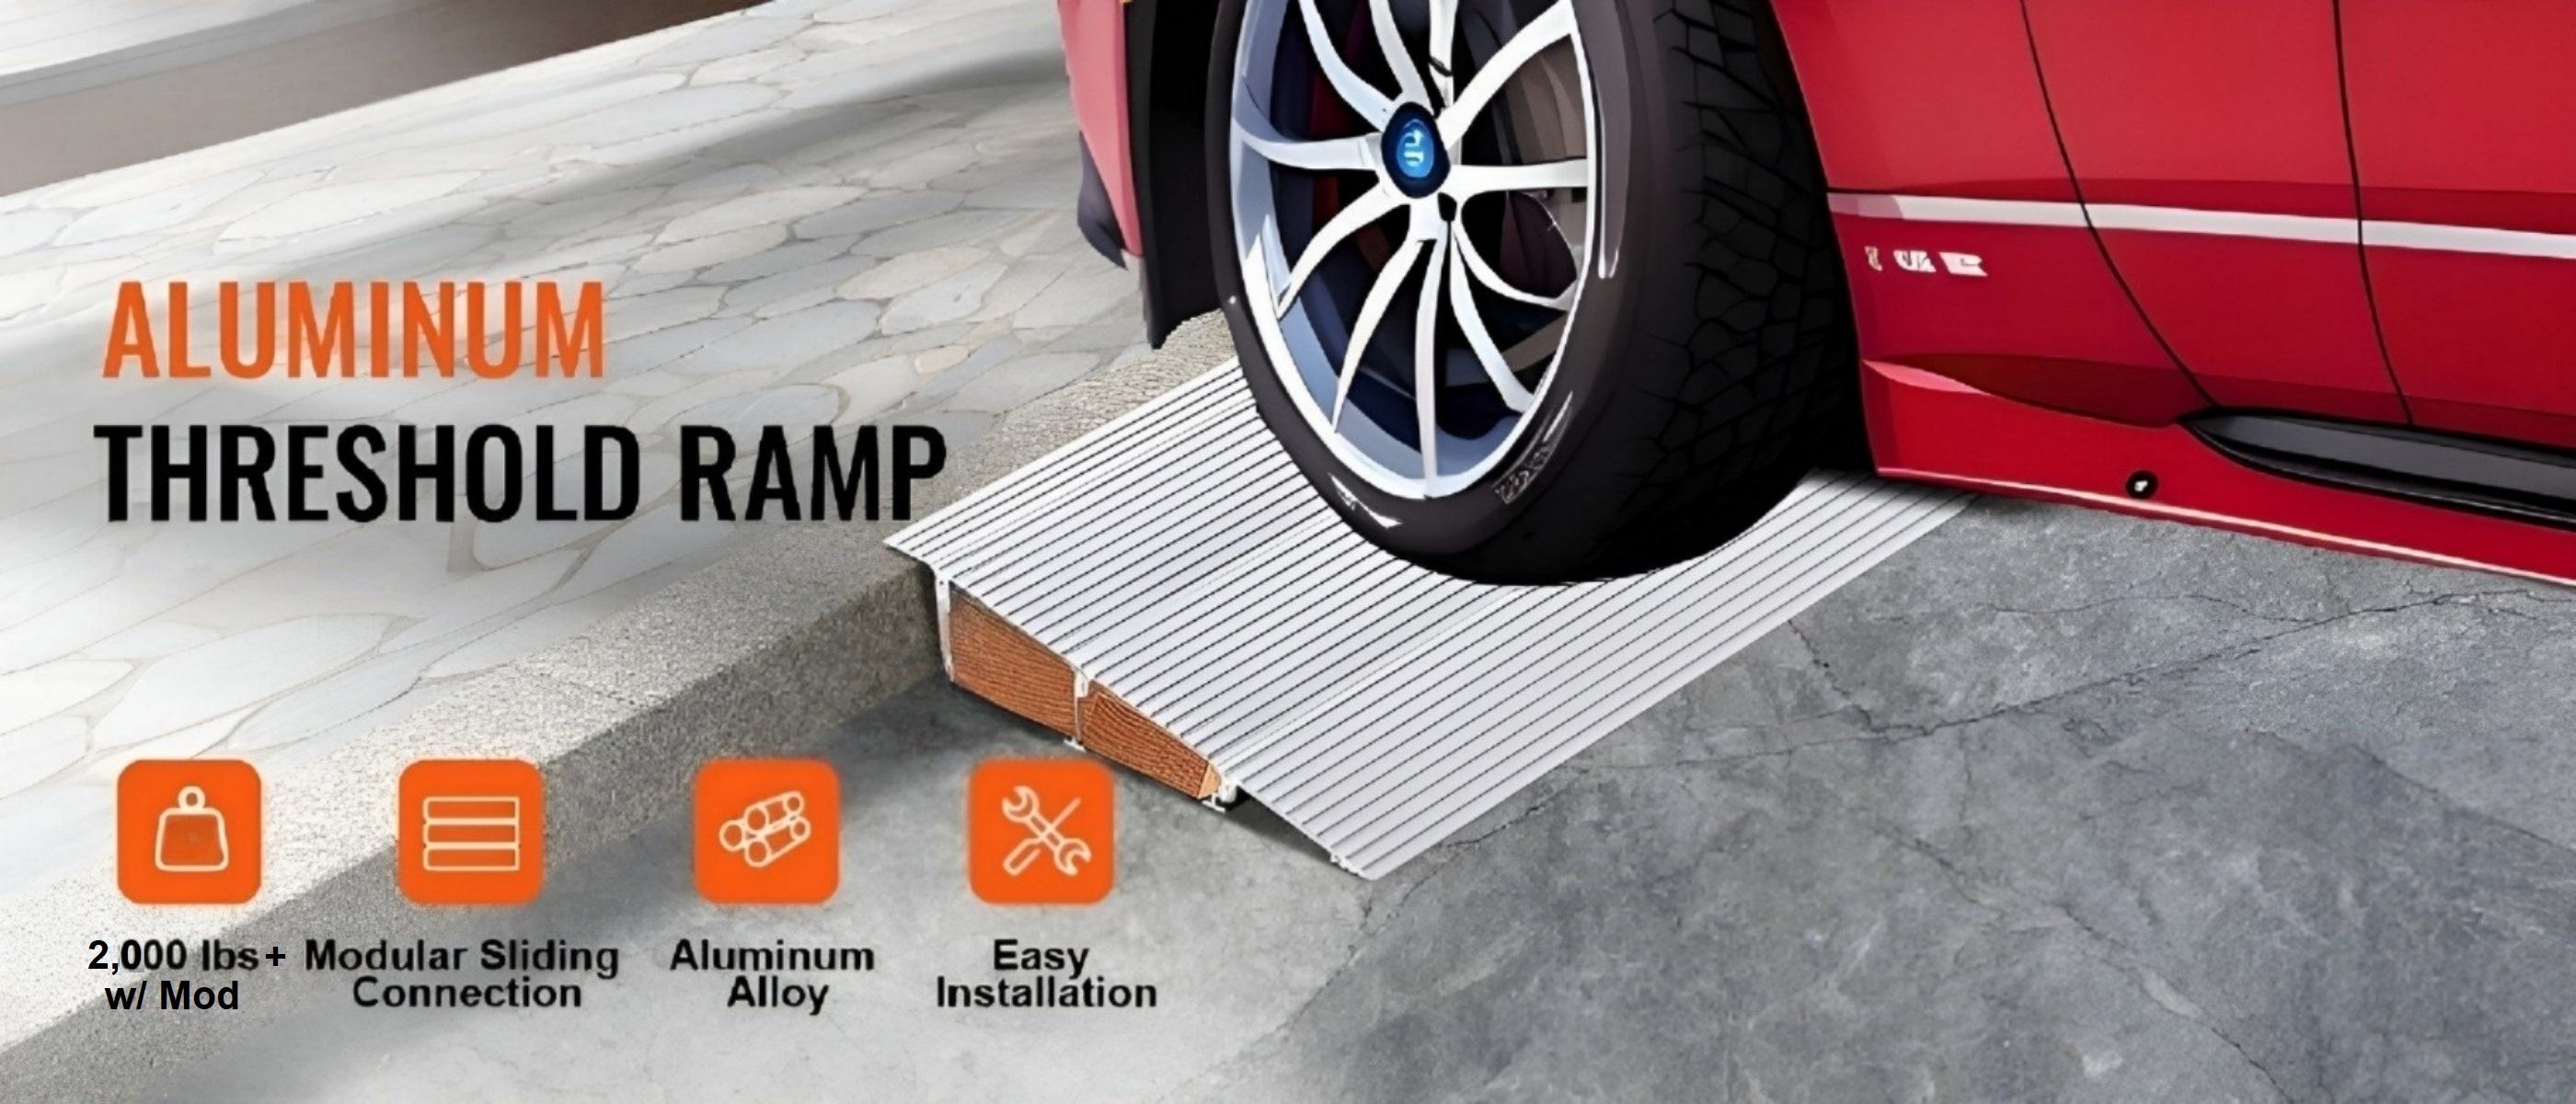
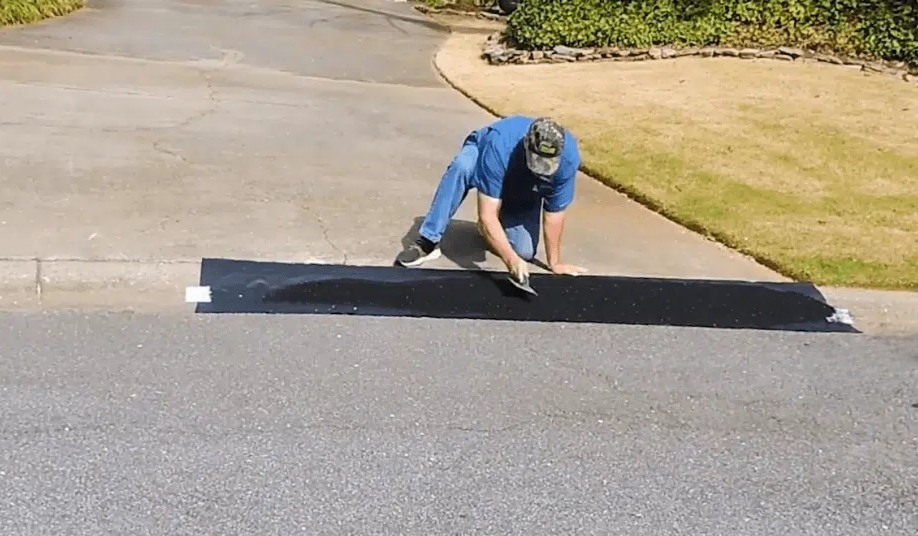
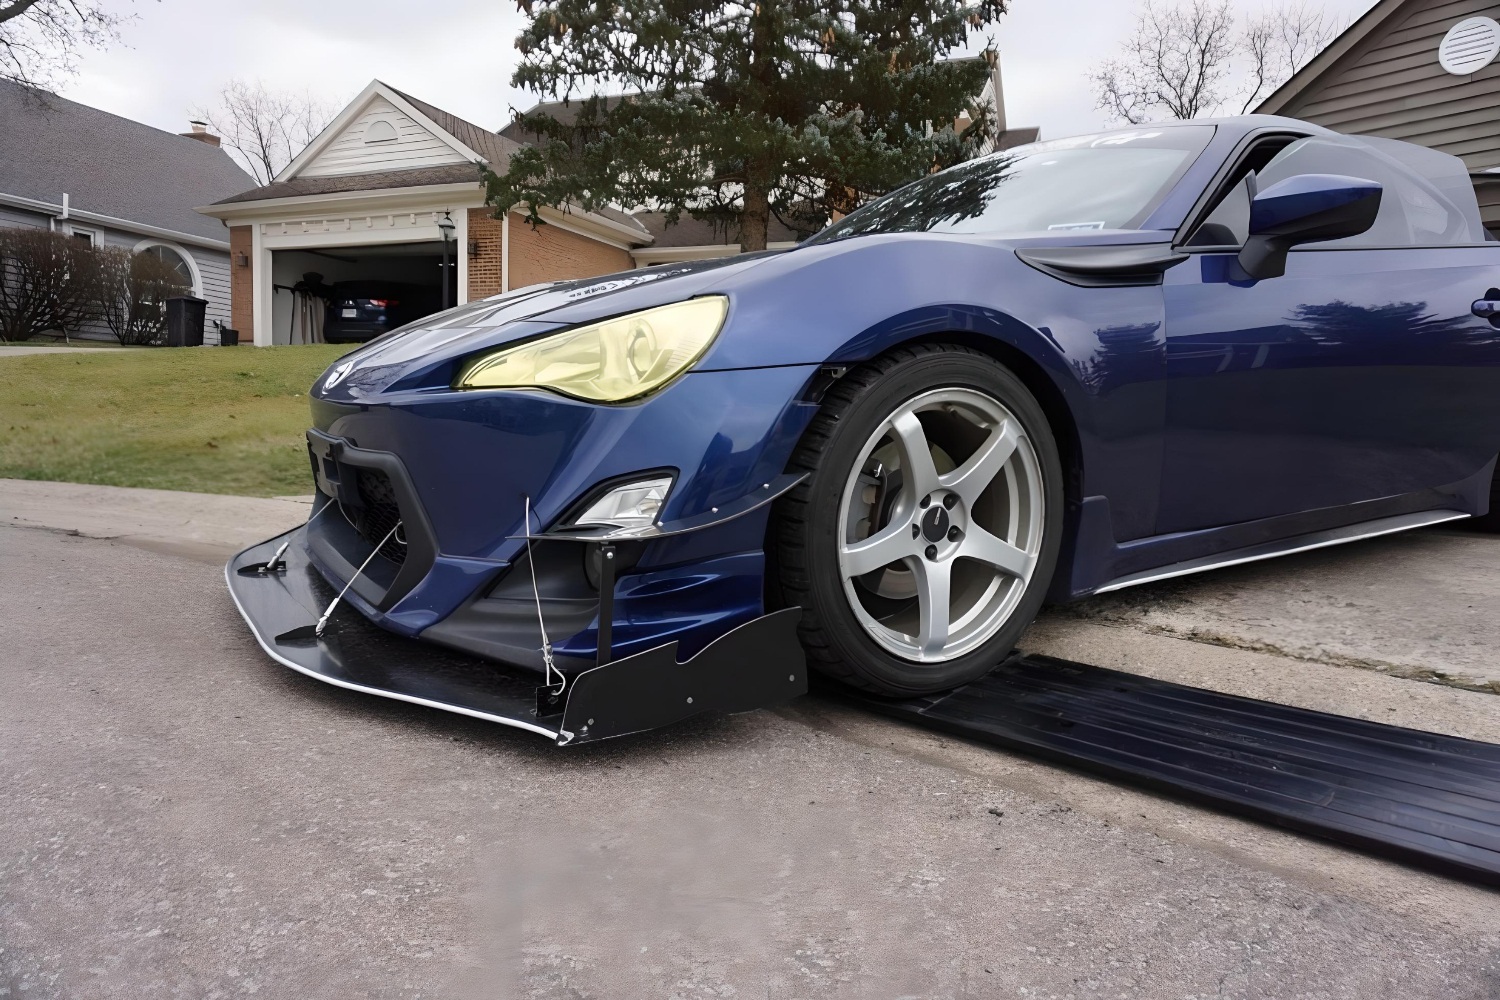
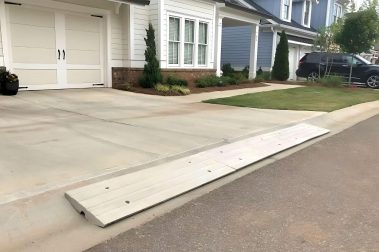
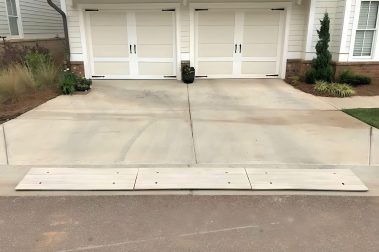
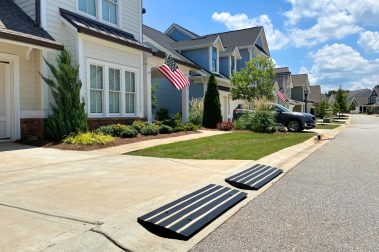
Your ramp is now finished and ready for action. Position it at the beginning of the climb to your garage. Use the handle you’ve sewn to move it as needed. This ramp will allow your car to safely navigate the steep incline, providing a noticeable improvement compared to not using polystyrene ramps.
Transform Your Driveway: Say Goodbye to Scrapes with DIY Ramps
In conclusion, by following these step-by-step instructions, you can take control of your driveway’s steep incline and garage entry challenges. Building your own Polystyrene Slope Reduction Ramps not only prevents car scrapes but also enhances your overall driving experience. Say goodbye to the frustration of navigating a difficult entry and hello to a smoother, more accessible driveway. With a little DIY effort and creativity, you can transform your driveway into a car-friendly haven. So, roll up your sleeves and get ready to make a positive change. Your car—and your nerves—will thank you.


